Last updated on November 3rd, 2025
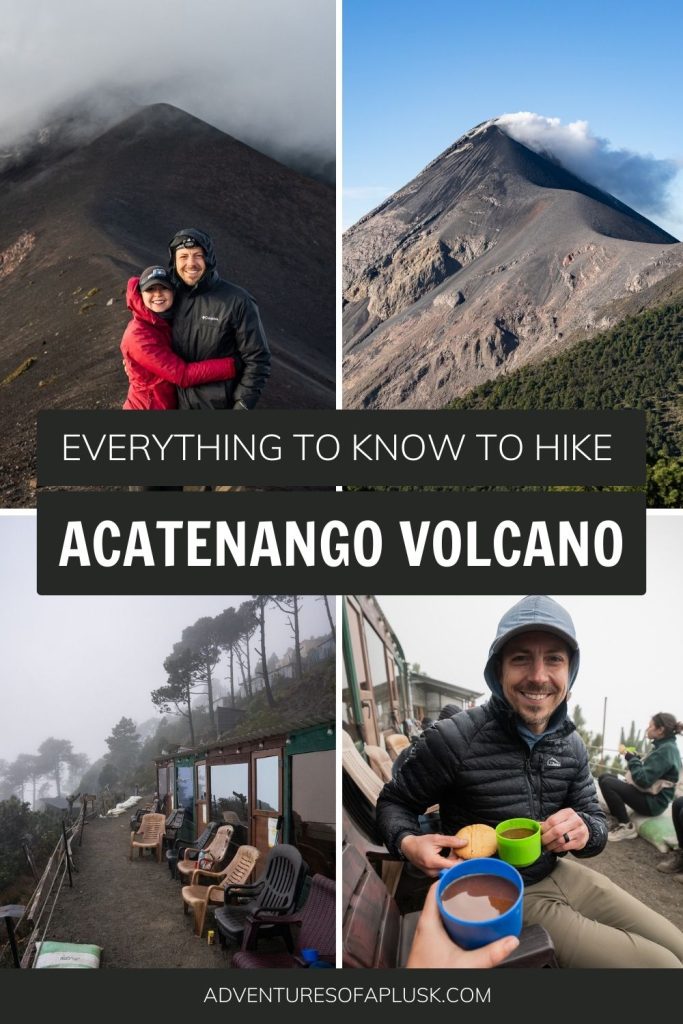
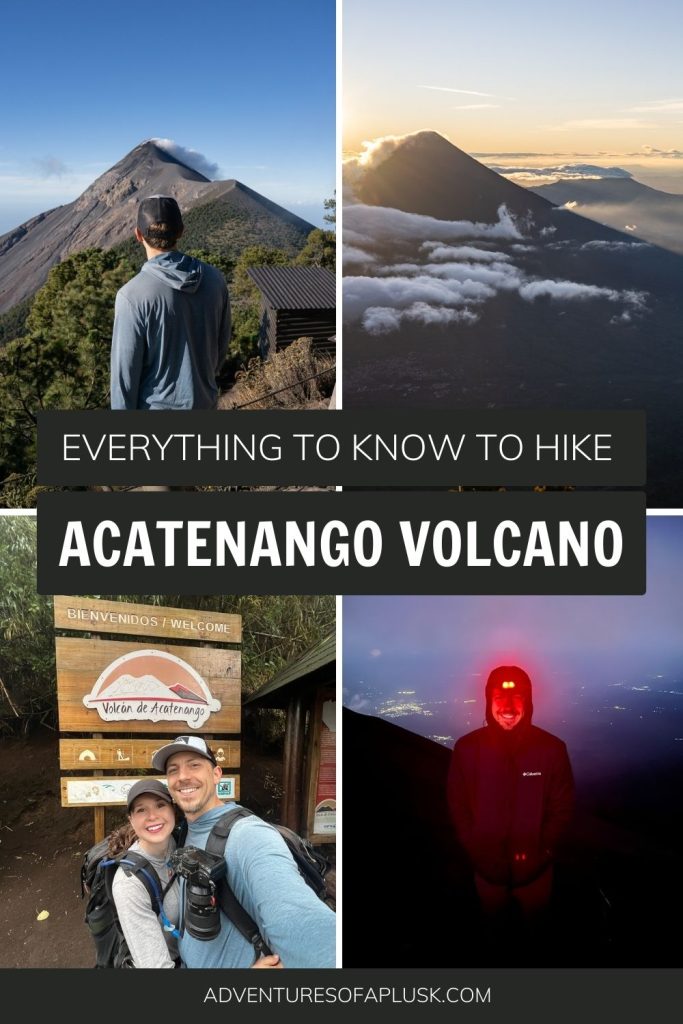
Ready to tackle the most epic hike in Guatemala? We’re sharing what to expect on the Acatenango hike in 2025, based on our experience.
One of the top items on our bucket list is to see an active volcano erupt. And in Guatemala, you can make it happen!
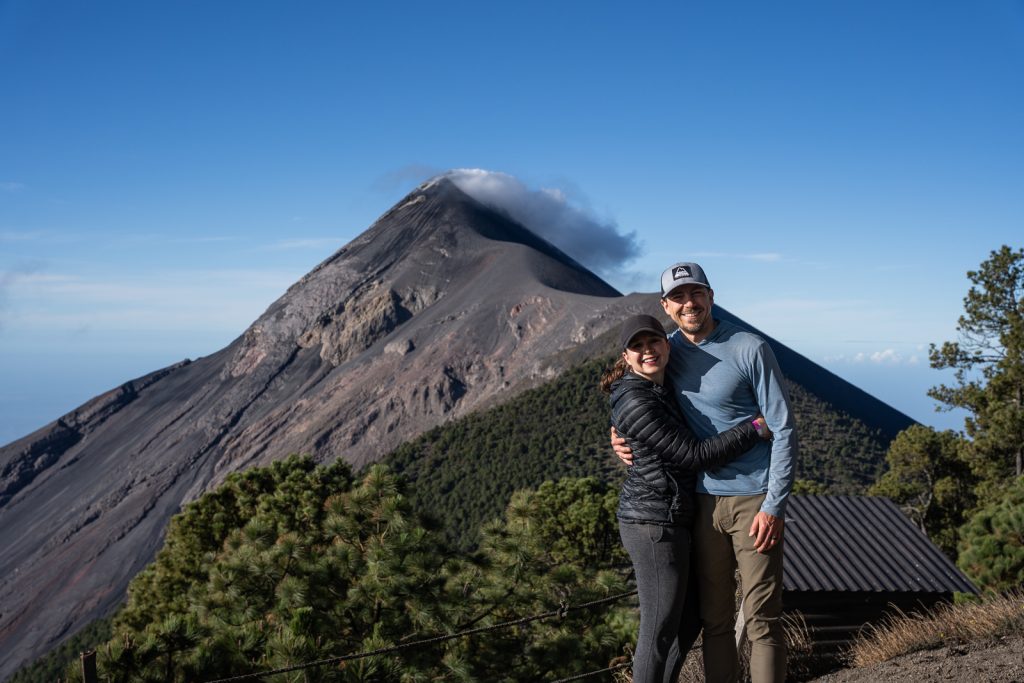
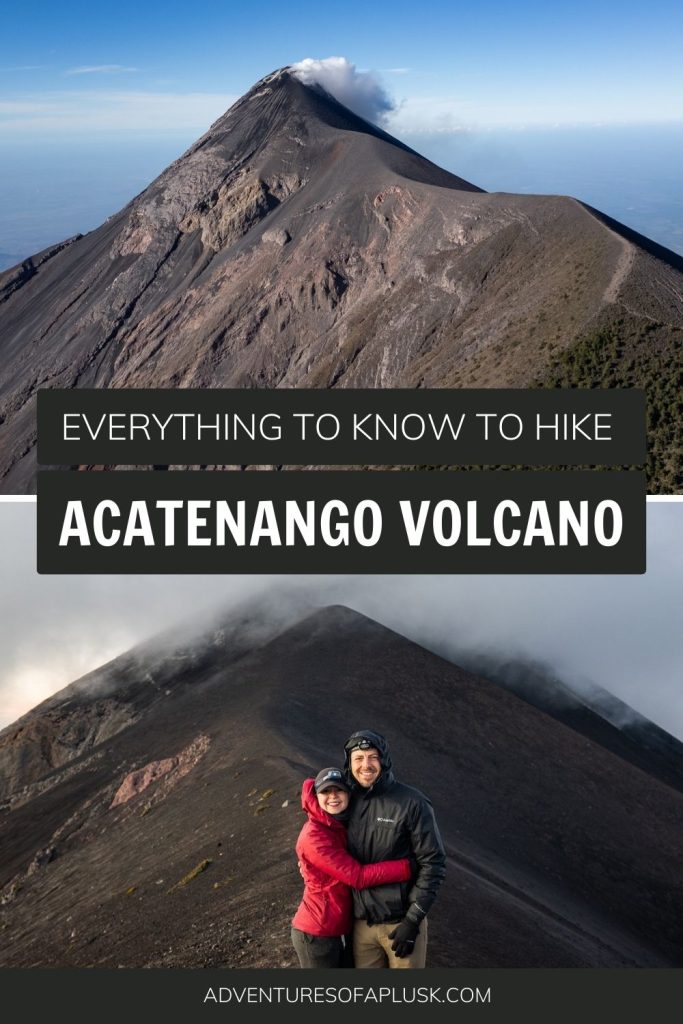
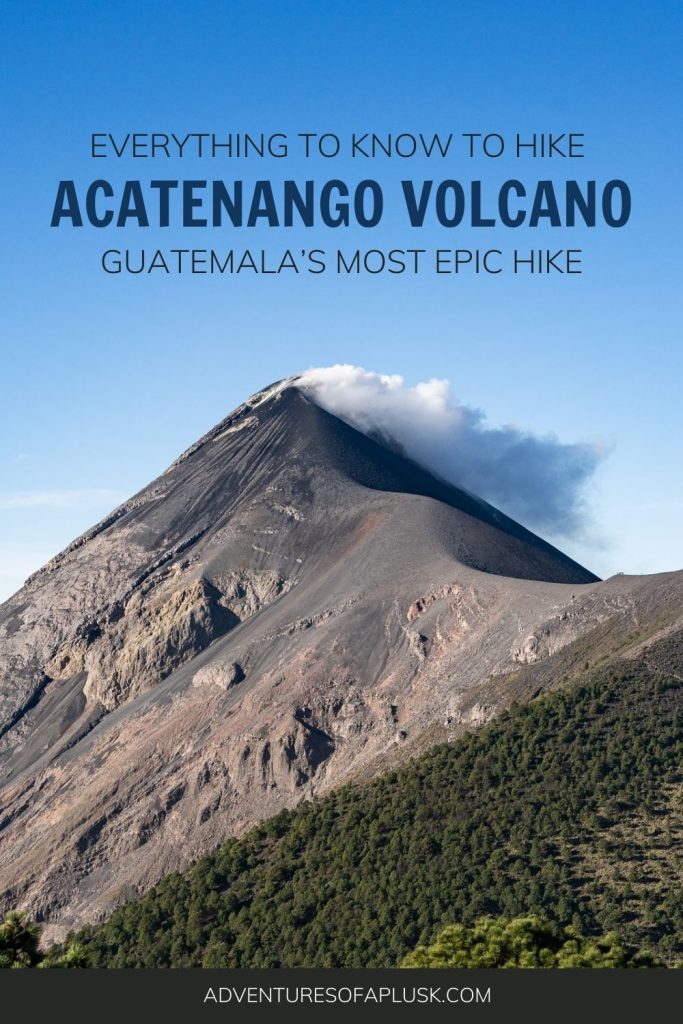
On the Acatenango Volcano hike you not only get to hike to (and sleep on!) a dormant volcano, but you also get a head on view of Fuego, one of the most active volcanoes in Central America! Tackling this hike was a big reason why we visited Guatemala and it was full of highs and lows.
In this guide we’re sharing everything you need to know to hike Acatenango. Including tour providers, what to expect along the way, and important items to bring. Plus our personal experience from 2025, which was a bit different than the typical trip up Acatenango.
Looking for more Guatemala resources?
- The Perfect 2 Week Guatemala Itinerary (for first-timers!)
- Our Top 22 Guatemala Travel Tips & Things to Know
- The Ultimate Guatemala Packing List (with downloadable list!)
- The 23 Best Things to Do in Antigua, Guatemala
- 20+ Best Restaurants in Antigua, Guatemala
- 21 Fun Things to Do in Lake Atitlán, Guatemala
- Guatemala’s Indian Nose Hike: Lake Atitlán’s Ultimate Sunrise
- The Ultimate Guide to Visiting Semuc Champey in Guatemala
- Watch our Guatemala YouTube series
- About the Acatenango hike
- Acatenango hike stats
- How difficult is the Acatenango hike?
- When is the best time to hike Acatenango?
- Do you need a guide to hike Acatenango?
- Acatenango hike tour options
- What to expect on the Acatenango hike
- Is the Acatenango hike worth it in 2025?
- What to bring on the Acatenango hike
About the Acatenango hike
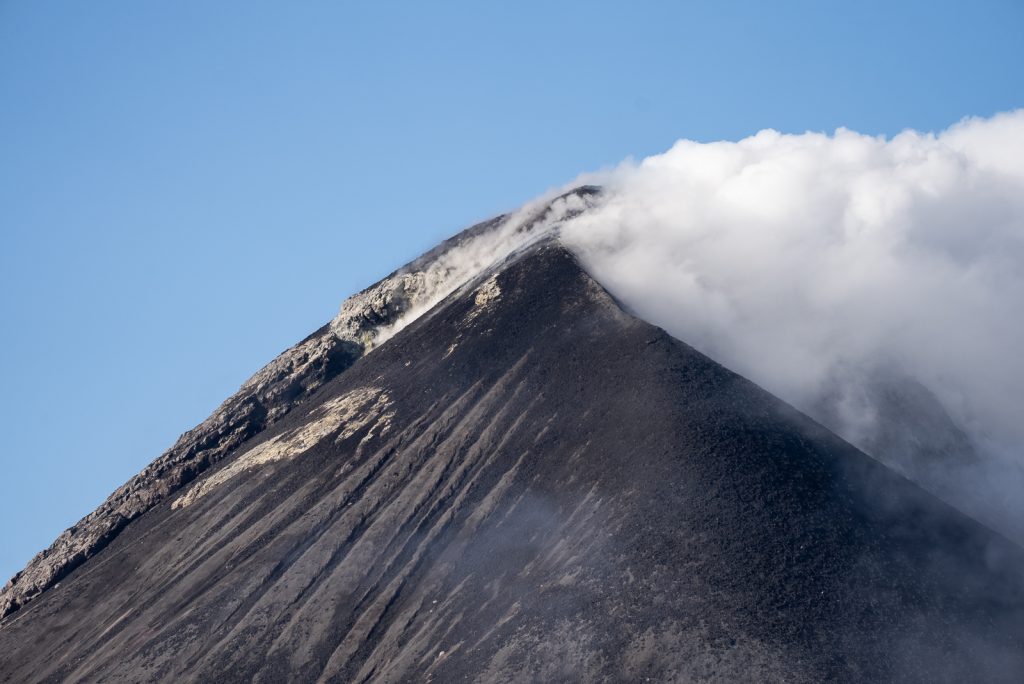
Acatenango is one of Guatemala’s 37 volcanoes and is considered dormant, with its last eruption in 1972. The trailhead is located near the small village of San Jose Caldera, about 30 km (18.6 miles) west of Antigua.
The Acatenango hike is a two day, one night hike where you’ll hike up the Acatenango Volcano to a basecamp, located around 11,811 feet (3,600 meters) in altitude. And while this hike is named after Acatenango, the big draw of it is seeing Fuego, one of Guatemala’s 3 active volcanoes. It’s considered to be one of the most active in Central America, with eruptions every 15-20 minutes. At least, that’s how it used to be. See below for an update for 2025!
While you can just enjoy the views of Fuego from basecamp (which is pretty spectacular in itself), you also have the option to hike even higher to the Acatenango summit (13,045 feet/3,876 meters) or closer to Fuego, which we will share more about later on in this guide.
UPDATE FOR 2025: As we mentioned above, Fuego normally has small eruptions every 15-20 minutes. These included hearing it erupt and seeing plumes of smoke, plus red lava visible at night. However, from mid January until early May, 2025, Fuego was in a quiet state. Minus a large eruption on March 9-10, 2025, Fuego showed very little to no activity during this time. During our hike on March 17, 2025, we got to see Fuego degassing (white smoke coming from the top) and a very faint amount of red in the dark. But there were zero eruptions.
As of early May 2025, it appears Fuego is having eruptions again, so things could be returning to normal!
Want to see the status of Fuego before your hike? This live cam was extremely helpful for us to see and understand Fuego’s current activity before our hike. Kathryn was practically glued to it for a month before our hike.
Acatenango hike stats
While most basecamps are located close together, some are higher or lower than others, so the exact distance and elevation gain will vary depending on the tour you go with. But in general, the hike from the trailhead to basecamp is about 4.7 miles one way (7.5 km) and gains almost 4,000 feet in altitude (1,200 meters).
This map above isn’t exactly how we hiked, as each tour company may take a slightly different way, but it will give you a general idea of what to expect in terms of distance and elevation gain. The map does include going up the Acatenango summit, which is optional and adds quite a bit more elevation.
How difficult is the Acatenango hike?
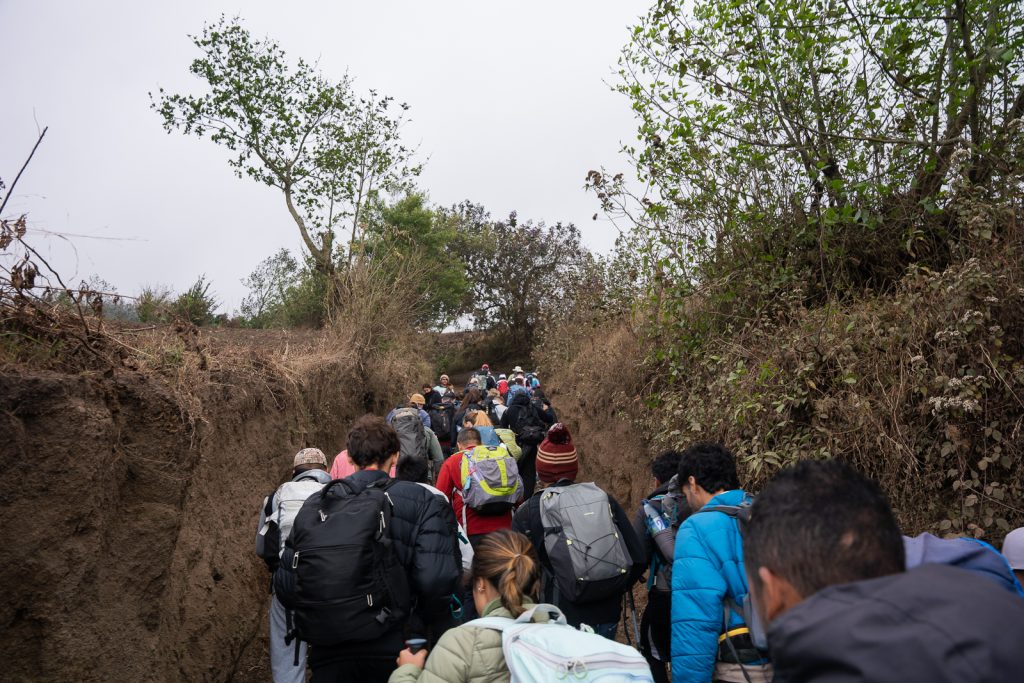
We had heard from many people that this hike was very difficult. And while sometimes we find things to be easier than they are hyped up to be, this was harder than we expected.
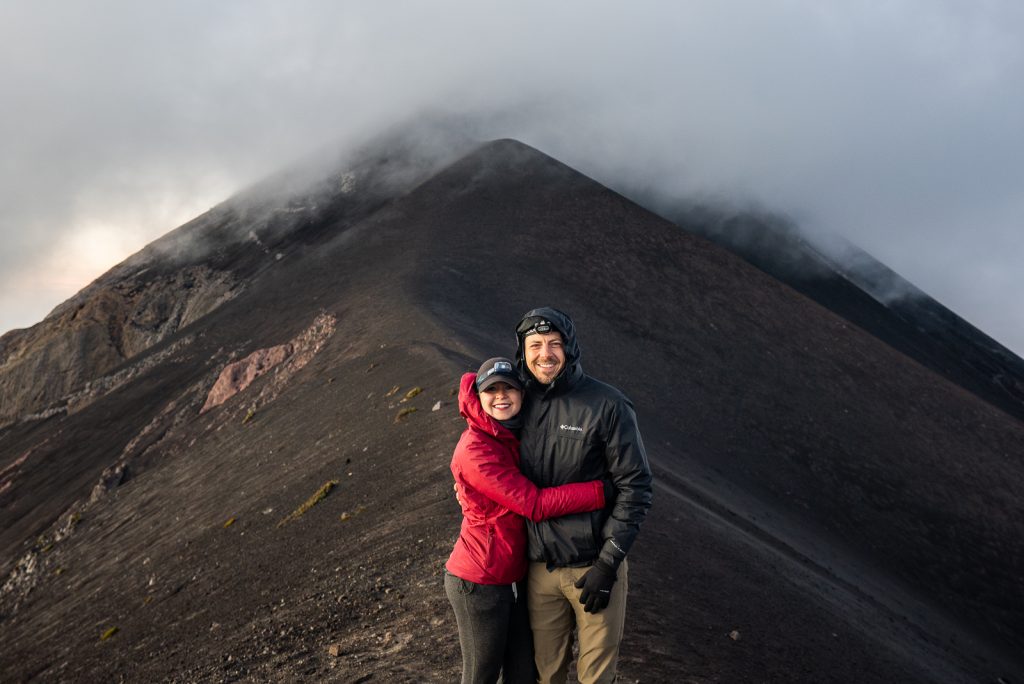
We are very experienced hikers, including having lots of experience at high altitude in Peru and Colorado. And this hike kicked our butts a bit! Not only are you at a higher altitude, but the trail is incredibly steep. There are hardly any switchbacks and it’s full of very loose dirt terrain. At times it feels like you walk one step forward and slide two steps back.
Breathing itself wasn’t too bad for us, but our legs, especially our calves, felt it big time on the way up. And on the way down, our knees ached and it was a mental battle not to slip and fall.
We’d only recommend this hike if you’re in very good physical shape, have acclimated a bit in Antigua or Lake Atitlán beforehand, and ensure you bring electrolytes. It’s not a walk in the park and if your body isn’t well prepared, you could get yourself into a rough situation.
4×4 Option: If the hike is too difficult for you, there is an option to take a 4×4 to the top. Only some tour providers offer this, one of which being Trek Guatemala. This is quite a bit more expensive, though!
When is the best time to hike Acatenango?
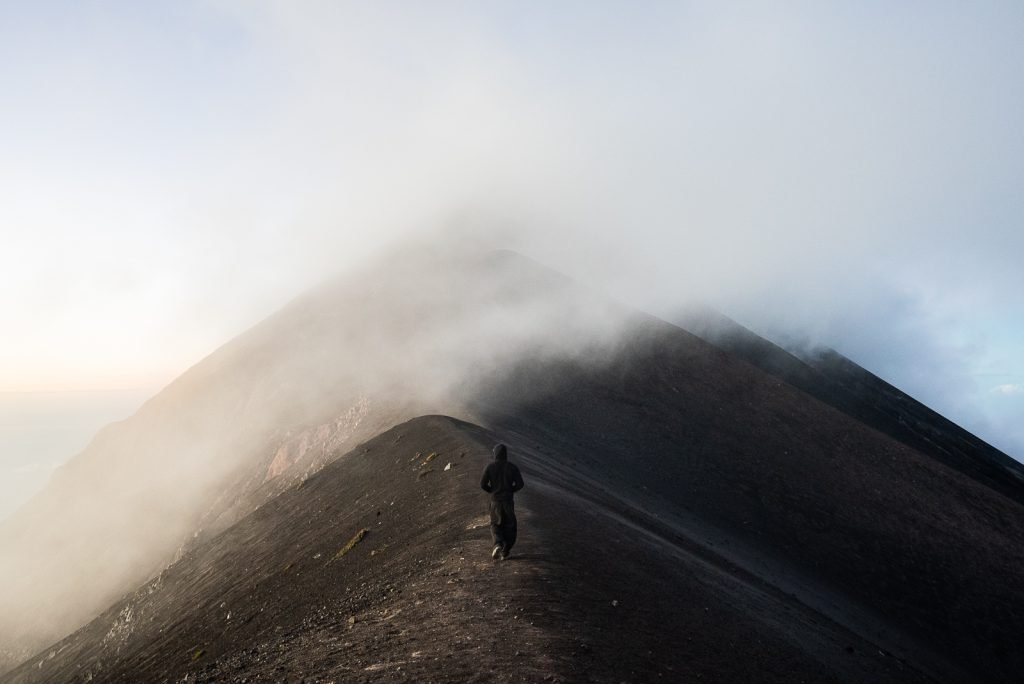
You can hike Acatenango year-round, but for the best chance of clear views, plus less fog and rain, we highly suggest going in the dry season, from November-April. However, this does not guarantee a clear view. We hiked in March 2025 and got fogged out our entire first day, which was a bummer after almost a week of sunny skies in Guatemala.
Do you need a guide to hike Acatenango?

Technically you do NOT need a guide or tour to hike Acatenango. But we’d highly recommend it for a few reasons:
- Going on a tour makes getting to and from the hike seamless.
- Tours provide almost everything you need for the hike, including lodging (and most include bedding) and meals. This saves you from carrying up a lot of gear!
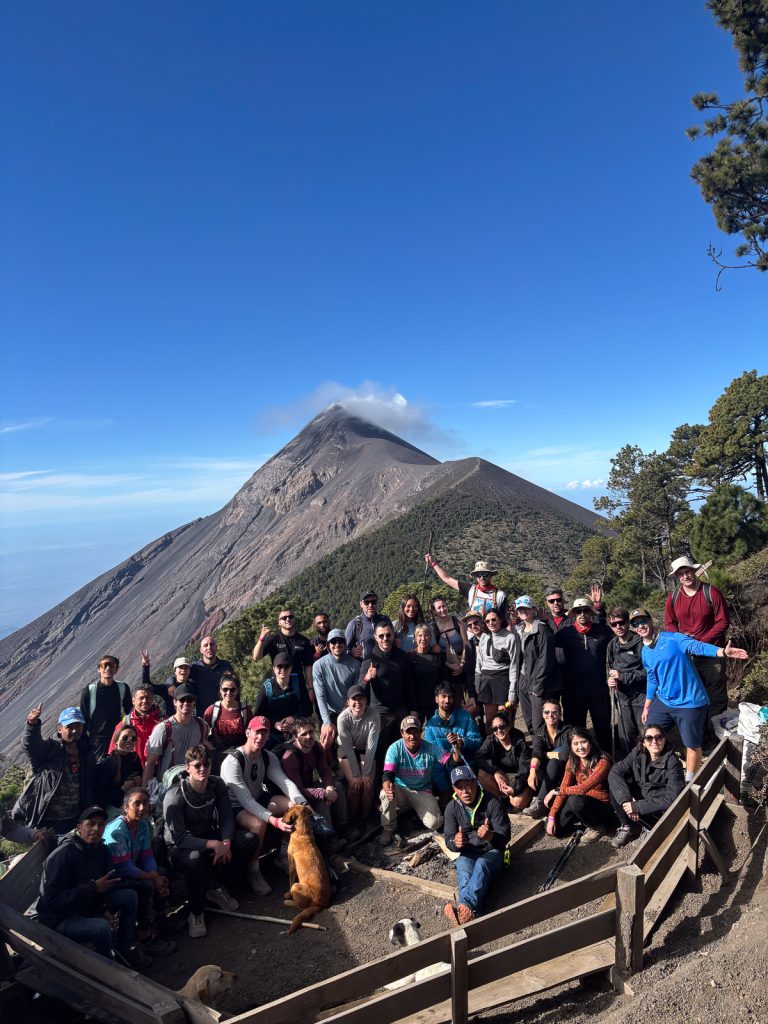
- Hanging out with others at basecamp was a highlight for us! And that is coming from two typically pretty introverted people.
The tours aren’t that expensive, especially if you don’t book a private cabin, but they make the logistics so much easier for this hike. Plus, you get to help support locals!
However, one important thing to know about the tours is that the groups are typically large (we had around 30 people). This normally isn’t our style, but we ended up loving the group vibe and getting to meet some really cool people from all around the world! Most tours will typically split up into smaller groups, depending on speed. Our group decided to mostly stick together, but as we continued on, natural groups formed a bit more. Each of these groups had a guide, so no one is ever alone.
For us personally, the only downside of hiking with a tour is that we were bound to the tour’s schedule. This was totally fine on the hike, as having others around helped keep us moving quickly. But for the extra hikes you can do, we would’ve loved to spend more time at them.
Acatenango hike tour options
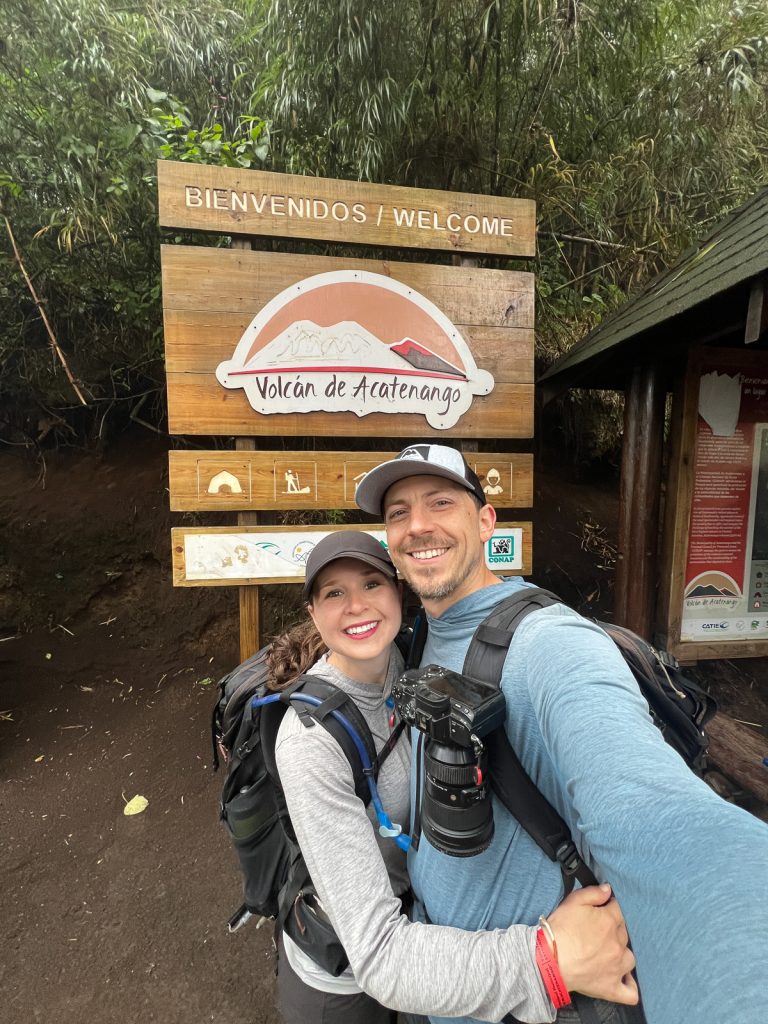
There are dozens of tour companies that offer guided hikes up Acatenango. But not all tours are created equal!
We personally went with V-Hiking Tours, as they have stellar reviews and were started by a local from a nearby village as a way to help improve the quality of life for other locals. The tour included guides, hard sided lodging, sleeping equipment, and 4 meals, plus snacks. Everyone we encountered was professional and ensured everyone was safe throughout the hike.
Another popular company to go with is Wichos and Charlie’s. We know of multiple people who have gone with them and had a wonderful experience too! The main difference between V-Hiking and Wichos and Charlie’s is that Wichos and Charlie’s serve plant based meals. So this is a great choice for those who follow a vegetarian or vegan diet.
We have also heard good things about Lava Trails, which is also owned by a local family and gives back to the community!
Regardless of who you ultimately go with, we suggest researching the following before picking:
- Understand the sleeping arrangements. Some companies offer tent camping, while others have hard sided cabins (our recommendation), both shared and private. The shared accommodations sometimes require you to share a tent or even a giant mattress with a stranger, while others have bunk beds. Make sure you understand what the arrangement is and decide what is best for you!
- Read reviews! Our experience hiking Acatenango may likely be different than yours, if you choose another company. So this will give you a great idea of what to expect with that particular company.
Also, it’s not uncommon for tours to sell out, so we recommend booking early if you want the best pick of companies!
What to expect on the Acatenango hike
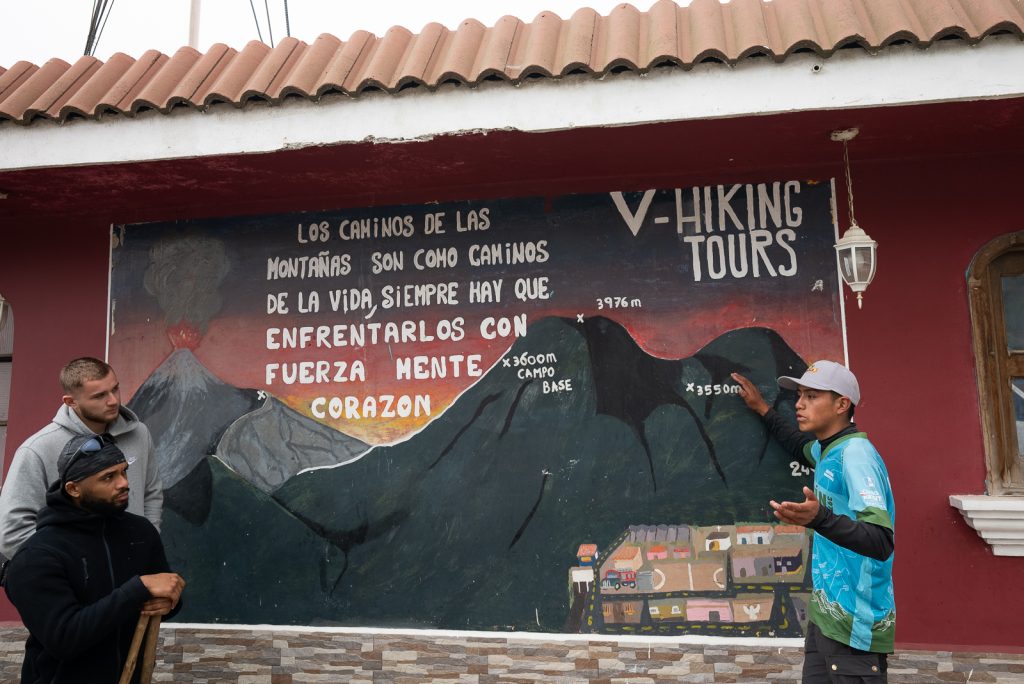
Here’s a rundown of what to expect on the Acatenango hike itself, from pick up the first day until being dropped back off the second day. This is based on our experience with V-Hiking Tours in March 2025. If you go with a different tour provider, your experience may be different.
Before the hike
The day before our hike with V-Hiking Tours, we were added to a WhatsApp group with the other hikers. This gave us a chance to learn what country everyone was from, plus get helpful information for the next day. As people who really appreciate good communication, this was a nice perk!
Pick up in Antigua
Most Acatenango hiking tours start in Antigua. While some companies have an office in the city, V-Hiking Tour’s office is located at the owner’s house in San Jose Calderas, close to the trailhead. We were able to choose from three locations to get picked up across the city between 6:45 AM-7:10 AM. Our shuttle arrived on time and the ride was safe to get to the office!
Breakfast, briefing, and heading to the trail
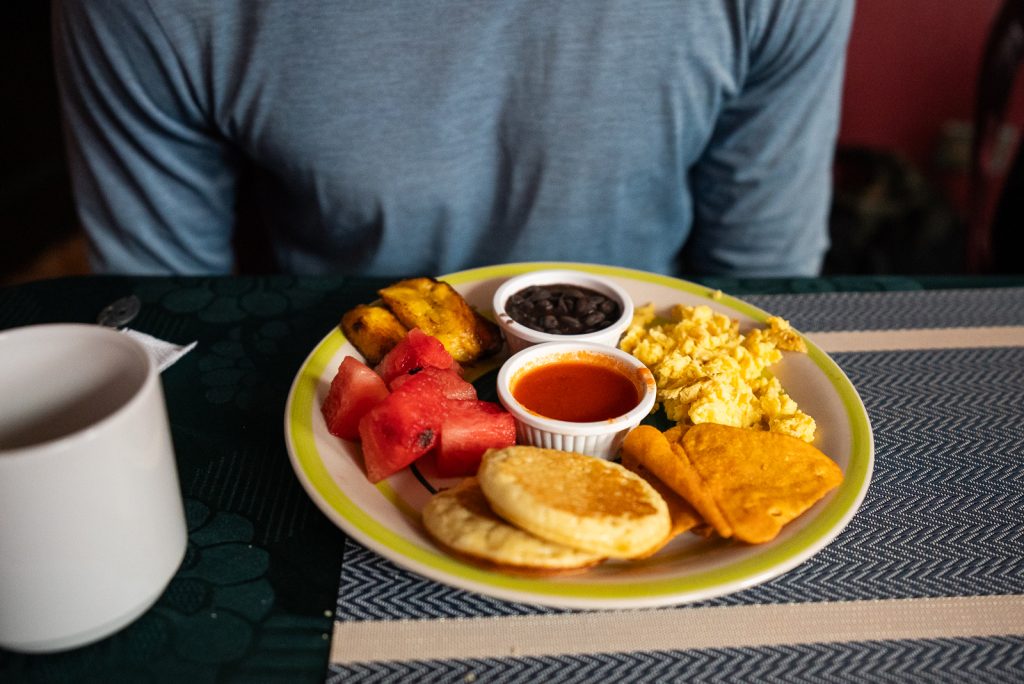
Once at the V-Hiking office, we were given breakfast (eggs, plantains, fruit, pancakes, chips, and salsa) and tea or coffee. It was all delicious and as we ate, we were introduced to our guides for the hike.
During this time we also were able to:
- Store any larger bags, if needed. We left ours at our hostel, since we were staying there before and after the hike.
- Rent gear if needed, for an extra fee. They offer rentals of backpacks, hiking shoes, hiking poles, and warmer clothing. Sizes are not guaranteed!
- Pay the remaining balance. Credit cards are accepted for an extra fee!
- Pack our lunch. Lunch (plus utensils and dinnerware) is given to you in a colorful sack and you are required to carry this yourself. Make sure to leave enough space in your pack!
- Fill up on water. This is the ONLY chance for water fill up on the hike. There are stands selling water along the way, but there is NO water at basecamp.
- Use the restroom. While there is at least one toilet on the hike, plus toilets at basecamp, this is the last chance for a free, flushable toilet for 24 hours.
Once this was all done, we had a briefing where the guides went over what to expect on the entire hike. And then we hopped back into shuttles and headed up the road to the trailhead!
Hiking up Acatenango
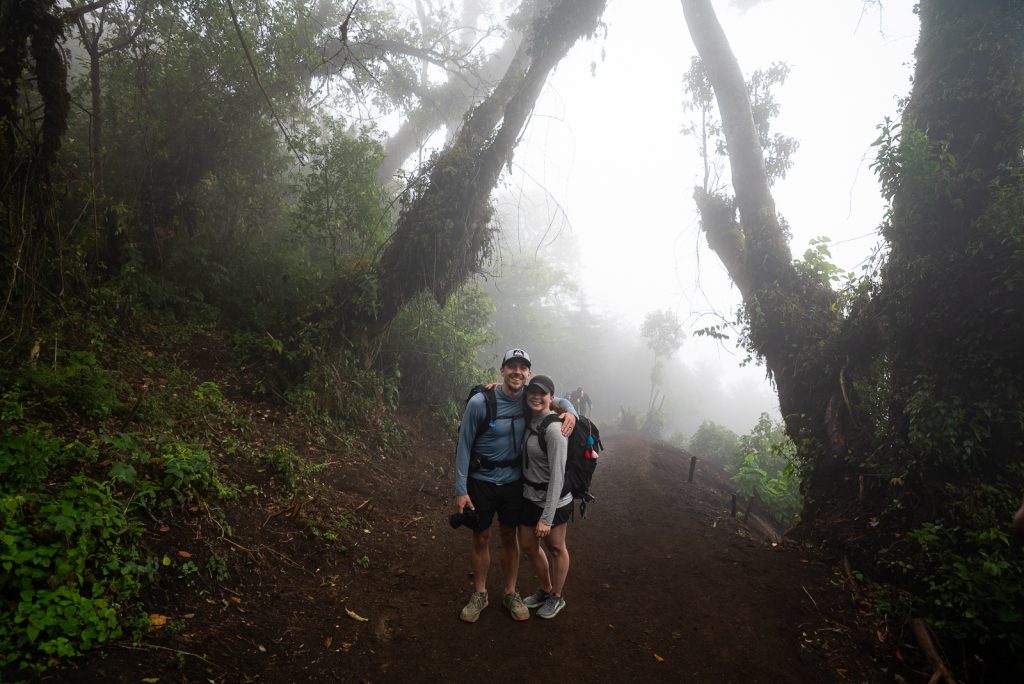
As we mentioned earlier, the Acatenango hike is very difficult. And it starts by throwing you into the tough stuff! As soon as you hit the trail, the ground is extremely sandy and steep. It felt like we were walking bent over because of how steep it was!
Not too long after starting, you reach a plaza that is selling snacks and has paid toilets (Q5). While this is not the only snack stand along the way, this one definitely offers the most options, with crepes and fruit juice. So make sure to grab some items here if you need them! It will be cash only and it will likely be more expensive than prices in town (we paid Q25 for a Snickers at a further stand 🥴).
After leaving this stand, you go through a narrow, steep, and slick section of trail through farmland, with barbed wire on one or both sides of you. With two way traffic, this section can be slow moving, as some spots cannot fit two people side by side easily. Be patient here and also be very careful to not grab or touch the barbed wire.
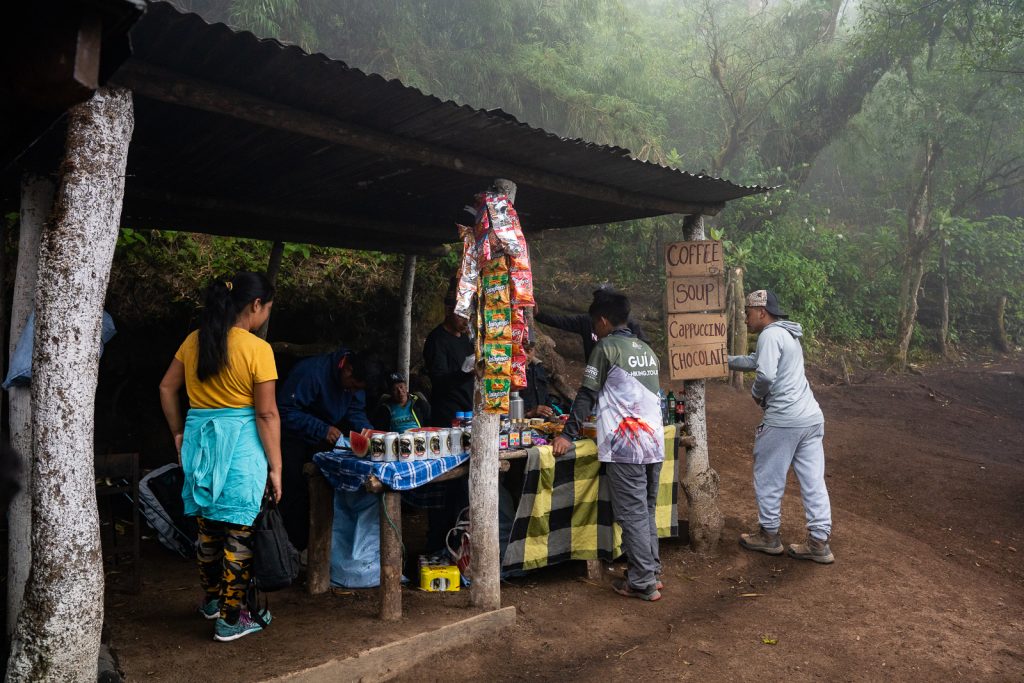
From here, the hike begins to go up more into the trees. On this hike you will go through three ecosystems: Oak Forest, Cloud Forest, and Pine and Subalpine Forest. While we had very foggy views and couldn’t see much, we did notice how the trees changed as we hiked higher and higher.
The hike is incredibly steep almost the entire way, until the last mile or so to basecamp. But along the way we took plenty of breaks, stopping at different snack stands and encountering multiple checkpoints where you’ll get wristbands for the hike. And after a grueling climb, we finally arrived at basecamp around 1:30 PM or so!
Acatenango Basecamp
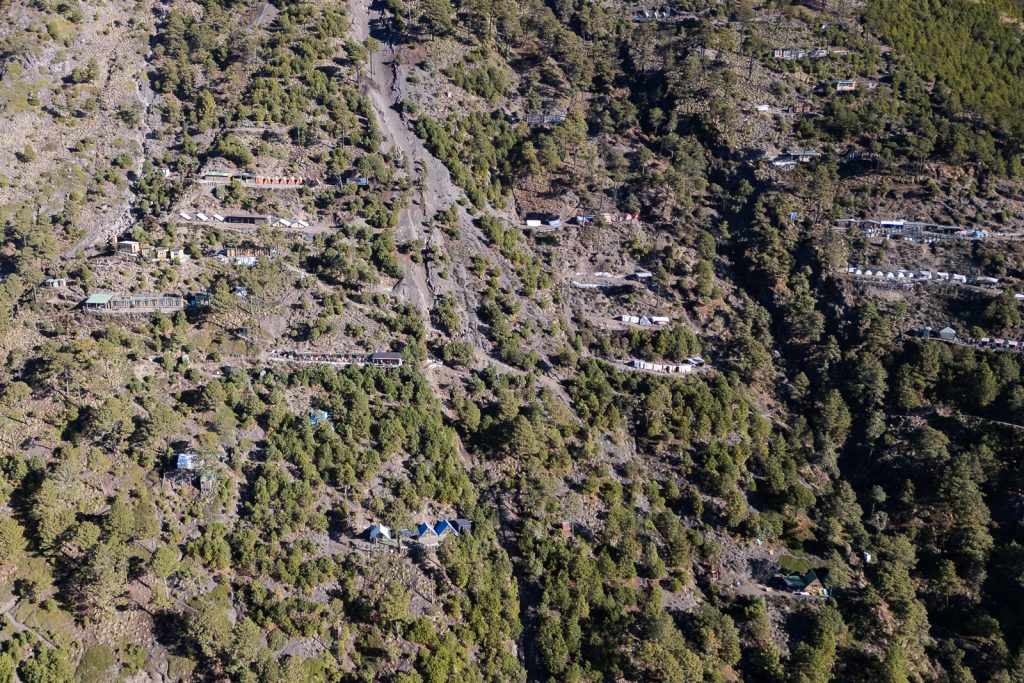
While each company’s basecamp may vary, here’s what to expect if hiking Acatenango with V-Hiking Tours!
Please Leave No Trace! It is your responsibility to carry out ALL of your trash during this hike. The lunch bag provided is a great place to store this, so please do not leave any trash at basecamp!
Accommodations
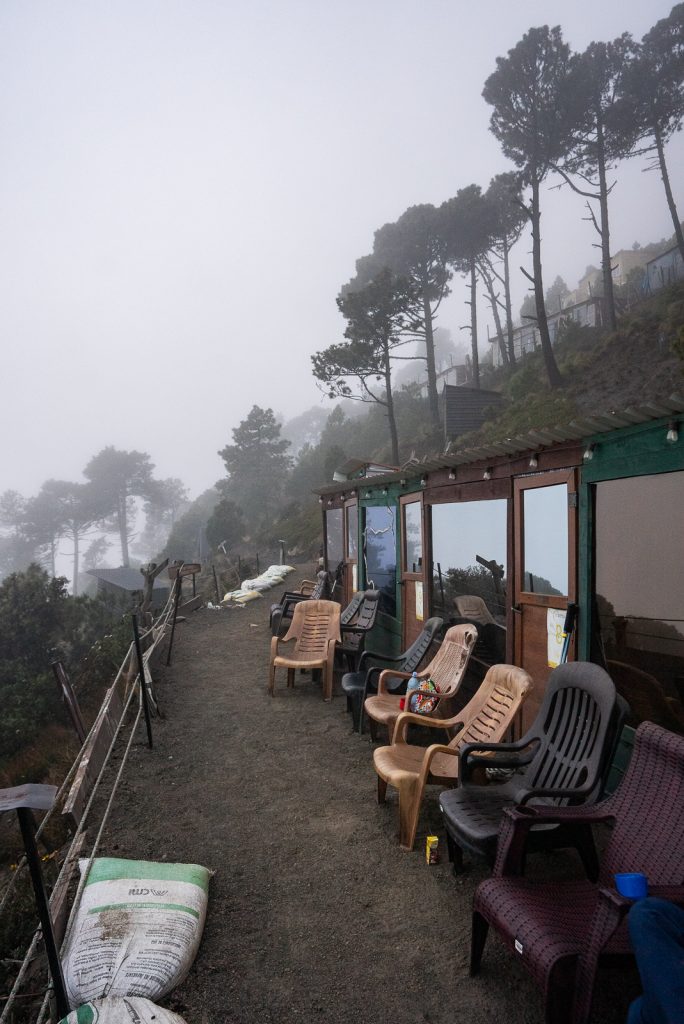
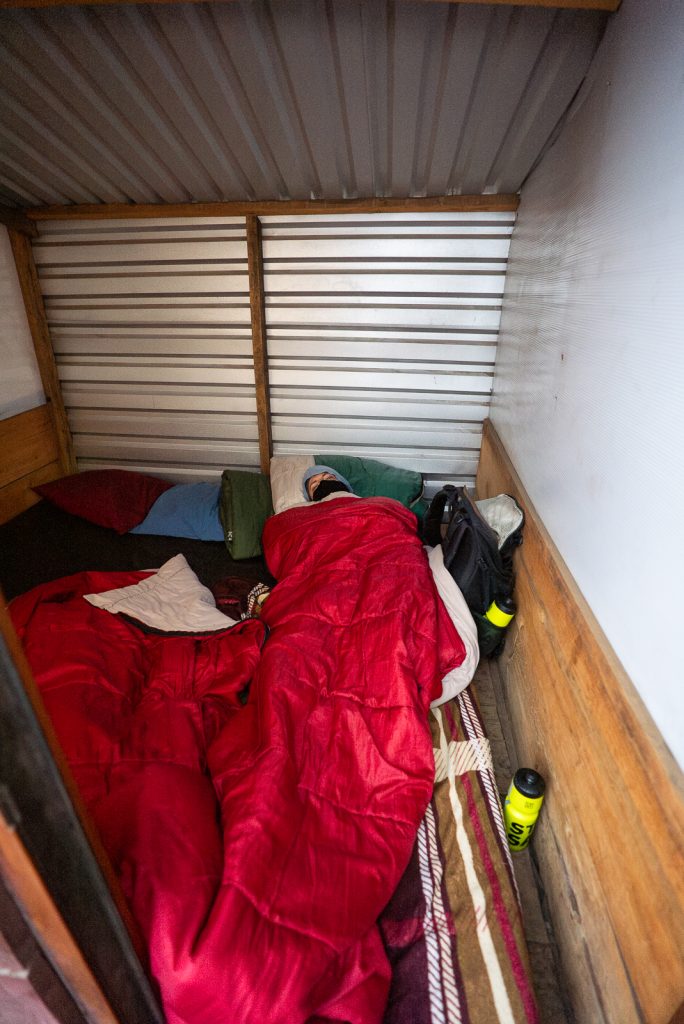
V-Hiking Tours only offers hard-sided cabins as accommodation, either private or shared.
These cabins aren’t luxurious, but they help a ton with protecting you from the wind and some of the cold. They are made out of wood and metal and minus a couple freestanding ones, are all right next to each other, with corrugated plastic walls between them. This means that they aren’t the most soundproof, so keep that in mind and be respectful of your neighbors.
The cabin floor is basically all a mattress, which was surprisingly pretty comfortable! And on top of the mattress you’ll find sleeping bags, pillows, and multiple blankets. We are not sure if they clean the bedding in between. So if this will bother you, make sure to bring a sleeping bag liner.
We booked a private cabin, so we had the entire thing to ourselves, which was nice and spacious. But if you book a shared cabin, you will share this with two other people (or three others if all the same family). Since it’s just one giant mattress, you will be sleeping right next to strangers. If this isn’t for you, some tour companies offer bunk beds in their shared cabins, which may be more comfortable.
Toilets
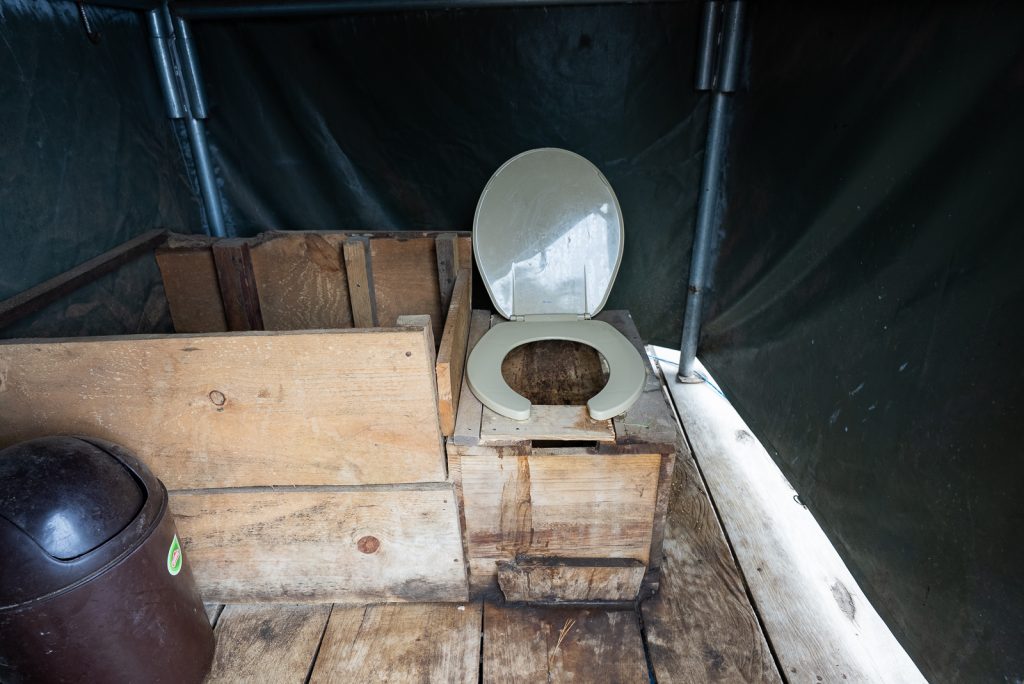
V-Hiking’s basecamp has two pit toilets. One is a short and flat walk past the fire pit area and the other is a bit more hidden down a short, steeper trail. These toilets are nothing fancy and we found the hidden one to be in better condition (likely because many people didn’t know about it at first). Make sure to bring your own toilet paper!
Hang out spaces
At basecamp there are chairs outside the cabins, which is the main area to hangout. But there is also a fire pit area with benches you can sit at. Unlike some camps, which have indoor dining areas, you eat all of your meals either at the fire pit area or by your cabin.
Lunch

After arriving at basecamp, you can eat the lunch you carried up (feel free to eat some of the snacks on the way up though!). Our lunch consisted of rice, cooked veggies, pineapple, and some chicken. We also were given some cookies, an apple, and juice in our bags. The lunch was pretty solid and filling!
How to spend the afternoon
Depending what time you get to basecamp, you will likely have a couple hours to hang out. Normally, you spend this time in awe as you watch Fuego erupt over and over again.
Unfortunately during our hike, Fuego wasn’t erupting and it was extremely foggy, so we only got to see Fuego for a few seconds, before it was engulfed by more clouds.
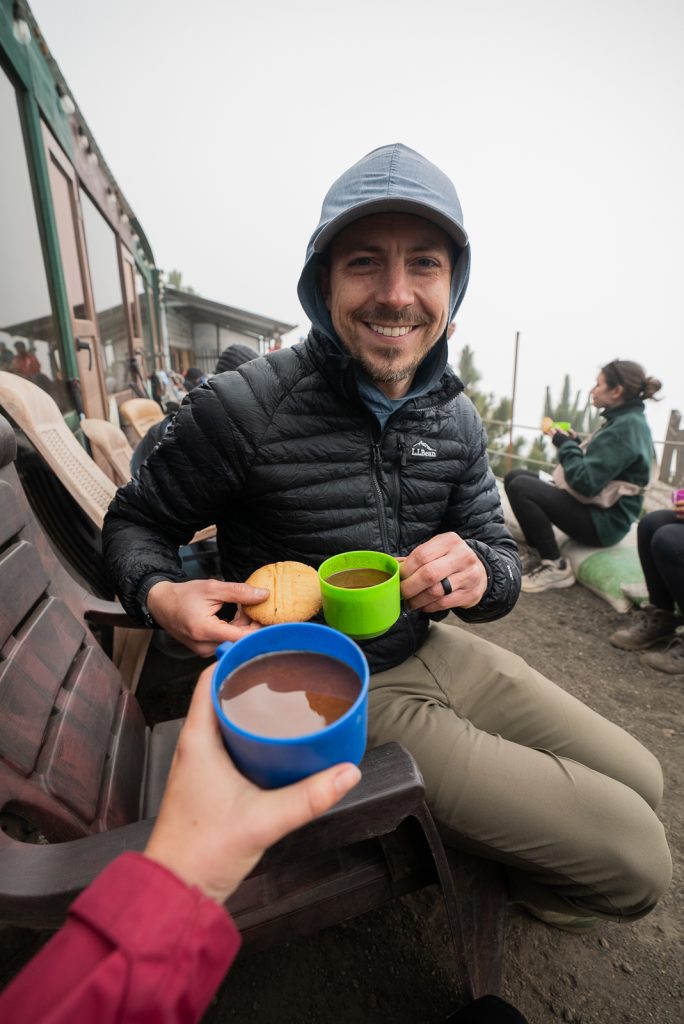
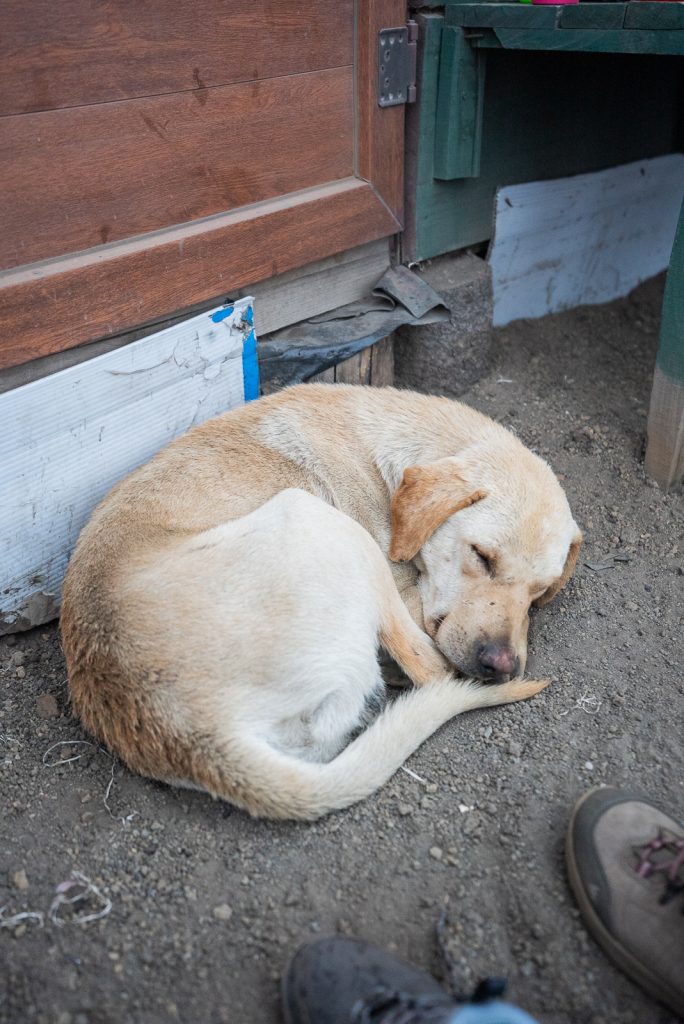
So during our afternoon we mostly just hung out with the other hikers (and cute pups!), which was a ton of fun! Later in the afternoon we were given hot chocolate and cookies to enjoy as well.
Typically around 4:30 PM or so, you’ll have the option to do an additional hike to Fuego, which we will cover next! But for those who opt out, you will just spend the day at basecamp, with a possible 10 minute sunset hike option.
Dinner
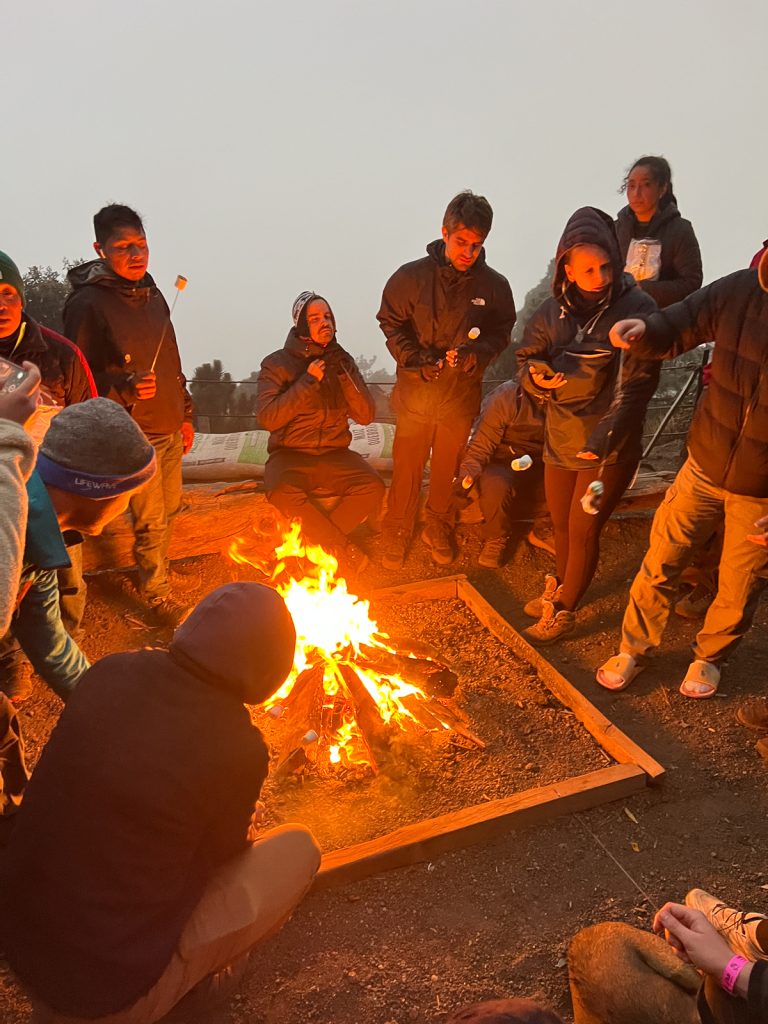

Shortly before dinner, our guides started a campfire and we all gathered around to roast some marshmallows. And for dinner, we were given pasta and chicken, which was a really tasty meal that we enjoyed around the fire.
Optional: Hike closer to Fuego
On the afternoon of the first day, you will be given the option to hike closer to Fuego. This extra hike costs Q200, which you will pay when you return to the office, and typically takes 3 hours roundtrip.
Since we had such a foggy afternoon, our guides canceled this hike. But they gave us the option to hike closer to Fuego for sunrise instead of the Acatenango summit. After much debating, we decided to go for it! So here is a quick rundown of our experience, based on going at sunrise.
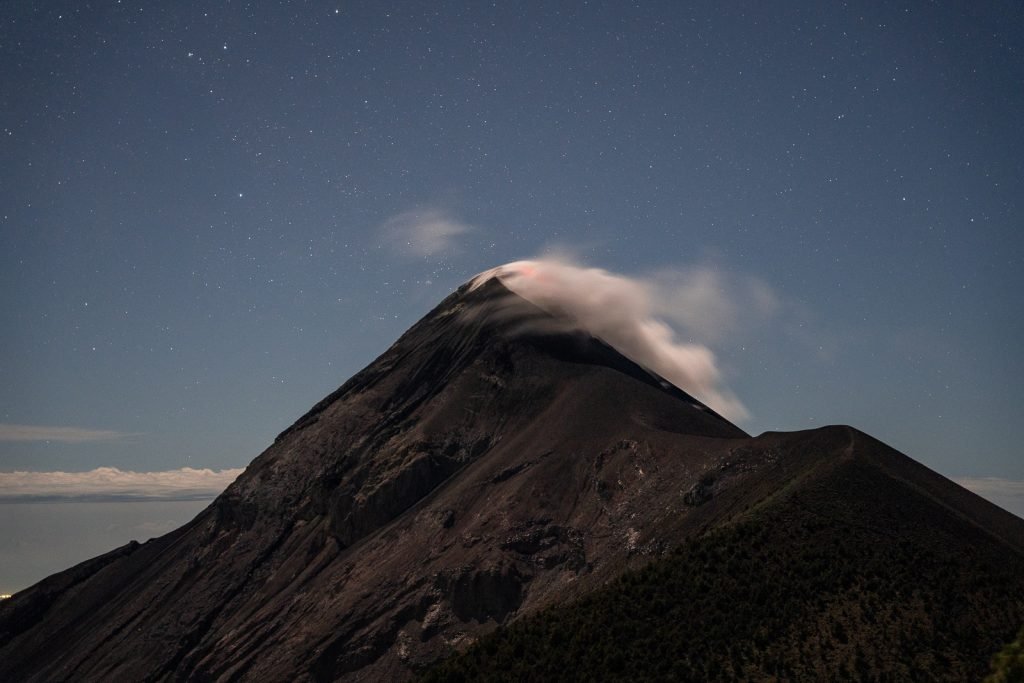
We woke up at 2:40 AM to start the hike at 3 AM, even earlier than the Acatenango summit group. As soon as we popped our heads out of our cabin we were ecstatic to see that the skies were MUCH clearer and you could see Fuego towering in the darkness, with gas and a small amount of red color coming out of the top. The stoke level was SO high!
And then, the hike began. Similar to the Acatenango hike, the terrain is very loose and slick. But for us, this part of the hike felt even steeper and tougher than the day before. At some points the grade is 70%! And the fact that we were doing it on tired bodies in the dark didn’t totally make it easier. We stopped often and eventually made it to the end after about 1.5 hours.
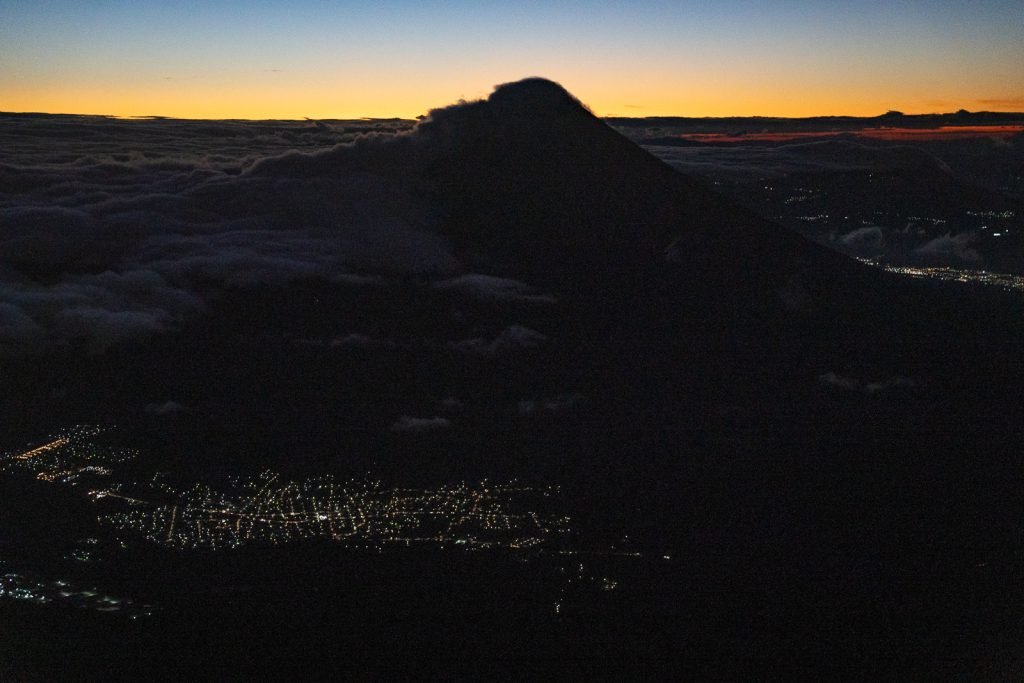
The ridgeline was insanely windy and cold, so we mostly spent the time huddled behind a rock for protection. And while initially Fuego was clear, clouds did engulf it again as the sun began to rise.
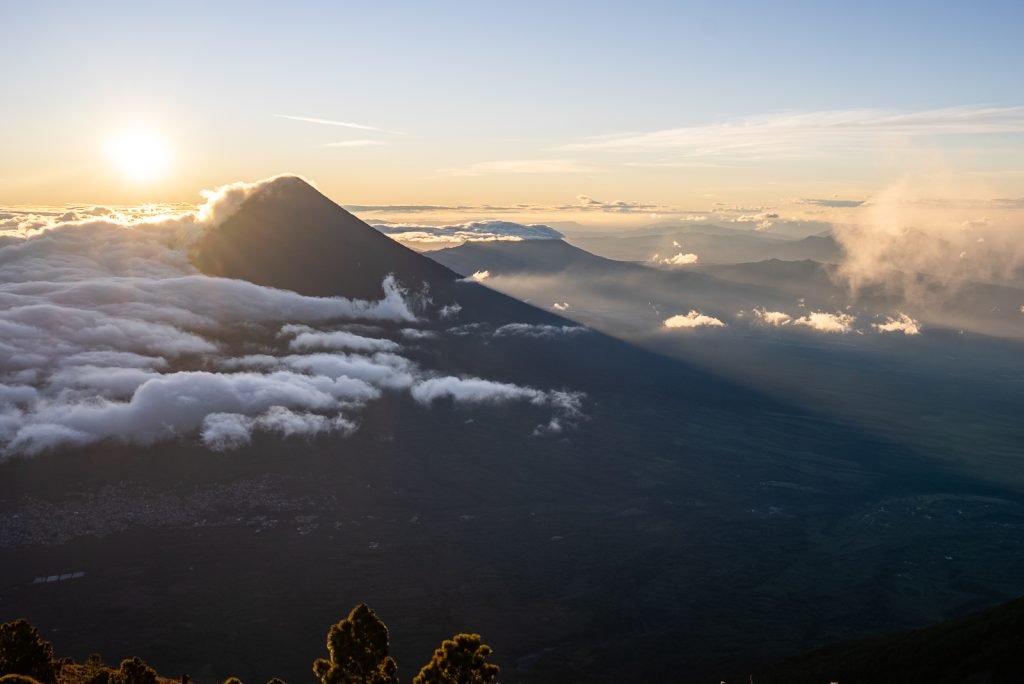
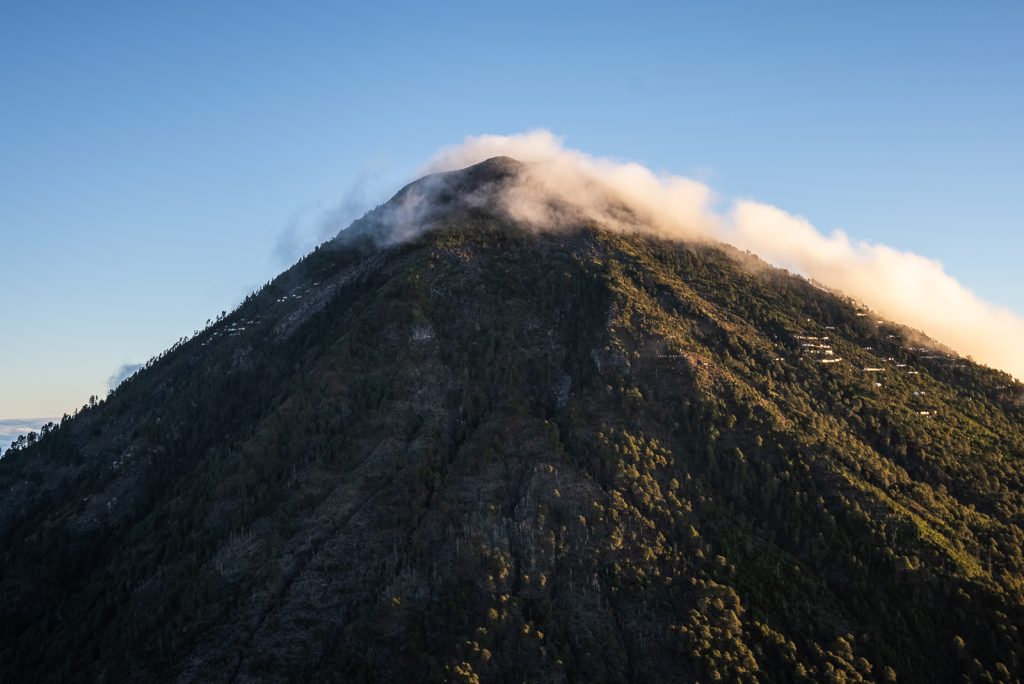
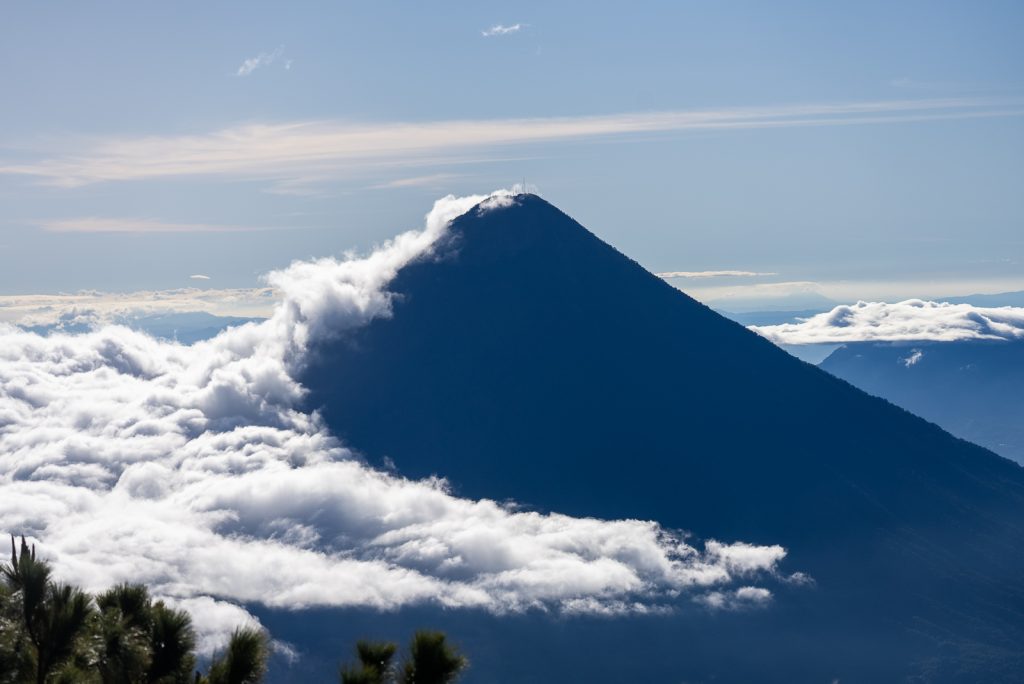
Despite not getting that clear of views of Fuego on this hike, we had amazing sunrise views! We were mostly above the clouds, with various peaks, like Agua, popping through them. And as the sun began to rise, the area illuminated with pinks and gold. It was magical!
We stayed at the top until right when the sun popped out and then began the steep and slick hike back down to basecamp.
Sunrise hike to the Acatenango summit
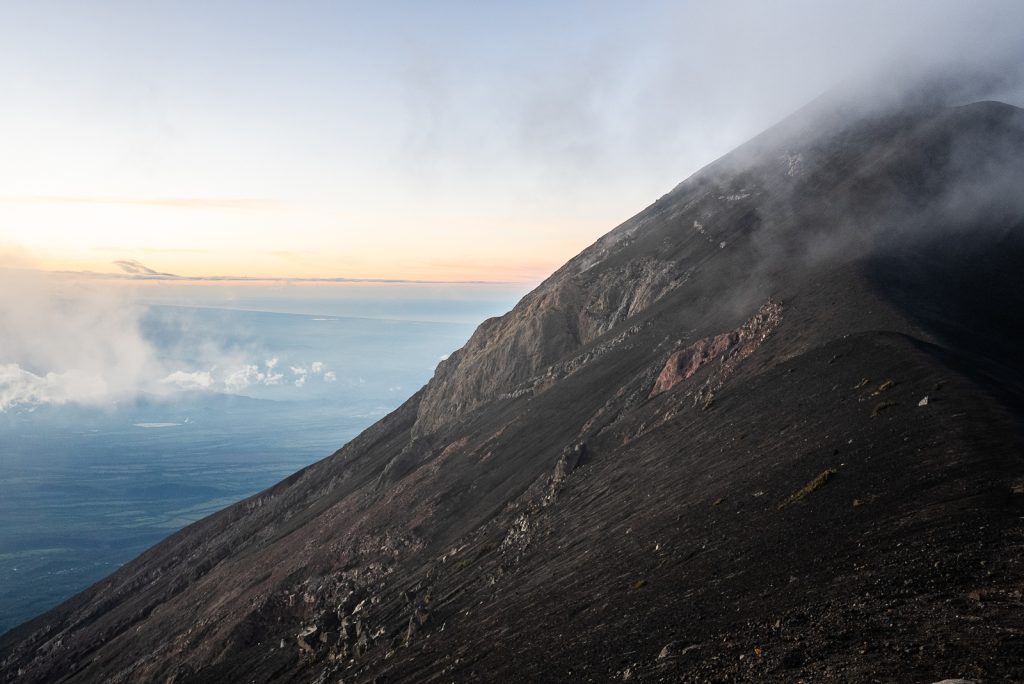
While we ended up hiking closer to Fuego for sunrise, the much more common sunrise hike option is to summit Acatenango. Similar to Fuego, this is a steep hike and will be done completely in the dark, starting around 4 AM.
Since we opted to do the Fuego sunrise hike, we unfortunately had to skip summiting Acatenango. But from talking to those on our tour who did it, it’s about a 1.5 hour hike up, but then a short 30 minute hike down, as you basically just slide down ash.
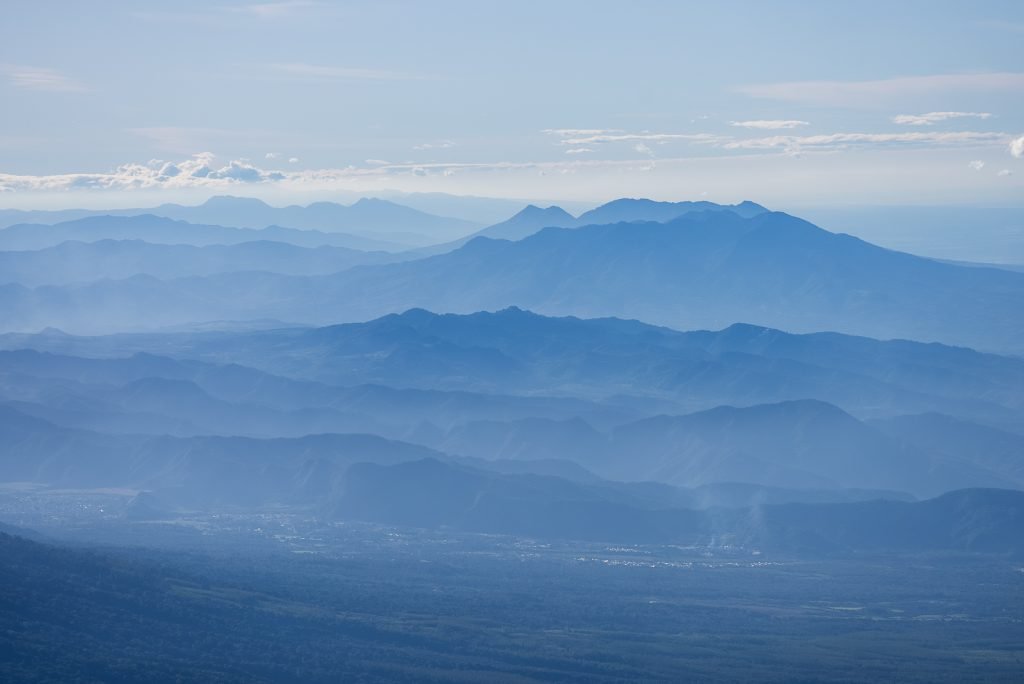
At the top, you’re along the perimeter of Acatenango’s crater, with 360º views of the area, including Fuego and Agua. And similar to our Fuego sunrise hike, you’ll likely be above the clouds and get to watch the sun pop above the horizon.
Breakfast
Once arriving back at basecamp it’s time for breakfast! Breakfast was very simple and light, just cereal, bread, and coffee. So if you need more food than that, make sure to pack snacks. We personally made ourselves some peanut butter sandwiches with the supplies to enjoy.
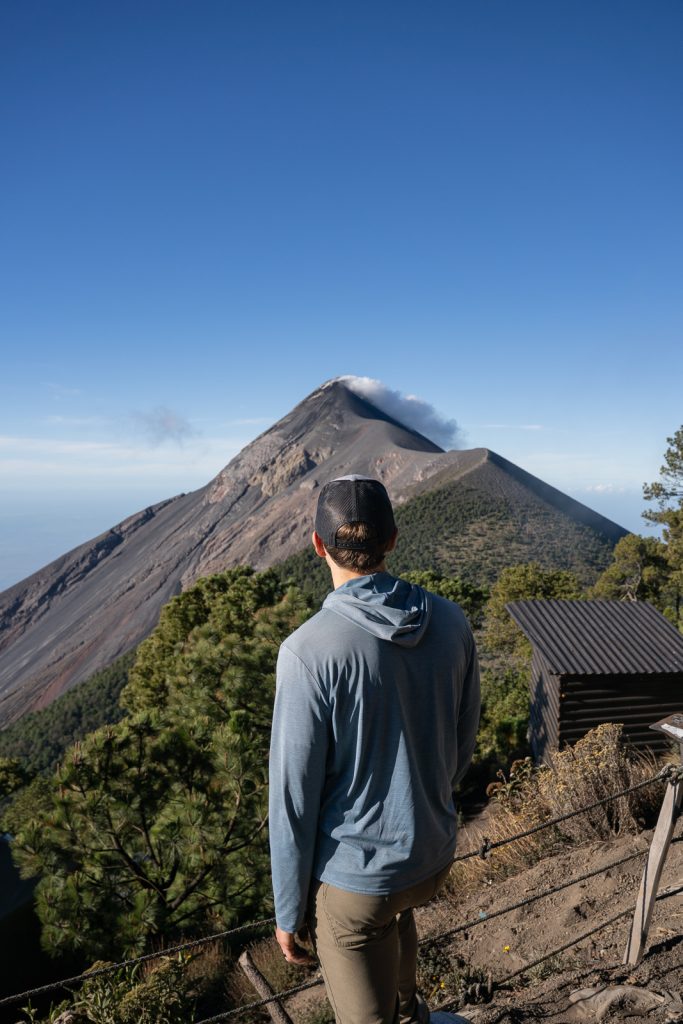
But our focus at breakfast was less on eating and more on the views. Because on our hike back to basecamp, the skies cleared and we FINALLY got a clear view of Fuego and the surrounding area. We were beyond excited to finally see the scenery we missed out on the day before. And Fuego was degassing quite a bit, which while not the eruption we came for, was still spectacular!
Unfortunately we couldn’t stay and admire the views for too long, as we had to pack up and hike down. But it was the best way to end our time at basecamp!

Hiking back down
While the hike up Acatenango was physically challenging, the hike down was mentally challenging. Not only were our bodies exhausted from the last 24 hours, but the steep trail and loose dirt was so tricky to hike down. It felt like a big exercise in “how not to fall on your butt.” And while many people do, we thankfully stayed on all two legs, minus a couple close calls.
We took a handful of breaks on the way down, but not as many as the way up, and made it back to Elvin’s house just after 11 AM.
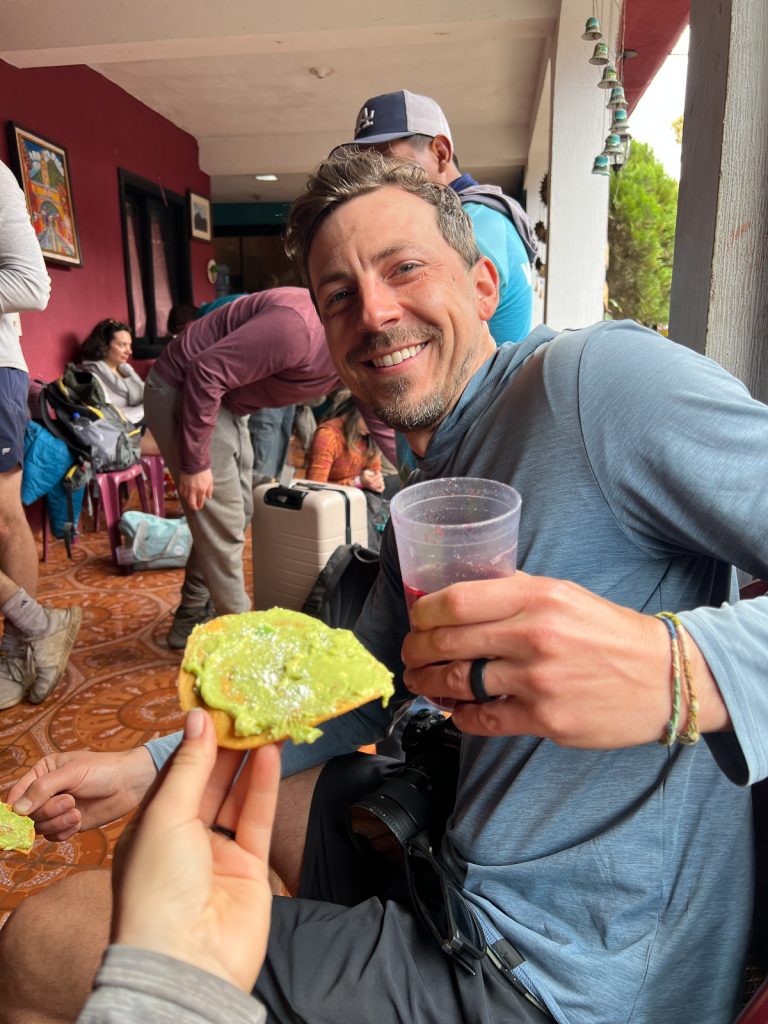
Once there, we were greeted with a delicious snack (a tostada with guacamole…SO GOOD) and juice, said goodbye to our guides, and grabbed any bags if we left them. And then we headed back to Antigua or onto Lake Atitlán (if you coordinated that in advance).
We made it back to Antigua around 1 PM and immediately headed to one of our favorite restaurants for a post-hike feast (and ice cream treat)!

Is the Acatenango hike worth it in 2025?
This is a tough question for us to answer, because it will vary depending on your expectations and the weather.
Acatenango was one of our top bucket list hikes in the entire world, mostly because we wanted to see a volcano erupt. While we knew in advance the chances of this were extremely slim, we do still feel like we missed out on the full experience. Especially because of our whole day of fog, which caused us to miss one of the extra hikes and not see any type of sunset.
But the views for our second morning, both at sunrise and basecamp, were truly breathtaking and helped make up for the lackluster first day. If you care less about the eruptions and more about the views, as long as you have a clear day, hiking Acatenango in 2025 (during Fuego’s quiet period), will still be a beautiful experience.
But for us personally, we plan to try the hike again when Fuego hopefully returns to normal. However, if Fuego never returns to its previous eruption cycle, we will feel content with what we got to experience. We are overall still very happy we did it and had a great time!
So in short, yes we think it’s still worth it. But definitely adjust your expectations, as it may not be the experience it was before.
What to bring on the Acatenango hike
While this is a supported backpacking trip, with lodging and bedding provided for you (on most tours), you will need to bring your own day pack with specific items. Make sure your pack includes the following!
LOTS of Water
Minus some snack stands along the way, there is NO water on this hike, including at basecamp. And with the altitude and steepness of the hike, it’s recommended to bring 3L of water per person. A Camelbak makes it easy to carry and drink water while hiking!
Electrolytes
In our opinion, electrolytes are a MUST on the Acatenango hike. LMNT is our favorite and we noticed a significant difference in muscle cramping while drinking it along the way. Click this link for a free sample pack with any order!
Good hiking shoes
This is a steep route with slick terrain, so make sure to wear hiking shoes with good grip. We love our Altra Lone Peaks!
Sun protection
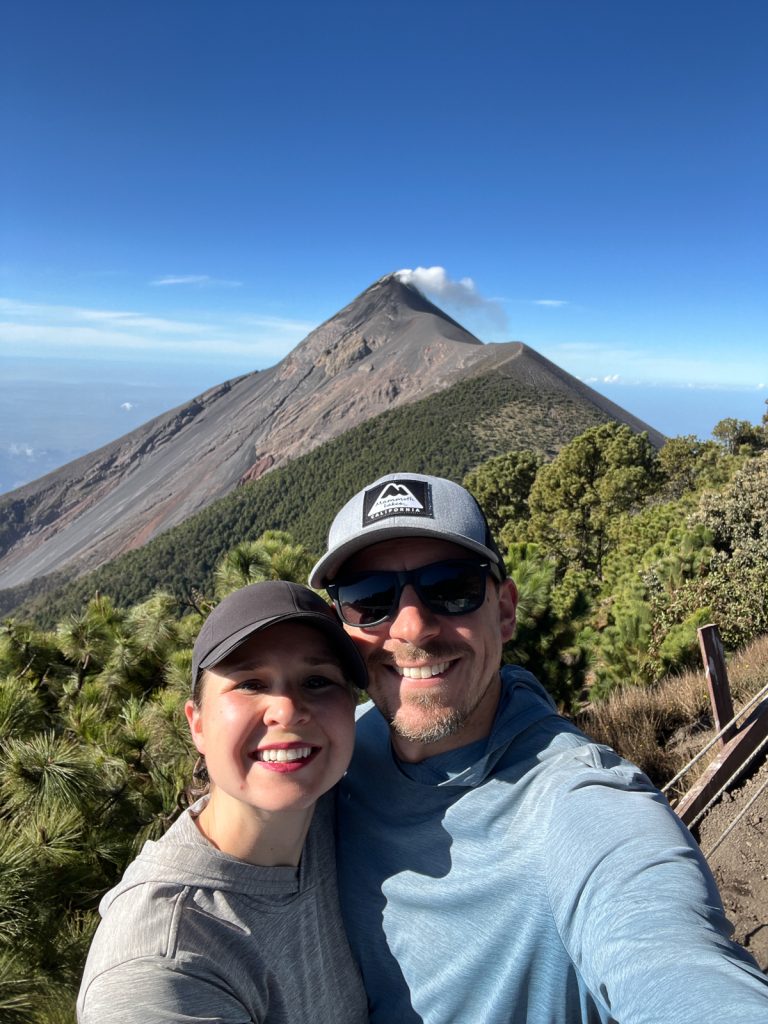
Basecamp (and the additional hikes) are very exposed to the sun. So make sure to pack a hat, sunglasses, sunscreen, and a sun hoodie.
Warm layers
Basecamp, the Fuego hike, and Acatenago summit are all known for being very cold and windy. Make sure to pack layers, including a pullover, a puffy jacket (we love our L.L. Bean Ultralight 850 Down jackets!), wool socks, gloves, and a buff. Hand warmers would also be helpful too!
Hiking poles
We typically are pretty mixed on hiking poles, but on this hike they were extremely helpful for both the hike up and down!
Headlamp
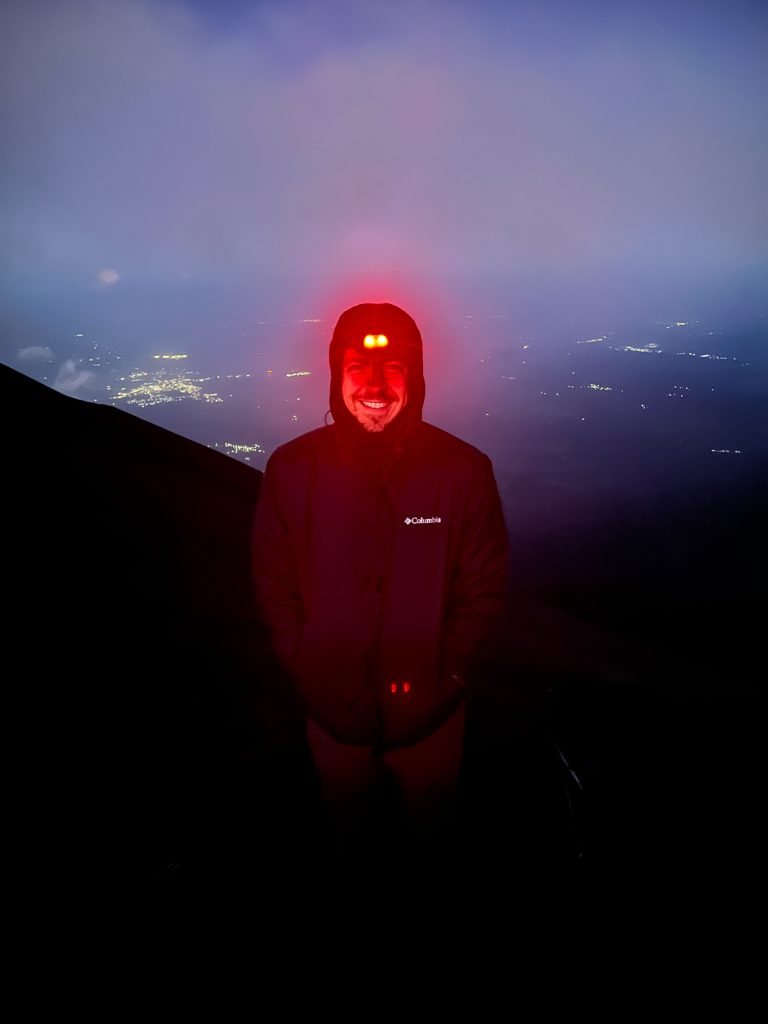
The extra hikes will include hiking in the dark, so bring a headlamp! It will be dangerous without one.
Cash
If you want to buy snacks or drinks along the way, make sure to have cash with you. You will also want this to tip your guides!
Toiletries
Make sure to pack your toothbrush and toothpaste, deodorant, hand sanitizer for the bathroom, plus any other daily items (like contact solution).
Toilet paper
We do not recall the toilets having toilet paper, so make sure to bring some of your own!
Snacks
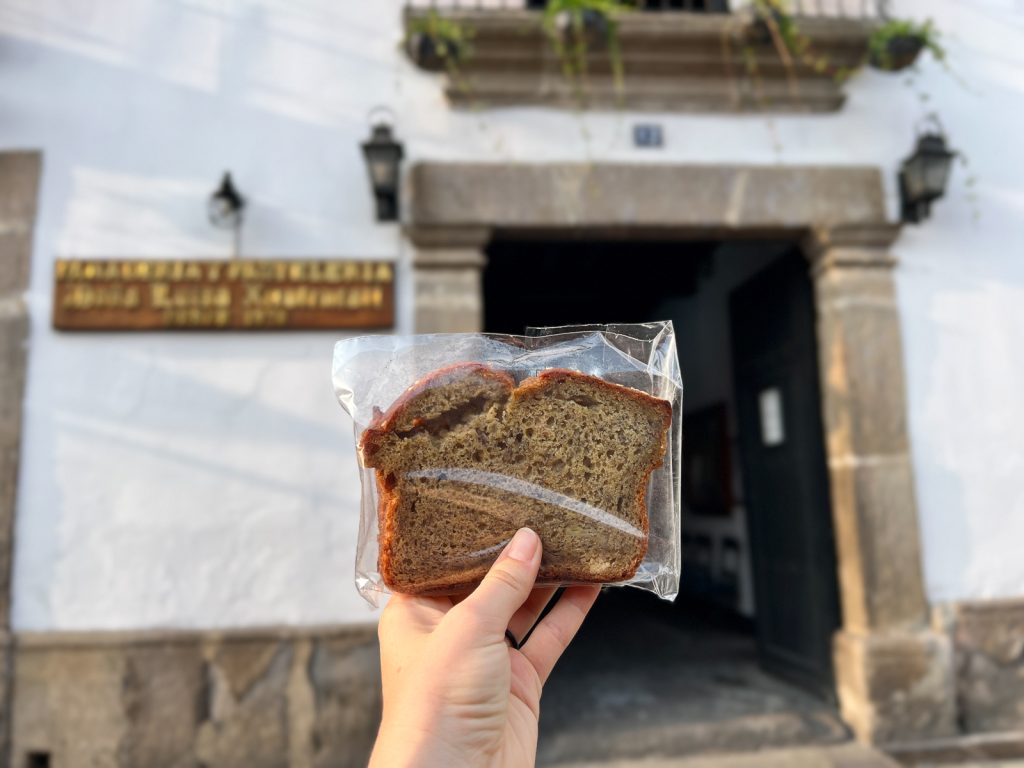
Overall we felt like the amount of food was sufficient to keep us fueled. But we do think it’s a good idea to bring some extra snacks, just in case. We grabbed some banana bread from Doña Luisa Xicotencatl, which was a great little pick me up along the way.
Portable battery charger
There are no outlets at basecamp, so bring a portable battery charger to keep your phone and any cameras charged. Don’t forget any cords you may need!
Entertainment
While we mostly spent our free time chatting with the other hikers, you may want to bring a book (physical or downloaded), download podcasts or music, and headphones.
Save this guide hiking Acatenango in Guatemala