Last updated on March 11th, 2026
Unsure what to pack for Havasu Falls? We’re sharing the ultimate Havasupai packing list, plus a downloadable list you can print!
Over the years we have backpacked more than a dozen trails, across multiple different climates. And along the way we have learned many lessons, constantly refining our gear and packing list.
What makes backpacking fun for us is that no two backpacking experiences are the same. And this includes what you bring. Heading to the rainforest? You better have a rain jacket. Heading to the desert? Be prepared to carry a lot of water. Heading to Alaska? Make sure you have bear spray.
Whether Havasupai is your first backpacking trip (and you’re uncertain what to even bring!) or you’re an experienced backpacker, there are specific items that you will need to pack for Havasupai to ensure a safe and fun experience.
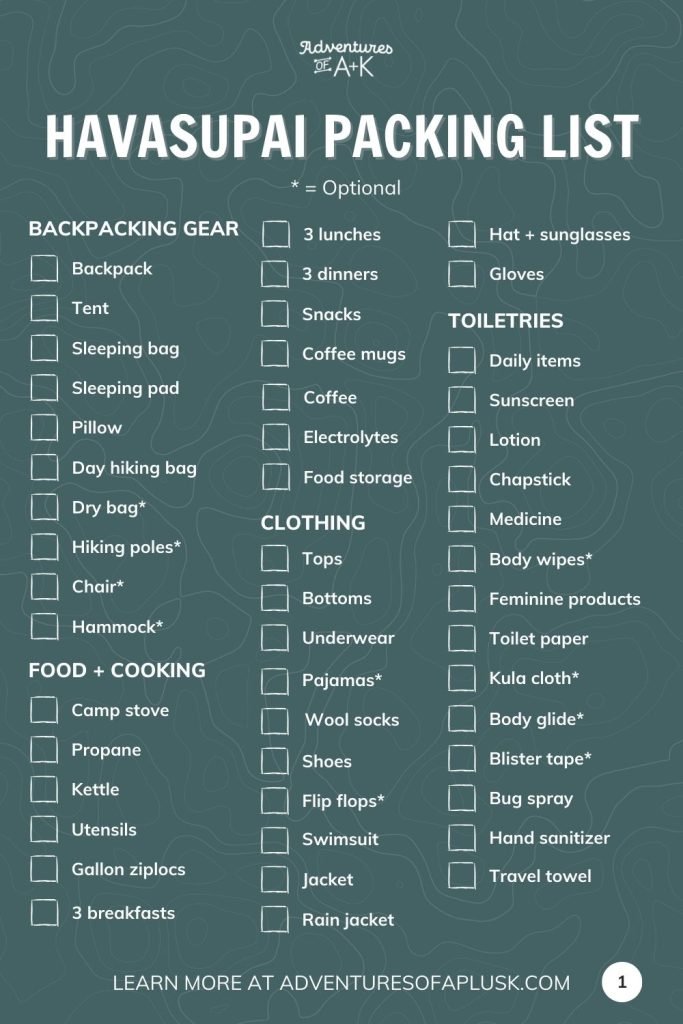
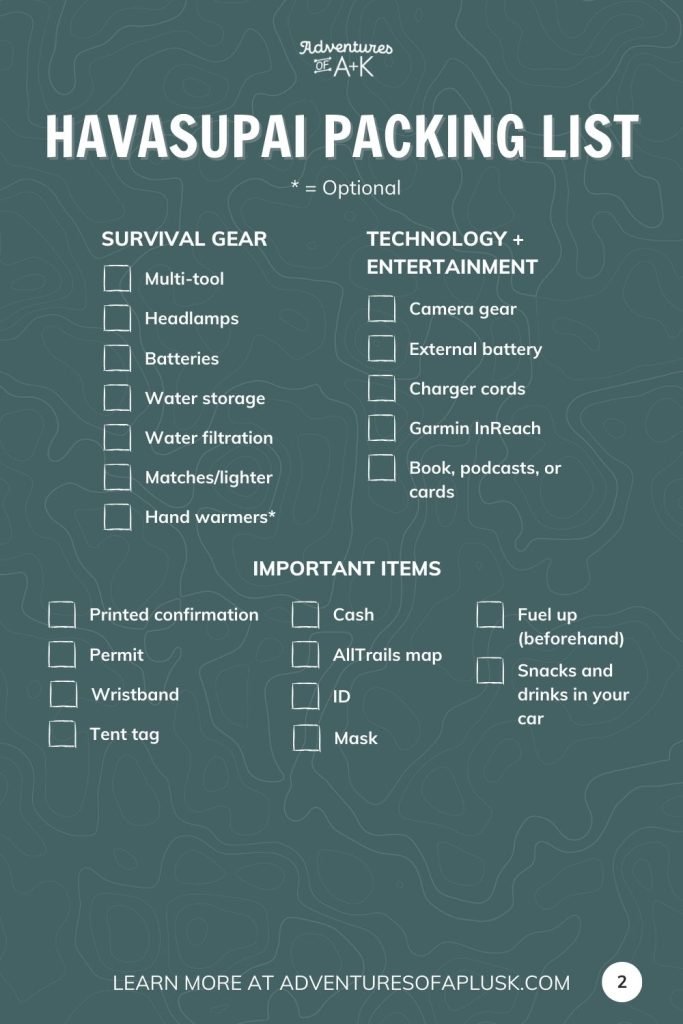
In this Havasupai packing list we are sharing everything we brought with us on our trip to Havasu Falls. Plus some “nice to have” items that we skipped, but you may want to bring along. And at the end of this guide we’re sharing a downloadable Havasupai packing list, that you can save to your phone or print, so you can have it handy when packing for your adventure.
Check out these other resources for Havasu Falls:
- Hiking the Havasu Falls trail: Everything you need to know!
- How to get a permit for Havasupai Falls (2026)
- A complete guide to camping at Havasu Falls
- How to hike to Mooney Falls and Beaver Falls in Havasupai, AZ
- How to hike to the Confluence (Havasu Creek and the Colorado River)
- Watch our experience at Havasu Falls (YouTube video)
Havasupai packing tips
Before we dive into the specifics of what to bring to Havasupai, here are a handful of tips to consider before you start packing your bag.
Pack light
The Havasu Falls hike is quite a bit of miles, with some hills thrown in, so we suggest packing as light as possible. You do not need many luxuries. While we are sharing a few optional items on this Havasupai packing list, for the most part, we are sharing only the essentials.
From what we have gathered in the Havasupai Facebook groups, plus just seeing packs in person, some people pack a TON of stuff, much more than they truly need. And while having some luxury items can make the experience more fun, there is something satisfying about taking a simple approach to camping. Your shoulders and back will thank you for packing light!
Coordinate with your group
Going with a group to Havasupai? Make sure to coordinate your gear and packing! There are ways to consolidate some items, like tents and cooking supplies, plus share the weight load by distributing items among each other’s packs.
Be able to be self sufficient
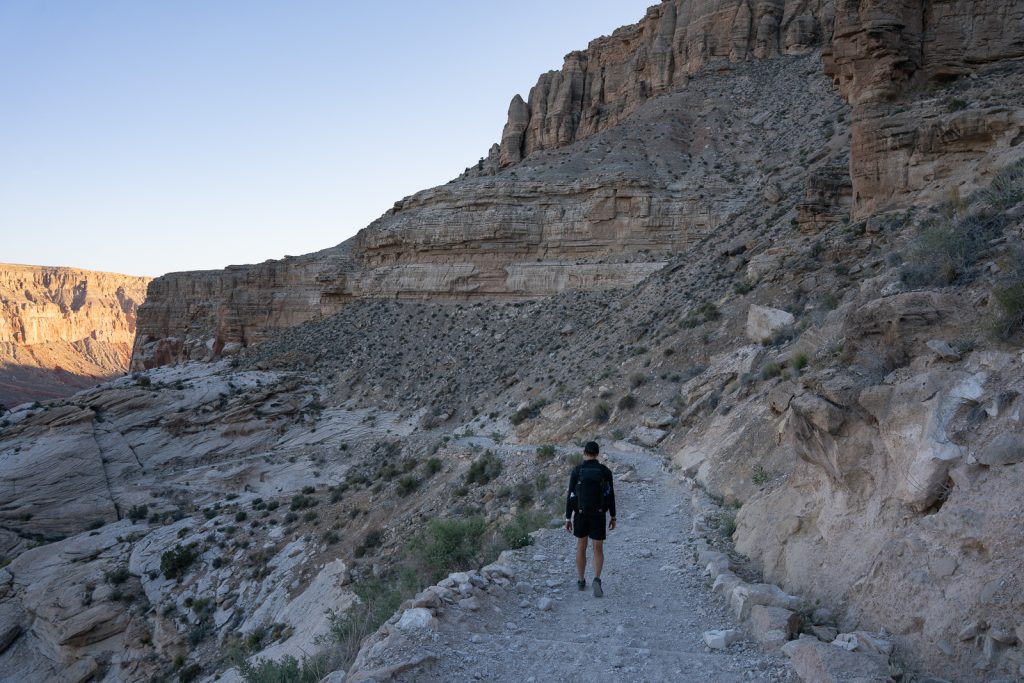
While you can utilize mules and a helicopter, we really think everyone visiting Havasupai should be able to be 100% self-sufficient in case something were to happen to the mules or the weather prohibits the helicopter from running. Plus, there have been reports of the mules being mistreated, which is something we do not condone or want to support.
Choose quick drying gear
Make sure to bring quick drying gear. For clothing, avoid cotton and choose wool for socks and synthetics (polyester/nylon) for shirts and pants.
Pack for the weather
Havasupai may be in the desert, but it can get pretty cold in the winter. Make sure to plan accordingly for the weather. Weather forecasts tend to not be super accurate for the canyon, but you can see historical weather data (and check the future forecast) here.
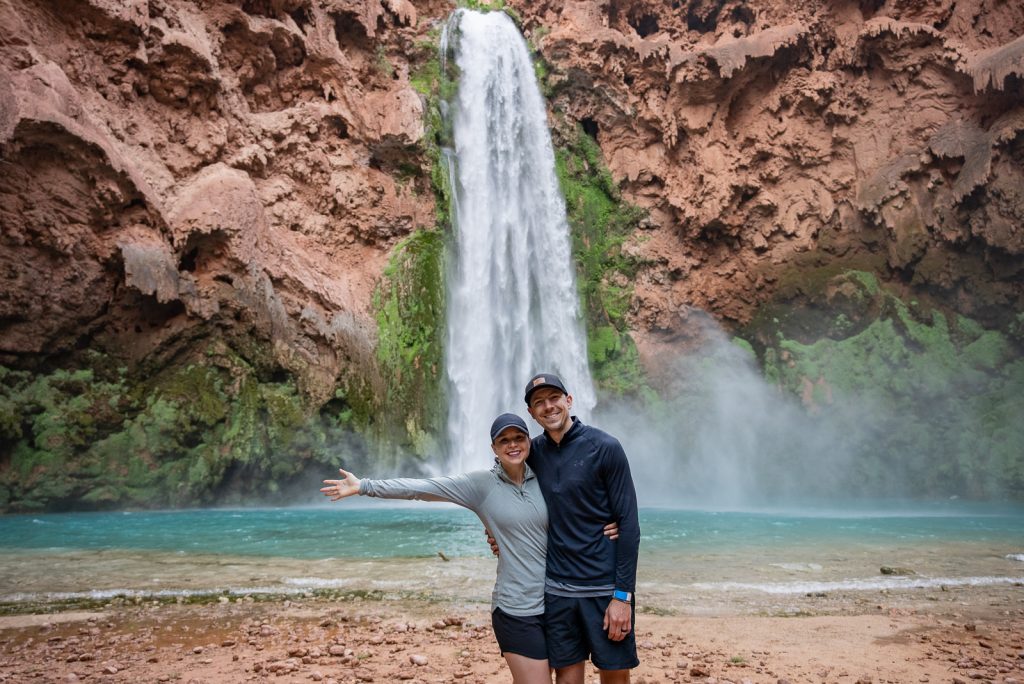
We visited Havasupai from May 1-4 and during that time frame, we had temperatures in the 80s during the day (with tons of sunshine), and probably in the mid to upper 50s at night. It was pretty perfect!
Test out your gear
If this is your first backpacking trip, make sure to test out your gear! Set up your tent in advance, go for a walk around the neighborhood with a full pack, etc. At the minimum, pack everything up and make sure it all fits and that you’ll be able to carry it.
Rent gear if needed
For first time backpackers or those missing a few items, renting gear can be a great way to save money! While REI in Las Vegas used to rent gear, we hear they no longer offer this service. But there are other options! Lower Gear and Basecamp Outdoor Gear offer Havasupai specific kits.
The Ultimate Havasupai Packing List
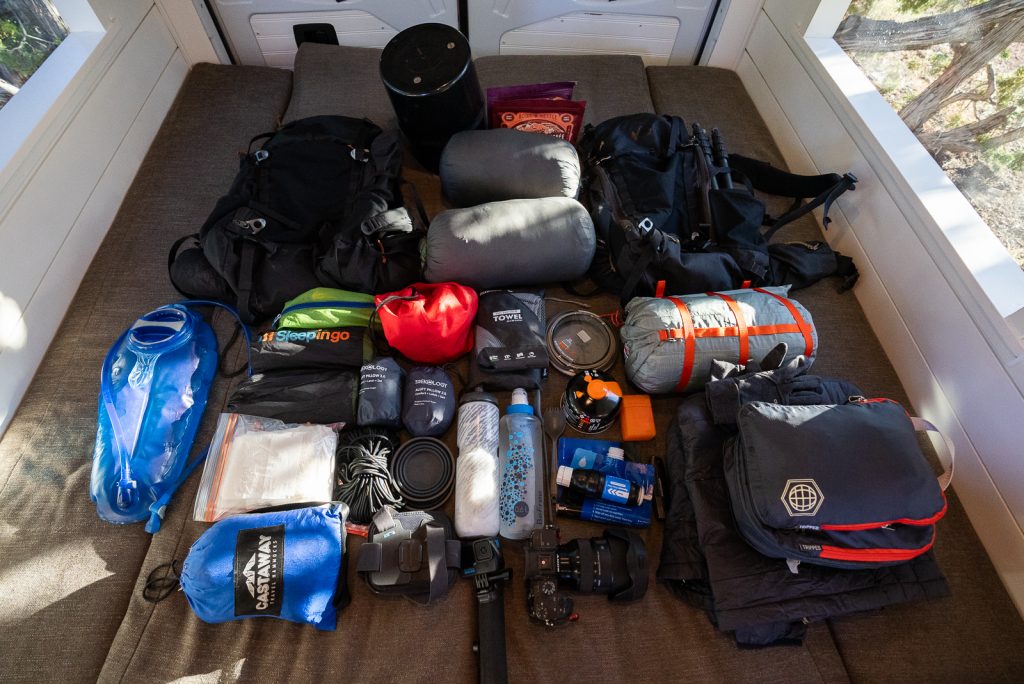
In this Havasupai packing list we’re sharing all of the most important items to bring on your backpacking trip, ranging from what to wear, important documents to bring, all the essentials you’ll need, and more.
All of the items in this Havasupai packing list are broken down by category. And we’re also sharing a downloadable version of this Havasupai packing list at the end of this guide, which you can save to your phone or print!
A quick disclaimer about this list: We’re pretty experienced backpackers, with over a dozen trips under our belt. Because of this, we tend to pack lighter than most people and have invested a lot of money in the last few years to upgrade to some ultralight gear. Compared to 95% of people we saw at Havasupai, our packs were very small. So just know that we were a bit of an anomaly compared to others. For newer backpackers or backpackers on a tighter budget, we want to stress that you do not need the highest end gear to have an amazing time at Havasupai. For years we used cheaper gear (and still do for many items!) and in this Havasupai packing list we will include both what we use now, plus any items we used in the past.
Backpacking gear
Backpack
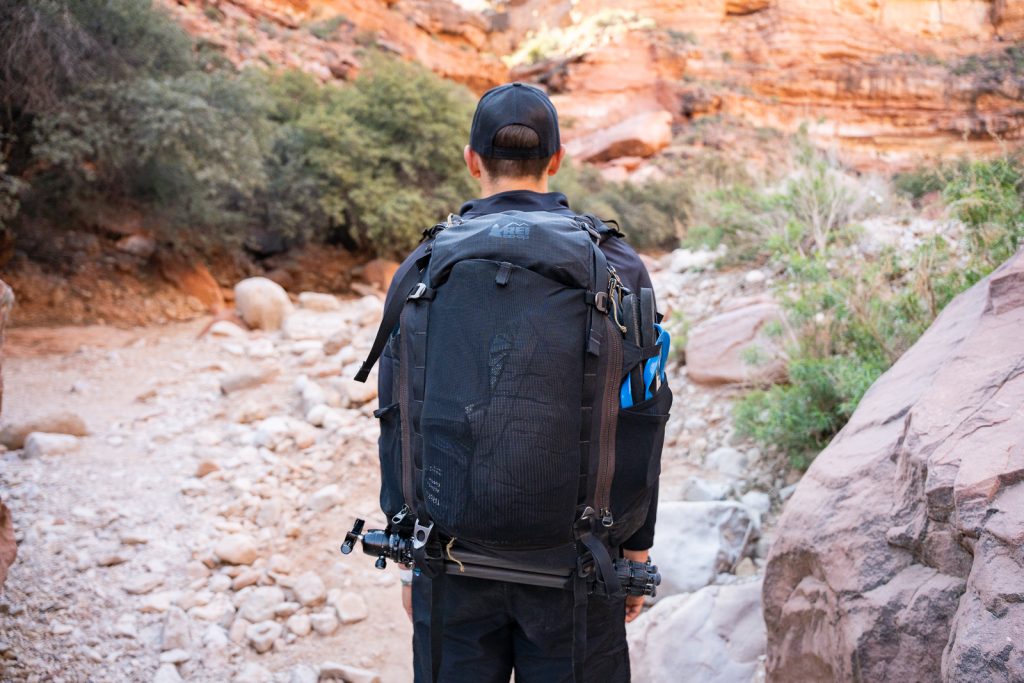
We each carry REI Co-op Trail 40 Packs, which are 40L and on the smaller end for backpacking. Due to upgrading to sleeping quilts and getting a smaller tent, we have been able to use these packs for multiple 4 day trips, even with a bear canister inside.
However, this size pack isn’t very realistic for most Havasupai hikers. Our old packs, which were the Osprey Men’s Atmos 65 AG pack and Osprey Women’s Aura 65 AG pack, are great options and can store larger tents and sleeping bags, plus your essentials.
Make sure to bring along a pack cover as well in case it rains!
Tent
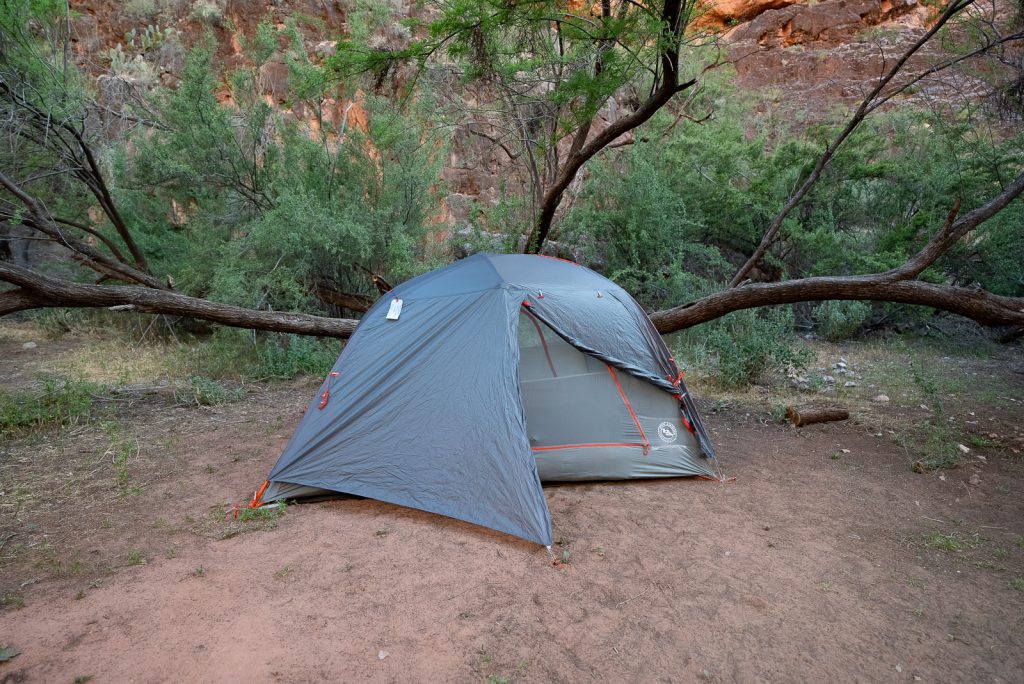
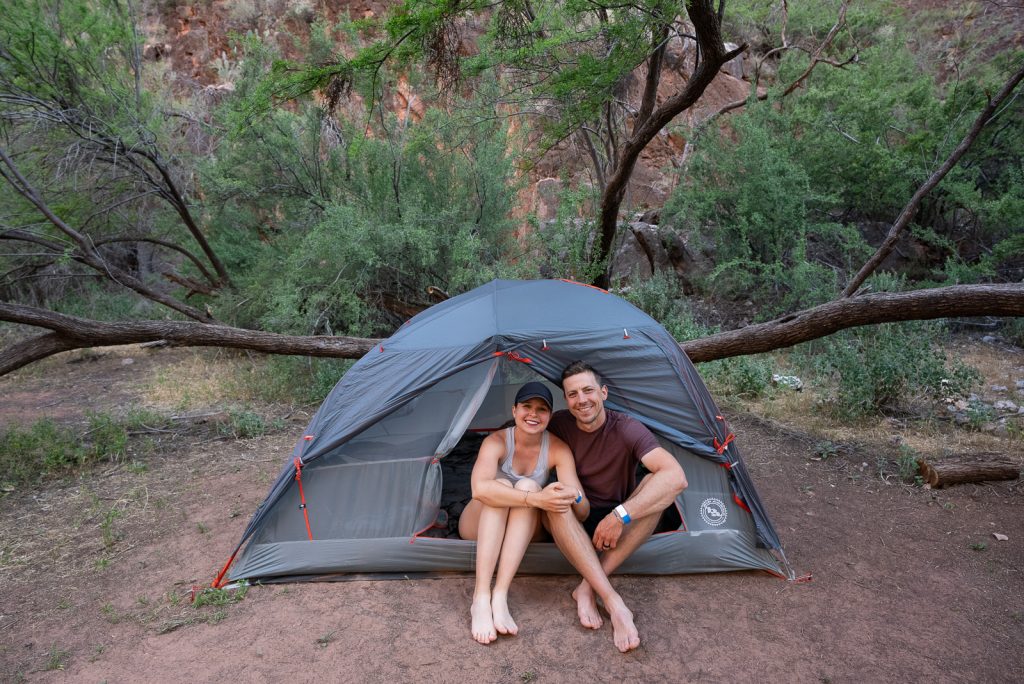
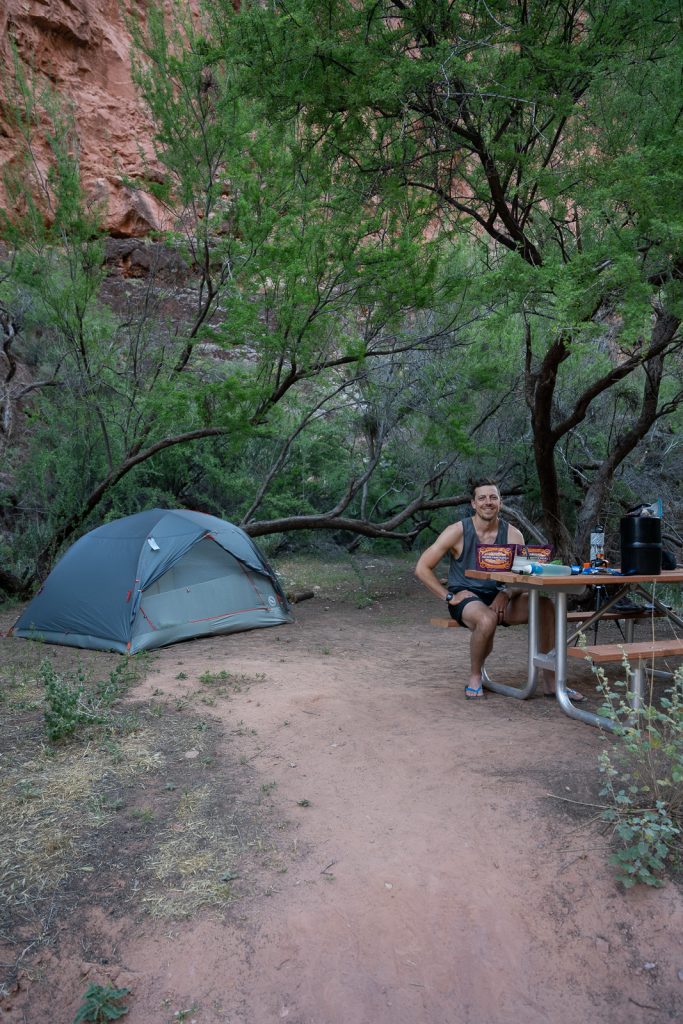
We recently upgraded to a Big Agnes Copper Spur HV UL3 bikepacking tent. It is an expensive tent, but thankfully we got lucky and snagged it on a pretty good sale. What we love about this tent is that since it’s a bikepacking tent, it has smaller poles (so it can fit on handlebars), which makes it fit much easier in our packs. It’s also spacious inside, perfect for two people, a dog, and some gear.
Before we got this tent we used a REI Half Dome 2+ tent for many years and it was great! It survived through crazy wind, tons of rain, and many epic backpacking adventures.
During the summer months, some people don’t bring a tent and just sleep in a hammock. Or they will use a tent without the rain fly, to save some space and weight. We personally like the rain fly for privacy, but we didn’t technically need it during our visit.
Sleeping bag
For a good portion of the year, you will want to bring a sleeping bag for at night. If you visit in the summer, some people forgo a sleeping bag entirely since the evenings are pretty warm.
For years we used the TETON Sports LEEF Lightweight Mummy Sleeping Bag, which kept us super warm at night! They are very affordable, but also super bulky, so we upgraded to Enlightened Equipment Revelation Sleeping Quilts. These quilts are MUCH lighter and smaller and keep us super warm. However, they are pricey, but so worth it if you have plans on backpacking a lot.
Sleeping pad
The ground at Havasupai is very hard, so you will want a sleeping pad. While there are some very nice, expensive pads, like Thermarest, we are currently using the Sleepingo Sleeping Pad, which is affordable, relatively comfortable, and packs down small.
Pillow
Having a pillow is a MUST for us when backpacking. We use the TREKOLOGY inflatable pillow. It’s very comfortable and packs down small. We also like that it can be strapped to your sleeping pad and has rubber dimples on the bottom, which help keep it from sliding away from you while you sleep.
Day hiking bag
If you are taking a larger backpacking pack, we recommend packing a small daypack (that folds up) for any day hikes. We’ve had this Venture Pal 40L backpack for years and it works great!
Dry bag (Optional)
Another item you might consider bringing since you’ll be in and around so much water is a dry bag. We’ve used this dry bag, or one just like it for years, and it folds down relatively small and works perfectly.
We personally did not bring this and didn’t feel like we needed it, since it’s typically easy to keep your gear dry. Except that time Adam tripped and fell into the water by Fifty Foot Falls and dunked our camera. Thankfully it was (mostly) okay!
Hiking poles (Optional)
Trekking poles may be useful on the Havasu Trail, especially for the downhill hike to the campground and the many water crossings (if you continue past Mooney Falls). We personally did not bring any and felt fine without them, but we do have the Black Diamond Distance Z poles and highly recommend them!
Chair (Optional)
One “luxury” that you may want to add to your Havasupai packing list is a backpacking chair. Back when we had larger packs, we would sometimes bring chairs and never regretted it. But now that we pack lighter, they won’t fit and we make due without them. At the Havasupai Campground many sites, including the one we chose, have picnic tables, so we didn’t really need them. Although it would be nice for hanging out at the waterfalls!
Hammock (Optional)
Lounging in a hammock next to a gorgeous blue, towering waterfall…it doesn’t get much better! We unfortunately didn’t have enough room to bring ours, but it would’ve been a nice addition to our Havasupai packing list. Next time!
Food and cooking
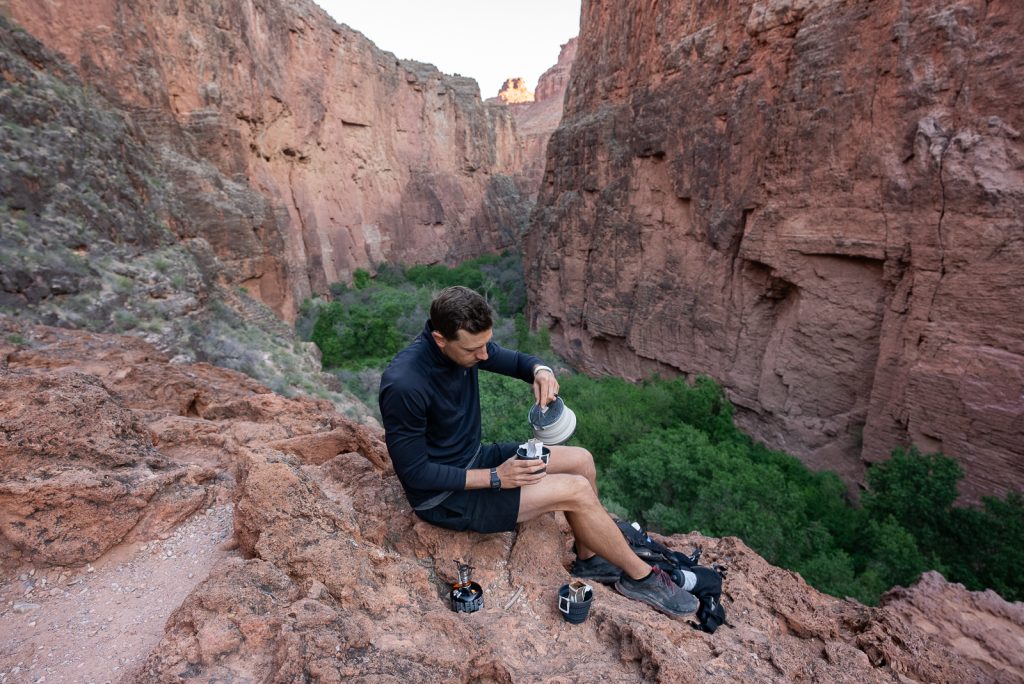
There is a store and restaurant in Supai Village (a 1 mile walk from the campground, one way), as well as fry bread stands near Havasu Falls (which have unreliable hours). But we recommend packing all the food you’ll need for your entire trip. Plus cooking supplies to make it! Remember, no campfires are allowed.
Backpacking camp stove + propane
The Ultralight Portable Outdoor Backpacking Camping Stove is about the size of a deck of cards and makes it easy to boil water and cook food while backpacking.
Another option is to get a Jetboil, which combines a kettle and camp stove in one. We haven’t personally tried it, but know people love them!
Don’t forget to pick up some propane for your camping stove. We brought one 100g canister and it was more than enough for us. IMPORTANT NOTE: You cannot fly with these, but you can buy them at REI once you land or any other outdoor store.
Kettle
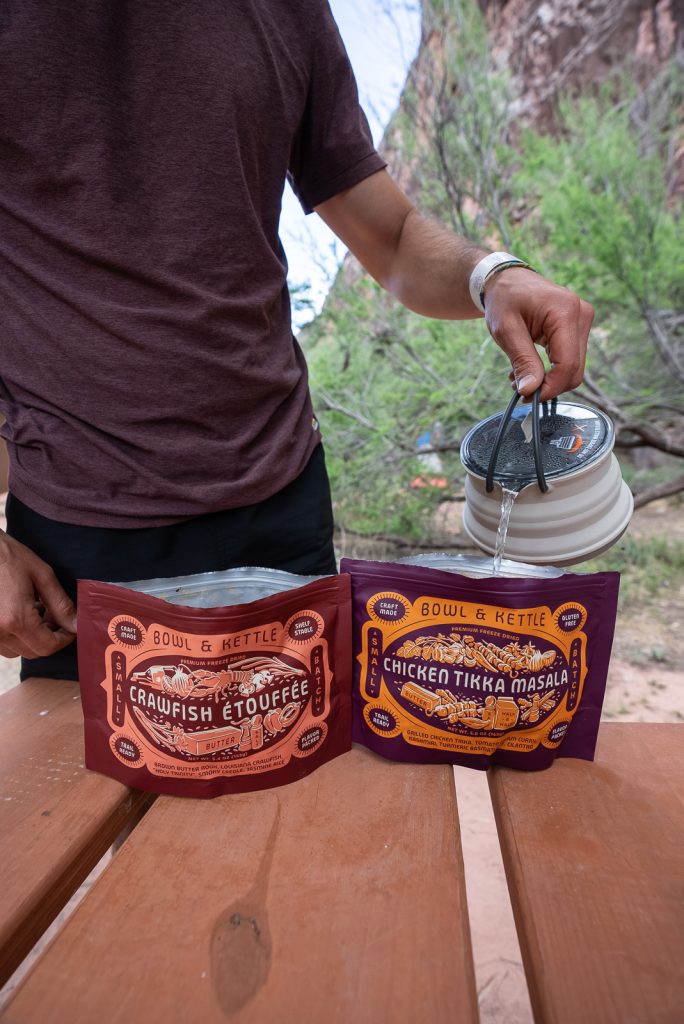
We use the Sea to Summit X-Pot Kettle, which collapses and packs down really small! In the past, we used a kettle like this for backpacking, which worked well too.
Utensils
Don’t forget a spoon or spork! For something lightweight, we suggest one of these. And for those who don’t want to get their hands dirty digging into backpacking meals, we LOVE this long spoon!
Gallon ziplocs
Ziploc bags are a versatile piece of gear to bring. We use these to store all of our trash (put into your preferred food storage system). And they can also protect your phone from water when by the waterfalls!
Food
There are so many options when it comes to the food you can bring on your Havasupai trip. You will need about 3 breakfasts, 3 lunches, 3 dinners, and some snacks. Below is a rundown of what we ate for every meal!
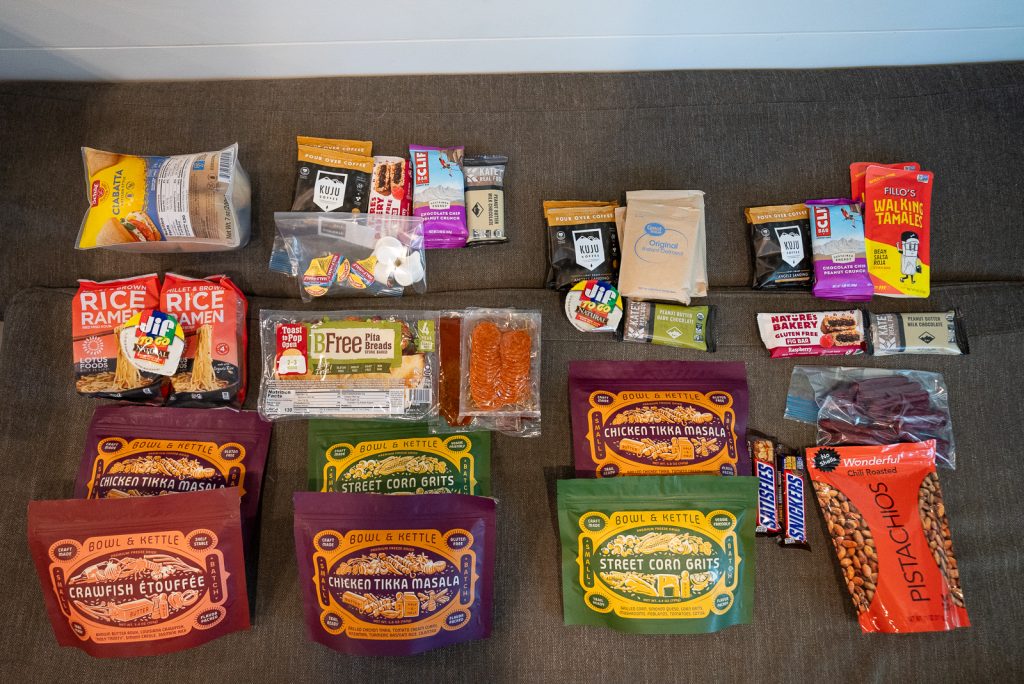
Breakfast
For breakfast we ate a mix of items. Some days we did oatmeal with peanut butter (we got the small peanut butter packets), while other days we just did a bunch of bars, like Clif Bars, Kate’s Real Food Bars, and Nature’s Bakery fig bars. On our hike out we ate Fillo’s Walking Tamales, which were SO good (the flavor we got was a bit spicy though).
Snacks
Besides the bars listed above, we also brought meat sticks and Chili Roasted Wonderful Pistachios.
Looking for more hiking snacks? Check out our 31+ favorite hiking snacks!
Lunch
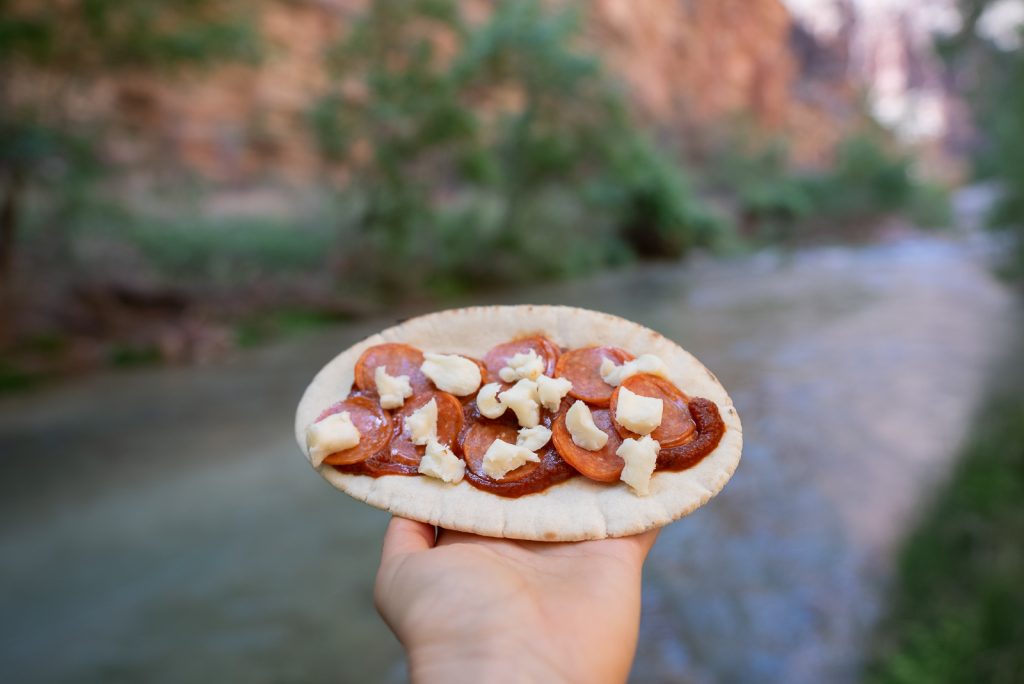
For lunch we made what we are calling “adult Lunchables.” We brought pita flatbreads, bagged pizza sauce, Babybel cheese, and pepperoni and made little room temperature pizzas. It was delicious! We also got fry bread ($18 for a walking taco, cash only!) on our third day!
Dinner
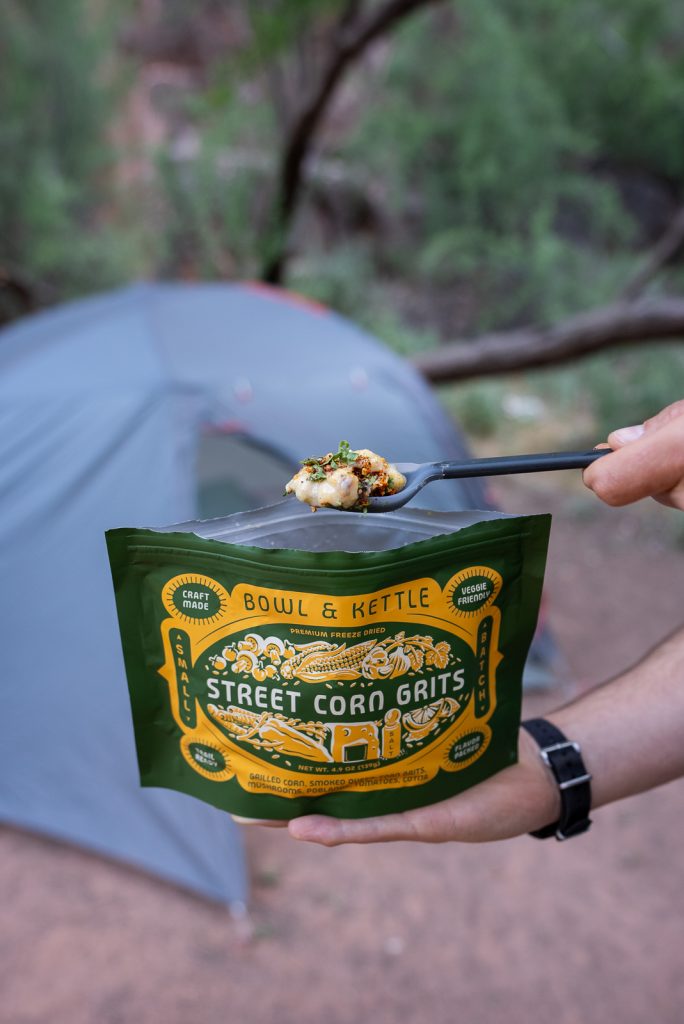
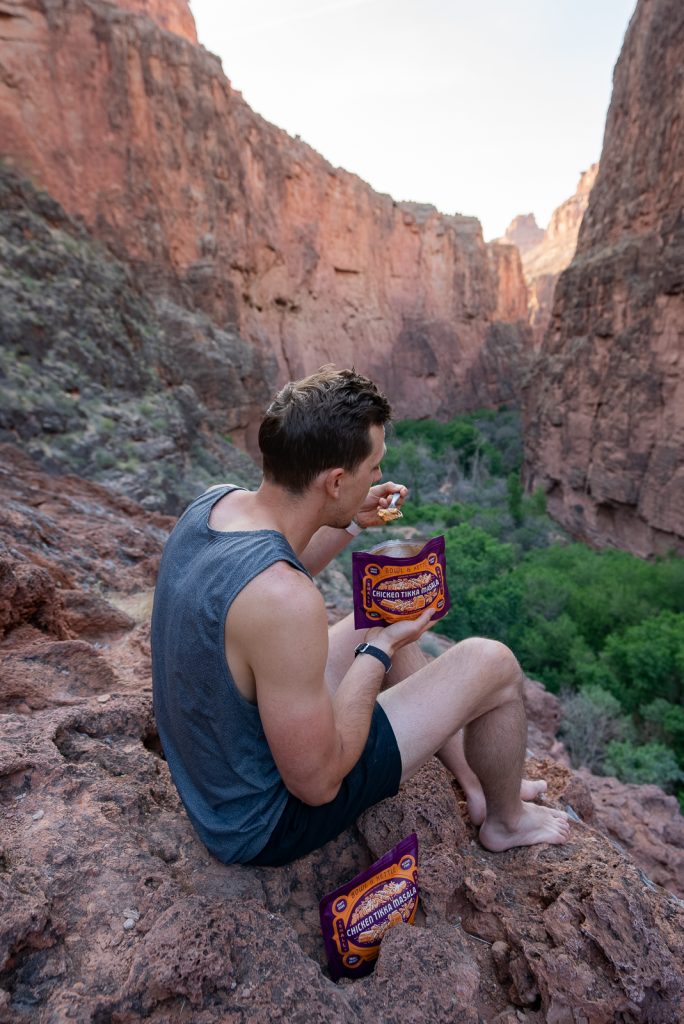
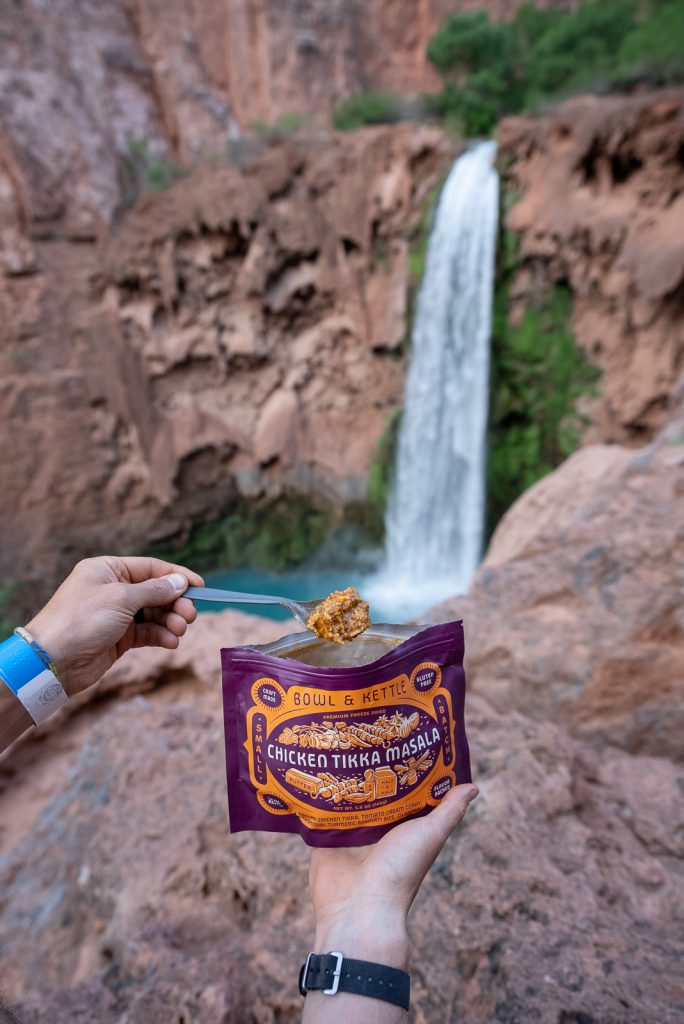
For dinner we brought Bowl & Kettle backpacking meals. This company was founded by a friend from college and her husband, who hiked the PCT (so they clearly know backpacking meals!). And even though we may be biased, they are genuinely the BEST backpacking meals we have ever had. They only have three flavors currently and every single one is insanely delicious. We would eat these even when we aren’t backpacking! You can use code TAKE10 for 10% off.
There are many other backpacking meals you can choose from as well. Some other meals we like are Wild Zora, Backpacker’s Pantry Chicken Pad Thai, Peak Refuel Chicken Coconut Curry, and Mountain House Beef Stroganoff.
NOTE: Backpacking meals will usually say it is 2 servings, but we always eat the whole thing by ourselves. So don’t plan to share!
Dessert
We threw in a couple Snickers bars as a nice little treat!
Coffee mugs
Coffee is essential for all of our backpacking trips. These collapsible mugs are the perfect drinking vessel!
Coffee
We make coffee in a variety of ways on our trips. We love taking our Aeropress when we have space, which makes great coffee (don’t forget the filters and some grounds!). For our Havasupai packing list, we opted for Kuju coffees this time, to save space. Bringing instant coffee tea bags is another easy option!
Electrolyte Drink
On our particularly strenuous adventures, especially in the heat, we like to carry an electrolyte drink. We LOVE LMNT! For Havasupai, we brought a water bottle just to put LMNT in, as it’s not something we want to put in our CamelBak or Katadyn filter bottle.
Food storage container
You are required to properly store your food in the Havasupai Campground. While there are no big threats, like bears, there are many creatures, like squirrels, who will do just about anything to get your food. You can either use a bear can or hang a rat sack or bear sack. It is important to keep your food and any items with scent (including toothpaste, toiletries, etc) in this food storage mechanism. Make sure whatever you choose is large enough!
If you go the sack route, bring some paracord to hang it! Some sites will have a clothesline or cord, but others won’t, so be prepared.
We personally brought a bear can, which was heavy and bulky, but we already owned it and didn’t want to spend money on something else. During our day hikes and waterfall exploring, we just kept our food for the day in our bags and kept a close eye on them. We didn’t have issues with squirrels getting into them. The rest of our food and trash stayed in our bear can at our campsite.
Clothing
Clothes tend to take up a lot of space, so we keep our clothes to a minimum when backpacking and usually only bring 1 extra, for tops and bottoms. That may sound gross, but part of backpacking is smelling a bit. 😜 We store all of our clothes in TRIPPED packing cubes to help compress them down.
Tops
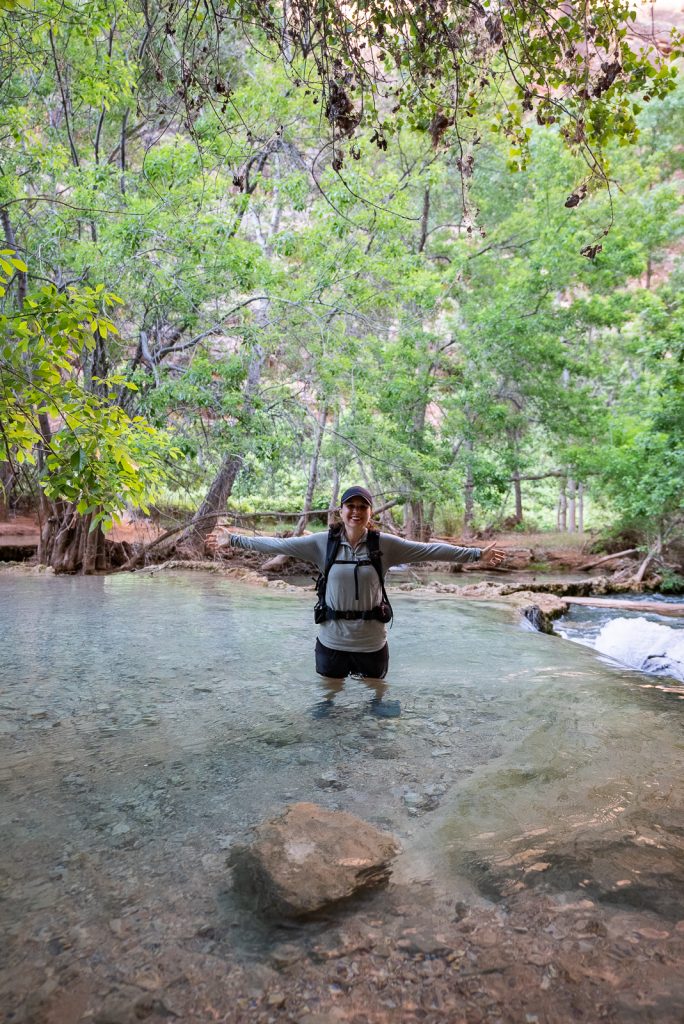
Adam wears Vuori shirts and Kathryn wears Vuori tank tops. We each brought an extra shirt and ended up wearing whatever we had on to bed as well. Since the mornings were a bit chilly, we also brought pullovers.
Bottoms
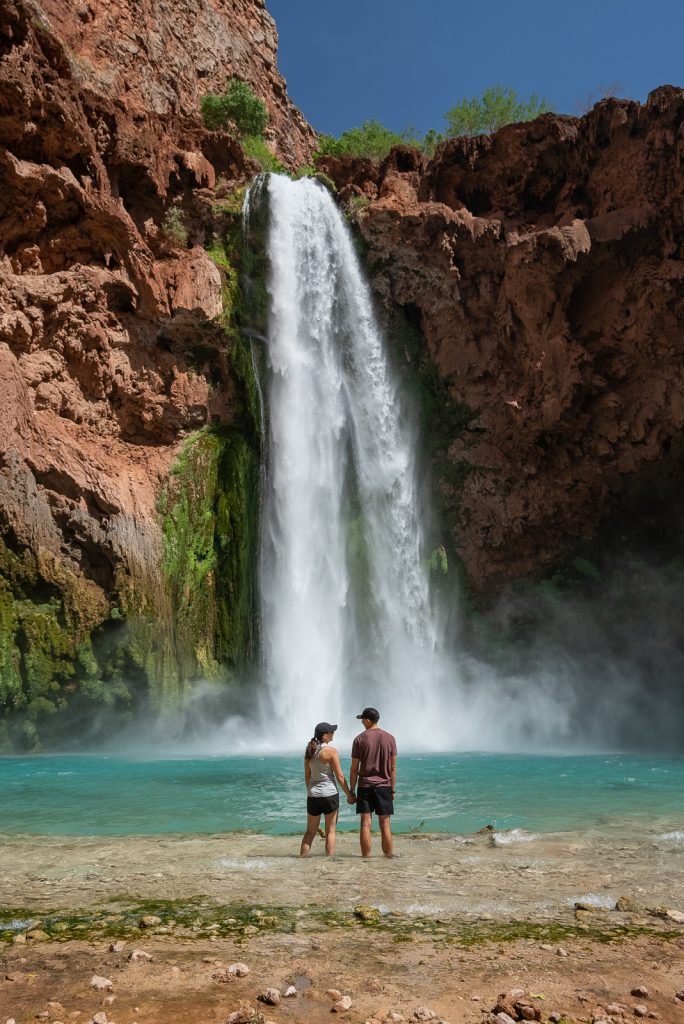
Kathryn wore Patagonia Trailfarer 4.5” inseam shorts and Adam wore cheap swim trunks from Target. Both functioned as both our hike wear and swimwear most days and dried very quickly! Kathryn contemplated bringing leggings, but decided not to. They may be a good item for your Havasupai packing list if you visit in cooler months though!
Underwear
While we skimp on tops and bottoms when we hike, we tend to not skimp on underwear. We suggest bringing a fresh pair per day!
Pajamas (Optional)
We personally did not bring any PJs, since we wanted to pack light. But it may be worth it for you to bring! It is nice to have cleaner clothes to sleep in.
Socks
We highly recommend wearing wool socks! They do better with getting wet. We brought two pairs of wool socks each and alternated them. Even though they got soaked, they were always dry by the morning!

Shoes
A very common question on the Havasupai Facebook groups is “what shoes to wear?”
You’ll be hiking many miles on dry, rocky, and sandy terrain and also crossing through many streams where you’ll get your feet soaked. We wore Altra Lone Peak trail runners with wool socks the entire time (even in all of the water crossings AND swimming) and highly recommend them for this hike. They are lightweight and dry very fast (they were always dry by the morning)! And we saved a lot of time not having to take our shoes on and off for water crossings.
Some people choose to wear hiking boots out (we recommend Lowa Renegade GTX) and then bring a second pair of shoes for the falls, like Chacos or Tevas. While this option works fine, it will increase the amount of gear you have to bring.
Flip flops (Optional)
This is an optional item, but we like to have cheap, light flip flops to wear around camp. It is way easier to slide on some flip flops than lace up your shoes if you need to go to the bathroom.
Swimsuit
There are five waterfalls on the Havasu Falls hike and you’ll want to spend some time in them! Adam wore swim trunks the entire trip, but I switched between just wearing my sports bra and shorts and a swimsuit. I saved the swimsuit for chill days, without much hiking, and wore better hiking clothes for Beaver Falls and The Confluence and just got wet.
Jacket
Depending on what month you go, you may need a jacket. We both have used a Columbia jacket for many years now. Even though we did bring them with us, we didn’t end up needing them.
Rain Jacket
It can rain at Havasu Falls, especially in the summer, so if you see it in the forecast, make sure to pack a rain jacket. Adam wears this jacket and Kathryn has this jacket. Since the forecast was pure sunshine for us, we opted to leave these at home.
Hat and sunglasses
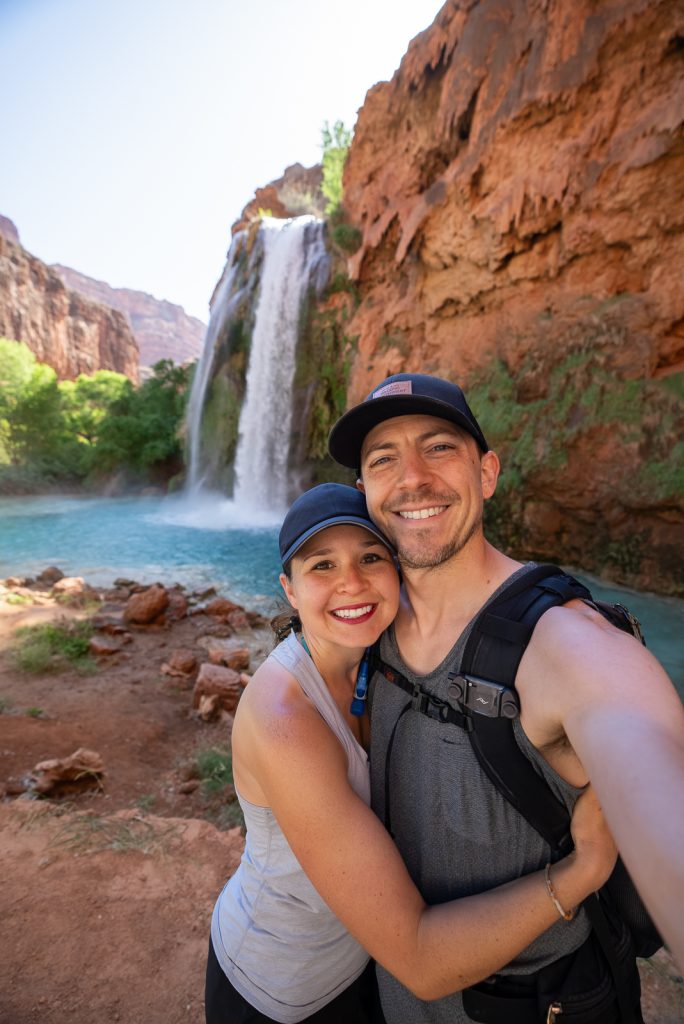
It’ll very likely be bright and sunny on the trail, so you’ll want a hat and sunglasses!
Gloves
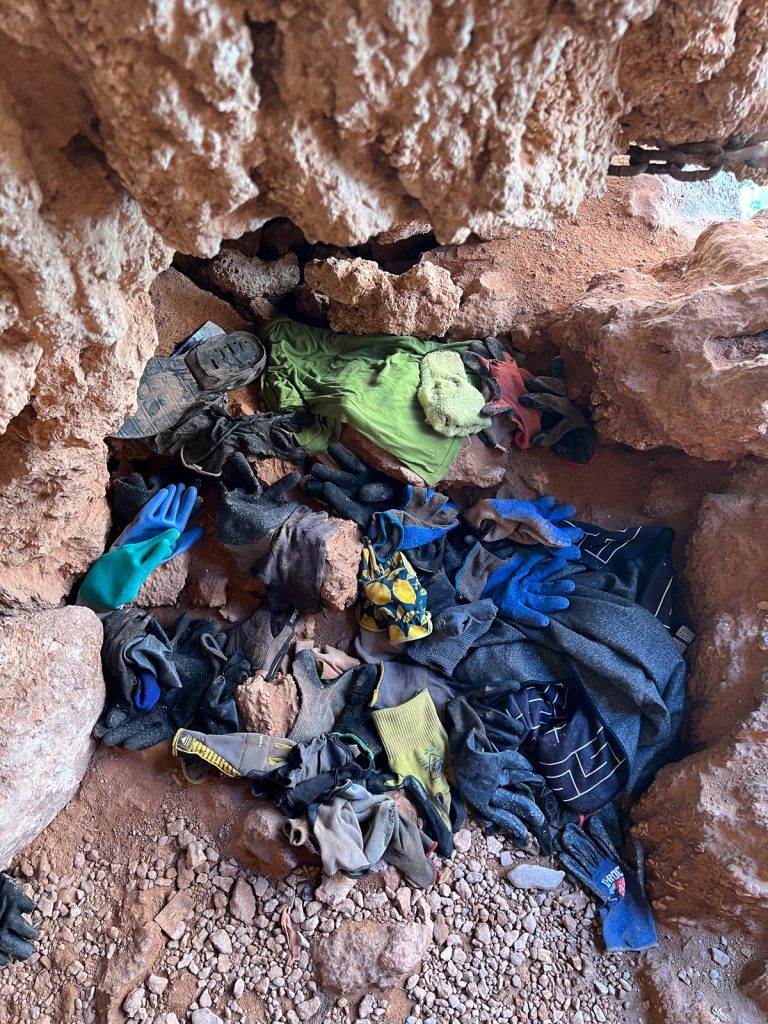
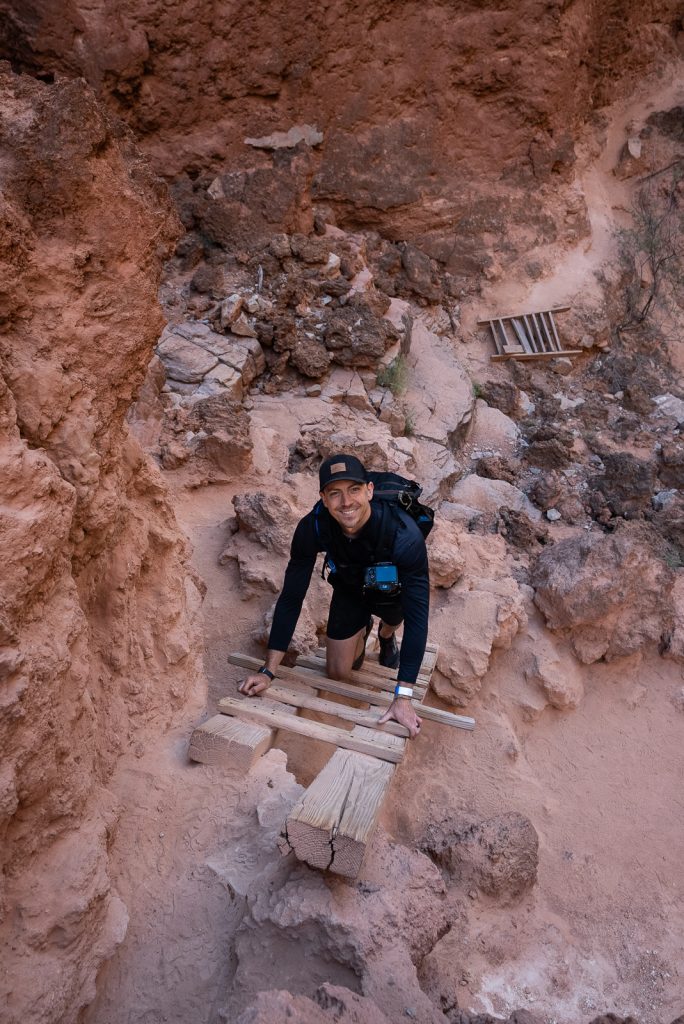
If you plan on climbing down to Mooney Falls (which we highly recommend), then you may want some gloves for the descent. Gardening gloves can help you with your grip on the chains, although this is personal preference.
There is a huge pile of leftover gloves at the top and bottom of the Mooney climb, but we preferred to bring our own (and bring them back)! Kathryn did use them a couple times and think they helped, but Adam just climbed with his bare hands.
Toiletries
When it comes to toiletries, everyone has slightly different needs, but here are some common items you may want to consider adding to your Havasupai packing list.
Daily items
Don’t forget your toothbrush and toothpaste, deodorant, chapstick, contacts and solution, and any other items you use daily.
Sunscreen and lotion
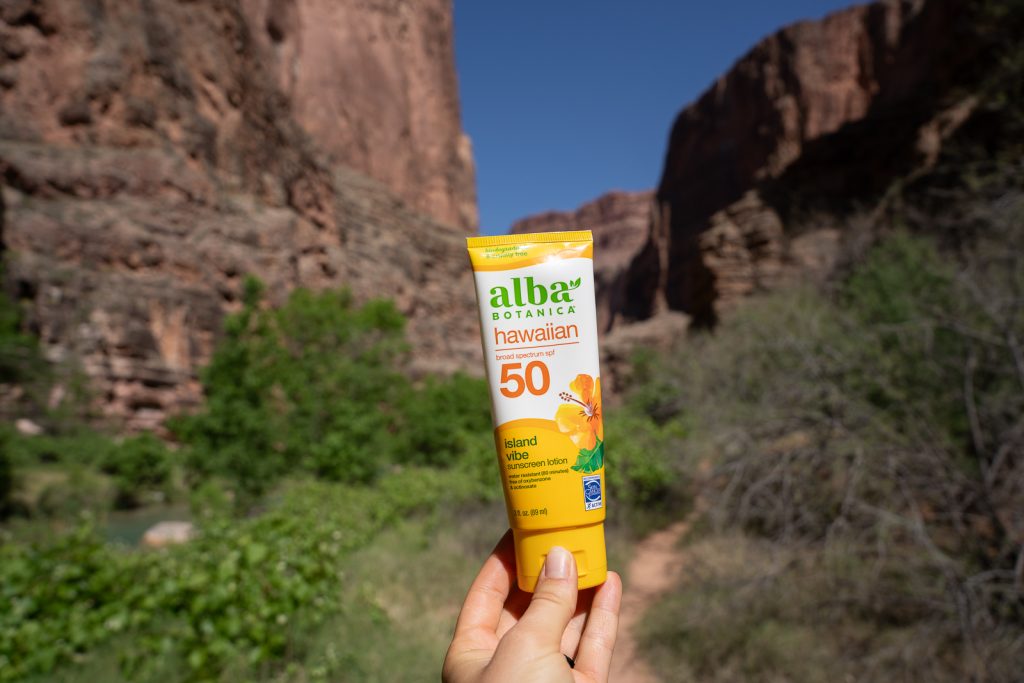
There will likely be lots of sun, so make sure to bring some travel sized sunscreen! We also recommend bringing a small lotion. The minerals in the water really dry your skin!
Chapstick
Since the air is dry and the water is drying, bring some chapstick as well!
Medicine
We recommend bringing Advil, a small first aid kit, and allergy medicine, just in case. Plus any daily medicines you need!
Body wipes (Optional)
We didn’t personally bring body wipes, since getting in the river everyday made us feel clean enough. But you may enjoy feeling extra clean!
Feminine hygiene products
For the ladies, bring enough feminine hygiene products with you. You very likely won’t find what you need there. Please remember to pack out any trash!
Toilet paper
While the bathrooms seemed to be cleaned most days (you can read all about the bathroom experience here!). We did run into one instance where there was no toilet paper, so we would suggest bringing some with you, just to be safe. What we typically do is take a bunch off of a roll and put it in a ziploc. This saves a lot more space than bringing a roll!
Kula Cloth (Optional)
One new addition to Kathryn’s backpacking gear is a Kula cloth. This is an antimicrobial pee cloth. It can strap onto your pack and is very handy if nature calls while on the trail.
Body Glide (Optional)
Something that Kathryn didn’t take that she wishes she had was Body Glide. This is an anti-chafing stick that you can put on your thighs, armpits, feet, etc. to prevent chafing and blisters.
Blister tape (Optional)
You’ll likely be walking through some water which means you could have wet socks and shoes, plus sand or dirt, which can be a recipe for a blister. Blister tape can be a good addition to your Havasupai packing list. Despite hiking with wet feet multiple days, we only had two tiny blisters each, without wearing any tape.
Bug spray
Depending on the time of year you go, you might experience some pesky bugs. Thankfully, we didn’t notice many, just a couple biting flies. If you’re worried about bugs, pack some insect repellent.
Hand sanitizer
Make sure to bring a small hand sanitizer to use before and after eating. While there was some hand sanitizer near our bathroom, it was always empty.
Travel towel
A microfiber towel will be nice to dry off with after you get out of the water. It also is nice to have to sit on at some of the falls, if you didn’t bring a chair. They pack down small and they dry quickly.
Survival gear
We always carry the 10 essentials on any hike and we highly suggest you do the same. Many of the items included in the 10 essentials have already been discussed above, but it’s always a good idea to refresh your kit.
Multi-tool
We carry this multitool, which includes a knife, screwdriver, and pliers. It can be used for food prep, making kindling, repairing things, and a host of other scenarios.
Headlamps (with batteries)
If you plan on hiking early in the morning or later in the day you’ll need a headlamp. Ideally you bring one with a red light, so you don’t blind others or shine into people’s tents. Don’t forget to pack some extra batteries!
Water storage and filtration
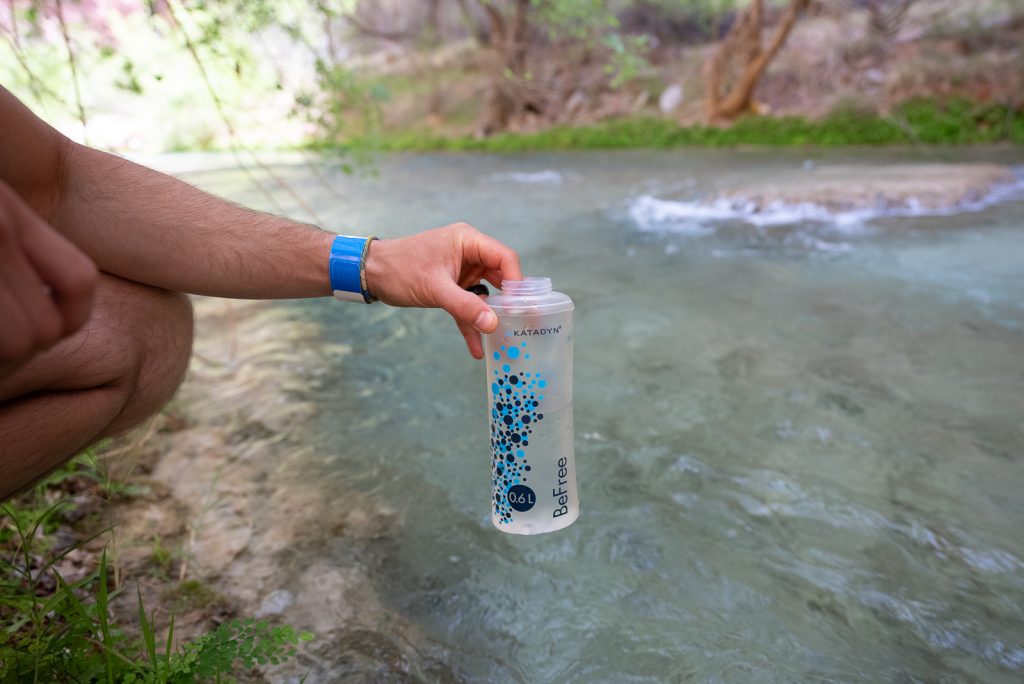
The hike out is a long 10 miles and there are no water sources along the way. You’ll need to carry enough to get you there. We brought one 3L CamelBak, a Katadyn Water Filter Bottle (which we used for the day hikes and to filter from Havasu Creek), a Sawyer water filter (as backup), and an extra water bottle, which we used for LMNT (since the taste tends to linger in the bottle).
Matches/Lighter
While fires aren’t allowed on this adventure, sometimes camping stoves are finicky and need some assistance lighting, with either a lighter or matches.
Hand warmers (Optional)
Hand warmers are a nice item to have in the very early or late season months on the trail. We personally did not need them in May!
Technology & entertainment
Camera gear
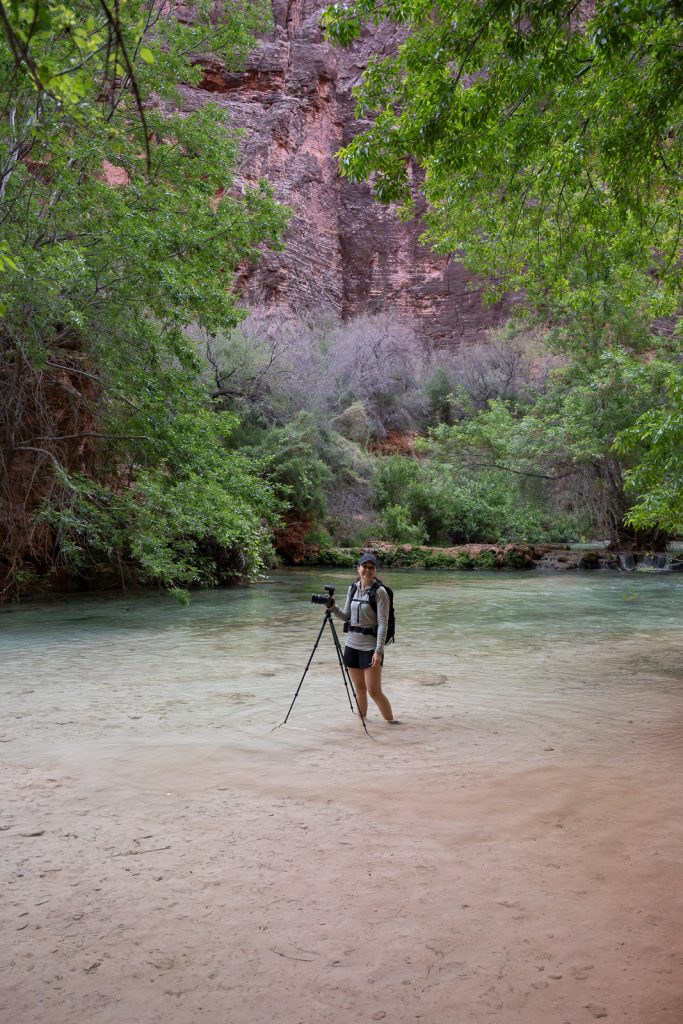
Havasupai is a photographer’s dream! For photos we carry a Sony a7 III Full Frame Mirrorless Camera. You certainly don’t need something this expensive, but it does help.
Your phone can take amazing photos as well!
We brought our Sony FX3 (for filming), Sony a7 III (for photos), a tripod, our GoPro HERO 11 Black (plus chest mount and floating handle), and many spare batteries. To carry our camera, we use Peak Design camera clips, which keep your hands free. We LOVE these!
External battery + charger cords
For both phones and cameras, you’ll need an external battery to keep them charged. Don’t forget any cords!
Garmin InReach
There is very limited cell service on the hike, which is limited to Supai Village and near Fifty Foot and Navajo Falls. We always bring our Garmin InReach Mini when hiking. This gives us the ability to message family, to let them know we are okay, plus has SOS capabilities, which we thankfully have never used. However, keep in mind that sometimes GPS signals struggle in the canyon and it may not work well.
Book or entertainment
You’ll likely have some downtime lounging by the waterfalls or at your campsite. Make sure to either bring a book or if you don’t want to carry it, download some audiobooks or eBooks.
Adam read some of The Emerald Mile and Kathryn read In Five Years and The Five Star Weekend. Yes TWO books–she’s a VERY fast reader!
You could also download podcasts to listen to, plus bring a deck of cards.
Important Items
Permits
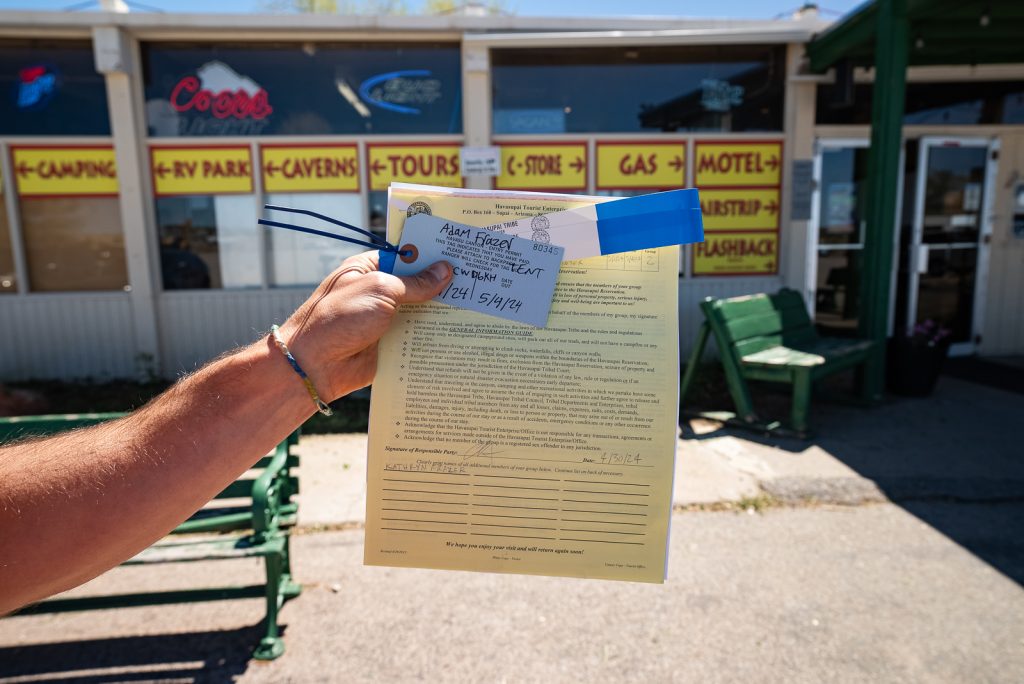
When you check in for the Havasu Falls hike you will be given a permit, wristbands, and a tent tag. Make sure to keep these with you! You also will need to print your confirmation to put on your dash. Before you go to check-in, make sure to print your confirmation page.
Cash
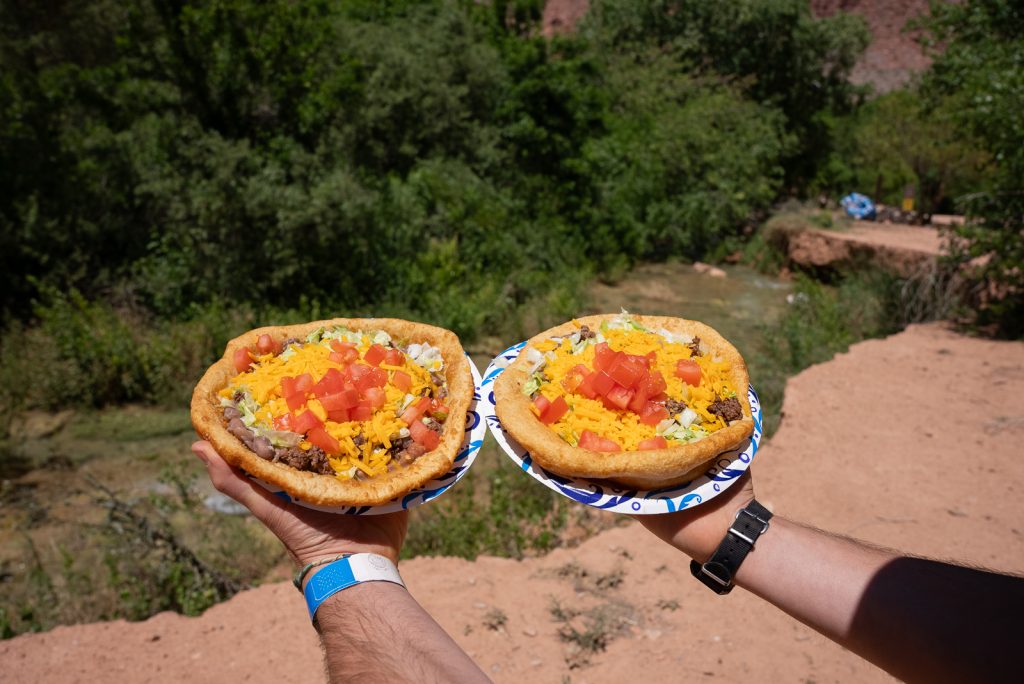
Both fry bread stands are cash only, so bring plenty of cash! The stand we went to (close to the mule drop off area) was $18 for an Indian Taco, which is fry bread piled with beans, cheese, lettuce, tomato, and ground beef. The bean and cheese or sweet options were more affordable. They also serve cold drinks like sodas, water, gatorades, and frozen lemonades.
AllTrails Map
Even though GPS signal can be a bit iffy in the canyon, it’s a good idea to have the AllTrails map downloaded for the hike. Less so to navigate, as it’s pretty obvious where to go on the stretch from the trailhead to the campground, but more so to track your progress. Be sure to download the trails before you head out there!
Want to get 30% off an AllTrails Plus membership? Use our code aplusk30 (you must redeem this code on the website, not the app)!
We use AllTrails Plus on every single hike and it is the most helpful hiking tool out there! Some of the features we love are offline maps (so we can navigate even without cell service), wrong-turn alerts, and its 3D maps feature, so we can get a feel for trails before we hike.
ID
You’ll need to show your ID when you check in and at the security checkpoint 5 miles before you reach the trailhead.
Masks
Currently it is mandatory to wear a mask while in the Supai village. We were told to wear one when we checked in, so we wore it the entire walk. At the minimum, you are required to wear it indoors. Please be respectful of this rule.
Fuel
The trailhead is over an hour and a half away from the closest gas station. Be sure to fill up before you head out there! The nearest gas stations will be in Kingman (coming from the west) or Seligman (coming from the east).
Snacks and drinks in your car
Want to look out for your future self? Have some snacks in the car, plus a cooler with drinks, to enjoy when you finish the hike. It will be a 1.5 hour drive to the nearest restaurant, with better options being closer to 2 hours away. Sometimes there are vendors set up at the trailhead, selling snacks and cold drinks. But if you hike out early like us, you will likely miss this.
travel insurance
Havasupai can close unexpectedly due to flash floods or other natural events. And they are pretty firm on giving ZERO refunds. If your trip is canceled due to Havasupai being closed, your only option is to reschedule. But if you want to cancel altogether, travel insurance is the only way to recoup the costs. We suggest getting travel insurance right after booking your ticket. Not only will it be the only way to recoup your costs, but it will also cover any emergencies while out there, including an unexpected helicopter ride out.
Allianz is one option that has come recommended from past Havasupai hikers. If you have a travel credit card, they may cover you in case of any cancelations as well, including flights and hotel costs.
Important: You must get this insurance BEFORE your trip. And you will need to have it before any type of event (like flash flooding) occurs. You cannot get insurance after a flash flood.
PRINTABLE HAVASUPAI PACKING LIST
Save the two images below to your phone (or print!) to check off items as you pack!