Last updated on September 30th, 2026
We’re sharing how to watch the sun rise above Lake Atitlán on the Indian Nose hike, one of the best hikes in Guatemala!
With volcanoes and mountains surrounding its deep, blue waters, plus colorful villages dotting its shoreline, Lake Atitlán is said to be one of the most beautiful lakes in the world. And while kayaking on the lake and hopping to different villages is a fun way to explore it, for the ultimate experience, head up to Indian Nose for sunrise.
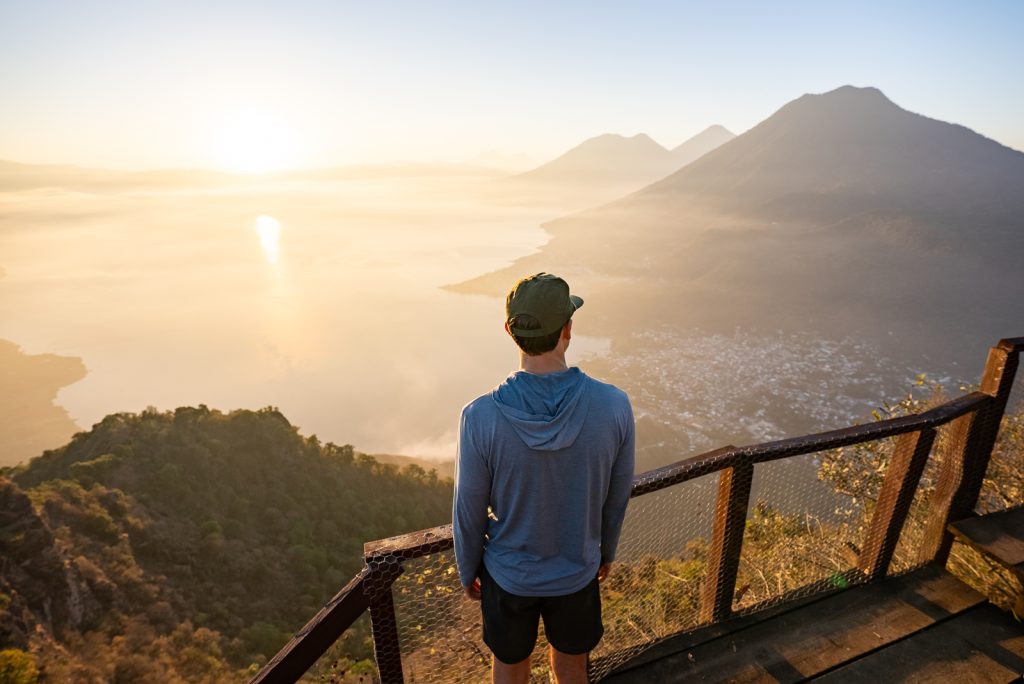
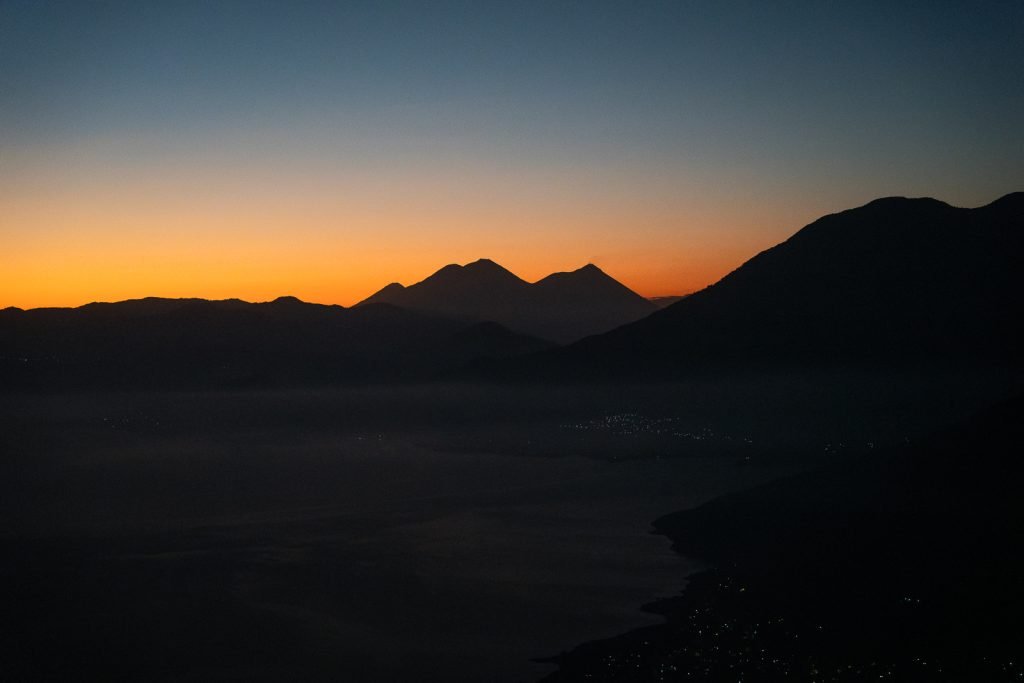
Seeing the lake’s volcanic peaks light up with shades of pink and gold, plus watching the villages illuminate from just specks of light, was not only one of our favorite experiences at Lake Atitlán, but in Guatemala as a whole! The wake up call is tough, but trust us, it’s more than worth it.
And in this guide we’re sharing everything you need to know to tackle the Indian Nose hike for sunrise. Including how tough the trail is, tour options, what to bring, and more!
Looking for more Guatemala resources?
- The Perfect 2 Week Guatemala Itinerary (for first-timers!)
- Our Top 22 Guatemala Travel Tips & Things to Know
- 21 Fun Things to Do in Lake Atitlán, Guatemala
- Where to stay in Lake Atitlán: The BEST towns & lodging options
- The Ultimate Guatemala Packing List (with downloadable list!)
- The 23 Best Things to Do in Antigua, Guatemala
- Guatemala’s EPIC Acatenango Volcano Hike: Everything to know in 2025
- The Ultimate Guide to Visiting Semuc Champey in Guatemala
- Watch our Guatemala YouTube series
- About the Indian Nose hike
- How hard is the Indian Nose hike?
- Do you need a guide to hike Indian Nose?
- Indian Nose sunrise hike tour options
- What to expect on the Indian Nose sunrise hike
- Is the Indian Nose sunrise hike worth it?
- What to bring on the Indian Nose hike
- Save this guide to hiking Indian Nose for sunrise
About the Indian Nose hike
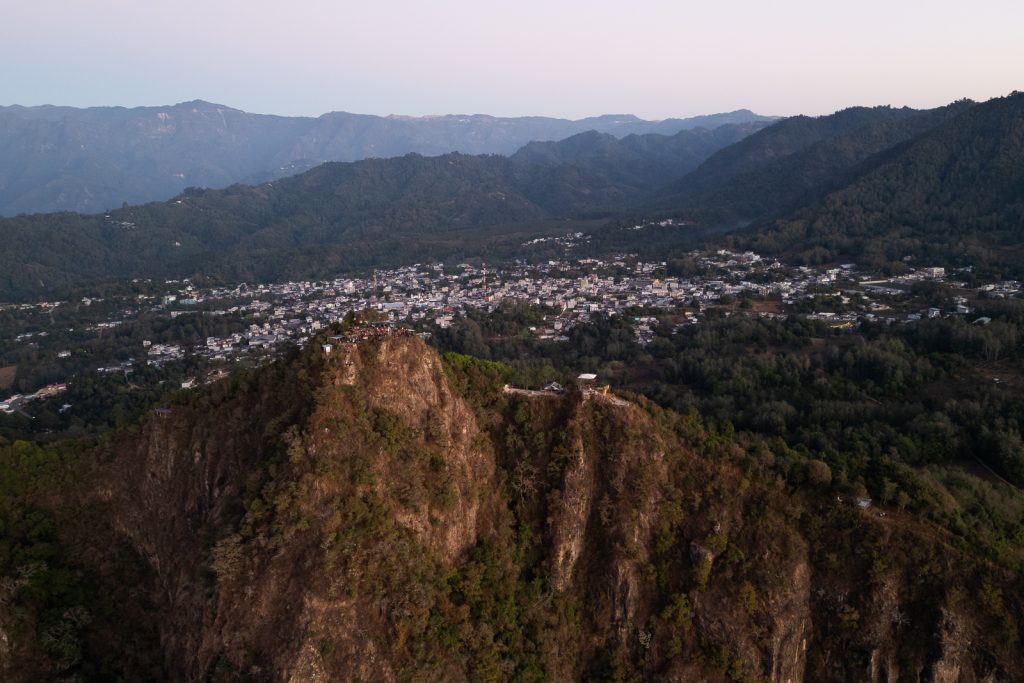
The Indian Nose Hike gets its name after the mountain it’s located on: Rostro Maya, or the Mayan Face. This mountain looks like a person laying down on their back and as you may guess, the Indian Nose hike takes you to what looks like the nose on the face.
Over the years, this hike has become extremely popular for sunrise, as you’re high above the lake and get to watch the sun pop up over the lake’s peaks, flooding the lake with sunlight. Many tour groups hike up here everyday, so it’s not a secluded experience. But even if you’re like us, and prefer to experience nature with some solitude, it’s truly worth the trek.
Important to know: There is some movement to change the Indian Nose hike name to “El Rostro Maya.” But for many tour providers, it is still called Indian Nose. But if you see other names, like Rostro Maya, Mayan Nose, or Mayan Face, it is likely the same hike. Double check, just to be sure, though!
How hard is the Indian Nose hike?

The Indian Nose hike isn’t a walk in the park. It’s steep, has some rugged terrain, and is at a higher altitude. We have seen mixed things online about the actual height of the Indian Nose peak, but our trail recording said that our max elevation was 7,310 feet (2,228 meters). Which means that if you’re doing this hike on your first day in Guatemala (and are coming from a much lower elevation), it can be a bit tough!
But before we dive into the specific stats of the Indian Nose hike, it’s important to know that there are two main routes you can take.
Route #1: From Santa Clara
Distance (round trip): 1.4 miles (2.25 km)
Elevation gain: 462 feet (140 meters)
How long does it take? It typically takes between 30-45 minutes to get to the top. And going down was just as quick!
The Indian Nose hike route from Santa Clara is the shortest and most popular route. If you do a sunrise hike tour, this is the route you’ll take!
This route starts in the town of Santa Clara, which is located at a higher elevation than most towns in Lake Atitlán. Because of this, a lot of the elevation gain is driven on the way to the trailhead, but the hike is still tough and will get your heart pumping at 4 AM.
Route #2: From San Pedro La Laguna
Distance (round trip): 4.5 miles (7.2 km)
Elevation gain: 2,509 feet (765 meters)
How long does it take? This route takes anywhere from 1.5-2 hours to get to the top, so round trip, expect to spend about 4 hours, including a break once you make it!
The second route option for Indian Nose starts in San Pedro La Laguna, down at the lake. This means that you are starting at a much lower altitude and have a much steeper and longer climb to the top. At some points the trail has a 70% grade and you will have to do some scrambling.
Although this route is a lot more difficult, one perk is that it has more views along the way. So you’ll have some gorgeous scenery to look at as you huff and puff your way to the top!
If you decide to do this hike on your own (more on that next), we’d only suggest doing this route during the daytime. It’s too long and potentially too confusing in the dark to go for sunrise!
Do you need a guide to hike Indian Nose?
You technically do not need a guide to do the Indian Nose hike (either route). But we highly recommend having one for a few reasons, especially at sunrise!
- In years past, robberies were common on these trails. While the safety has improved a ton, we still felt better having a guide with us (especially because of our camera gear).
- For sunrise, you will have to make your way to the trailhead around 4 AM or so. Getting to Santa Clara that early would be much more difficult on your own. Having a guide makes the logistics so much easier, as they’ll pick you up!
- Both trails go through some private land and if you’re hiking on your own, you may be stopped by a local to pay an access fee. One thing we learned in Lake Atitlán is that overcharging tourists is common, so by going with a guide you will eliminate any surprise fees and not have to deal with local landowners.
- You get to help support a local!
Indian Nose sunrise hike tour options
There are tons of options when it comes to booking a tour for your Indian Nose hike. You can book a tour through your lodging or at a vendor in the town you’re staying, which is typically the cheapest option. However, not all tours are created equal and we personally like to know who we will be taking a tour with and research them a bit. So we opted to book a tour in advance!
We booked this Indian Nose sunrise hike tour and would definitely recommend it! We were picked up on time from our Airbnb near San Marcos and our guide Joel was great. He made sure we all stuck together, gave us interesting information about the area, and didn’t rush us. In fact, we were some of the last to leave the top! Our group size was also small, with just 5 people total. You can watch our experience here!
Want to save money or just do a shorter sunrise hike? Hike to Mirador Kaqasiiwaan in San Juan La Laguna instead! This viewpoint is located on the longer, harder trail to Indian Nose, but you can stop here and get similar, although lower, views of Lake Atitlán. But for less money (Q30/~$3.90 USD) and less hiking time. This means you could sleep in a bit more!
What to expect on the Indian Nose sunrise hike

Early pick up
The first part of the Indian Nose hike is arguably the hardest…the early pick up. Your pick up time will depend on where you’re staying and how many people are in your group. We were picked up around 4:15 AM.
However, one VERY important thing to know is that most tours ONLY pick up from San Marcos, San Juan, and San Pedro, as they are the closest towns to the starting point in Santa Clara. And in the early morning, coming from even further would be tougher! So as you decide where to stay in Lake Atitlán, keep this in mind! We opted to stay in San Marcos partially for this reason.
However, if you are staying in Panajachel or another town, you can take a lancha to one of the towns above. You’d have to coordinate a private lancha though, which is expensive, or you could book this tour from Panajachel.
After being picked up, we made the very steep and windy drive to Santa Clara (in probably record time because our driver was FAST 😬). If you’re prone to motion sickness, make sure to take something in advance for this drive.
Hiking up Indian Nose

After being dropped off at the trailhead, the adventure begins! The first part of the hike is relatively flat, but closer to the end it gets very steep, with lots of stairs to climb and switchbacks. Despite being only 462 feet of elevation gain, it personally felt steeper to us.
Since all tours tend to start around the same time, there is a long line of hikers going to the top. Which means that you basically all have to go at the same pace. And the pace we were going felt pretty fast! We made it to the top in under 45 minutes, just as a thin line of pink was forming on the horizon.
Experience at the top
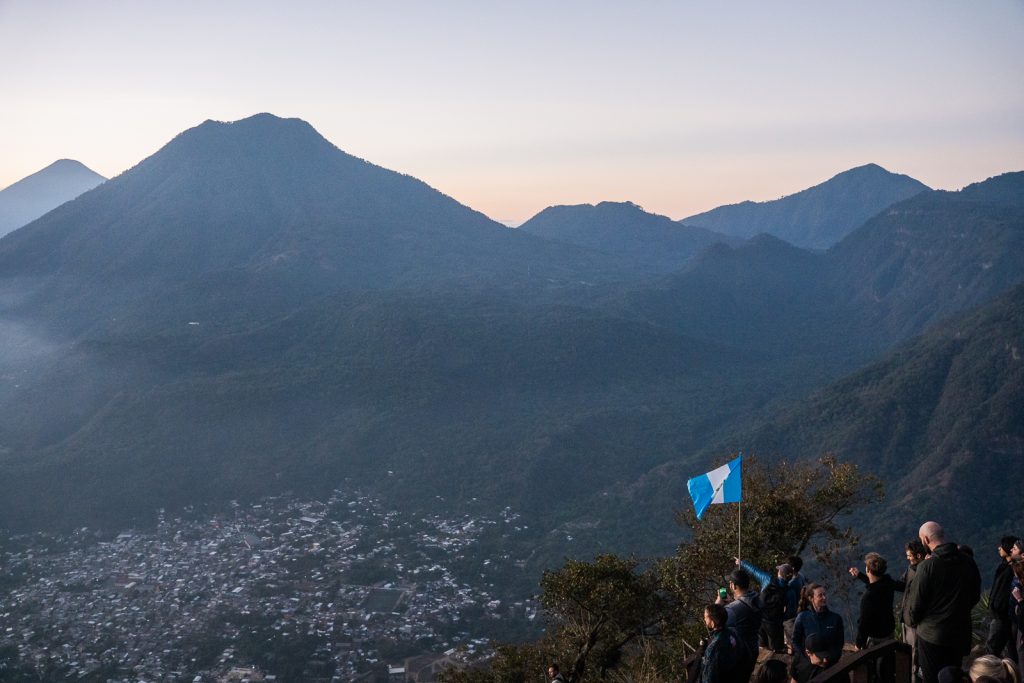
The top of Indian Nose is relatively large, with two different sections, each with rows of benches to sit on. However one thing we did not notice were toilets, so keep that in mind!
If your tour is like ours, we had quite a bit of time before the sun rose. As we waited, our guide shared different information with us about the area, including about the towns below, the different Maya languages they speak, and about the volcanoes right in front of us.
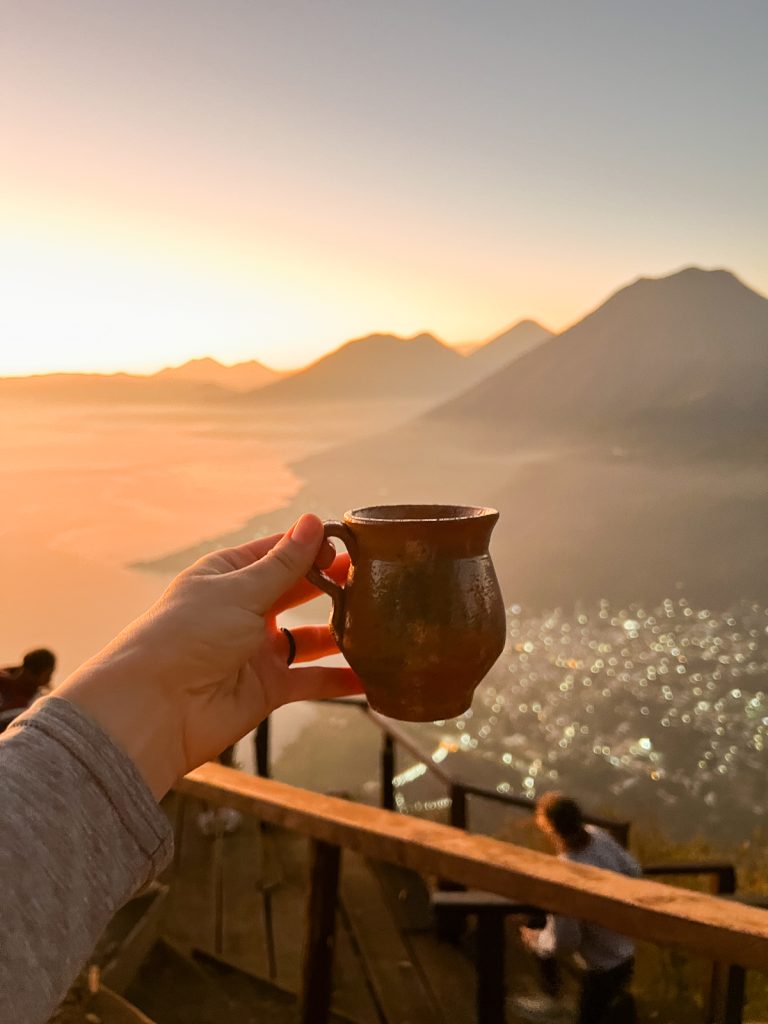
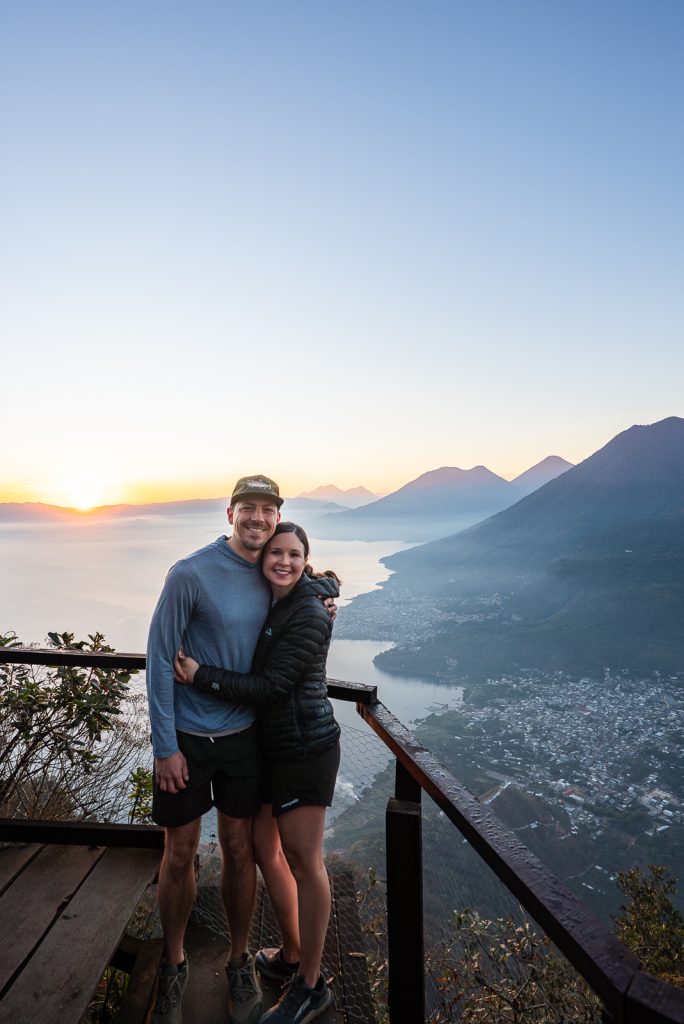
We were also given either hot chocolate or coffee (made over the fire!), plus sweet bread, to enjoy during this time. This is included in most tours and a serious perk after the hike up!
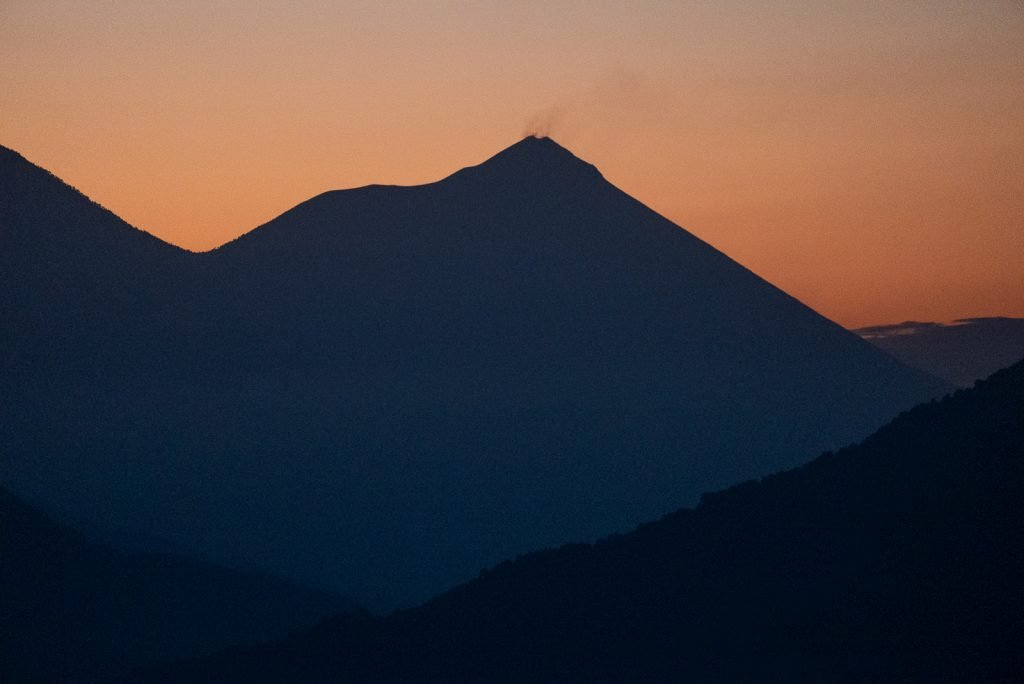
Over the next 45 minutes, the sun slowly started to pop up behind the mountains, turning the scenery from black, with just the flickering of lights in the towns, to pink and purple hues, to a full on golden explosion of light. It felt like a painting! 😍
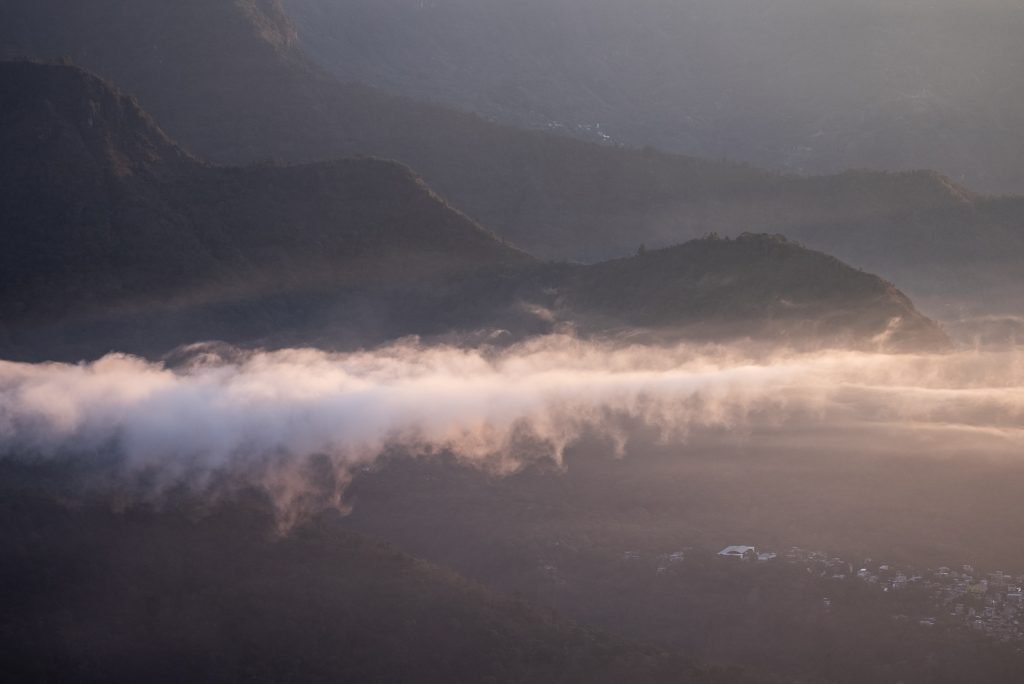
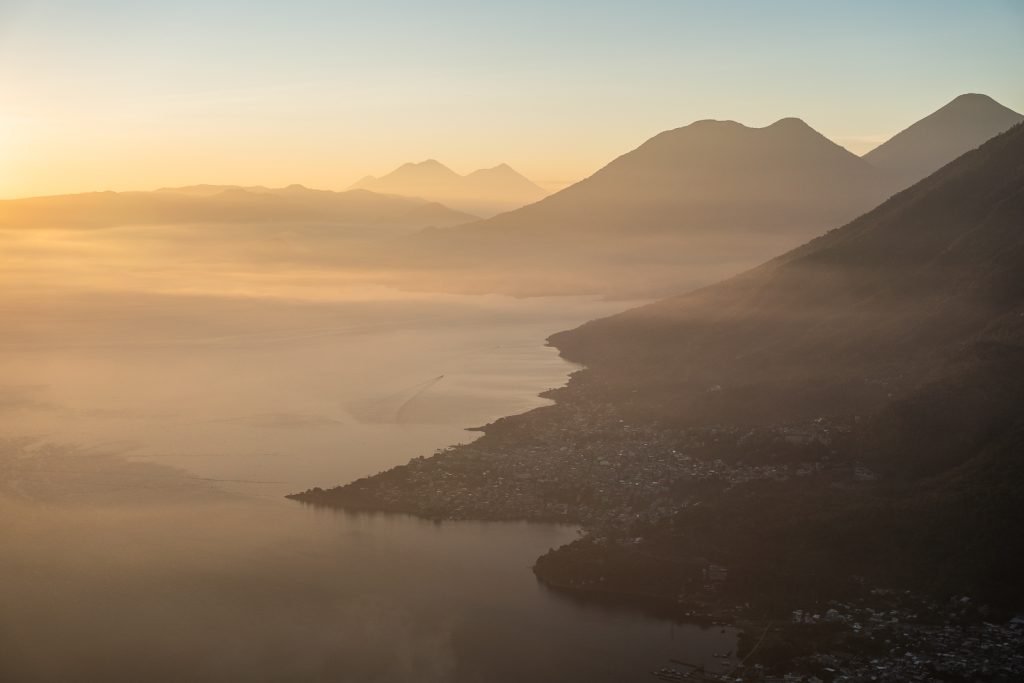
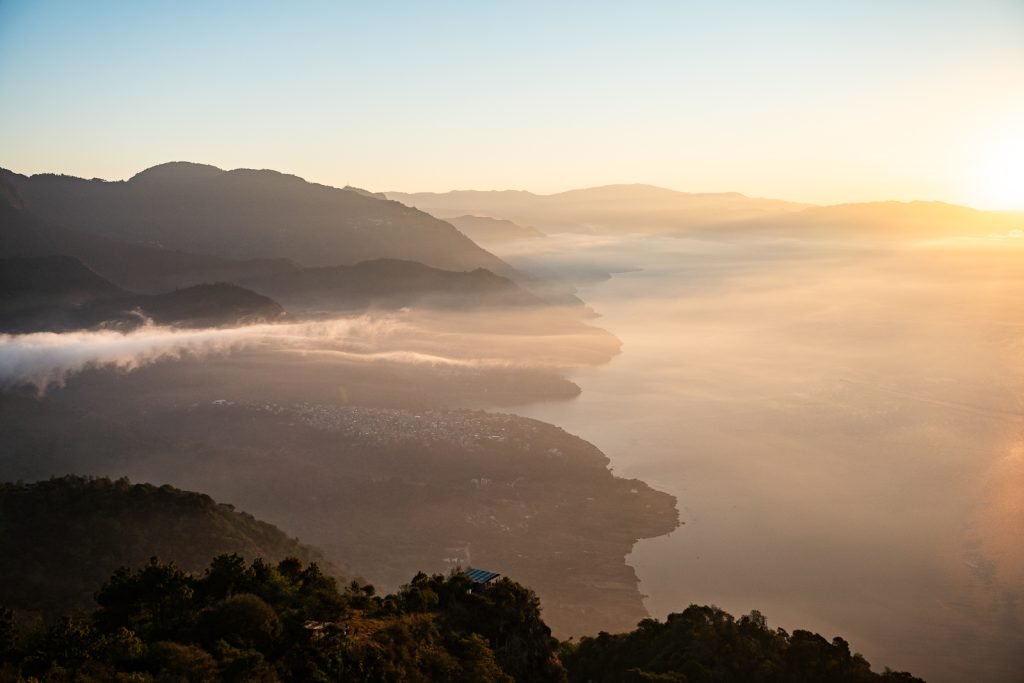
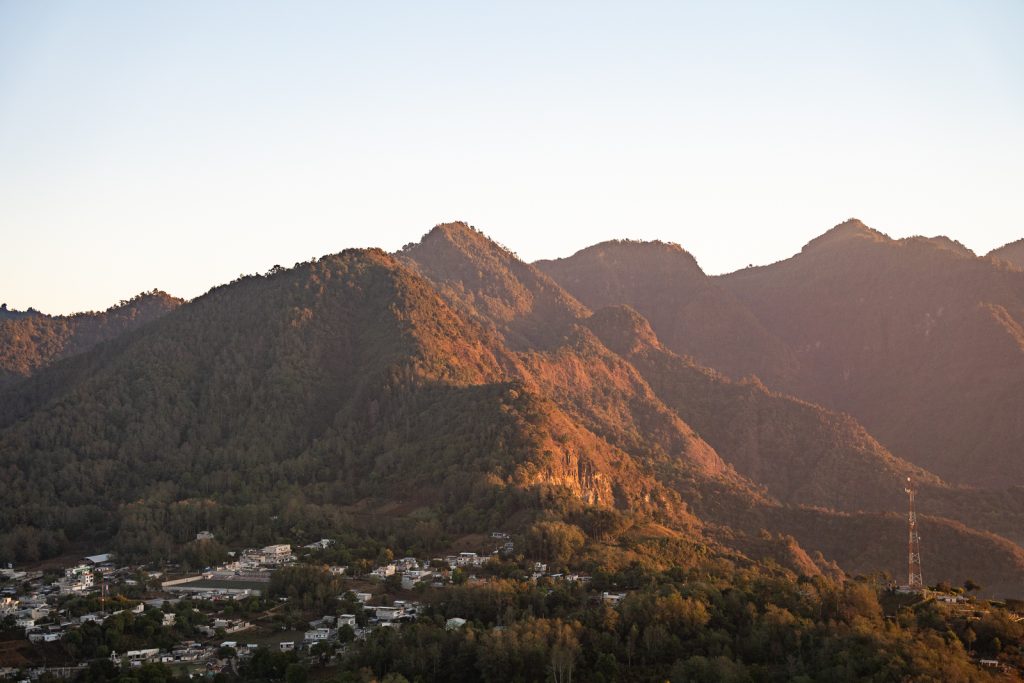
And even though it was busy at the top, it didn’t really impact the experience. Just be patient with trying to get photos and share the best photo spots with others.
The hike back down
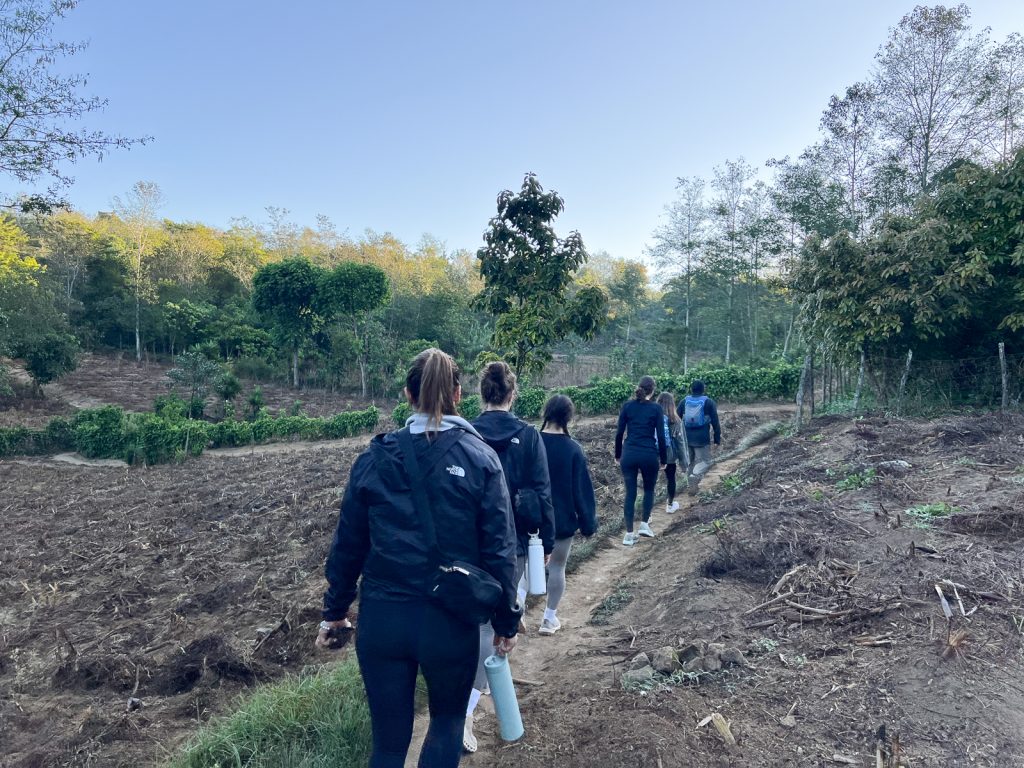
After the sun rises, the hike down begins! It’s a steep downhill hike at first, turning into a more gradual uphill and flat trail at the end. Since the hike up was in complete darkness, it was really neat to see the farmland we hiked up through in the daylight!
Returning to town
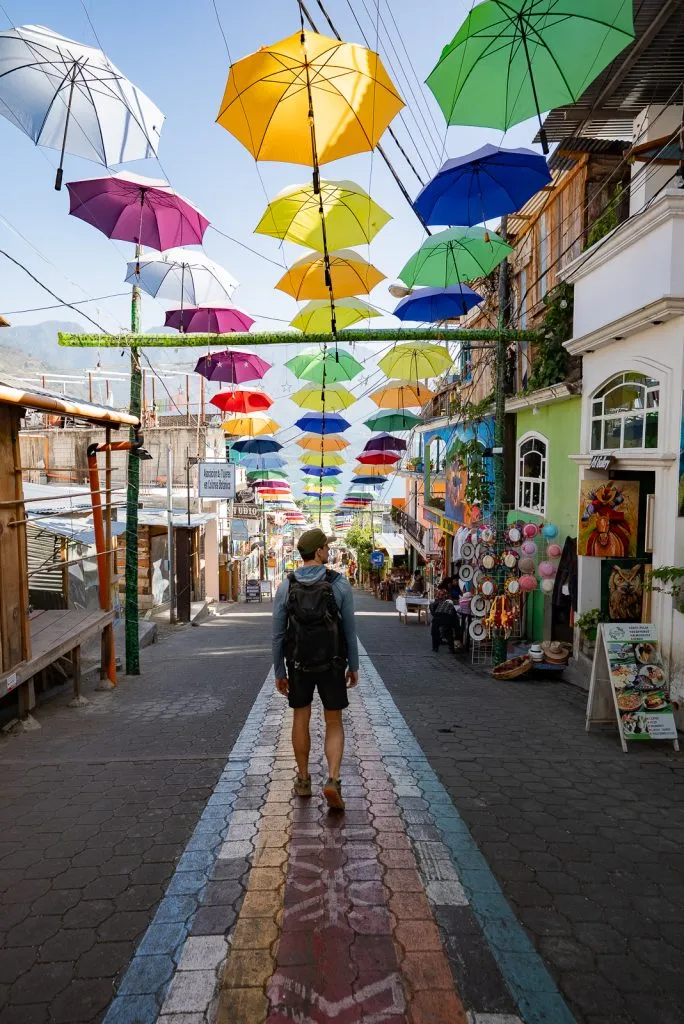
Once making it back to Santa Clara, you’ll hop into your shuttle and head back to your lodging! OR you can do what we did and asked to be dropped off in a different town. We chose to be dropped off in San Juan instead, since we wanted to explore there that day. It saved us the cost of a lancha or tuk tuk ride there!
You can expect to be back at your accommodation between 8:00-8:30 AM, leaving plenty of time to explore more of Lake Atitlán that day (or take a nap). Unsure what to do? Here are 21 fun things to do in Lake Atitlán to get you started!
Is the Indian Nose sunrise hike worth it?
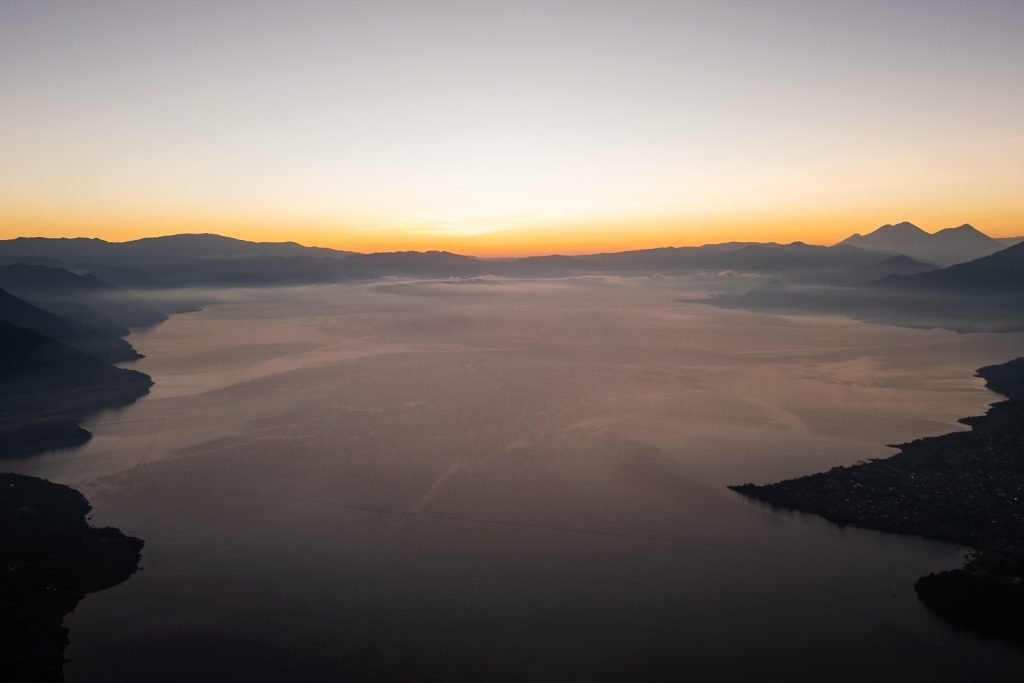
100% YES! While having our alarm go off at 3 AM was definitely not enjoyable, the second we arrived at the top and saw the lake from high above, we were SO glad we did it. We cannot think of a better way to start our day!
If the early wake up call isn’t for you, you could do the Indian Nose hike later in the day. But keep in mind that it gets pretty warm once the sun is out. Plus, during our visit in March (the dry season), the lake became very hazy everyday after sunrise. So the views wouldn’t have been nearly as clear if we had done this hike in the afternoon.
What to bring on the Indian Nose hike
Headlamp: The hike up to Indian Nose is totally in the dark, so you will need a headlamp! Many people in our group did not have one and our guide only had so many extras to share.
Good hiking shoes: This is a steep route with uneven terrain, so make sure to wear hiking shoes with good grip. We love our Altra Lone Peaks!
Layers: It is a lot cooler up on Indian Nose than it is down at the lake, especially before the sun comes up! Make sure to pack layers, including a pullover or sun hoodie, plus a puffy jacket (we love our L.L. Bean Ultralight 850 Down jackets!).
Cash: If going with a guide, make sure to bring some cash for a tip! And if going on your own, you will need cash to pay locals along the way for trail access.
Water: With the altitude and steepness of the hike, you will want to have water to stay hydrated. A Camelbak makes it easy to carry and drink water while hiking!
Snacks: Although you do get coffee and some bread at the top, we were pretty hungry after the hike up. So pack a few extra snacks to enjoy while up there or on the way down!
Save this guide to hiking Indian Nose for sunrise