Last updated on July 23rd, 2025
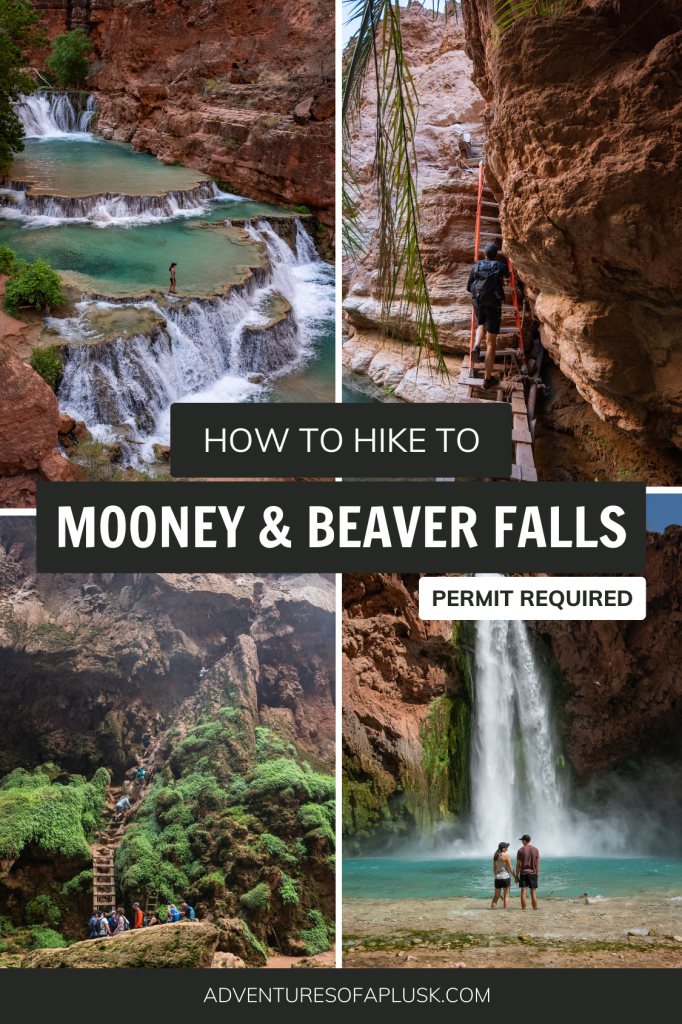
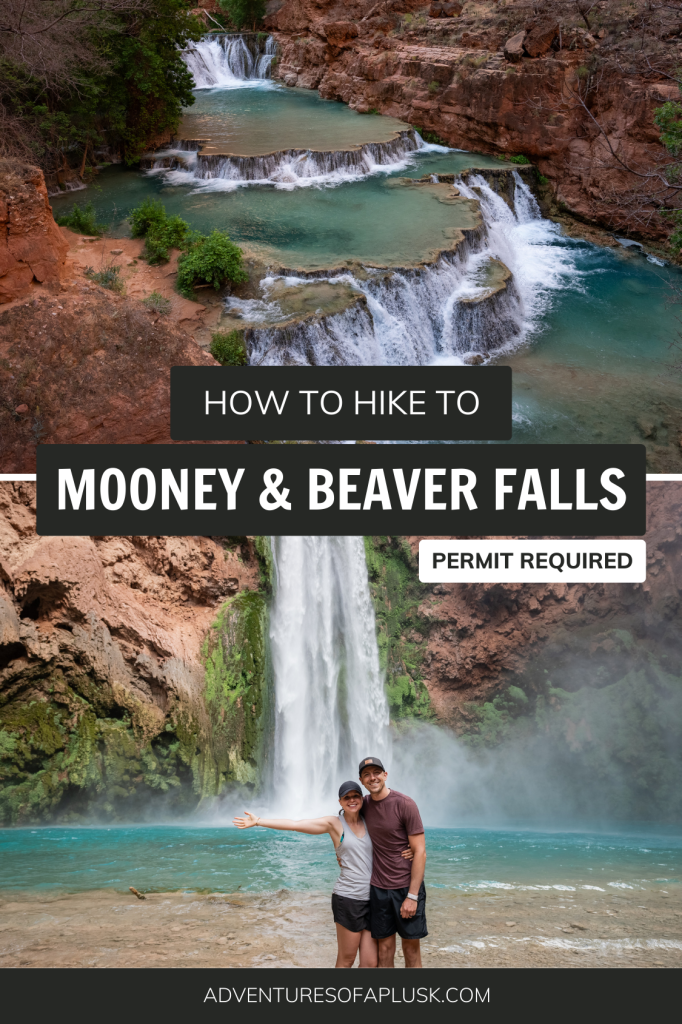
Want to experience Mooney Falls and Beaver Falls in Havasupai, Arizona? We’re sharing how to hike to both of these magical waterfalls during your Havasu Falls adventure.
Havasupai may be most famous for Havasu Falls, but in our opinion, Mooney Falls and Beaver Falls are even more stunning!
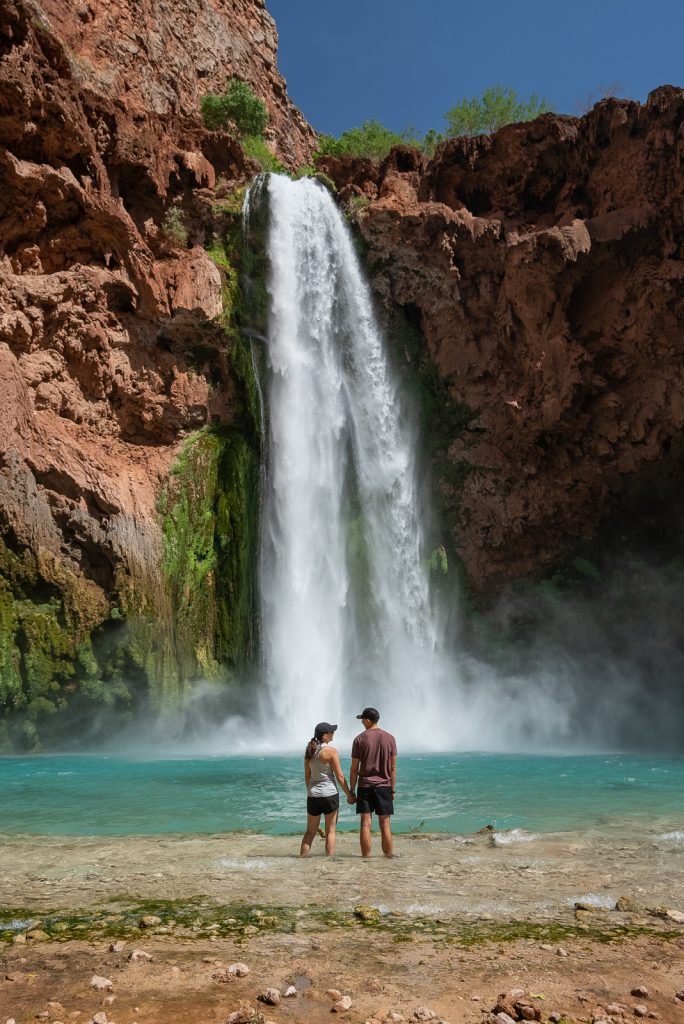

Although these two waterfalls require a bit of extra hiking, as well as some sketchy climbing, they were definitely the highlight of our backpacking trip to Havasupai. The crazy height and power of Mooney Falls, combined with the oasis-like setting and cascading levels of Beaver Falls, makes for one jaw dropping adventure.
And if you’re on the fence about whether or not to add these two falls to your Havasupai adventure, or just want a better idea of what to expect, we’re here to help! In this guide we’re covering all of the details you need to know to visit both Mooney Falls and Beaver Falls, including our honest thoughts on the sketchy Mooney descent.
Check out these other resources for Havasu Falls:
- Hiking the Havasu Falls trail: Everything you need to know!
- How to get a permit for Havasupai Falls (2025)
- A complete guide to camping at Havasu Falls
- The ULTIMATE Havasupai Packing List
- How to hike to The Confluence (Havasu Creek and the Colorado River)
- Watch our experience at Havasu Falls (YouTube video)
How long is the hike to Mooney Falls and Beaver Falls?
Havasupai is home to five major waterfalls: Fifty Foot, Navajo, Havasu, Mooney, and Beaver Falls. For some visitors, visiting the first three, which are all located before the campground, is enough. But for the extra adventurous, we highly recommend adding on Mooney Falls and Beaver Falls.
Mooney Falls and Beaver Falls are located past the campground. To get to the start of Mooney Falls, it’s about an 11 mile walk (one way) from the trailhead, or about a mile (one way) from the start of the campground. You can see the AllTrails map here!
Once you get to the start of Mooney Falls, it’s a short, but intense climb down to Mooney Falls (more on that in a bit), then about a 6 mile round trip hike to Beaver Falls, which features some fun ladders along the way. Depending on how much time you spend at the waterfalls, hiking to both Mooney Falls and Beaver Falls will take around 4-6 hours total. Or closer to 10-12 hours if you decide to add on The Confluence as well!
You MUST have a permit to hike to any of the waterfalls in Havasupai! We share everything you need to know about Havasupai permits, plus how to get one, in this detailed blog post.
What to expect hiking to Mooney Falls and Beaver Falls

The hike to Mooney Falls and Beaver Falls is relatively straight forward, with a pretty well defined path along the way. However, you will have multiple obstacles, like ladders and water crossings, to be aware of. Below is a step by step guide of what to expect when hiking to Mooney Falls and Beaver Falls!
The climb down to Mooney Falls
We will say, the first part of this experience is easily the toughest. Both mentally and physically. Your first challenge will be to get to Mooney Falls. This requires you to climb down a 200 foot tall cliff to the base of the falls.
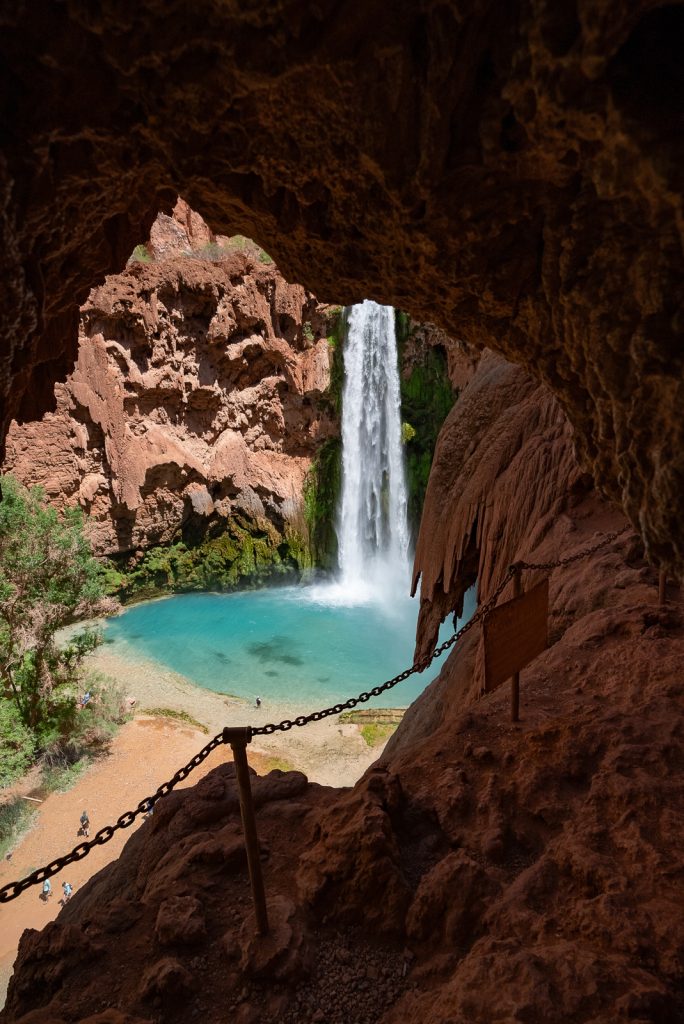
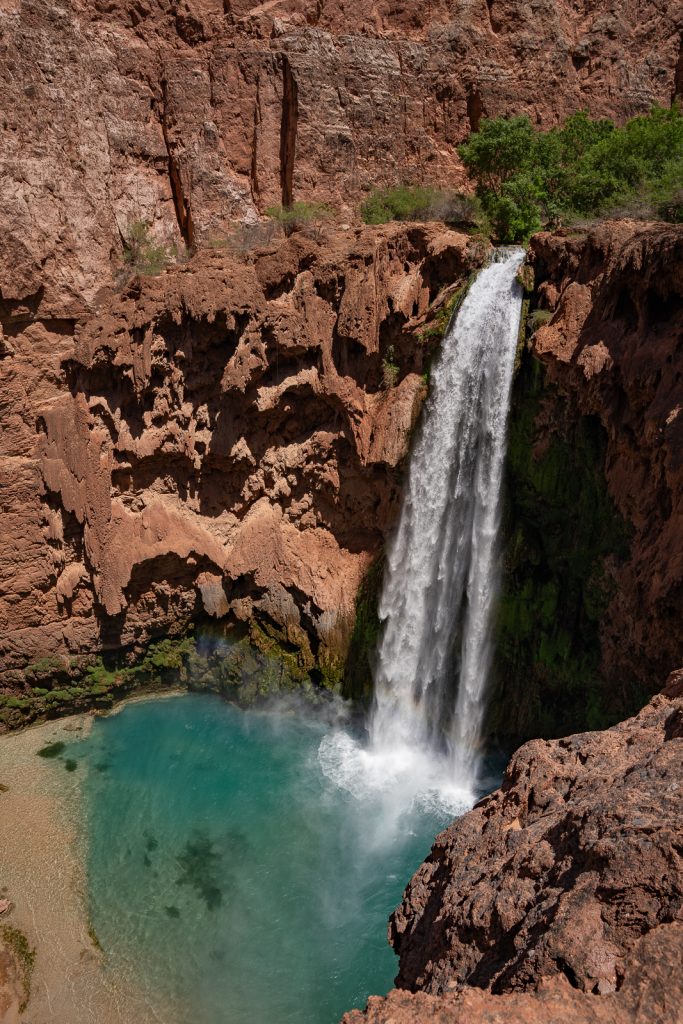
The first part of this climb is fairly easy, with a trail etched into the cliff, which you walk to a more open area. From this spot you have a great view of Mooney Falls! So if this is all you feel comfortable doing, don’t worry, you can still see the falls without making the majority of the descent.
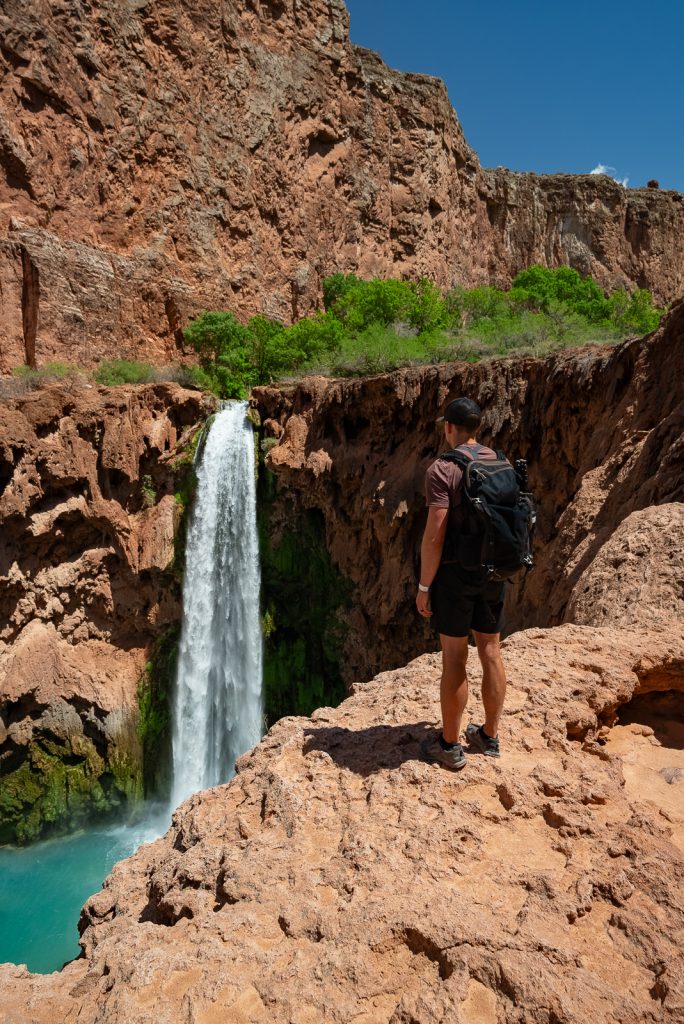
You’ll climb down a tiny bit more, where a “descend at your own risk” sign will appear. This is when things get a bit sketchy. To continue on, you’ll have to go through two tunnels. The first tunnel looks very steep at first, but it has steps and is easy to descend. It can be dark inside, so bring a headlamp in case you’re climbing close to sunrise or sunset. We also loved how quiet the tunnel was. The roar of the waterfall is loud from outside, but as soon as you enter the tunnel, the sound almost disappears.
After exiting the tunnel, you’ll have another cool view of Mooney Falls before entering your second and final tunnel. This one is a bit shorter and exits right where the rest of the descent begins.
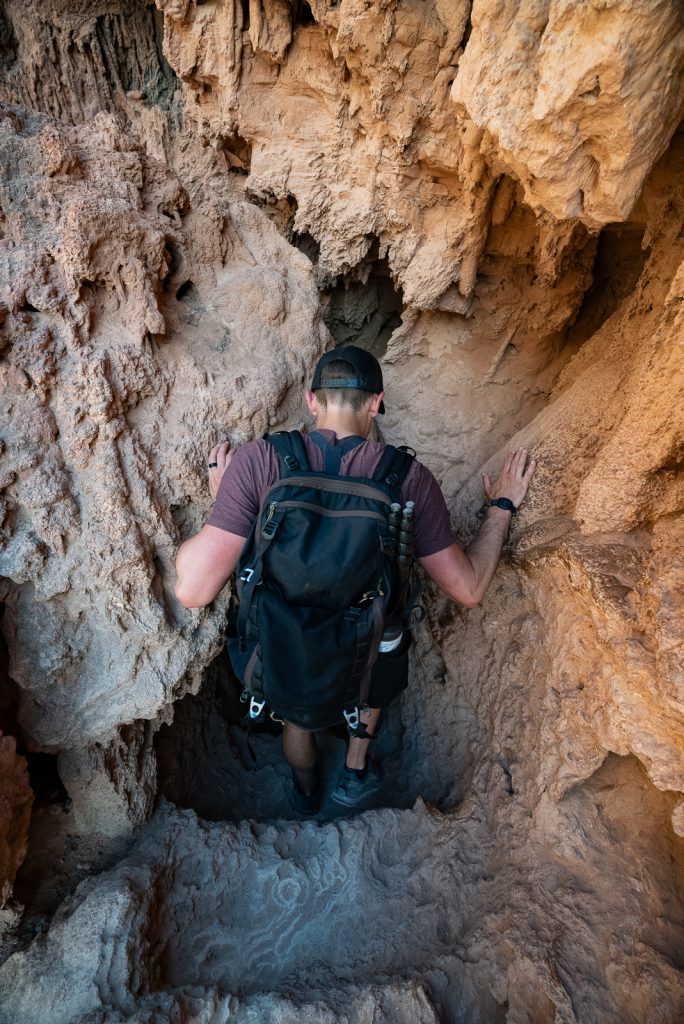
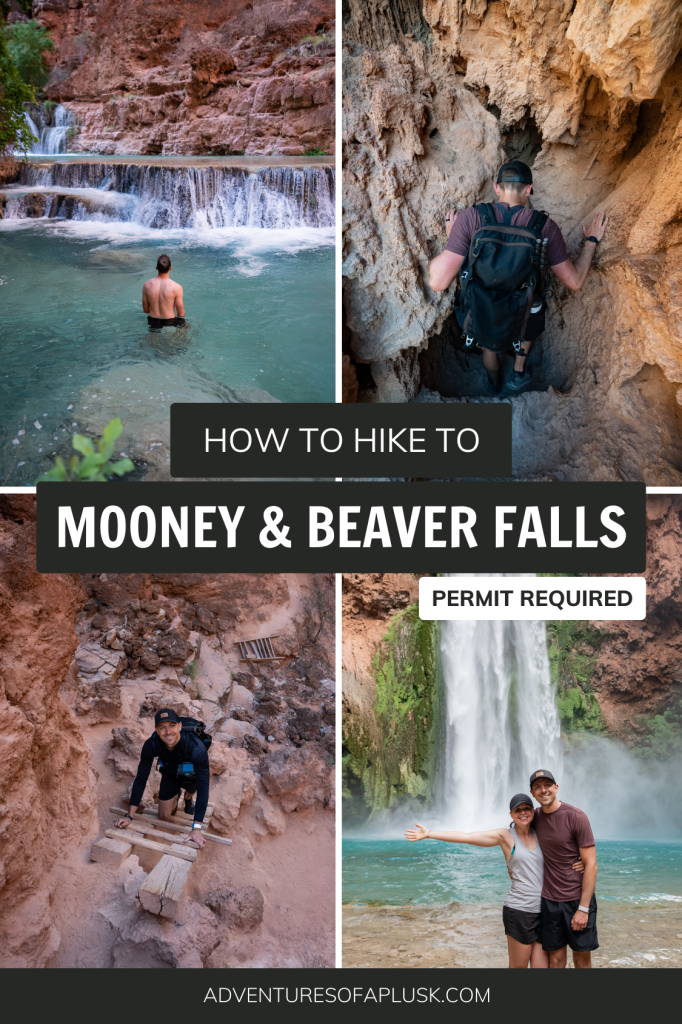
From here, you will have to climb down rock steps and the cliff face, using chains, metal anchors, a rope, and ladders to help you. We did the first short section (with some steps) facing the waterfall, before turning around and facing the rock wall the rest of the way down. This means that you will be looking down and backwards to figure out where to put your feet.
We’re not going to lie, we did NOT enjoy this part of the hike. Leading up to our trip to Havasupai, we were pretty nervous about the Mooney descent. And to be honest, it was just as scary as we feared.
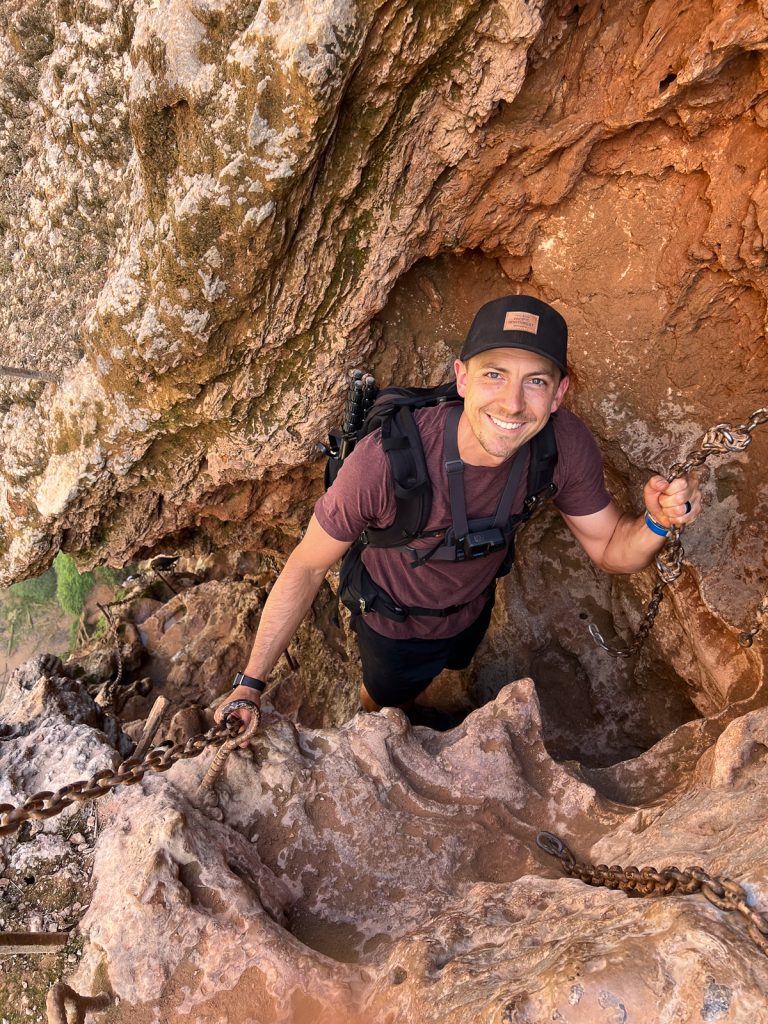

However, everyone has a different comfort level and some people love it! So you may not find it to be scary at all. But for us, it was a mental challenge. Even though we have hiked hundreds of trails, including some really tough ones, we aren’t climbers, so the feeling of climbing down, while not being able to see very well where to go next, and relying on chains, was terrifying for us.
But despite being scared the entire climb down…we did it! Twice actually (we went down the next day to do The Confluence as well).
Thankfully the rocks are pretty grippy, even as you’re being blasted by mist. And while some of the movements you have to make are a bit awkward and some of the foot holds were a bit far apart, making it a bit tougher for 5’5” Kathryn, it was doable. Especially if you use your upper body strength to help pull you down or up.
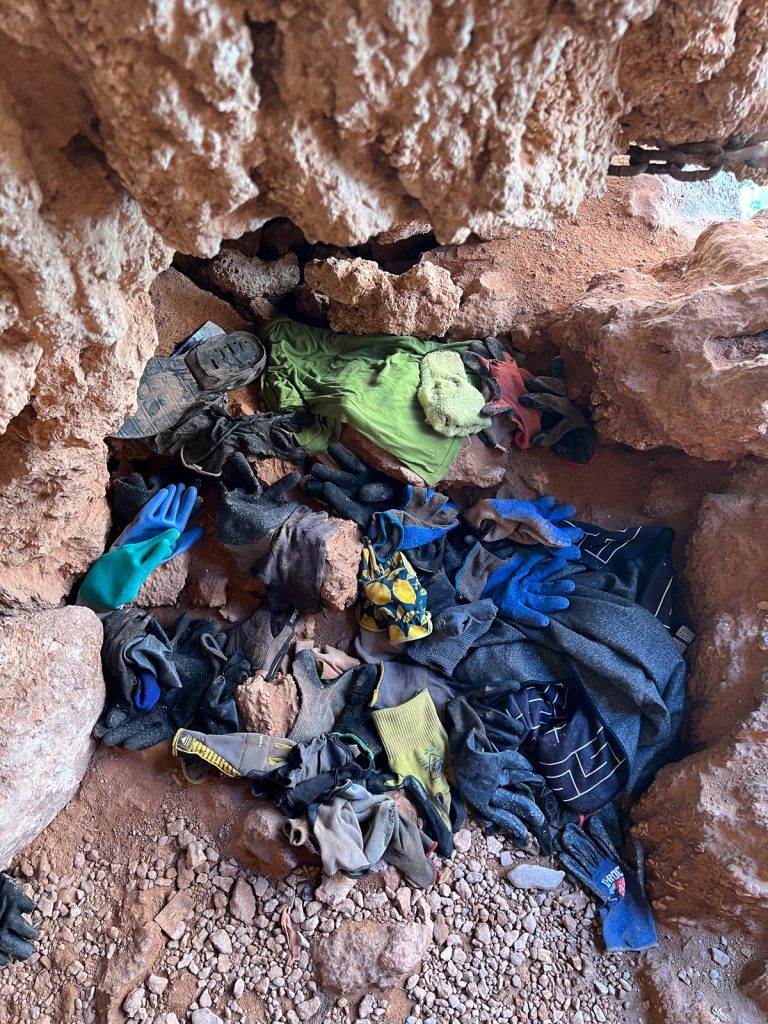
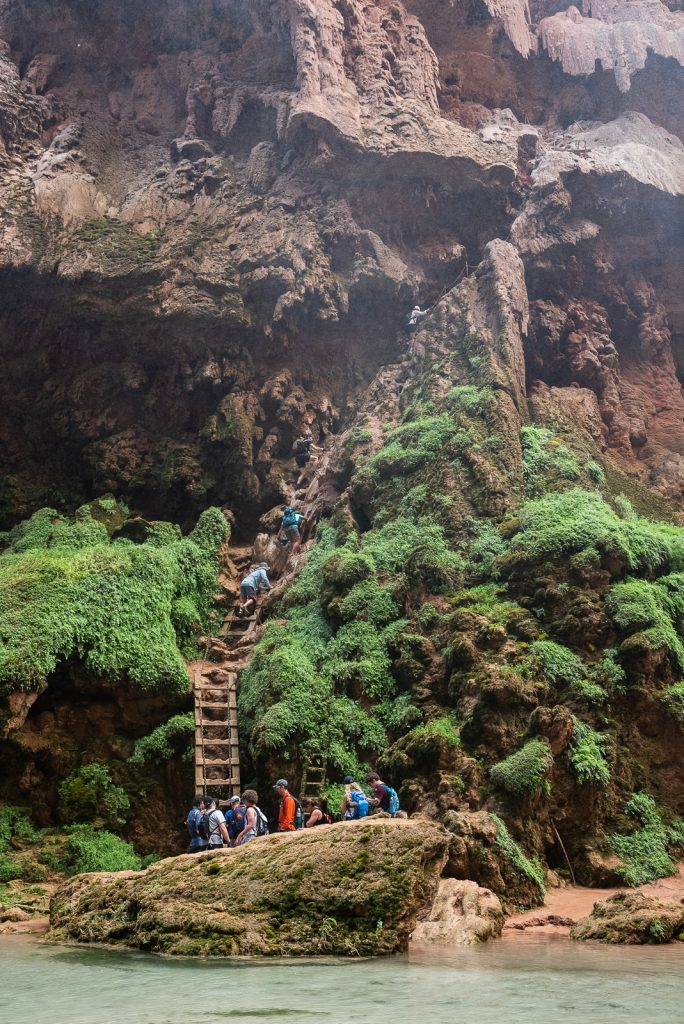
If you just take your time and always have three points of contact, you’ll be okay! It also helps to have someone more confident go first and help guide you with where to put your feet. And many people like using gardening gloves (there is a pile of leftover ones) for this section to feel like they have more grip with their hands.
While going down was hard for us, we will say that going up was MUCH easier. And kind of fun! It really helps to be able to see where to go, instead of turning around and looking down.
You may be wondering…what if someone is coming up while you are going down (or vice versa)? From our experience, groups will wait until it’s clear to either hike up or down, so that there is only one direction going at a time. Make sure to look beforehand to see if anyone is already climbing before you ascend/descend. And communicate clearly with other groups to decide who gets to go! It helps to go early or later in the day, when there are less people around, to avoid this dilemma.
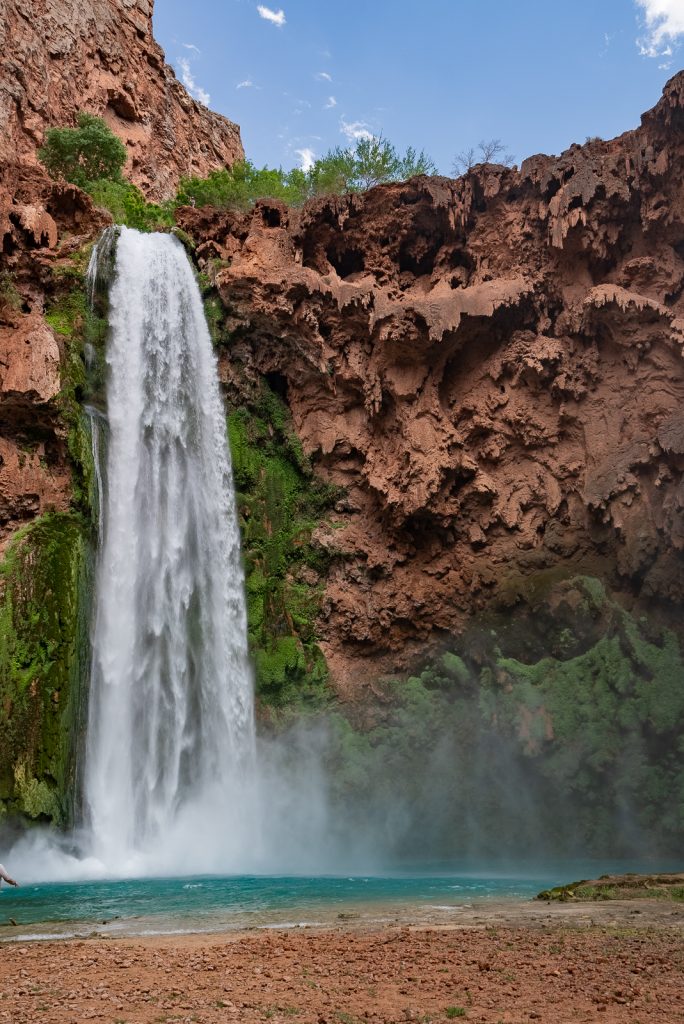
Mooney Falls

You made it to Mooney Falls! Once getting off the final ladder and back on solid land, you’ll want to cross Havasu Creek to get to a more open area to experience the falls. While at Mooney Falls you can find a rocky beach, a more shaded area with smaller pools of water, and a picnic table.
Oh and LOTS of mist! The waterfall is extremely powerful and it is pretty crazy to watch how hard it hits the pool of water below, plus see the mist floating through the air. You will get blasted with mist here, which may feel nice on a super hot day. But with clouds coming in and out for us, plus not the hottest of temperatures, it felt ice cold to us.
Because of how powerful Mooney Falls is, DO NOT get too close to the falls. There can be a strong undertow and people have died by getting too close. We suggest staying close to the shallow area right by the “beach.”
The hike to Beaver Falls
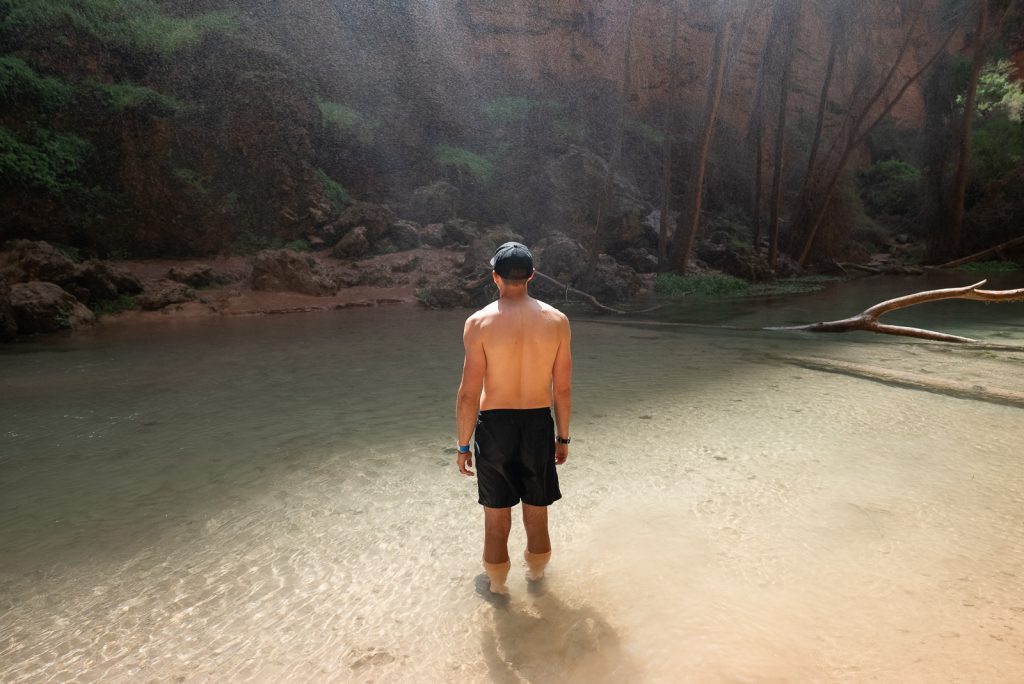
After spending time at Mooney Falls, it’s time to head to Beaver Falls! To get to Beaver Falls you’ll want to cross back over Havasu Creek and follow a trail that continues into the canyon.
This first part of the trail after leaving Mooney was the most confusing for us. It is very braided, with lots of options to choose from. This is where the offline AllTrails map came in handy! We originally stayed more to the right, close to the creek (which is beautiful!), but the actual trail is a bit more in the center of the canyon walls. Thankfully since the trail braids so much it isn’t too hard to find your way back to the right spot.
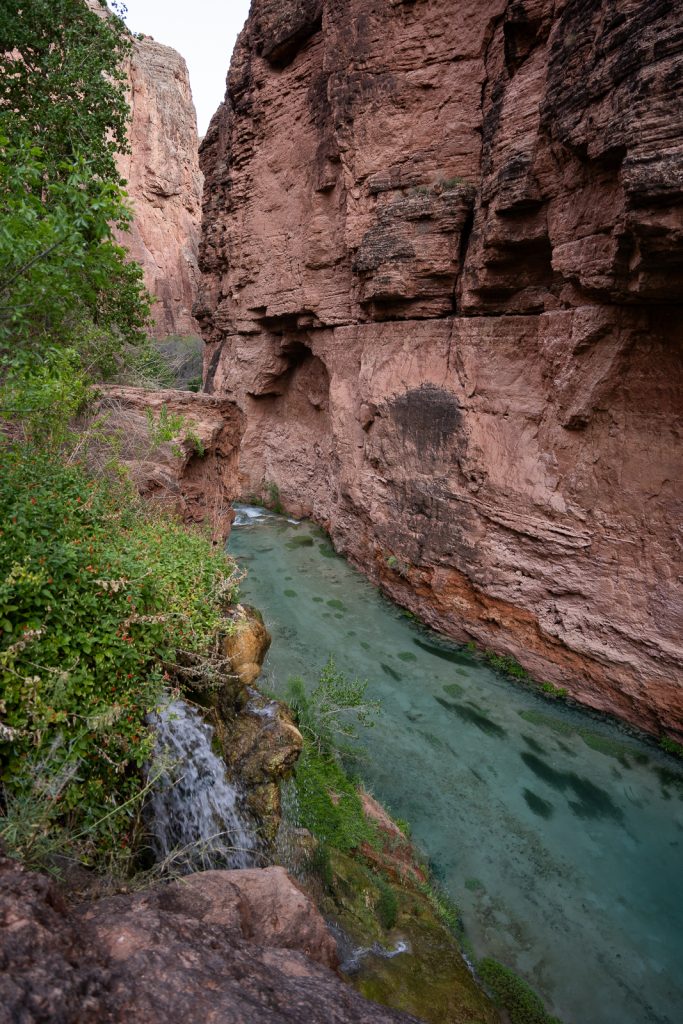
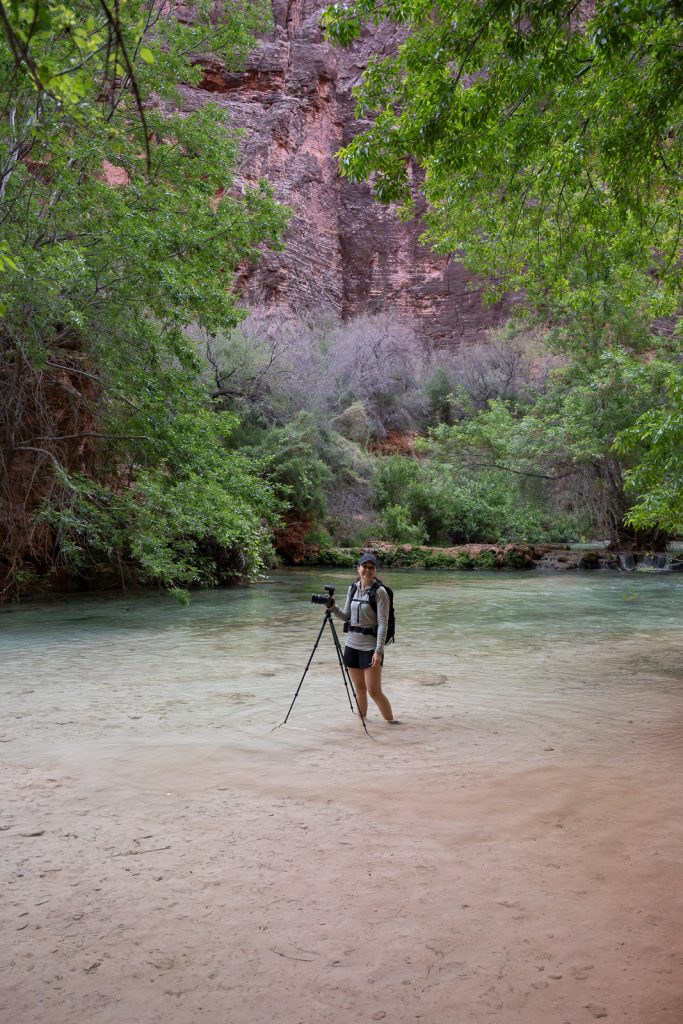
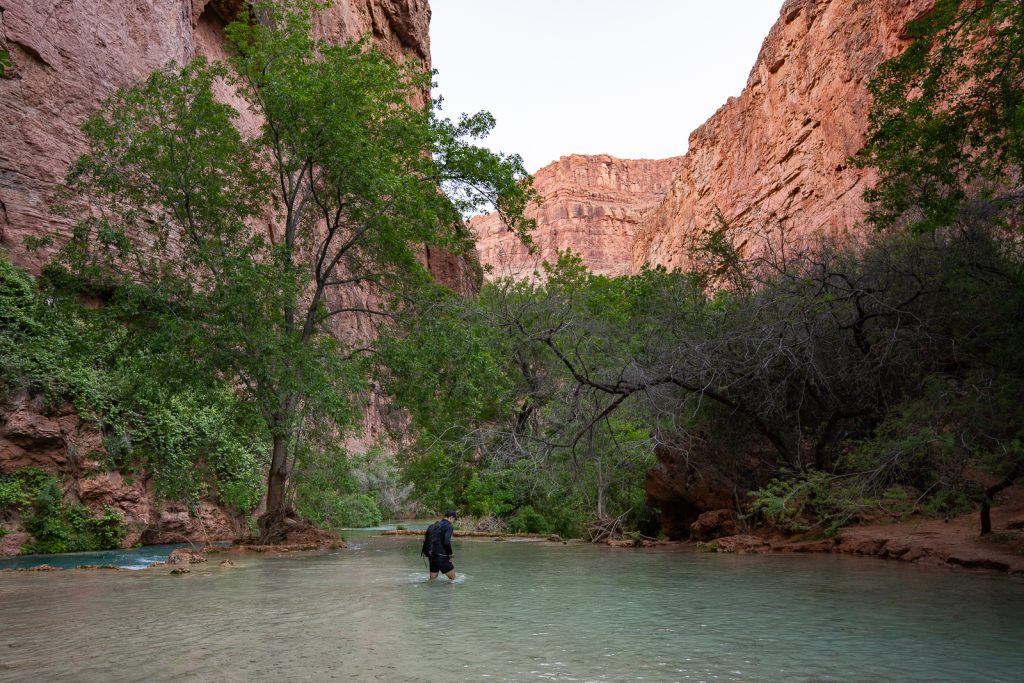
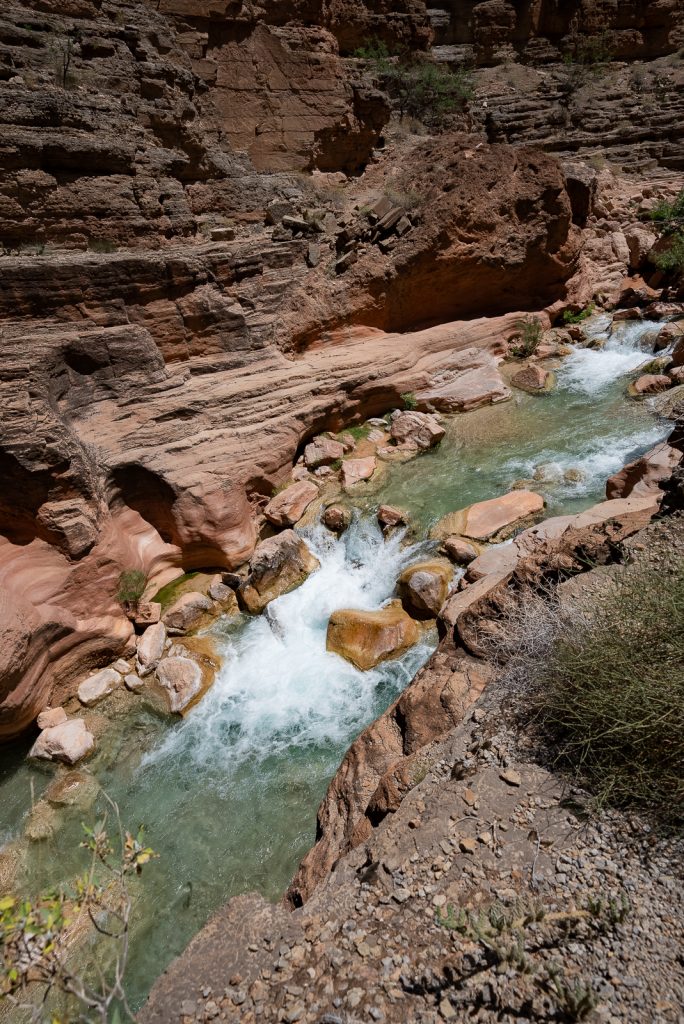
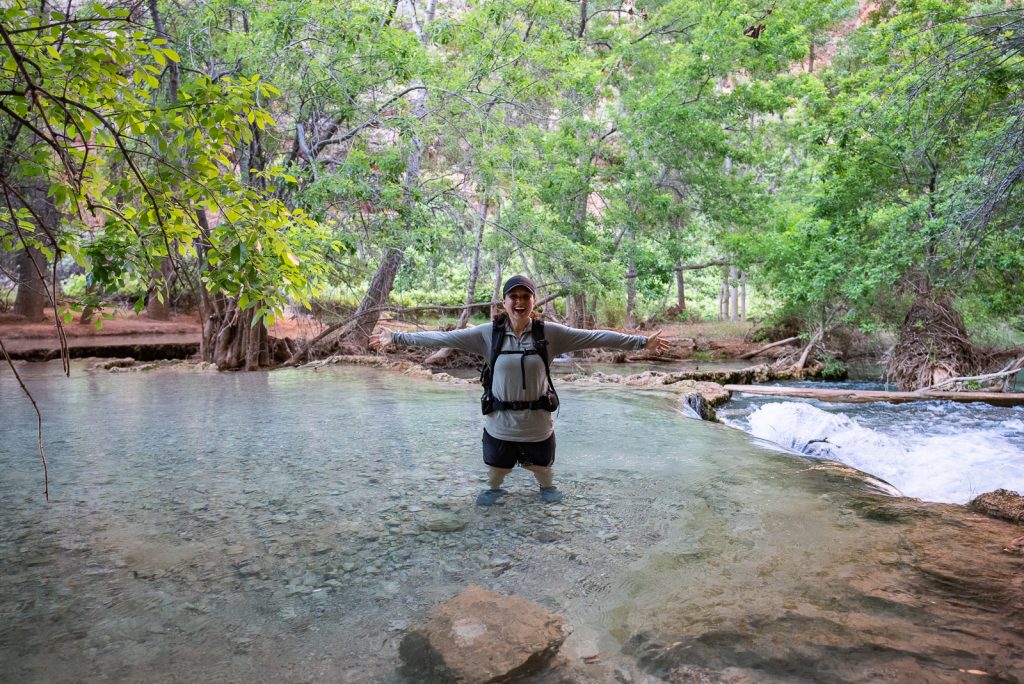
The trail travels through lush meadows of vines and trees as you parallel and cross Havasu Creek a handful of times. We found the water crossings to be SO FUN! The depth of the creek crossings depend on the time of year and the height of the hiker. When we visited, the deepest crossing got to about our upper thighs. So you will get wet!
Many people choose to bring a pair of water shoes for the crossings, but we wore our Altra Lone Peak trail runners and left them on. It saved a lot of time not having to constantly switch socks and shoes.
If you’ve seen pictures of Beaver Falls before, you’ll know that it has multiple cascading pools. Along the trail to Beaver Falls you’ll see lots of smaller waterfalls that look similar, which may be confusing. But keep going! There will be a sign when you make it to Beaver Falls.
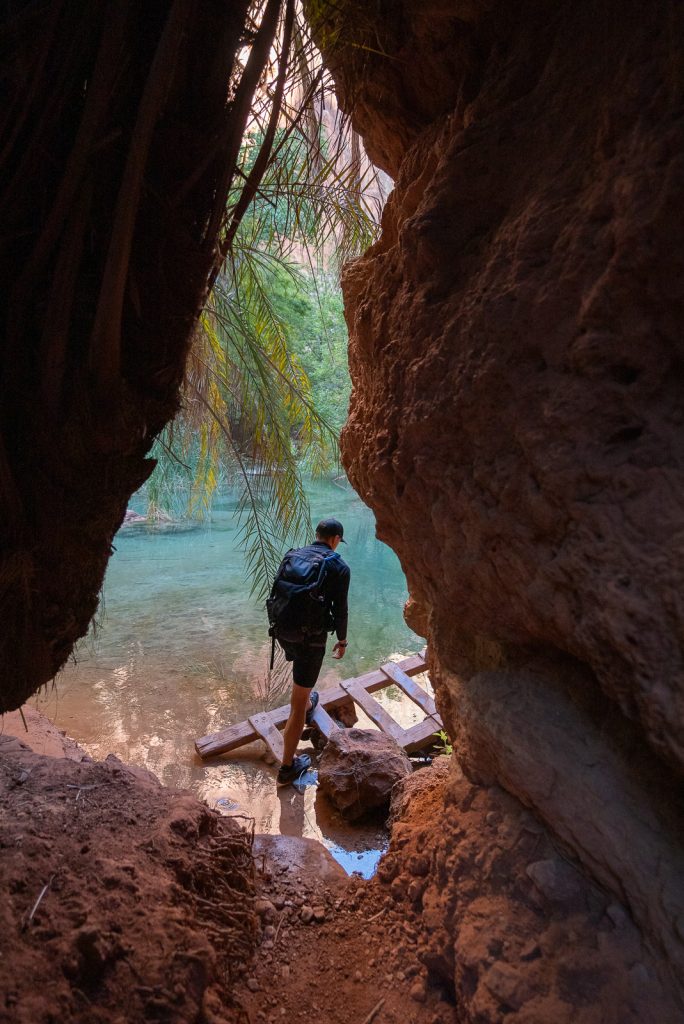
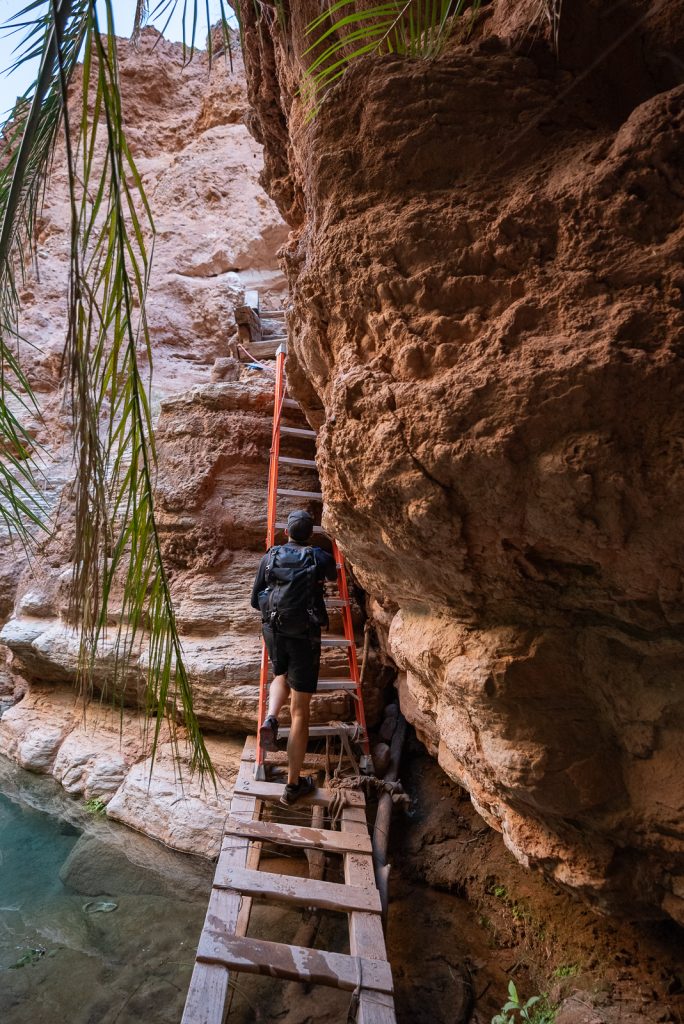
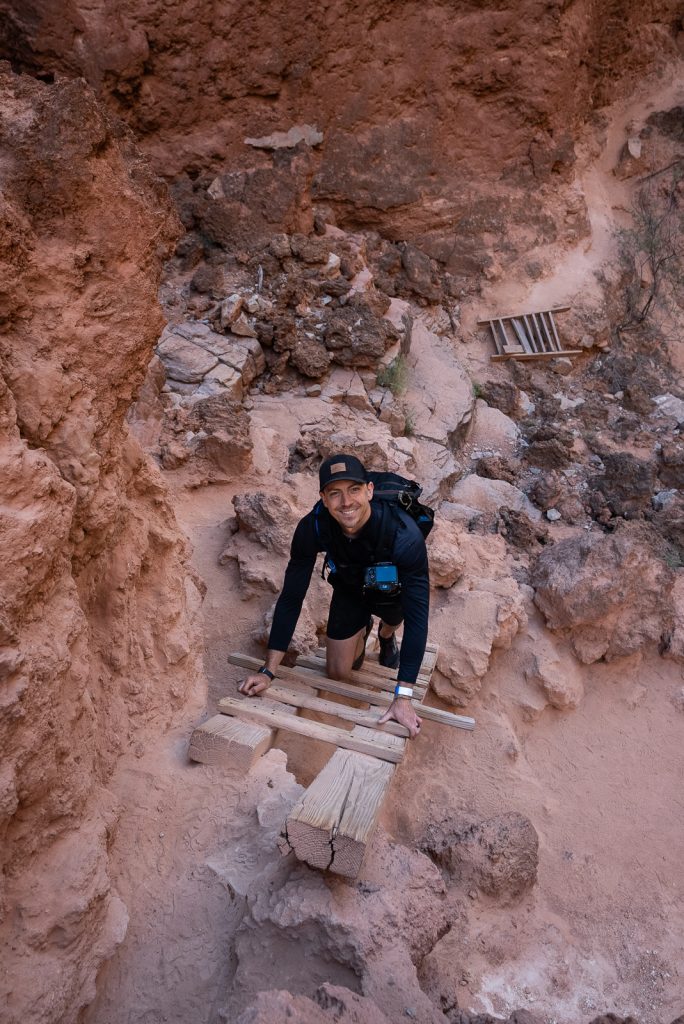
Along the trail you’ll come across multiple sets of ladders. The first set are short and wooden and are easy to climb. As you get closer to Beaver Falls you’ll reach a very large palm tree. You actually pass under the palm tree to continue the trail and right as you exit, you’ll see a small wooden bridge that leads to a vertical metal ladder. This ladder is just like one you’d have at home and is secured with ropes. Despite being so scared of Mooney Falls, we thought this ladder was a lot of fun!
After getting up the ladder you’ll be hiking up a cliff, with some rocky steps and some scrambling. But it is nothing, in our opinion, compared to Mooney Falls. Once tackling this section you’re pretty close to Beaver Falls!
Beaver Falls

Your first glimpse of Beaver Falls will be from high above and you may be wondering “how do I get down there?” And the answer is: more ladders! There are two more ladders to descend down to Beaver Falls. But they aren’t any more difficult than the ones you experienced along the trail.
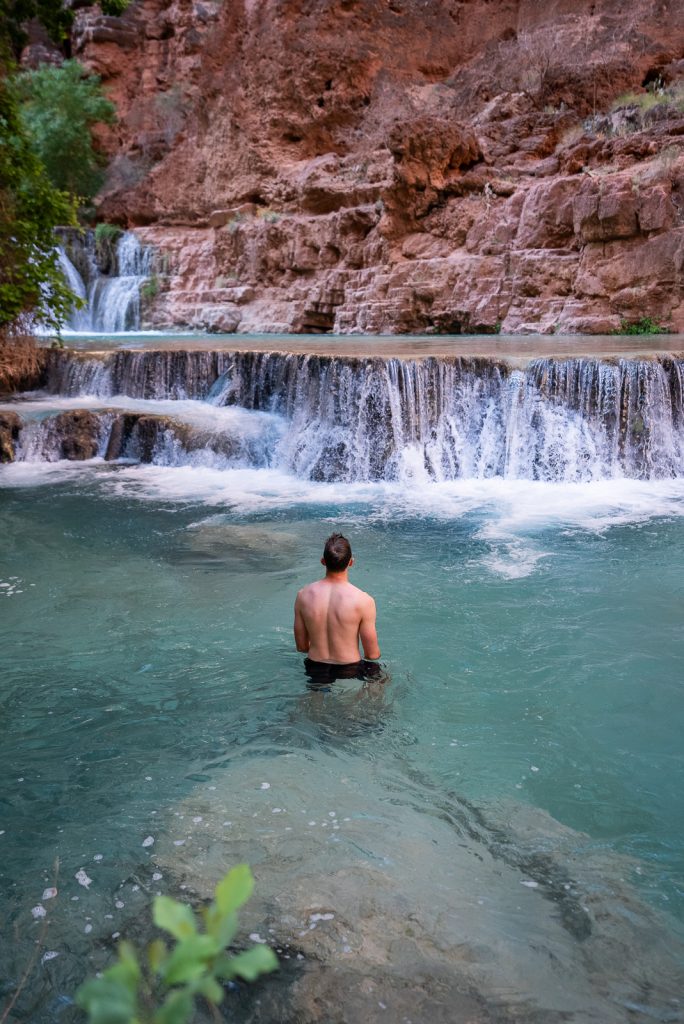
And once you make it to the bottom, it’s time to relax! Beaver Falls features several pools created by natural dams built by the minerals in the water. Plus waterfalls flowing between each one. It’s unlike any of the other waterfalls in Havasupai!
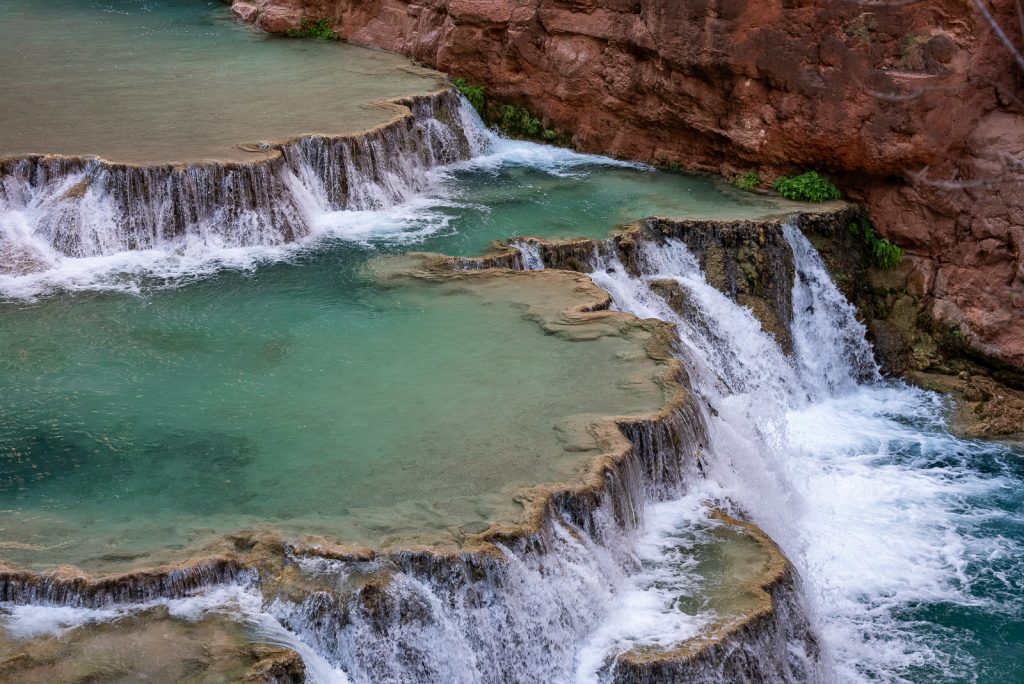
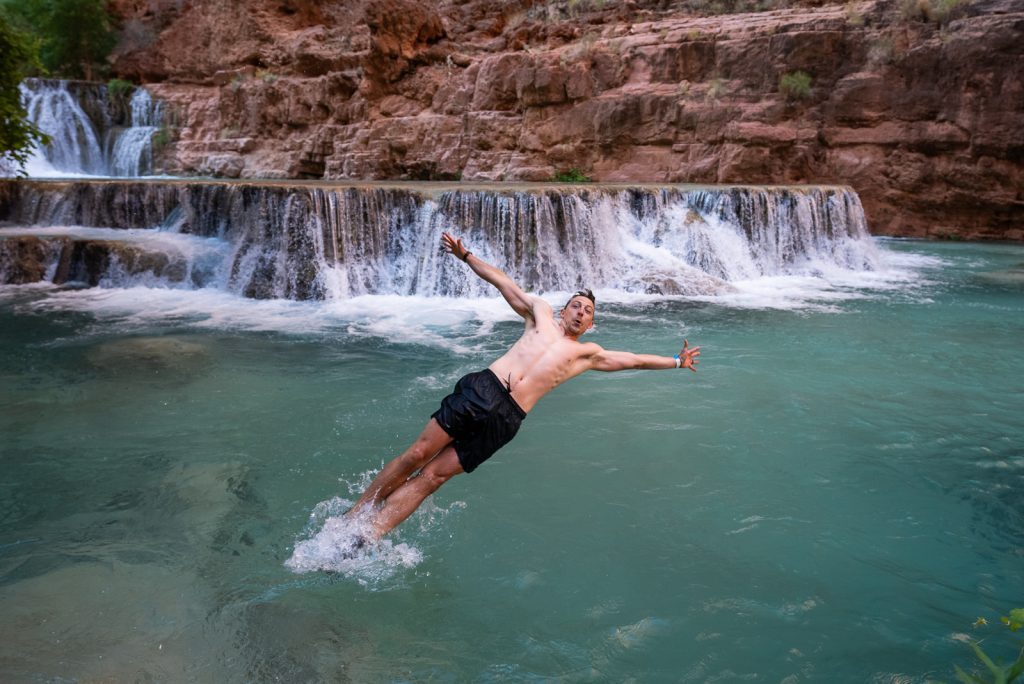
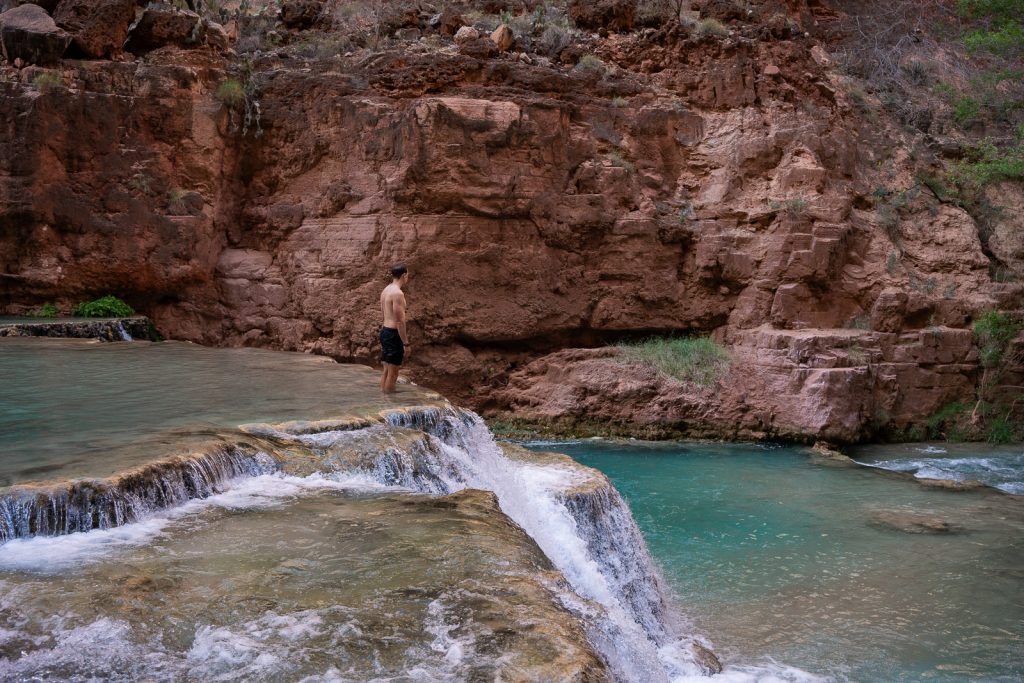
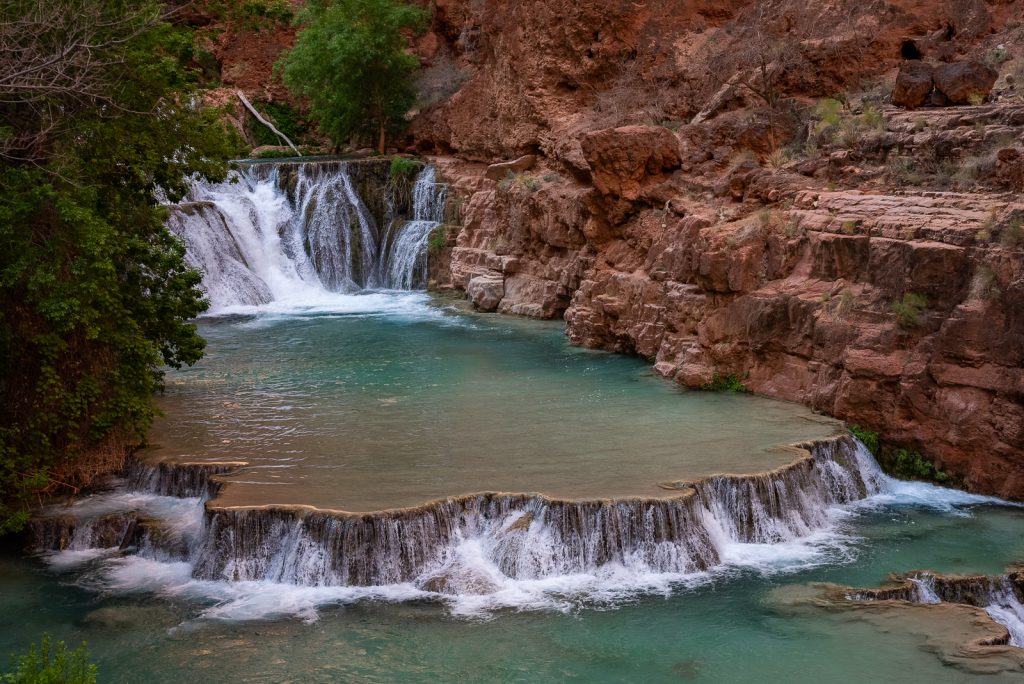
Because of these pools, it is much safer and more pleasant to swim at than Mooney Falls. However, the water is still pretty powerful at Beaver Falls, so you will have to actively swim at times. But we loved hanging out here! You truly feel like you’re in an oasis, with the bright blue water and surrounding green trees.
Continuing on to The Confluence
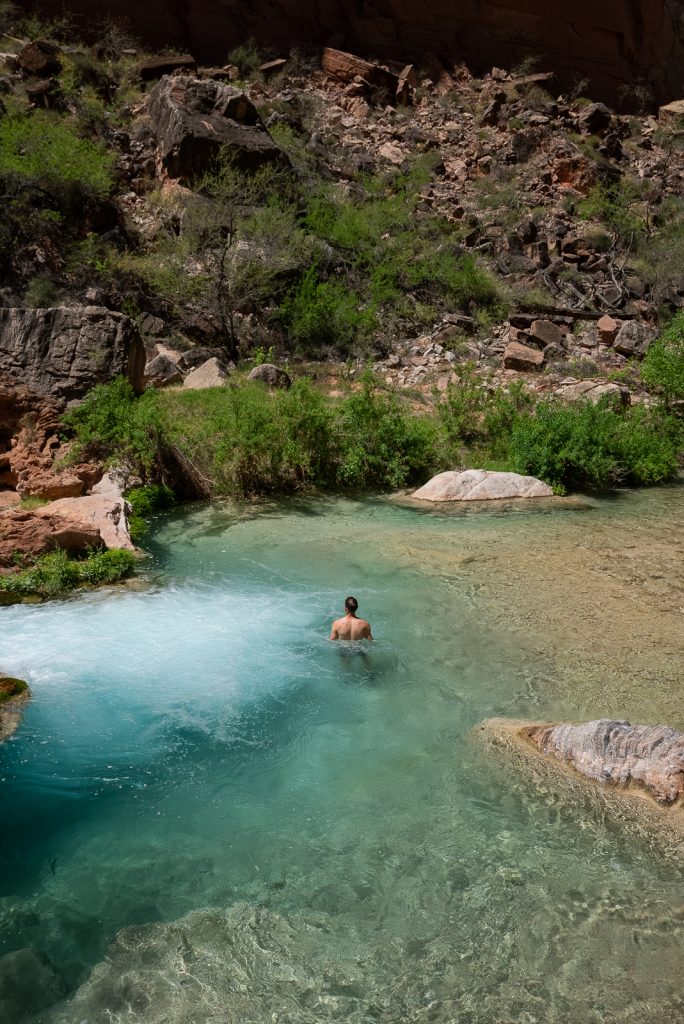
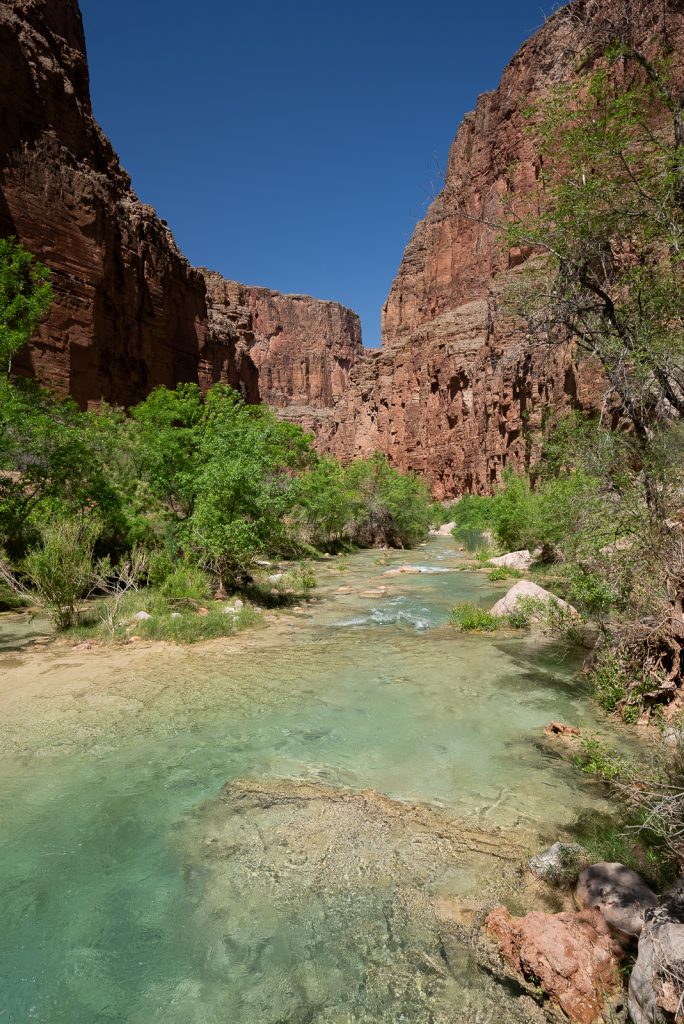
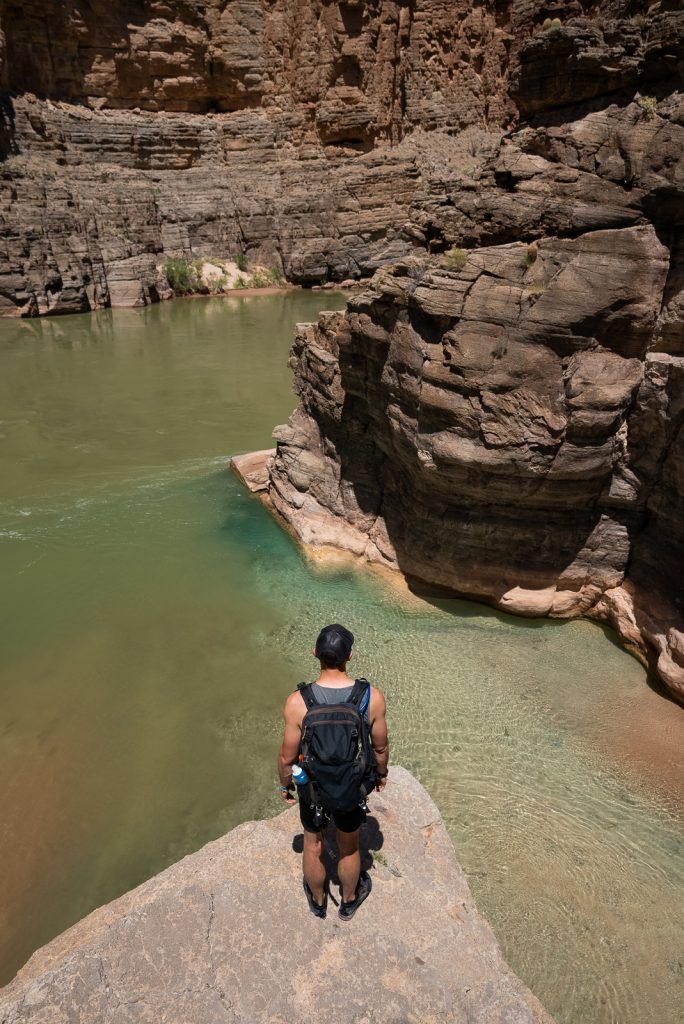
After hanging out at Beaver Falls you can either turn around and head back the way you came or continue on the trail and hike to The Confluence. This is where Havasu Creek meets the Colorado River.
However, it’s roughly 6 miles one way to get to The Confluence from Beaver Falls. And you are advised to not leave Beaver Falls past 10:30 AM in order to ensure you have enough daylight to complete the hike.
This additional hike isn’t for everyone, but we personally loved it. It was our favorite part of the whole Havasupai experience! While it is a very long day, along the way you get to experience many more water crossings, swimming holes, gorgeous canyon scenery, and bighorn sheep.
To learn more about hiking to The Confluence and decide if it’s right for you, check out our detailed guide with everything you need to know!
What to bring on the hike to Mooney Falls and Beaver Falls
We have a full Havasupai packing list with everything you need to bring for your multi-day Havasupai adventure. But since Mooney Falls and Beaver Falls are often done as day hikes from the campground, you won’t need to bring all of your gear. Here is what we suggest packing for your trek to these falls!
10 essentials
You should always carry the 10 essentials on any hiking adventure. Especially for the Mooney Falls and Beaver Falls portion of your Havasupai adventures. Unlike the first three waterfalls, you’re further from the village, the ranger station, and with less people around, it may be harder to get help if needed.
Day pack
You’ll want a smaller pack than your larger backpacking pack that you carried in. We backpack with the REI Co-op Trail 40 Packs, which when not stuffed with all of our gear, is no bigger than an average backpack. But for those hiking with more traditional backpacking packs, the Venture Pal 40L backpack is a great, foldable day pack to bring.
Proper shoes
On most hikes Kathryn wears Lowa Renegade GTX, but for our entire Havasupai hike (including Mooney Falls and Beaver Falls) we both wore Altra Lone Peak trail runners with wool socks, including in the water. We highly recommend them! They are lightweight and dry very fast (they were always dry by the morning)! And we saved a lot of time not having to take our shoes on and off for water crossings.
Some people choose to wear hiking boots out (we recommend Lowa Renegade GTX) and then bring a second pair of shoes for the falls, like Chacos or Tevas. While this option works fine, it will increase the amount of gear you have to bring.
Swimsuit
For the ladies, if you plan on swimming in Beaver Falls (which we highly recommend!), then make sure to wear your swimsuit. You could also just go into the water in your sports bra and hiking shorts, which is what Kathryn did most of the time, since it was more comfortable to hike in.
Quick drying towel
A quick drying towel isn’t a total necessity, but it is nice to have, especially for sitting on the ground, if you don’t have a table or chair.
Water
There are many water sources along the way, but you will need to filter it. For easy filtering on trail, we LOVE our Katadyn Water Filter Bottle. Our 3L CamelBak is also great for hiking, just make sure you filter the water before putting it in the CamelBak.
Electrolyte Drink
On hot days, we love drinking electrolytes to help keep us hydrated. And LMNT is our favorite! This would be a good addition to have for the hike to Mooney Falls and Beaver Falls.
Food
Make sure to pack a lunch and snacks to visit Mooney Falls and Beaver Falls! You can see all of the food we brought with us on our Havasupai trip in our packing list. Don’t forget, you MUST pack ALL of your trash out!
Gloves
Many people choose to wear gardening gloves (with grip) for the climb down to Mooney Falls. However, this is a personal preference. Kathryn wore them a couple times and thinks they may have helped, but Adam didn’t wear them and had no issues. There are piles of used gloves you can use, but we’d suggest bringing your own clean pair.
AllTrails map downloaded
Because of the canyon walls, GPS signals aren’t super accurate at Havasupai. But even so, we still suggest downloading the offline AllTrails map for this hike. For the most part, it will work and it did help us during the confusing section right after leaving Mooney Falls. It’s also nice to just track your progress!
Want to get 30% off an AllTrails Plus membership? Use our code aplusk30 (you must redeem this code on the website, not the app)!
We use AllTrails Plus on every single hike and it is the most helpful hiking tool out there! Some of the features we love are offline maps (so we can navigate even without cell service), wrong-turn alerts, and its 3D maps feature, so we can get a feel for trails before we hike.
Garmin InReach
You won’t have any cell service when hiking to Mooney Falls and Beaver Falls. We always bring our Garmin InReach Mini when hiking. This gives us the ability to message family to let them know we are okay, plus has SOS capabilities, which we thankfully have never used. Although it may be hard to get a GPS signal in the canyon, this is still a great item to have, just in case.
Tips for hiking to Mooney Falls and Beaver Falls

Hike to these falls on your second day
Havasupai permits include 4 days and 3 nights. We suggest spending your first day hiking into the campground (10-11 miles) and then relaxing by a waterfall. Your second day, in our opinion, is the best day to venture to some of the further waterfalls, or even The Confluence. That way, your final full day can be spent relaxing before your hike out.
Start early
We started hiking down to Mooney Falls at 6 AM and it paid off! Not only did we have Mooney Falls to ourselves, but we also enjoyed Beaver Falls alone for about 30 minutes. We spoke with some other hikers who got to Mooney Falls later, around 10:30 AM, and they said there was a 25 person line to climb down to Mooney Falls.
If you want to hike to The Confluence, you need to be past Beaver Falls no later than 10:30 AM. By leaving early, we not only had no issues with meeting that timeframe, but we also got to enjoy the falls more along the way.
Take your time on the Mooney Falls climb
As we mentioned, the climb down to Mooney Falls is a bit sketchy (for most people). Take your time, maintain three points of contact, and make sure you have good footing before you shift your weight. It really helps to have someone go before you (who is less nervous), who can guide you with where to put your feet. By starting the descent early in the morning, you will feel less pressure from others waiting for you.
The shadows come early
Due to the tall canyon walls, the waterfalls at Havasupai only get a small window of full sunshine. Depending on the time of year, the sun will shine on Beaver Falls roughly 10 AM until 2 PM. When we got to Beaver Falls around 8 AM, there was only sunlight hitting the walls above the canyon. And on our hike back past the falls around 3 PM, it was completely shaded.
We did notice that Mooney Falls had sunshine longer, with there still being sunshine around 4 PM. Because of this, we suggest getting to the falls earlier in the day to have maximum sunshine (and warmth) for swimming.
Check out these other resources for Havasu Falls:
Ready to experience Mooney Falls and Beaver Falls?
Pin this guide to help plan your Havasupai adventure!