Last updated on July 23rd, 2025
Up for a challenge in Havasupai? Hike to The Confluence of Havasu Creek and the Colorado River! We’re sharing what you need to know to decide if it’s right for you.
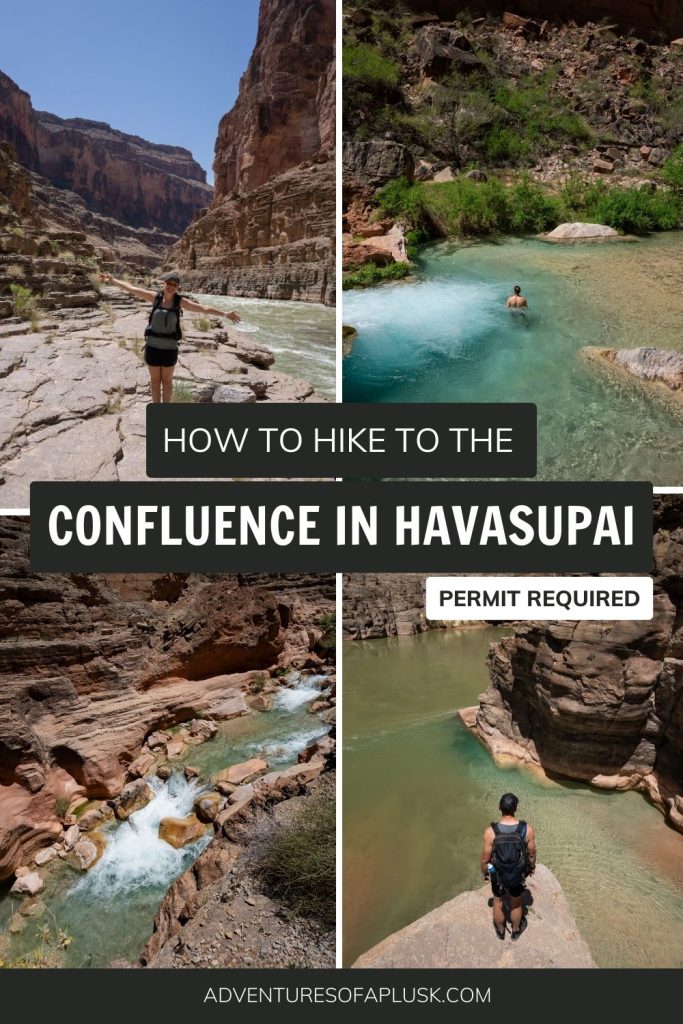
Without a doubt, the highlight of our time backpacking Havasupai was our day hike to The Confluence.
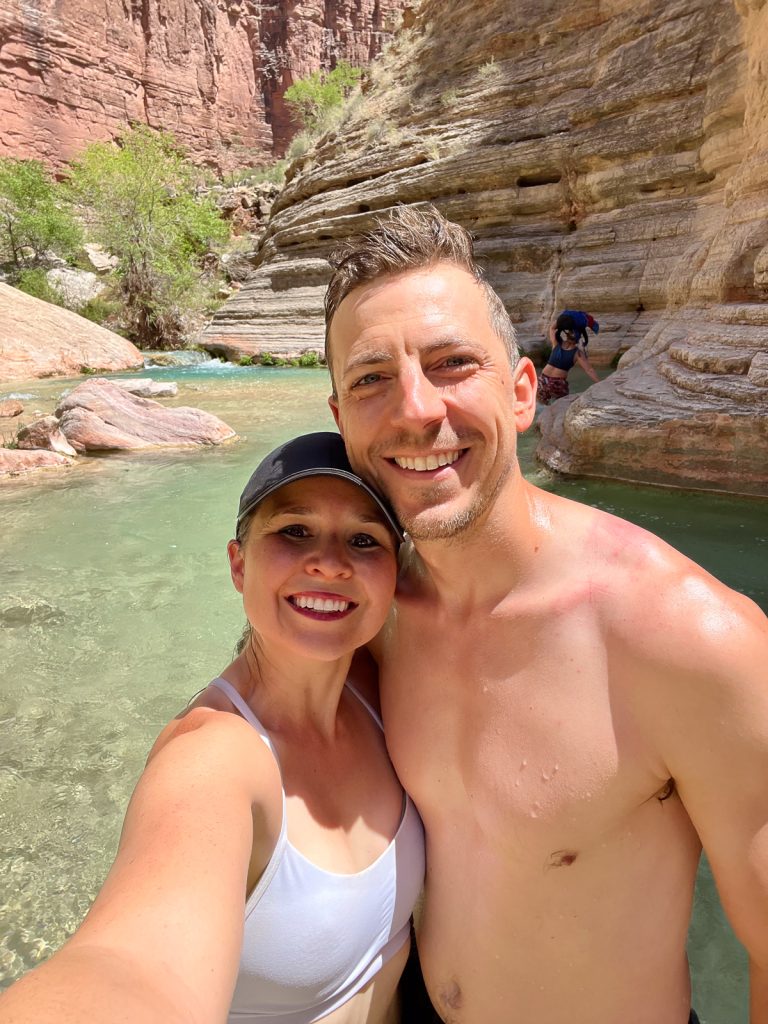
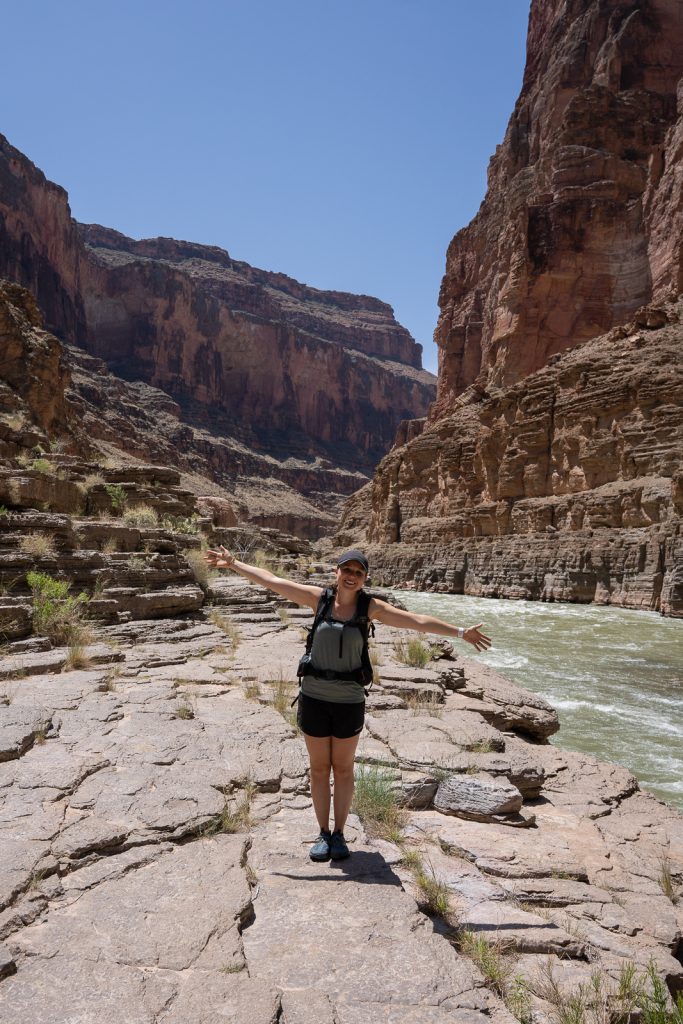
The Confluence hike may be known for the merging of Havasu Creek and Colorado River. But it’s just as much about the journey as the destination. Along this ~18 mile journey we got to experience the stunning Mooney and Beaver Falls, cross the crystal clear Havasu Creek countless times, swim in blue swimming holes, and see bighorn sheep. All before ending at the Colorado River at the bottom of the Grand Canyon, a true bucket list item!
If you’re visiting Havasupai soon and are contemplating hiking to The Confluence, our goal is to help make your decision a bit easier. In this guide we’re sharing the important details about the hike, our top tips, and whether we think it’s worth the trek. (Spoiler alert: for us, it was!)
Check out these other resources for Havasu Falls:
About The Confluence in Havasupai
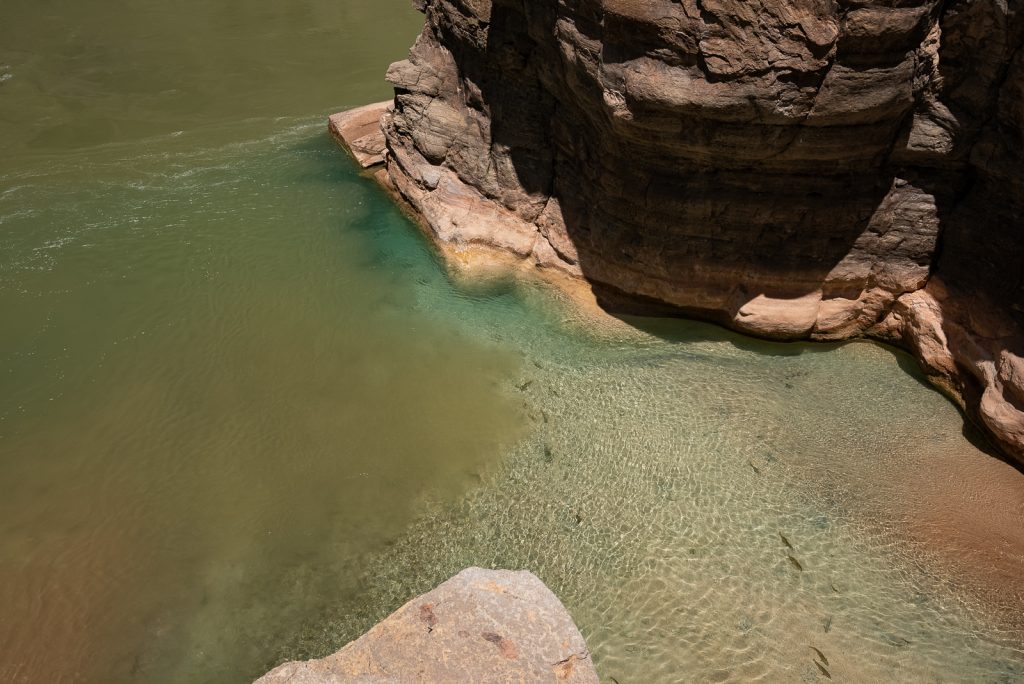
A confluence is where two rivers meet. And The Confluence hike in Havasupai takes you to where Havasu Creek empties into the Colorado River, along the North Rim of the Grand Canyon.
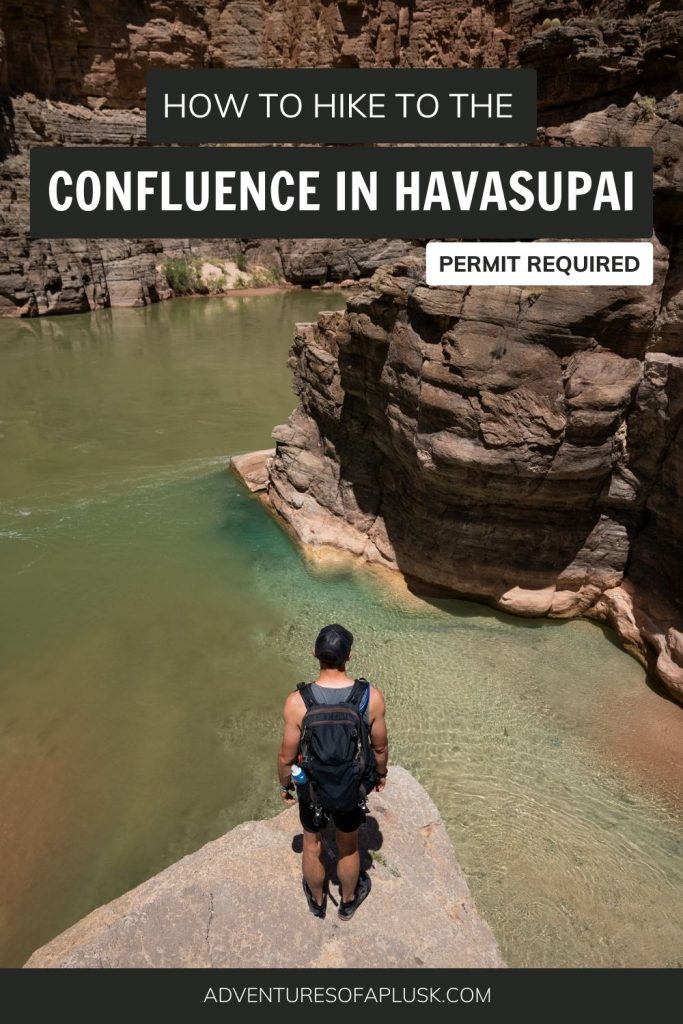
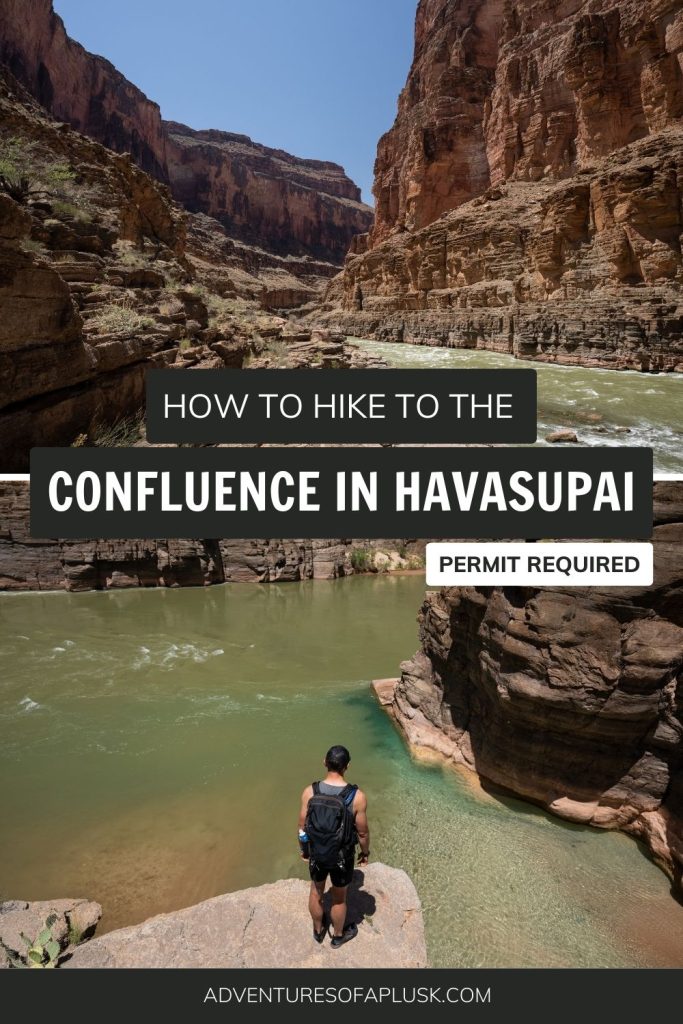
Despite having two different colors, with Havasu Creek being clear and blue and the Colorado River ranging from murky brown to green, they stay separate, due to the different directions they are flowing. Seeing the thin line, where they meet, but don’t really mix, is such a neat contrast!
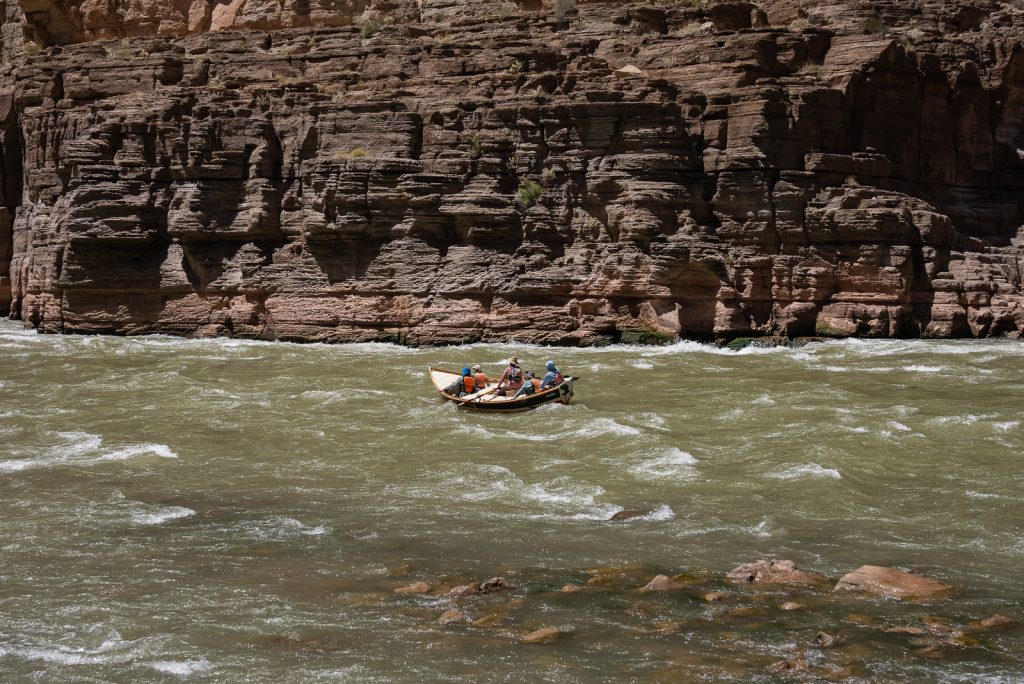
There are only two ways to experience The Confluence of Havasu Creek and the Colorado River. You can either take a multi-day rafting tour in the Grand Canyon (like this one!). Or you can hike from Havasupai, which is what we did!
You MUST have a permit to hike to The Confluence in Havasupai! We share everything you need to know about Havasupai permits, plus how to get one, in this detailed blog post.
How long is the hike to The Confluence?
This is a tough question to answer. GPS doesn’t tend to work well in canyons, which makes it hard to track the mileage. According to the AllTrails map above, the hike is 16.5 miles roundtrip from Supai Village. However, we think this is inaccurate.
The hike from Mooney Falls to Beaver Falls is around 2.5-3 miles one way. And from Beaver Falls, it is about 6 miles one way to The Confluence. So that makes the hike around 18 miles round trip from the top of Mooney Falls, which is right by the end of the campground. But depending on where you’re staying (closer to the start of the campground or the lodge), you may have an additional 2-4 miles round trip.
What to expect along the hike to The Confluence in Havasupai
Besides knowing we would pass Mooney Falls and Beaver Falls, plus eventually end at The Confluence, we didn’t really know what to expect before tackling the hike. Below is a breakdown of the trail and our experience, split up by different sections!
Mooney Falls and Beaver Falls

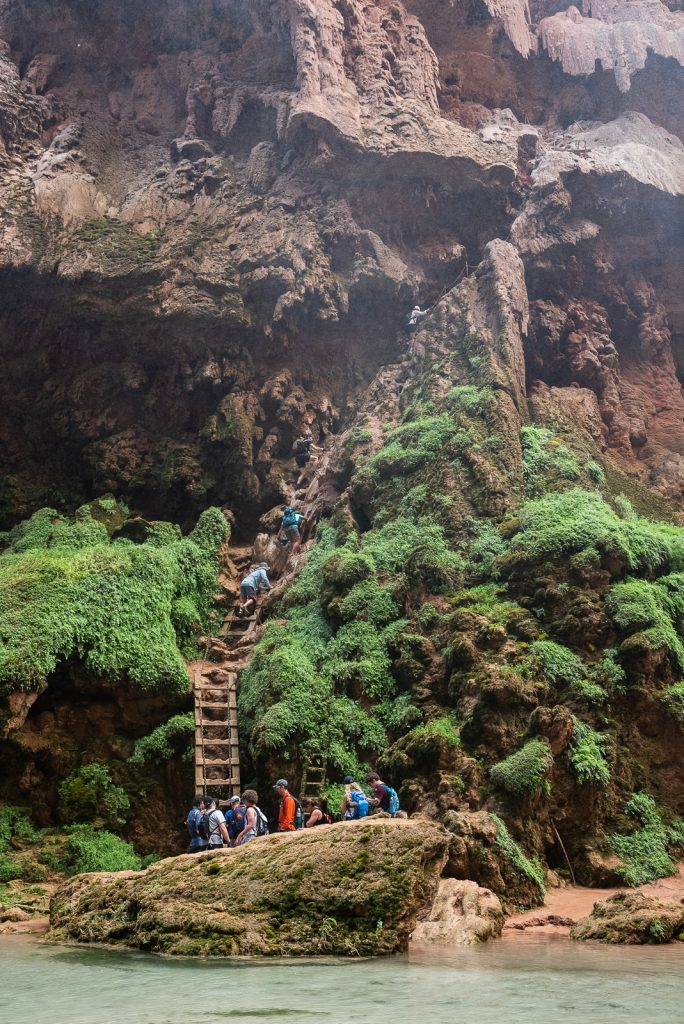
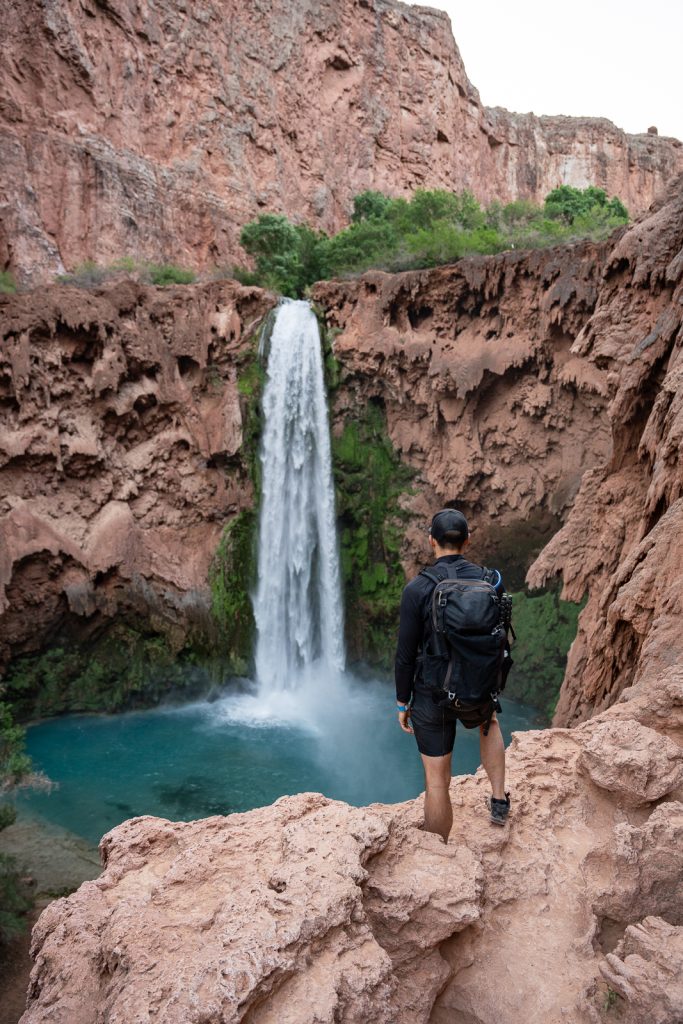
The first part of The Confluence hike requires you to get to Mooney Falls and Beaver Falls, the final two major waterfalls in Havasupai. Getting to these waterfalls requires a bit of adventure. First, you’ll have to climb down a 200 foot, wet cliff face to get to the base of Mooney Falls. This requires going into two tunnels and then using steps, rocky footholds, metal anchors, a rope, chains, and ladders to climb down the wall. It is not for the faint of heart (or those deathly afraid of heights).
While we found the Mooney Falls descent to be anxiety inducing, we were able to overcome our fears and successfully accomplish it. Once getting to the bottom of Mooney Falls, we suggest spending a little bit of time to soak up its grandeur. But don’t stay for too long, as there is a lot more hike left!
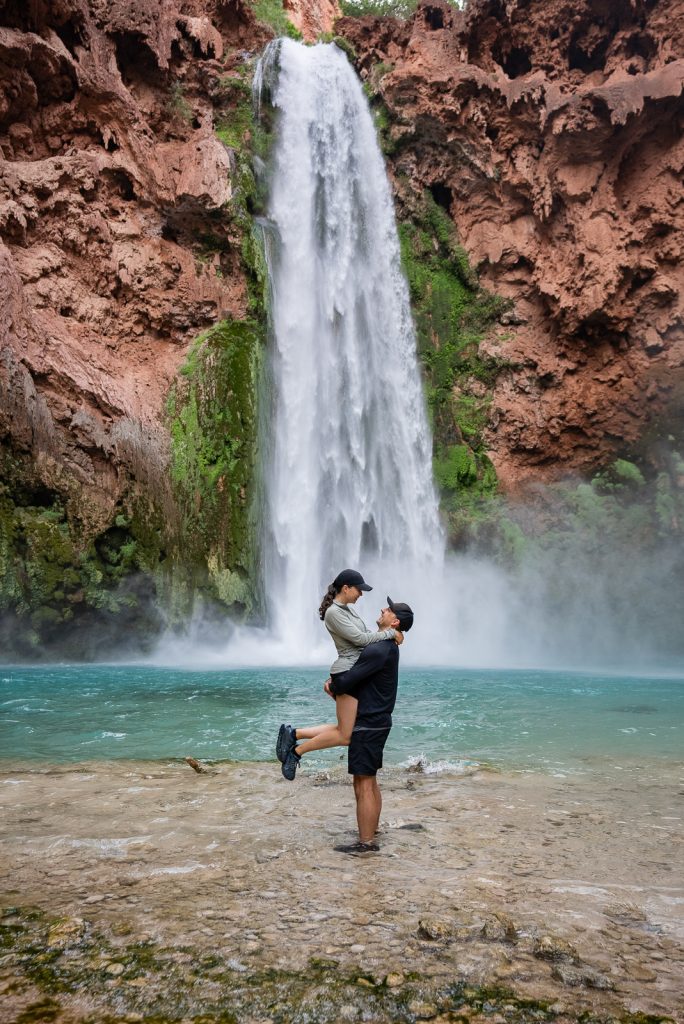
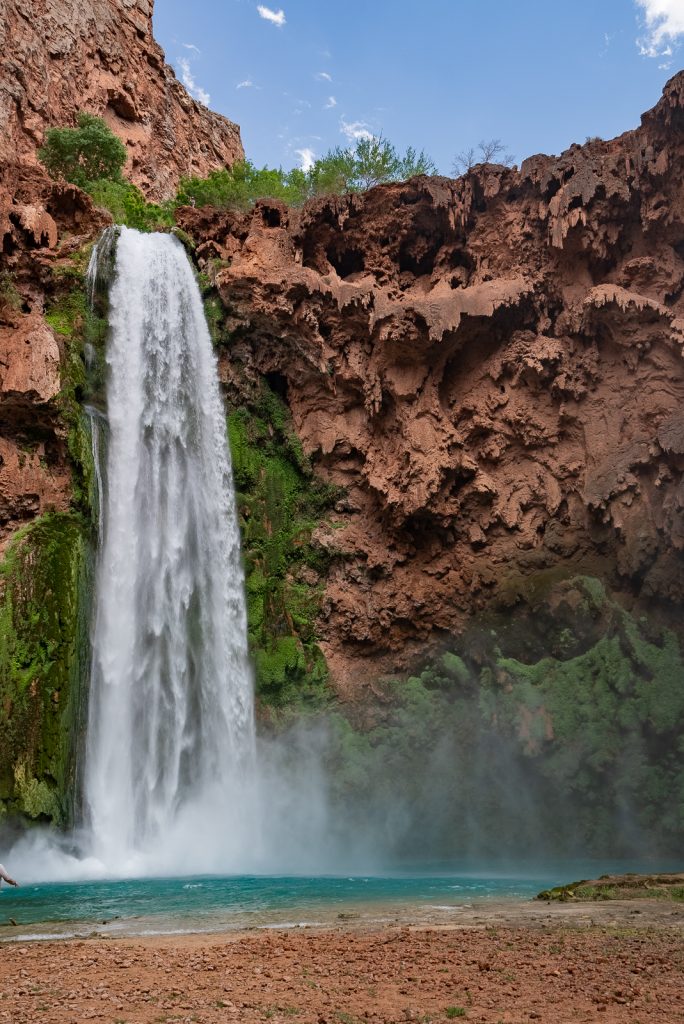
After leaving Mooney Falls, you will follow a trail just across Havasu Creek from the base of the falls (close to the rock wall) through a lush section of trail that leads to Beaver Falls. There can be many braided trails here to confuse you, but try to stick towards the middle.
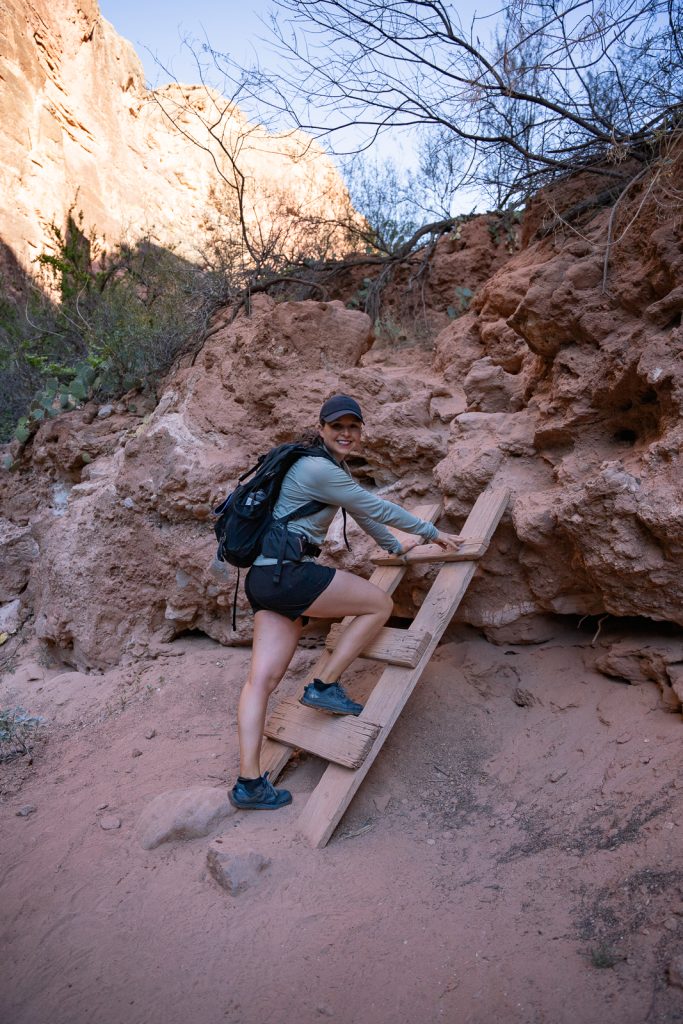
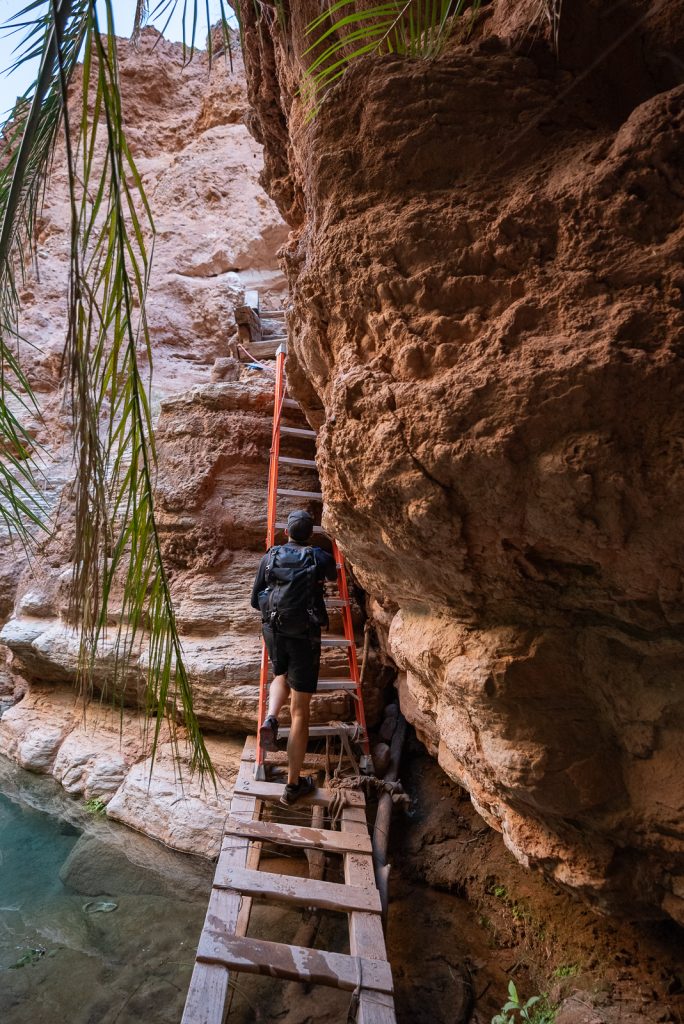
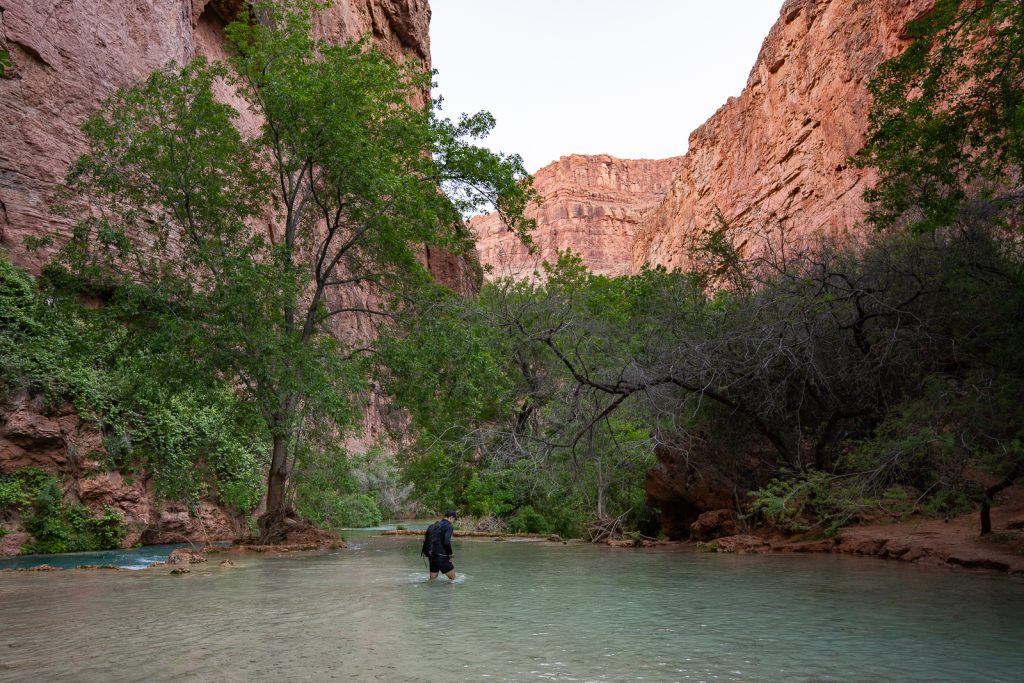
Along this stretch you’ll cross Havasu Creek multiple times, plus reach multiple sections with ladders. Including some metal ladders, like the kind you have at home. Compared to Mooney Falls, we found these ladder sections to be a lot less scary and way more fun.
After about 2.5-3 miles of hiking from Mooney Falls, you will reach an overlook of Beaver Falls. While there are a few smaller Beaver Falls lookalikes along the trail, you’ll know you made it to the actual one when you see a sign.
To get down to its base, you will have to climb down two more sets of ladders. And then, it’s time to swim!
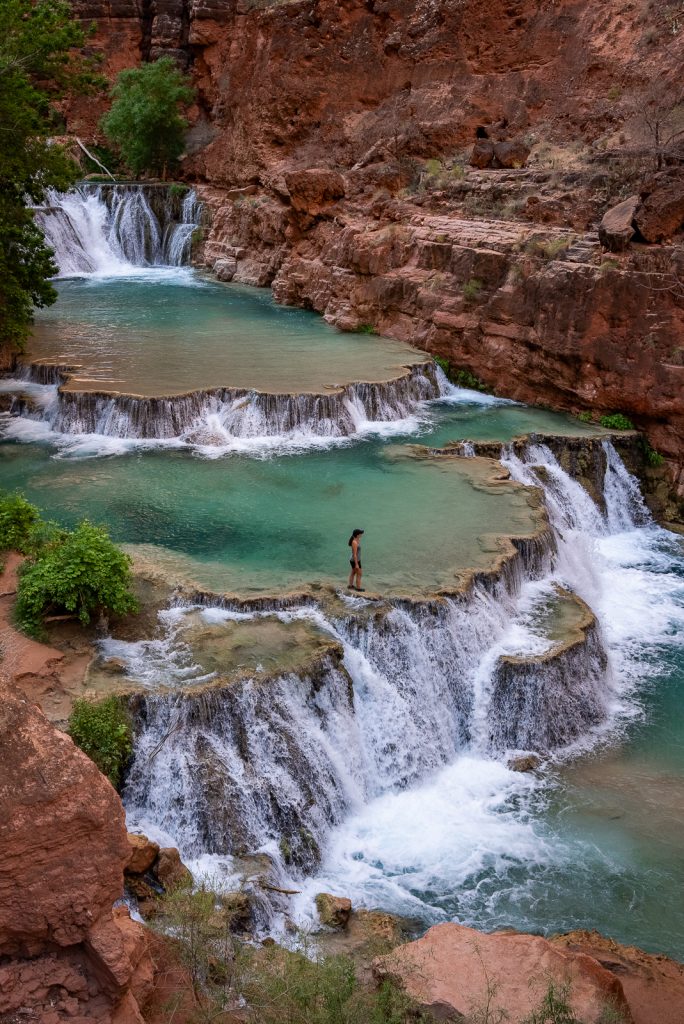
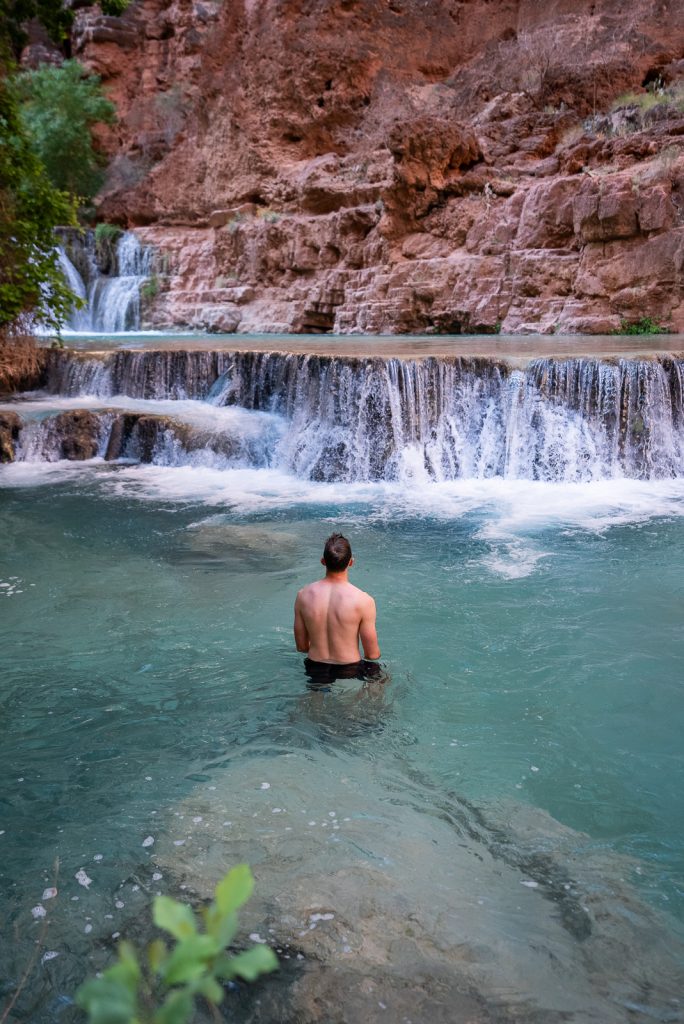
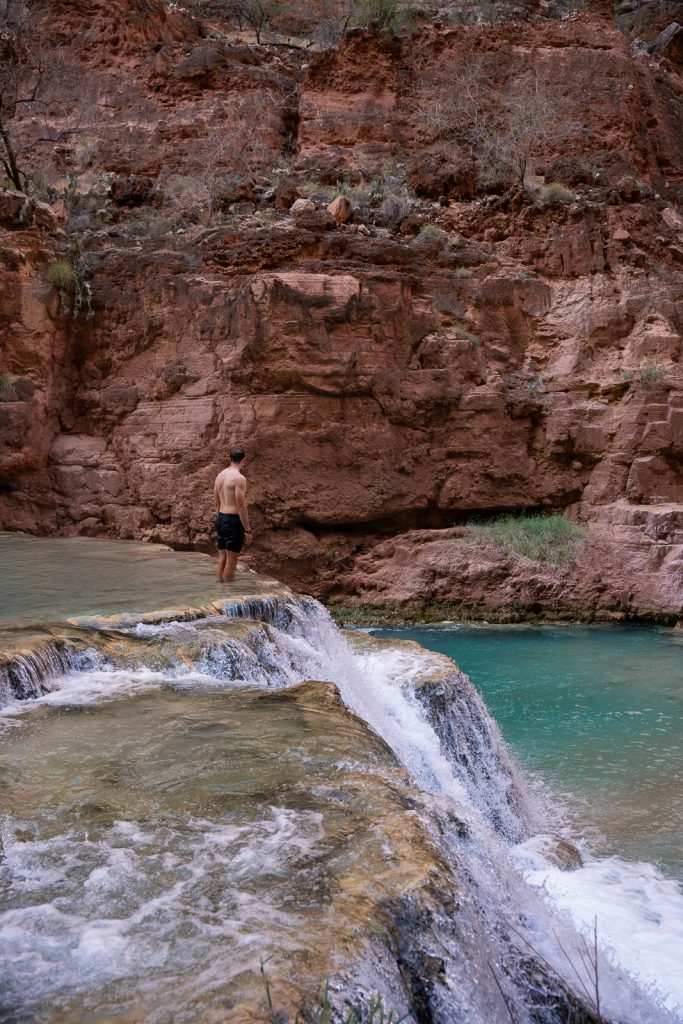
Beaver Falls has multiple levels of pools, with waterfalls cascading between them, which makes it a great spot to go for a dip! It is a magical spot, with towering canyon walls above, lush greenery, and bright blue water.
We recommend spending time here on your way to The Confluence, when you have more energy. Just make sure you leave before 10:30 AM!
For more information about the hike to Mooney Falls and Beaver Falls, check out our detailed guide to visiting both waterfalls.
Leaving Beaver Falls
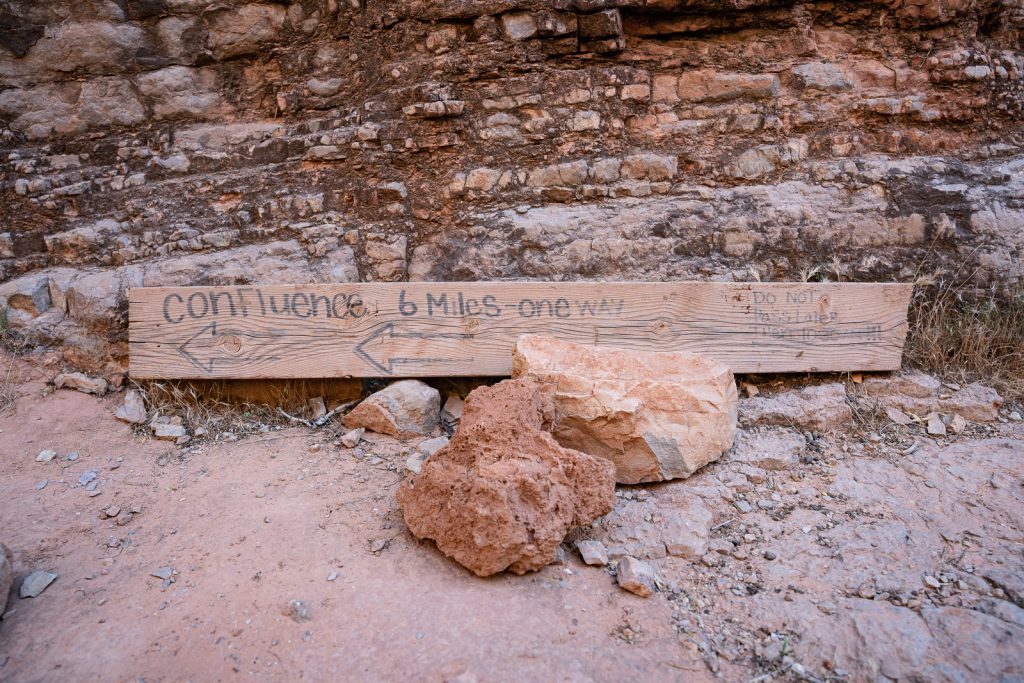
When leaving Beaver Falls to head to The Confluence, you will want to hike back up above the falls. You should see a wooden sign that points to the left for The Confluence. That’s how you’ll know you’re on the right track!
Soon you will pass a sign (facing the opposite direction) that marks the boundary for Grand Canyon National Park. The main Havasupai hike is located on the Havasupai Reservation. But the stretch from Beaver Falls to the Colorado River is actually within the National Park boundaries.
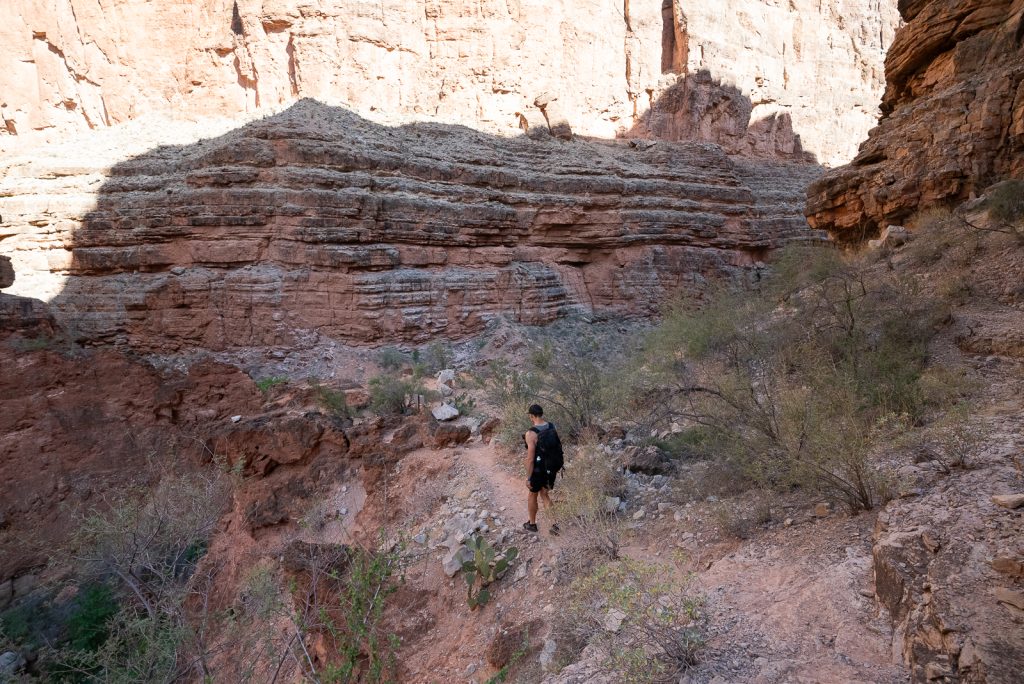
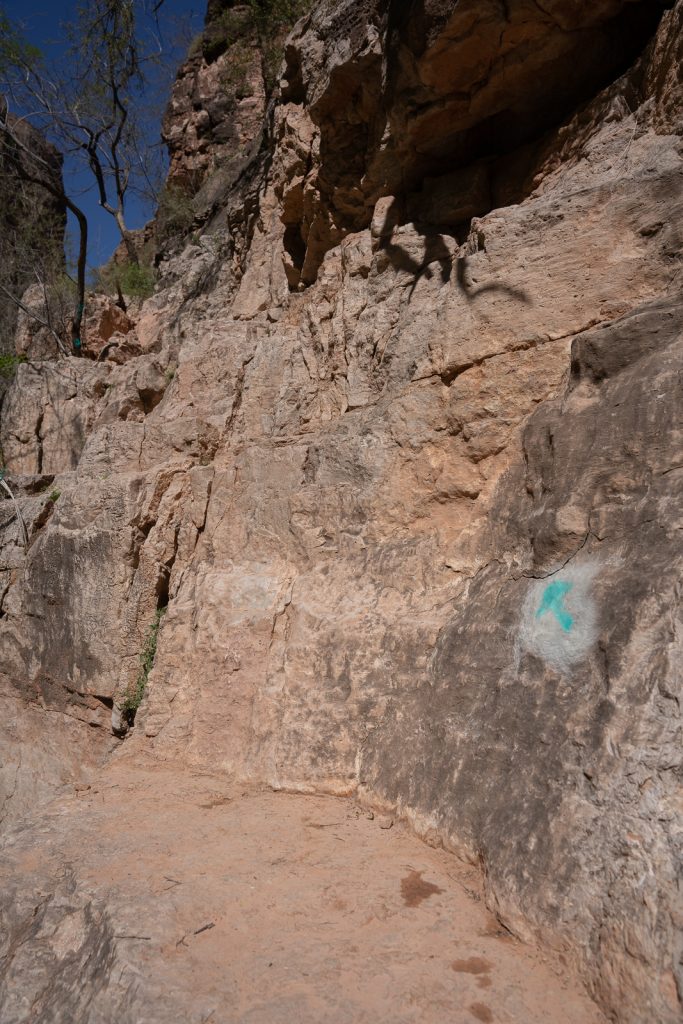
You will want to continue to stay high up on the cliff for a little bit, before you have a steep climb back down to the river. This part involved using our hands a bit and at first we were unsure if it was the correct way. But you will notice blue marks on a tree, plus on the rock at the bottom (with an arrow pointing up the way you just came). Across the river you should see some cairns (rock stacks) and this is where you’ll want to cross the river.
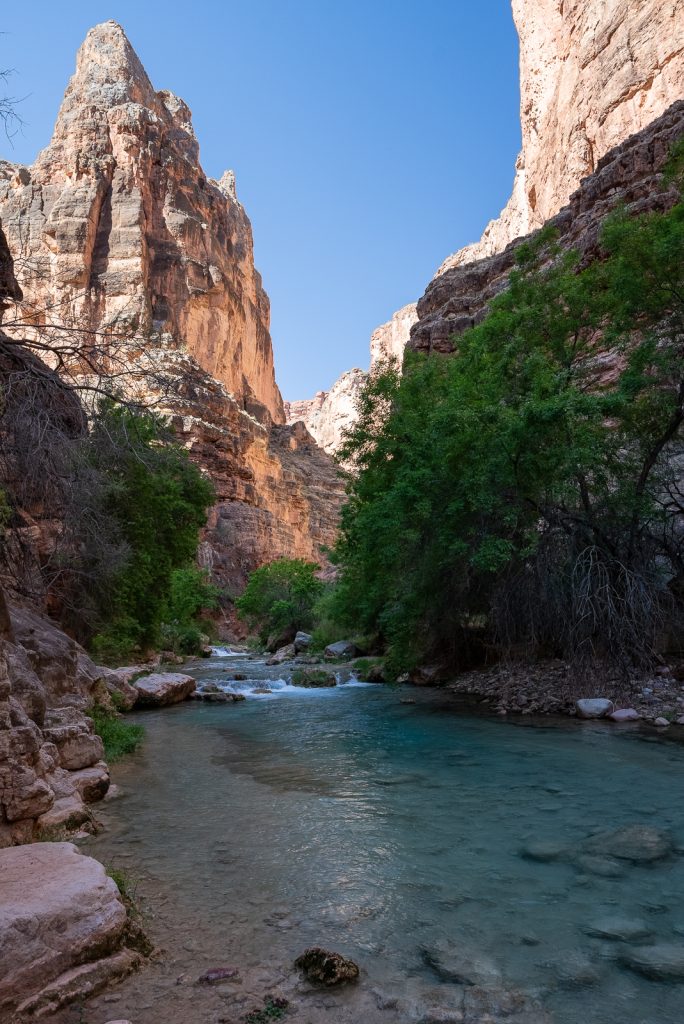
After crossing the river, there will be a path to the left or right. These both connect back to each other, but take the one on the right for the most direct route. From here, the rest of the hike isn’t too difficult to follow. You will see rock cairns often, to help guide you, plus you ultimately just need to follow the river. Sometimes the path will end along the river, which is usually a sign that you need to cross.
Hiking through the Grand Canyon
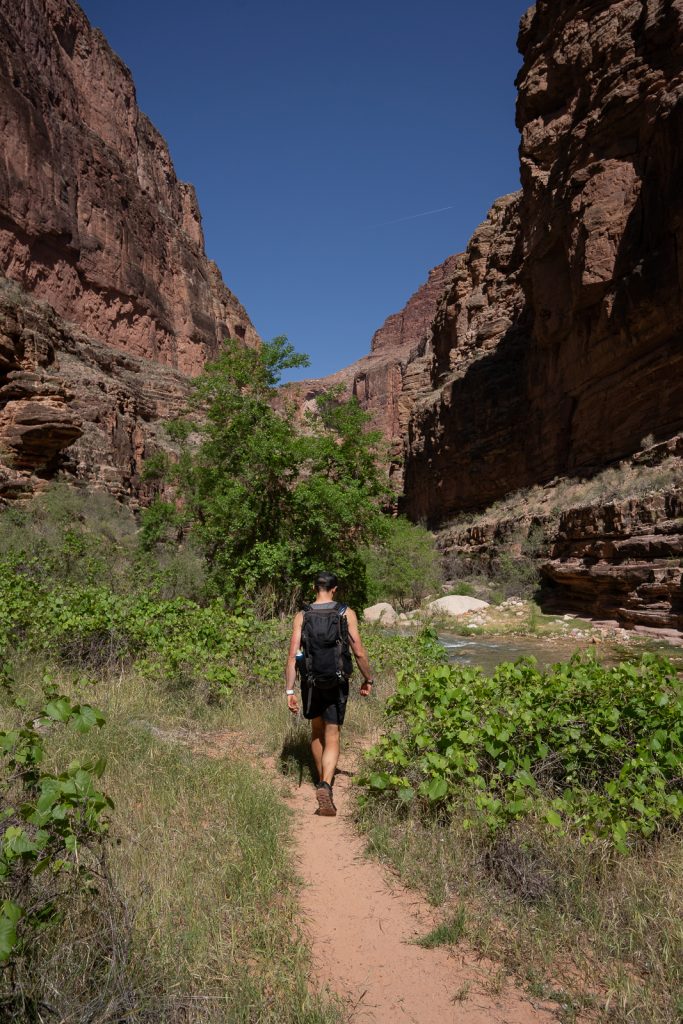
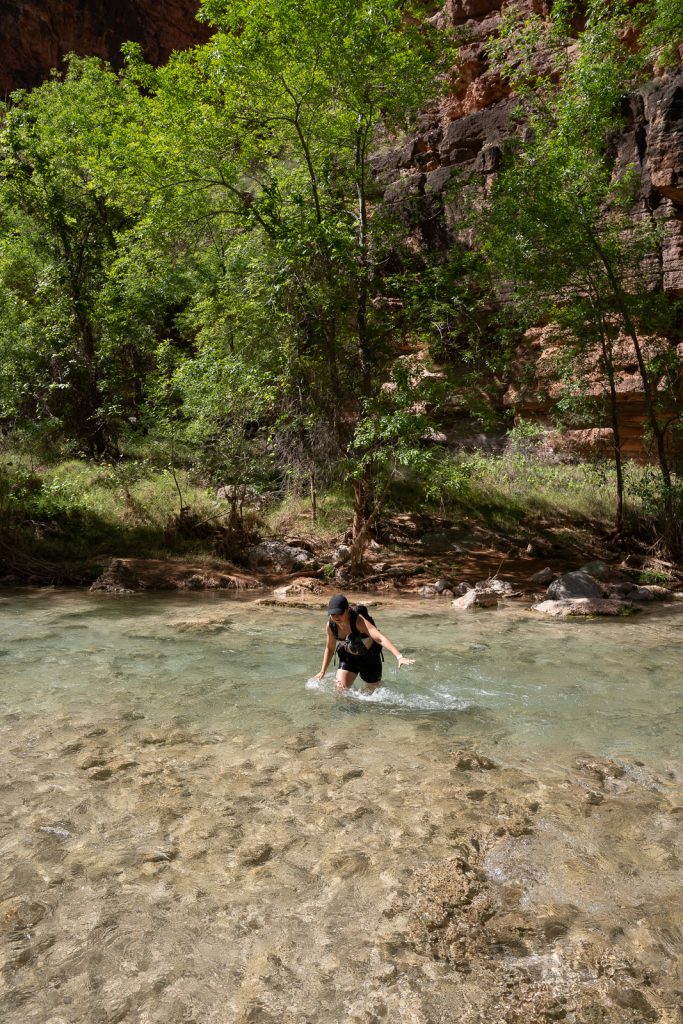
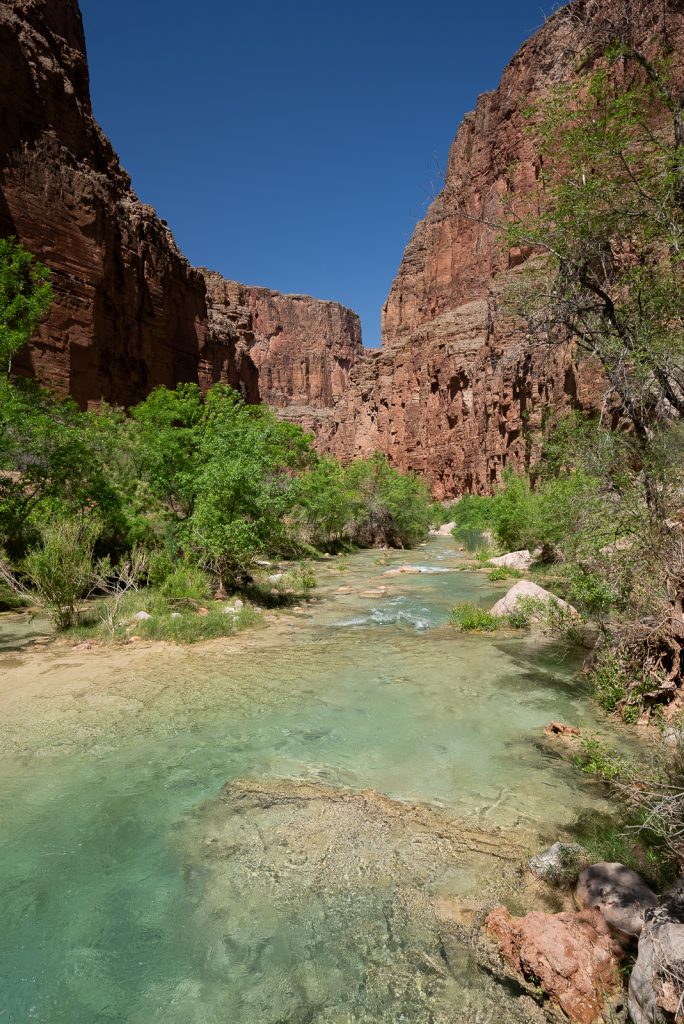
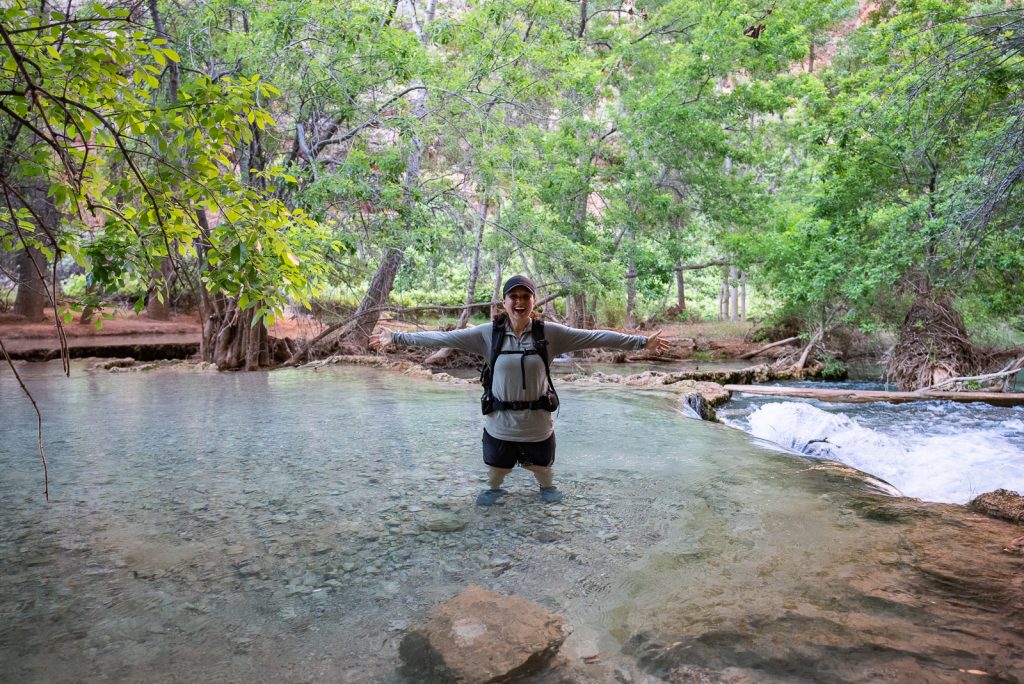
The majority of the hike is just walking alongside Havasu Creek, with about five crossings throughout, which varied in depth. We loved this aspect of the hike! It was super refreshing to walk in the cold water once the sun started to hit us.
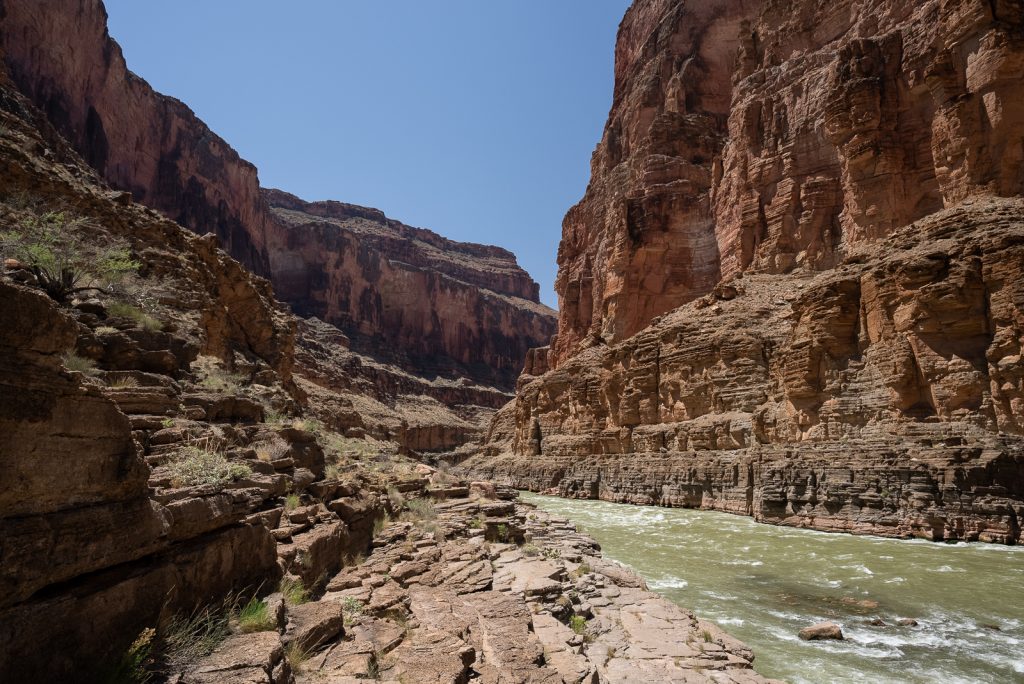
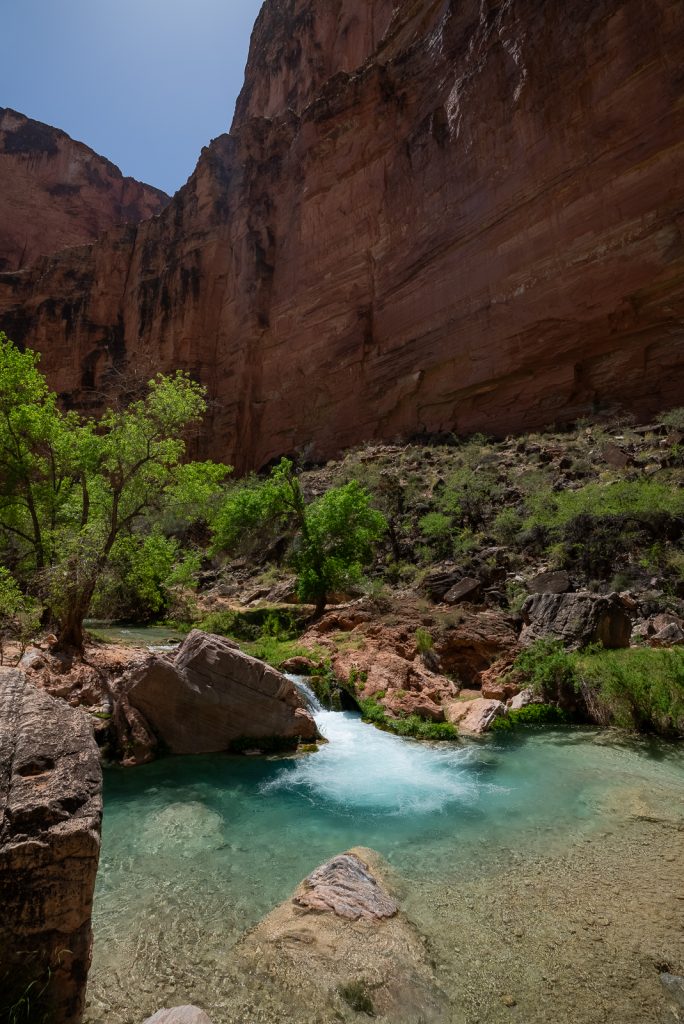
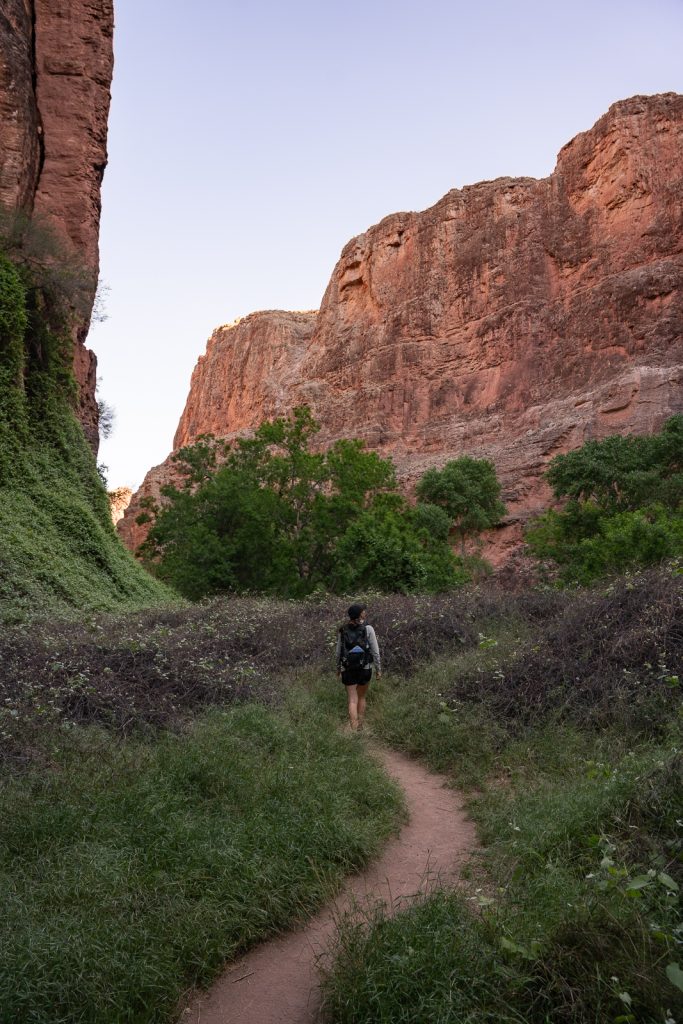
Another thing we loved about The Confluence hike is that you get to see so much more of Havasu Creek and the Grand Canyon than you do on the traditional Havasupai hike. The canyon walls are extra towering and there are many areas without a ton of vegetation, where you can see a longer stretch of the creek’s vibrant blue waters. It is stunning! We highly recommend stopping along the creek to enjoy a picnic lunch. Plus swim in any (safe) swimming holes you find!
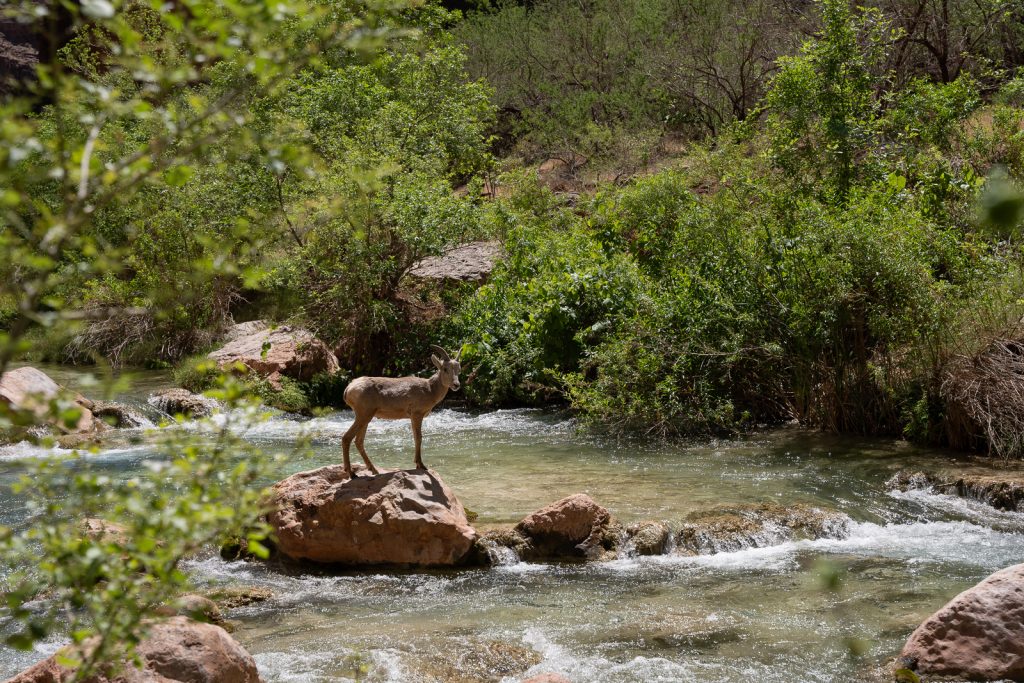
As you inch closer to the last couple miles of the hike, make sure to keep an eye out for bighorn sheep! We saw probably 8 or so eating leaves and hanging out right alongside the creek. Make sure to keep your distance and admire them from afar.
Besides bighorn sheep, another thing you may notice as you get closer to the end are more people. At first we were wondering how so many people had beat us out there, considering we hadn’t seen many along the way. But then we learned that they are rafting groups, who have been on the Colorado River in the Grand Canyon for days. These rafting tours stop at cool destinations throughout the Grand Canyon, including Havasu Creek. And then hike in to check out some of the smaller falls and swimming holes.

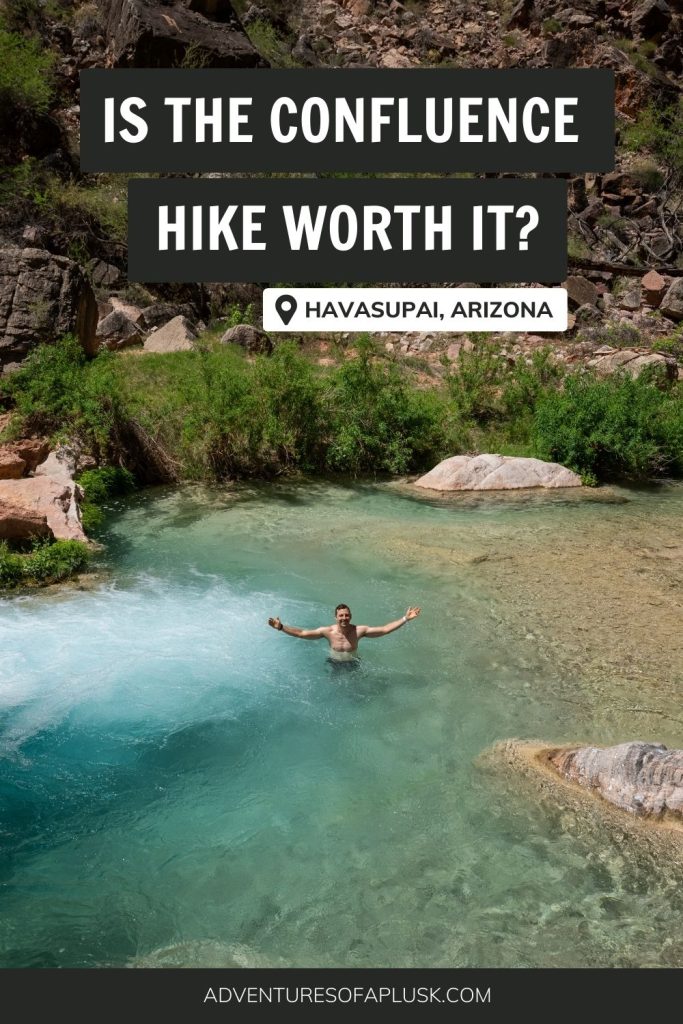
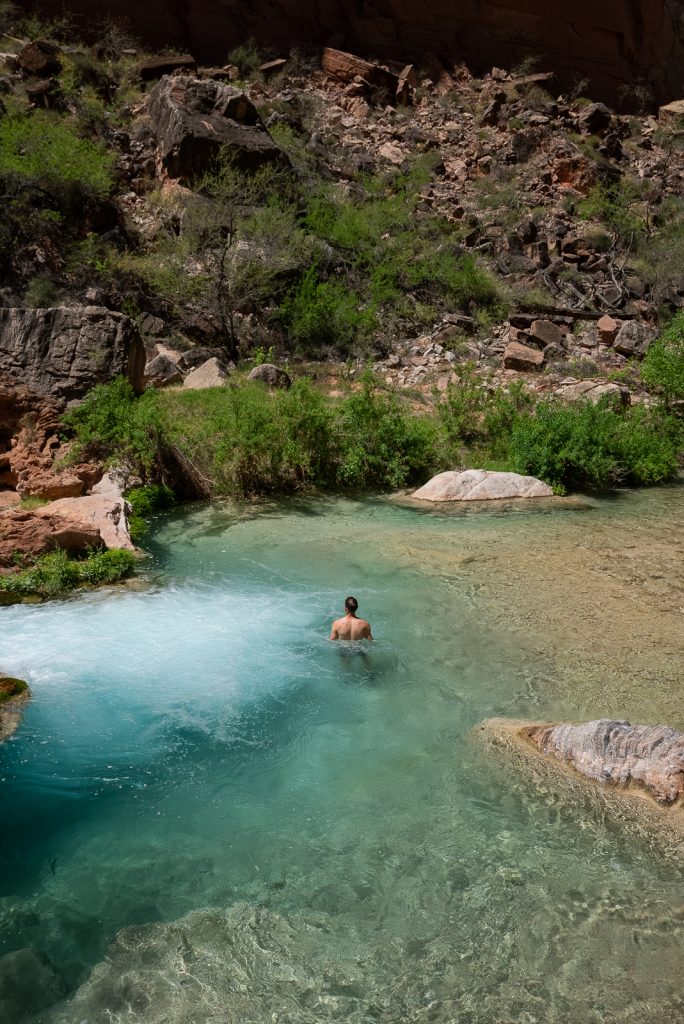
Towards the final stretch of the hike you will enter a short, but large tunnel, which you have to hike through and then climb down from. Once you get out of this tunnel you reach one of the most beautiful parts of the hike, a wider part of the creek with large boulders around and insanely beautiful water. It is the perfect spot to go for a swim!
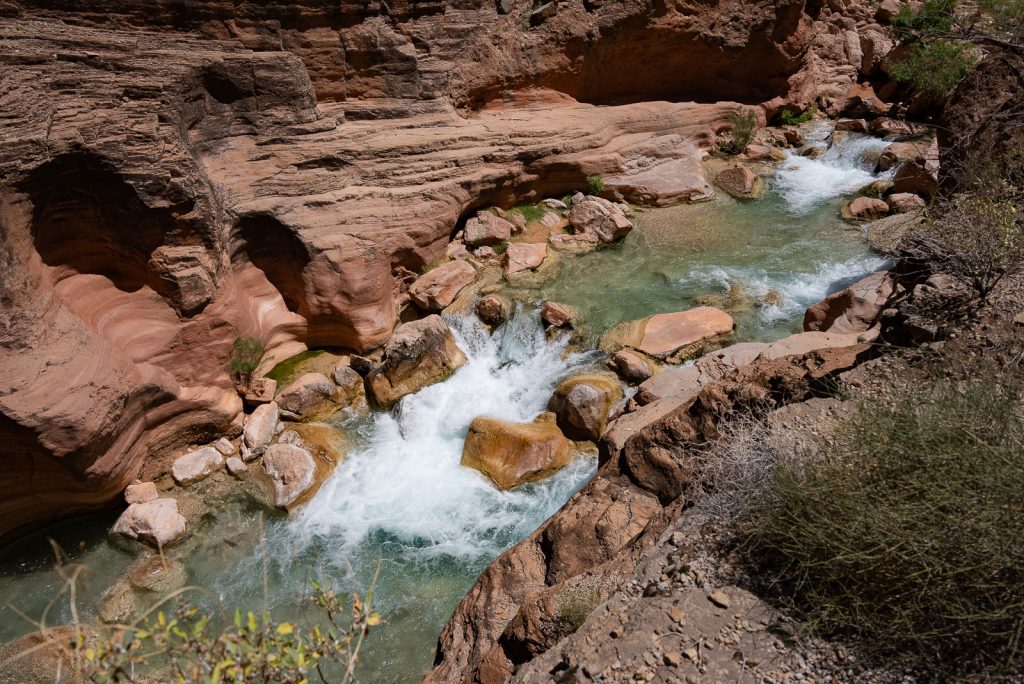
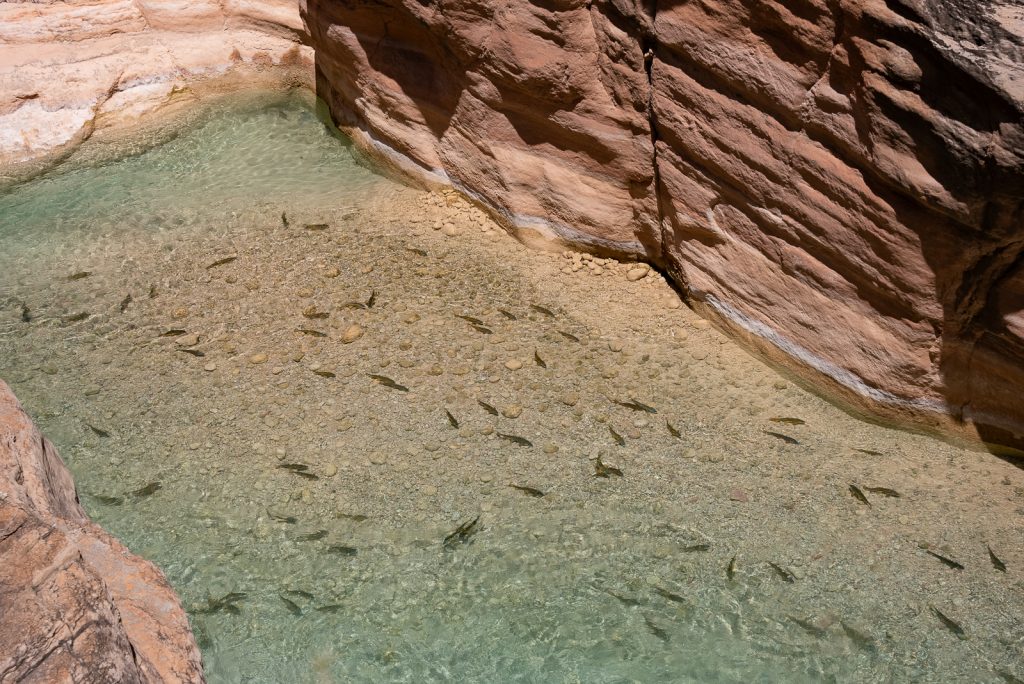
Shortly after getting through this section and crossing the river one final time, you will climb up the left side of the canyon wall. It’s almost like stairs! As you walk along the side you’ll see the river cascading down, on its final leg before reaching the Colorado River. Plus potentially some HUGE fish swimming in the water!
Keep walking straight and then you’ll see it…the Colorado River and where its raging waters meet the blue waters of Havasu Creek. You made it!
Arriving at The Confluence
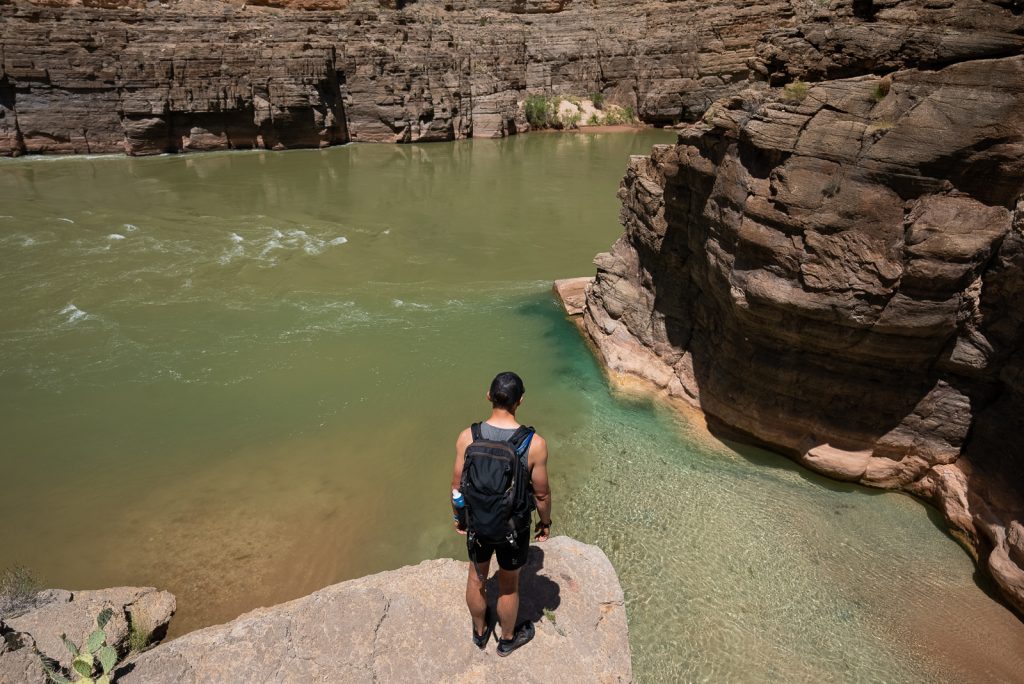
Once at The Confluence, you can admire the meeting of the waters from a couple different vantage points, plus walk down to the edge of the Colorado River. We loved watching the different rafts and wooden dory boats load up and head out onto the water, going over rapids along the way.
If you’ve seen photos of The Confluence before, you may have seen shots of people swimming or standing in the narrow canyon at the end of Havasu Creek. If you choose to do this, be extremely careful! The water gets deeper and cloudier towards the Colorado River, making it difficult to know where to step. Plus, the Colorado River itself is a beast that you do not want to mess with. It’s much deeper and faster than Havasu Creek and being swept out without a lifejacket on would likely end tragically.
We didn’t go into this canyon due to the many rafts parked in it. But we gladly enjoyed the view from the safety of the rocks. For us, just being down at the Colorado River at the bottom of the Grand Canyon was surreal and exciting enough!
Hiking back from The Confluence
After enjoying some time at The Confluence, it’s time to head back to camp. You will hike back the same way you came, giving you the chance to swim and spend more time at Beaver Falls and Mooney Falls.
We personally decided to enjoy the hike out (when we were more fresh and less tired) and then book it back to camp. At this point, we were a bit tired from the long day of sunshine. So minus one quick swim stop, we hustled back, arriving back at camp with plenty of daylight and time to relax at camp before dinner.
Frequently Asked Questions about hiking to The Confluence
Is the hike to The Confluence difficult?
We are very avid hikers. Over the years we have hiked hundreds of trails and thousands of miles, including some extremely difficult ones. So our perception of “difficult” may be different from others. But we did not think the hike to The Confluence was difficult.
The biggest challenge with the hike to The Confluence is the Mooney descent (which was mentally tough for us), the length (18 miles in one day is a lot!), and the sun exposure.
For someone who hasn’t done much hiking or has mobility issues, this will be a difficult hike. Not only are there many miles, but there are also several ladders to navigate, steep sections, and exposed heights. If you can make it down to Mooney Falls, we think you can handle this hike without a problem!
How long does it take to hike to The Confluence?
Our schedule for our hike to The Confluence went something like this:
- 5:45 AM: Left our campsite near the third restroom (close to Mooney Falls), which reduced some of our hiking.
- 6 AM: Began our descent down Mooney Falls and spent a little bit of time down at Mooney Falls.
- 6:30 AM: Hiked to Beaver Falls from Mooney Falls.
- 8:00 AM: Swam at Beaver Falls.
- 9:00 AM: Left Beaver Falls to head to the Confluence.
- 11:00 AM-11:30 AM: Took some breaks to eat lunch and swim.
- 12:30 PM: Made it to The Confluence.
- 1:00 PM: Left The Confluence to hike back.
- 4:00 PM: Made it back to our campsite.
As you can see, it took us about 7 hours from leaving our camp to turning around at The Confluence to head back to camp. And only 3 hours to hike back, which even included a quick swim break. On the way to The Confluence, we stopped to enjoy waterfalls, swim, eat, and take photos and film (which takes a lot of extra time). For the hike back, we put the cameras away and hiked at a very fast pace, which is why we got back in way less time.
In total, The Confluence hike took us 10 hours. We’d say that is probably a good estimate for most, since you’d probably hike to The Confluence faster than we did and your pace out may be a bit slower. But we’d suggest planning for 12 hours, to give yourself time to enjoy the experience. Especially if you’re camping closer to the front of the campground or staying at the lodge, which will require more hiking than we had.
Is hiking to The Confluence worth it?
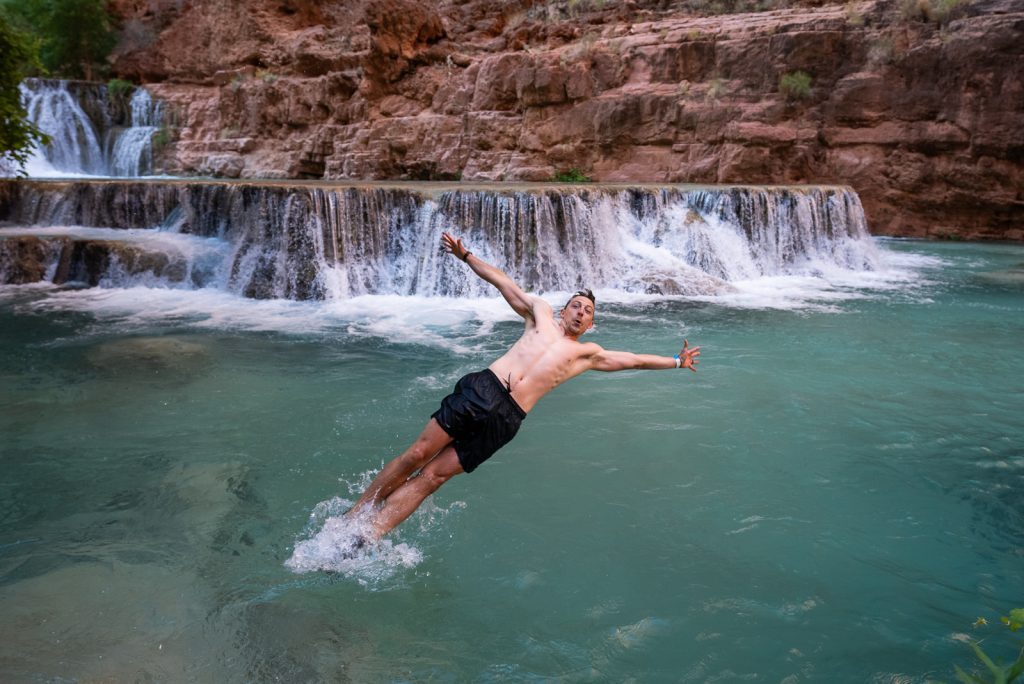
We 100% think the hike to The Confluence is worth it! However, whether it will be worth it to you depends on your goals for your trip.
For some visitors to Havasupai, the main goal is to relax around the waterfalls. If that is what you’re looking for, we would suggest skipping The Confluence and spending the day solely at Mooney Falls and Beaver Falls, or the first three waterfalls.
But for us, we crave activity and adventure. One full day of relaxing was all we really wanted. So spending a day hiking to The Confluence sounded like a lot of fun! And it was!
Like we said earlier, it’s really about the journey, not just the destination. Seeing the actual confluence was really cool, but the overall experience is why we think it is worth it. What we loved about The Confluence hike is that we got to see so much more of the Grand Canyon and Havasu Creek, admire wildlife along the way, and check off a bucket list item of making it to the bottom of the Grand Canyon.
Plus, we got to have a more remote and secluded experience. We only counted 4 other people from Havasupai hiking it. That alone made it worth it to us.
Tips for hiking to The Confluence
Go on your second day
Havasupai permits include 4 days and 3 nights. And you will need a FULL day to hike to The Confluence. We suggest going on your second day, that way, your final full day can be spent relaxing before your hike out.
Start early
We cannot stress this enough. You MUST start early to hike to The Confluence. In fact, you are strongly advised to not leave Beaver Falls (~3 miles in) after 10:30 AM, in order to make it back by dark.
During our visit in early May, sunrise was just before 6 AM and sunset was around 7:20 PM. However, the sun tucks behind the canyon well before that.
We’d suggest beginning the descent to Mooney Falls no later than 7 AM. Make sure to take into consideration how far you’re camping (or the lodge is) from the start of Mooney Falls.
Wear one pair of shoes
To save time, we suggest wearing the same shoes the entire time (we wore Altra Lone Peak trail runners with wool socks), to avoid spending time taking shoes off and on. These shoes dry quickly. Our shoes were always dry by the next morning, even after being soaked all day!
Download the AllTrails Map
Because of the canyon walls, GPS signals aren’t super accurate at Havasupai. Especially for The Confluence (ours thought we gained 13,000 feet of elevation 😂). But even so, we still suggest downloading the offline AllTrails map for this hike. For the most part, it worked and it helped us in a couple sections. It’s also nice to just track your progress!
Want to get 30% off an AllTrails Plus membership? Use our code aplusk30 (you must redeem this code on the website, not the app)!
We use AllTrails Plus on every single hike and it is the most helpful hiking tool out there! Some of the features we love are offline maps (so we can navigate even without cell service), wrong-turn alerts, and its 3D maps feature, so we can get a feel for trails before we hike.
Look for the cairns
However, since AllTrails may not be 100% reliable on this hike, look for the cairns. We found there to be cairns almost the entire way, which helped us figure out where to cross the river, if it wasn’t obvious.
Follow Leave No Trace Principles
There are zero bathrooms along the trail, so if nature calls, make sure you understand how to properly go to the restroom outside. This includes peeing away from water sources, using a WAG bag for any waste, and packing out ALL toilet paper. For the ladies, we suggest a Kula cloth, which is an antimicrobial pee cloth that can strap on your pack.
What to bring on the hike to The Confluence
We have a full Havasupai packing list with everything you need to bring for your multi-day Havasupai adventure. But since The Confluence is done as a day hike from the campground, you won’t need to bring all of your gear. Here is what we suggest packing for your trek!
10 essentials
You should always carry the 10 essentials on any hiking adventure. Especially for The Confluence portion of your Havasupai adventures. Unlike the first three waterfalls, you’re further from the village, the ranger station, and with less people around, it may be harder to get help if needed.
Day pack
You’ll want a smaller pack than your larger backpacking pack that you carried in. We backpack with the REI Co-op Trail 40 Packs, which when not stuffed with all of our gear, is no bigger than an average backpack. But for those hiking with more traditional backpacking packs, the Venture Pal 40L backpack is a great, foldable day pack to bring.

Proper shoes
For our entire Havasupai hike we both wore Altra Lone Peak trail runners with wool socks, including in the water. We highly recommend them! They are lightweight and dry very fast (they were always dry by the morning)! And we saved a lot of time not having to take our shoes on and off for water crossings.
Some people choose to wear hiking boots out (we recommend Lowa Renegade GTX) and then bring a second pair of shoes for the falls, like Chacos or Tevas. While this option works fine, it will increase the amount of gear you have to bring.
Hiking poles
One thing that we did not bring, that may be helpful for some, are hiking poles. These would be helpful for some of the water crossings, where the water was moving at a decent pace. However, you can do it without them!
Swimsuit
Adam wore his swim trunks the entire time we were at Havasupai, but for the ladies, swimwear can be a bit difficult here, depending on your style of swimsuit. If you have a comfortable swimsuit that you don’t mind hiking 18+ miles in, wear it! However, I do not enjoy hiking in my swimsuit, so I just swam in my sports bra and shorts.
Quick drying towel
A quick drying towel isn’t a total necessity, but it is nice to have to dry off real quick or sit on at the waterfalls.
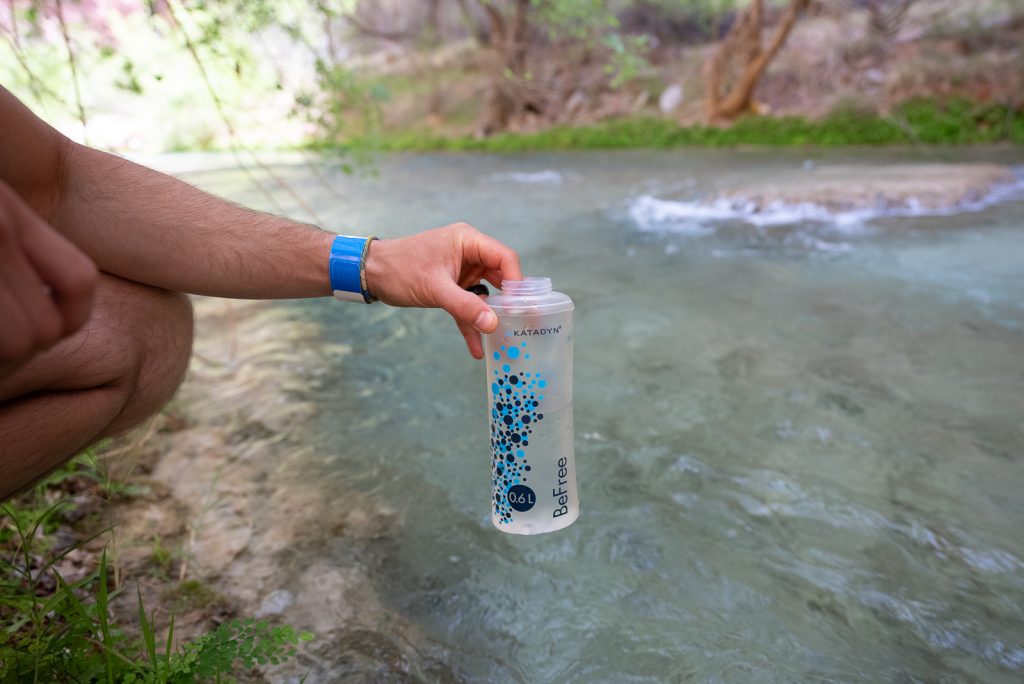
Water filter bottle
Basically the entire route to The Confluence is along water. So instead of bringing a ton of water, which is heavy, we suggest bringing a water bottle filter, so you can fill up as you go. We LOVE our Katadyn Water Filter Bottle and exclusively used it on this hike. With our Sawyer water filter as a backup.
Electrolyte Drink
Since the hike to The Confluence can get hot, we recommend bringing some electrolytes. LMNT is our favorite! We brought a spare water bottle to put it in (using filtered water), since we didn’t want to harm our filtered bottle.
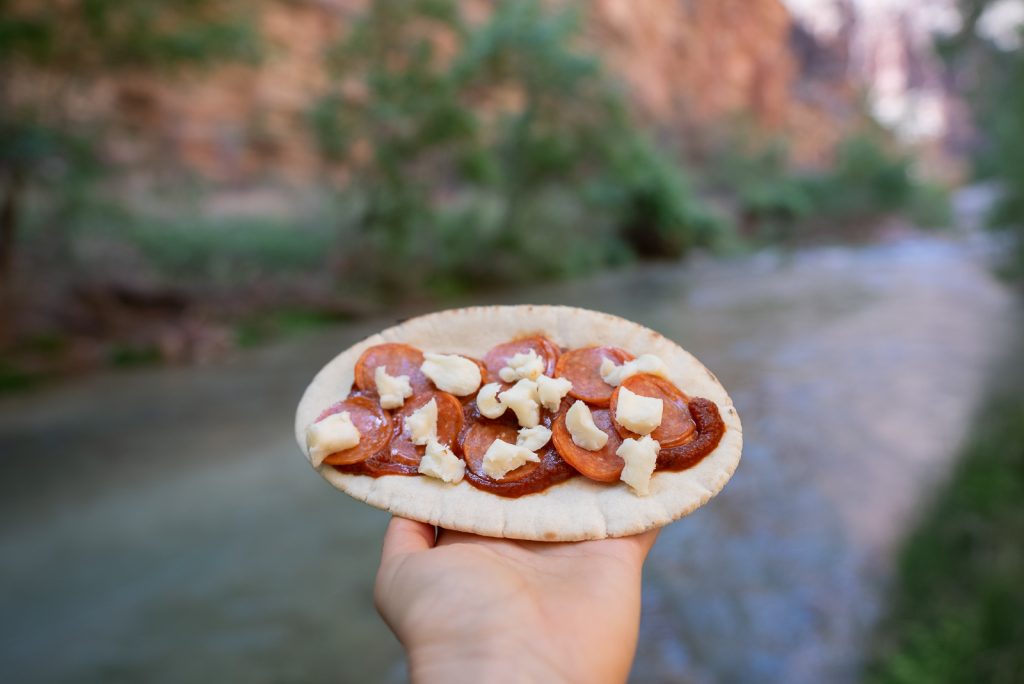
Lunch and snacks
Hiking to The Confluence is a long day and you’ll need fuel! We packed a lunch, plus snacks, to eat along the way. You can see all of the food we brought with us on our Havasupai trip in our packing list. Don’t forget, you MUST pack ALL of your trash out!
Gloves
Many people choose to wear gardening gloves (with grip) for the climb down to Mooney Falls. However, this is personal preference. Kathryn wore them a couple times and thinks they may have helped, but Adam didn’t wear them and had no issues. There are piles of used gloves you can use, but we’d suggest bringing your own clean pair.
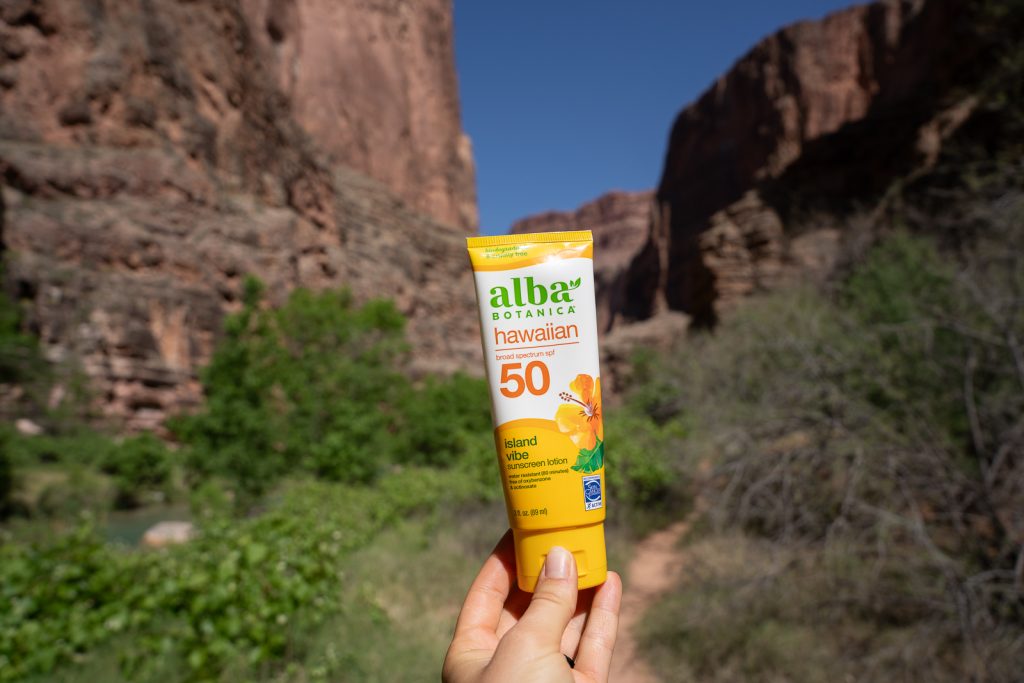
Sun protection
While the portion of the hike to Beaver Falls has some shade, the rest of the hike to The Confluence has quite a bit more exposure. Make sure to bring some travel sized sunscreen, a hat, and sunglasses.
Garmin InReach
You won’t have any cell service when hiking to The Confluence. We always bring our Garmin InReach Mini when hiking. This gives us the ability to message family, to let them know we are okay, plus has SOS capabilities, which we thankfully have never used. Although it may be hard to get a GPS signal in the canyon, this is still a great item to have, just in case.
External battery + charger cords
Make sure to bring an external battery, so you can keep your phone alive during the hike. Don’t forget any cords!
Ready to tackle The Confluence in Havasupai?
Pin this guide to plan your adventure!