Last updated on June 5th, 2026
Renting a campervan in Japan is the best way to explore the country. In this guide we’re sharing everything to know, including rental options, important logistics, and our exact route!
We spent three weeks exploring some of Japan’s most iconic destinations, from the bustling city of Tokyo, to scenic views around Mount Fuji, the temples and shrines in Kyoto, and the delicious street food of Osaka. But hands down our favorite thing we did in Japan was renting a campervan and roadtripping around part of the country!
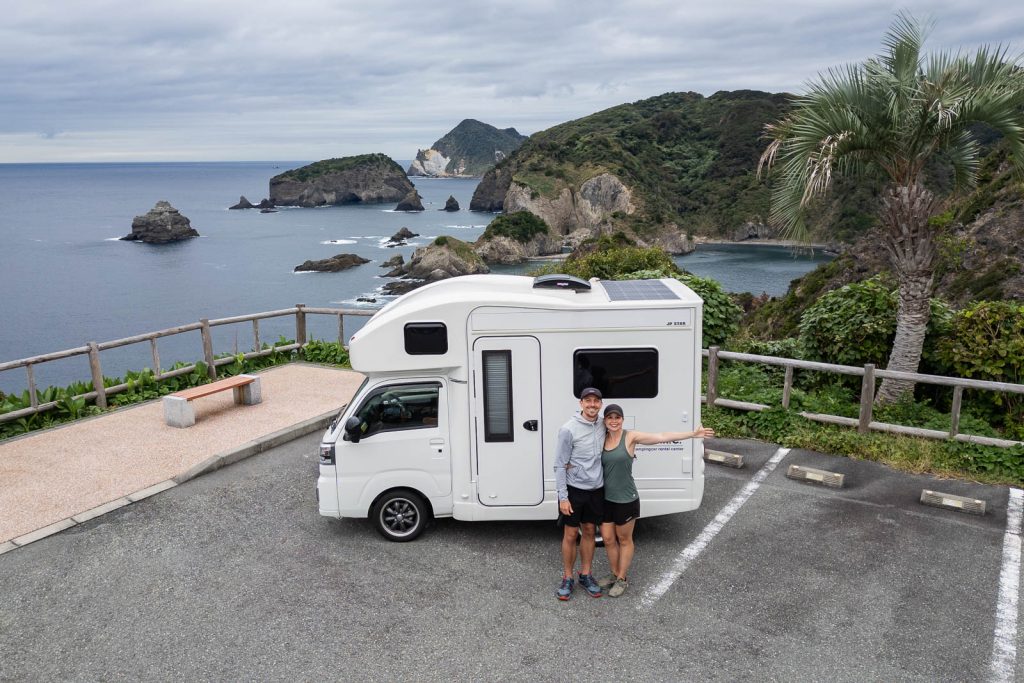
We spent 6 years traveling full time in our own campervan across North America, so it’s safe to say we know a thing or two about van life. But van life in Japan is a bit different! And in this guide we’re sharing everything you need to know to explore Japan by campervan. Including different campervan rental companies, how to find campsites, where to do specific chores, and our exact itinerary. Plus some important tips to help you avoid some of our mistakes and headaches!
Looking for more Japan travel tips & guides?
- 35+ fun things to do in Tokyo, Japan
- 4 days in Tokyo itinerary: See the best of the city!
- How to visit Tokyo for first timers: Important logistics & tips!
- 10 best places to visit in Tokyo for first timers (& What to do in each!)
- Where to stay in Tokyo for first time visitors (The 5 BEST areas!)
- Staying at an onsen ryokan in Hakone, Japan: Everything to know!
- 12 best things to do in Hakone: Japan’s mountainous hot spring town!
- Hiking the Nakasendo Trail from Magome to Tsumago
- The 37 best things to do in Kyoto, Japan
- Read all of our Japan guides
- Watch our Japan video series
Why should you rent a campervan in Japan?
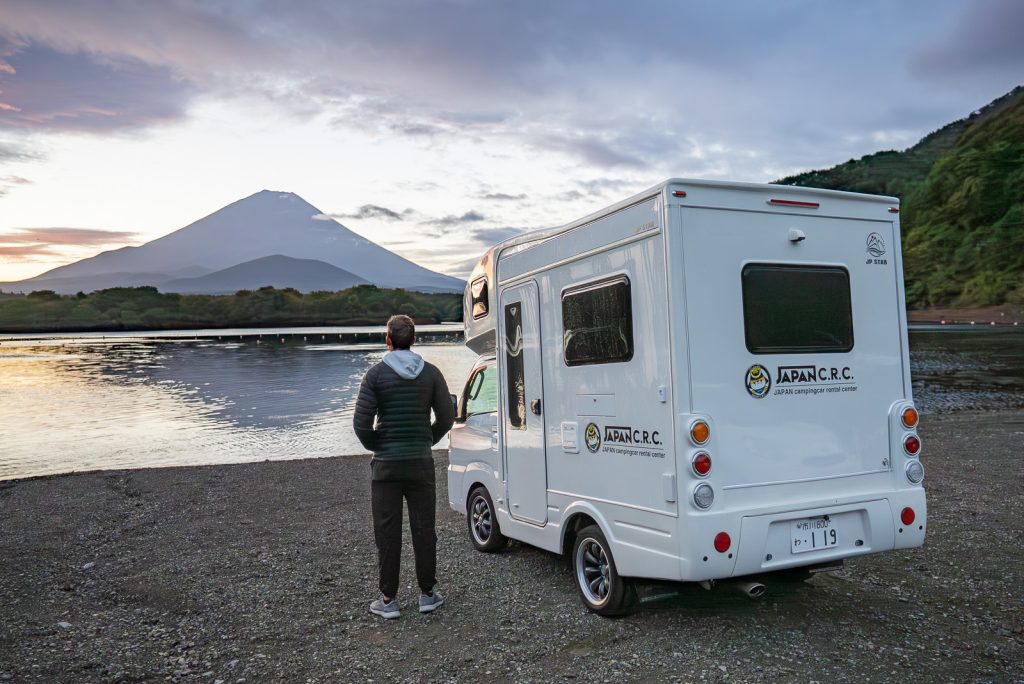
While Japan’s high speed trains are a blast to ride (and you definitely should take one!), there are many reasons why we personally think renting a campervan in Japan is a must-do experience.
First, it allowed us to get a bit more off the beaten path. Most first-time visitors to Japan stick to Tokyo, Kyoto, Mount Fuji, Nara, and Osaka. Which are all amazing! But in our opinion, the best parts of Japan are away from these super popular cities. Throughout our 12 days in our campervan we were able to experience so much of the country’s scenery, from the mountains to countryside to the coastline.
And while you could utilize trains or a rental car to get to many of the destinations we visited, what we loved about the campervan is that it gave us more flexibility. While you may want to book some campsites in advance, we personally stayed at free spots every night, which meant that if our plans changed and we wanted to stay somewhere else, we could without losing money. With the train, rental car, and hotels, you will be pretty bound to a schedule.
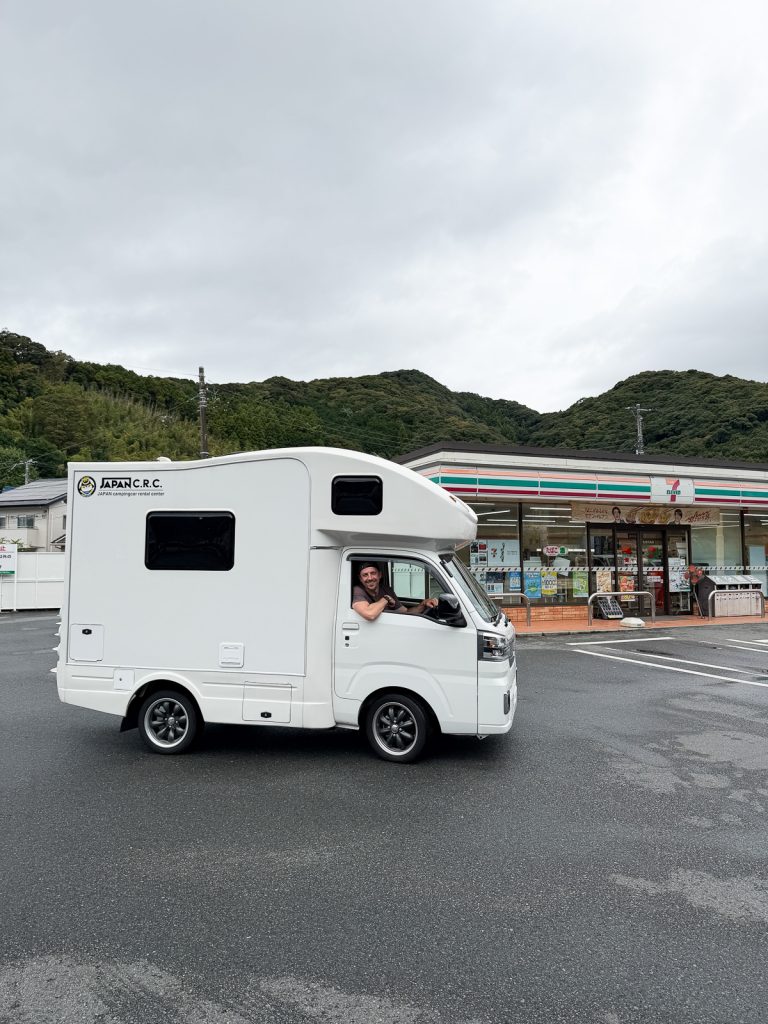
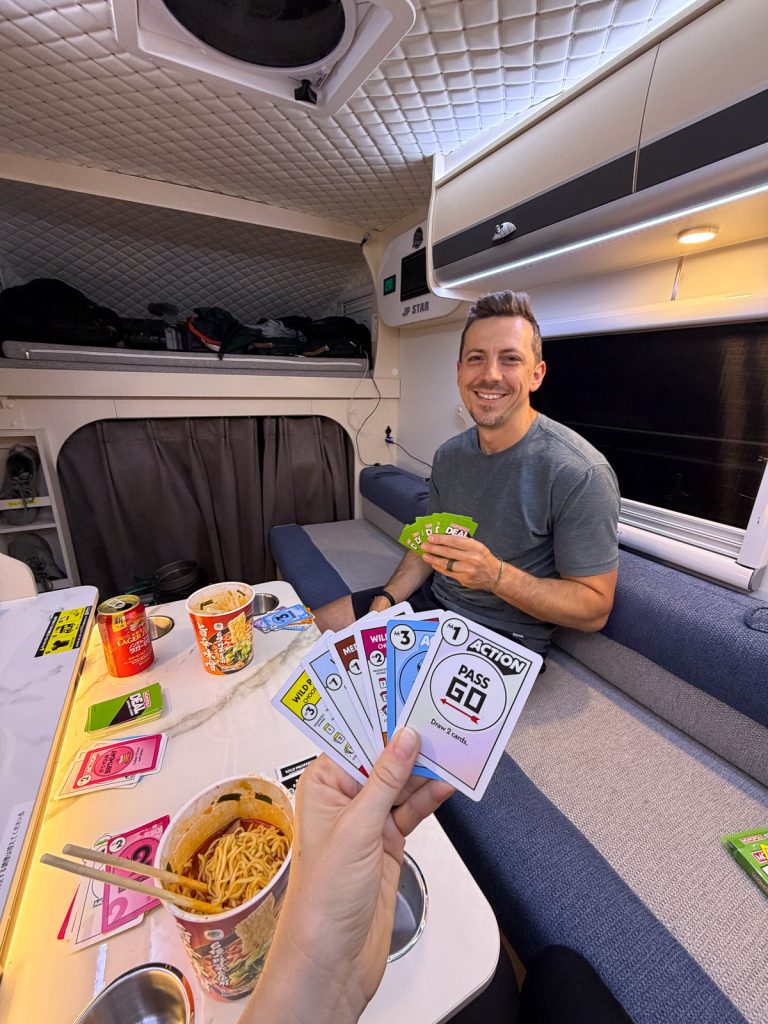
Also, with the campervan, we had all of our belongings with us at all times. This meant we didn’t have to unpack or repack every day when changing locations.
It was also really nice to have a kitchen with us at all times. We truthfully didn’t cook very much and ate a lot of konbini food. But having a kitchen meant we could heat up pre-made meals from anywhere, make our own coffee, and carry cold beverages and snacks. Plus we could enjoy meals from beautiful locations!
Lastly, it’s just fun! Especially if you rent a mini campervan. The uniqueness of our little van, plus the amount of joy and smiles that it brought us made it worth it alone!
Renting a campervan in Japan
Japan is shockingly a pretty popular RVing and van life destination, both with locals and visitors. Because of this, there are quite a few campervan rental companies to choose from. Many are based out of Tokyo, but there are other locations as well.
Where we rented our campervan
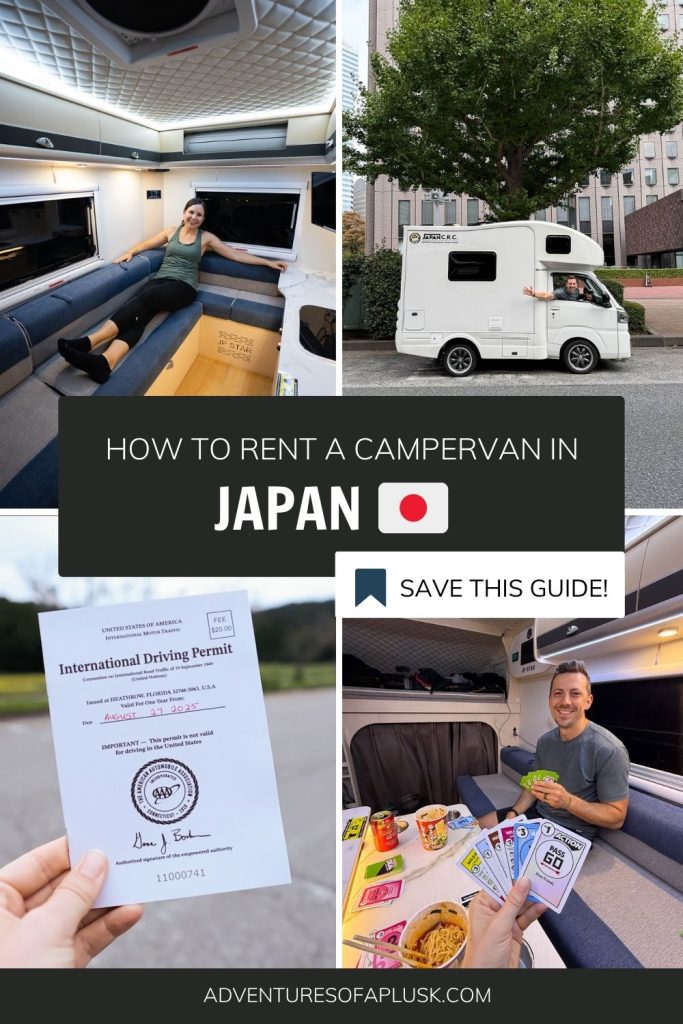
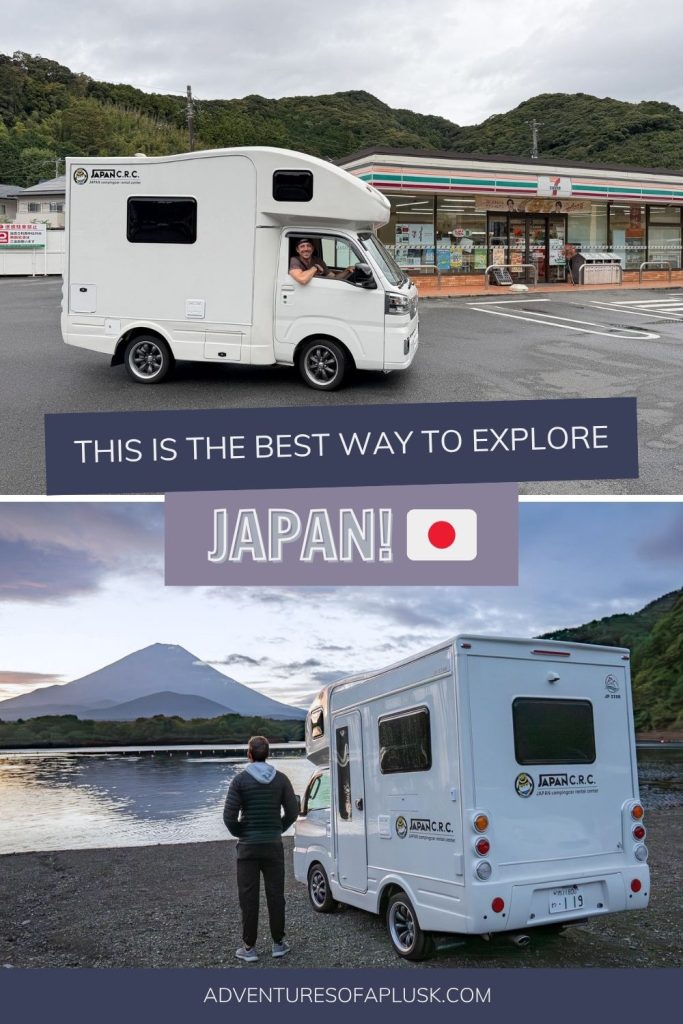
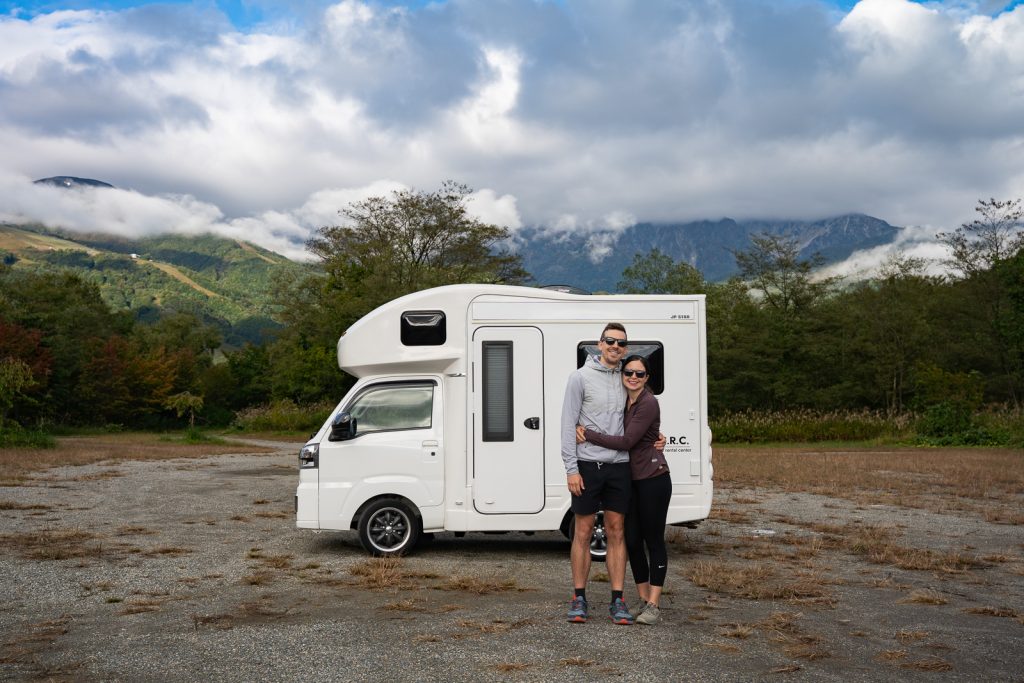
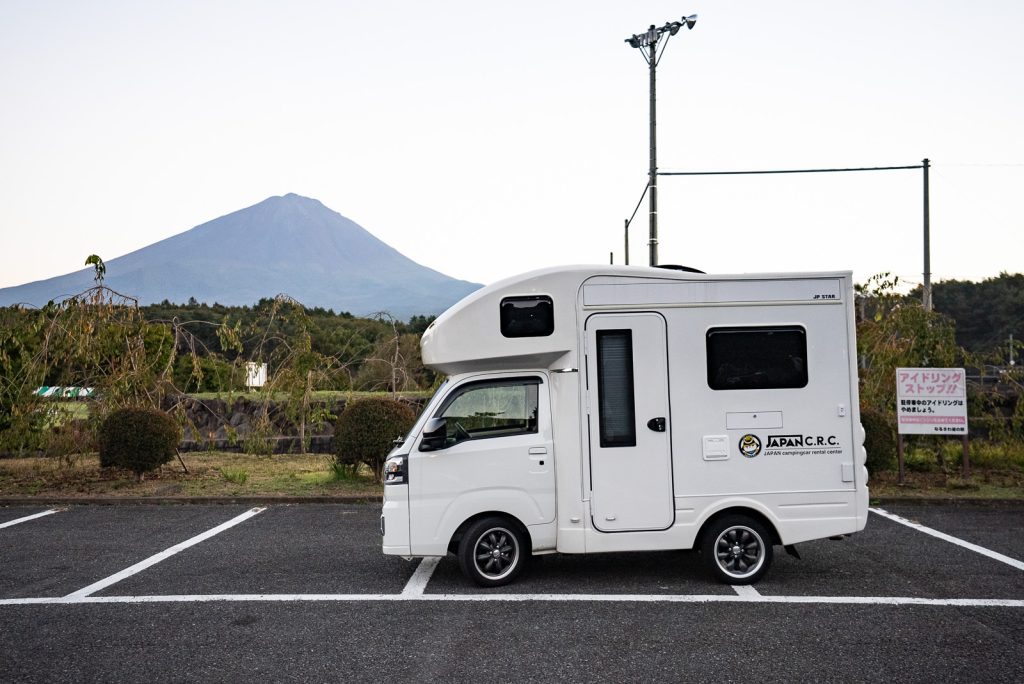
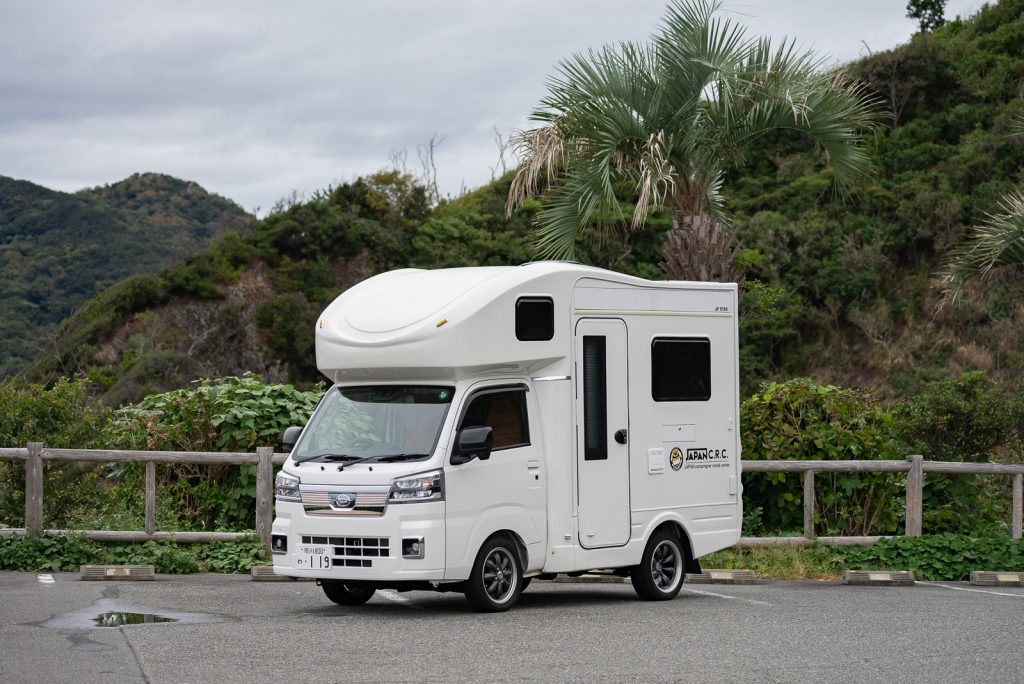
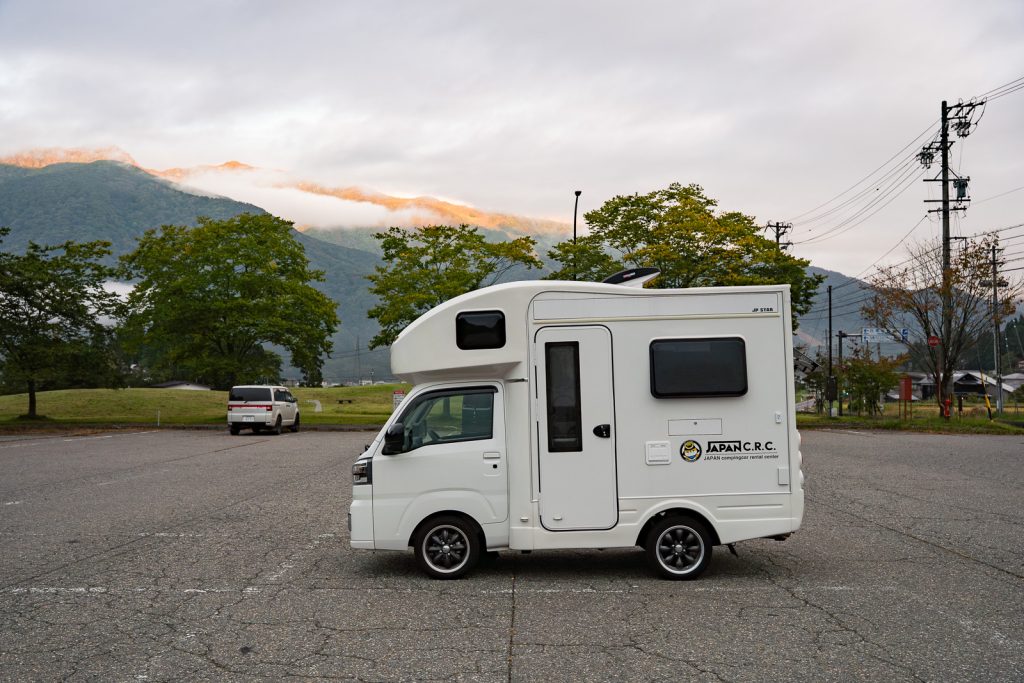
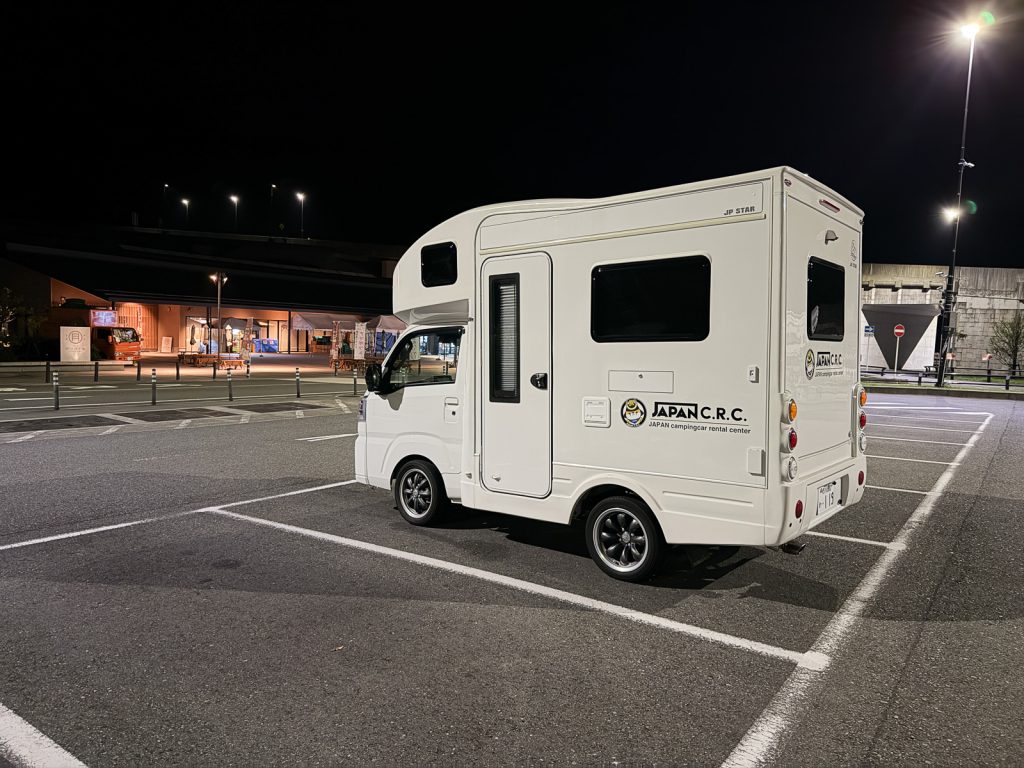
We personally rented our campervan from Japan CRC and we highly recommend them! They have a handful of RV options to choose from, but we went with the Happy1 Premium camper made by JP Star. It is quite possibly the cutest campervan of all time!
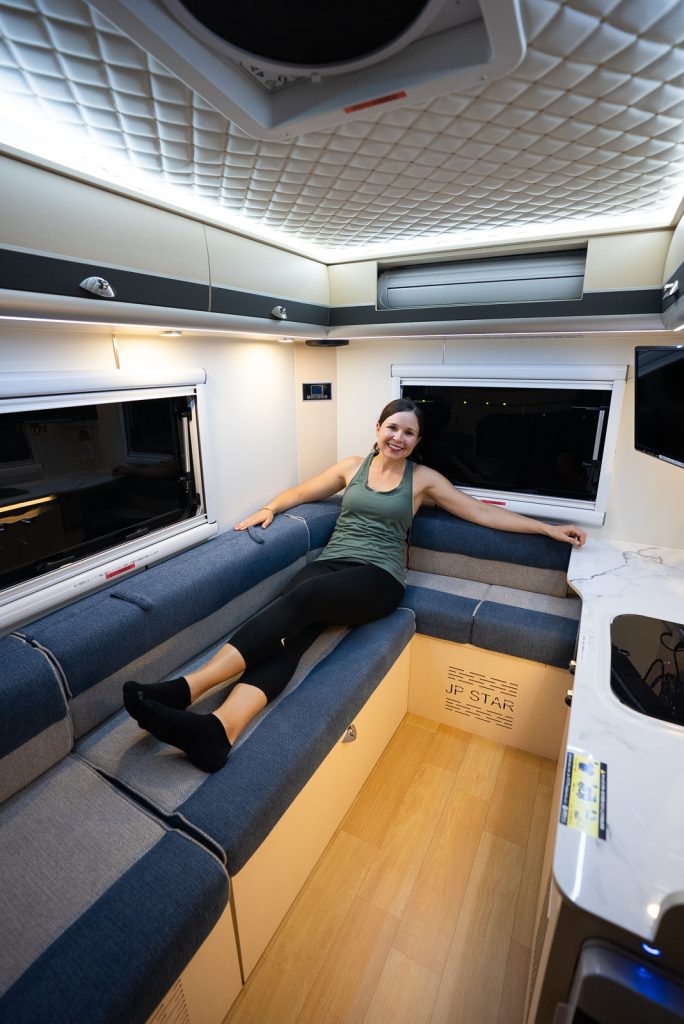
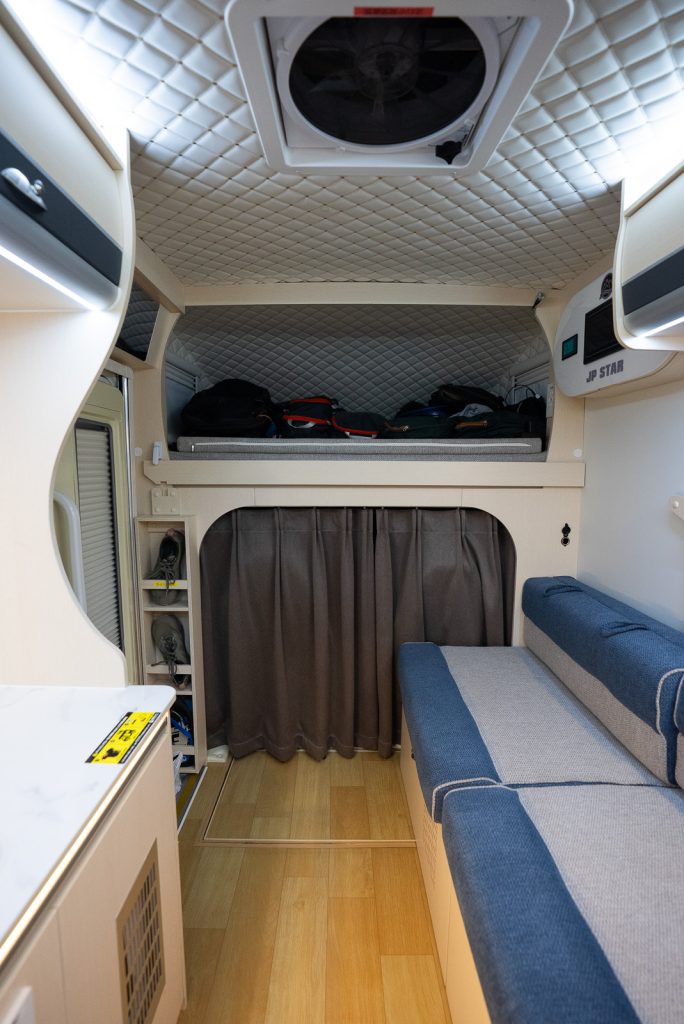
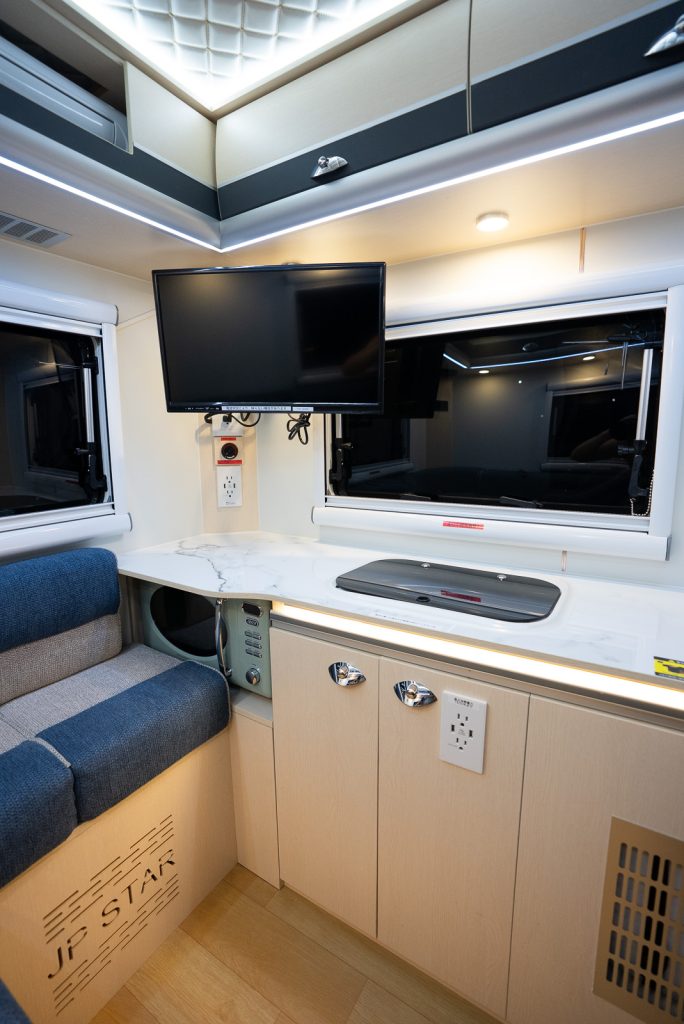
This is the smallest camper they offer, at about 12 feet long, and we were a little nervous about how small it is. But it was actually the perfect size for the two of us! We were really impressed by how they utilized the space. It had a perfect sized bed, a nice hangout space, a kitchen (with a sink, refrigerator, microwave, and portable stove), and even a little TV!
There was also a good amount of storage. We were able to put one carry-on suitcase under the bed, plus store another suitcase and two backpacks above the cab. There were also cabinets where we could store food and toiletries. The only tough part for us was storing shoes. You are not supposed to wear shoes in the camper and we struggled to find a good spot to keep our multiple pairs of dirty shoes. But we made it work!
Besides the campervan itself, here are some other things we loved about Japan CRC:
- The team at Japan CRC was also very helpful, giving us a full rundown of the rig before we left. They also had a WhatsApp group for us to contact, although we had no issues and never needed to use it.
- You can choose where to pick up and drop off! We were able to get our campervan in Shinjuku, which was super convenient.
- They provide an ETC card, which is SO helpful!
Other Japan campervan rental options
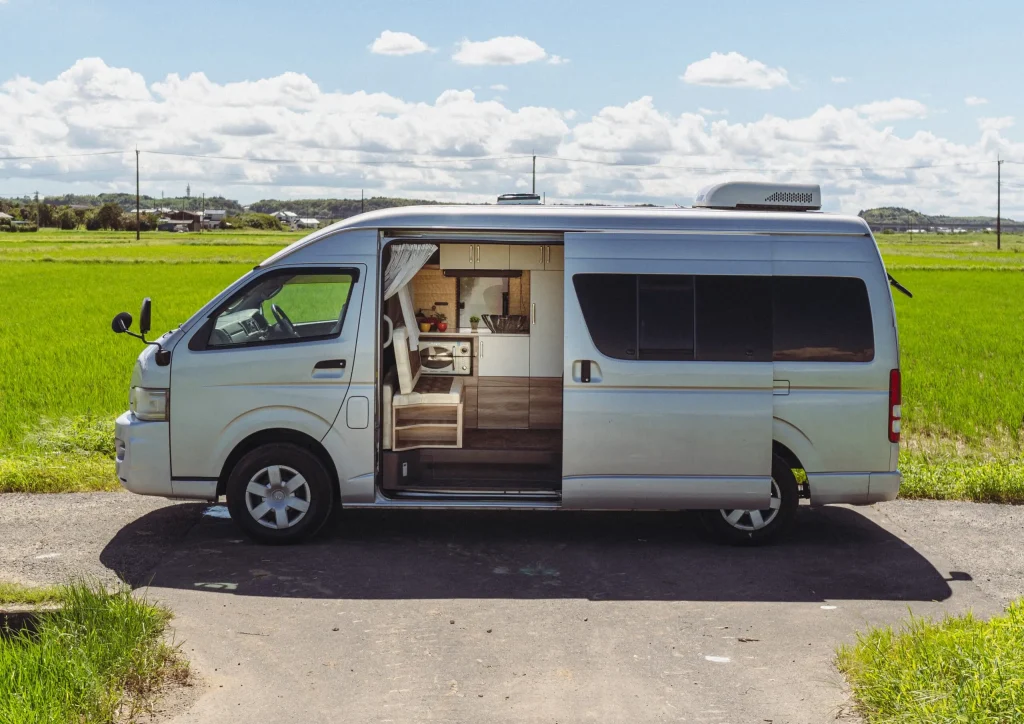
If Japan CRC is booked or you want to look at other options, here are some other campervan rental companies in Japan that we considered!
Samurai Campers
Samurai Campers is one of the most popular campervan rental companies in Tokyo. We have friends who have personally used them and had a good experience!
They offer a variety of campervan sizes to choose from and their interiors have more of a homey feel. However, many of them are not tall enough to stand up in.
We originally booked a campervan through them, but decided to cancel and switch to Japan CRC. The main reason was that unless you book their extra large camper, they cannot guarantee the exact model or features of your rental. And right before our visit, they suddenly started offering rentals without a sink. We didn’t like the idea of paying for a rental and not knowing for sure what all it came with. Plus, their rentals do not come with any sleeping bags, a refrigerator, or cookware. You have to pay extra for those items.
Japan Campers
Another option we looked at was Japan Campers. They have a fleet of both mini campers, more mini-van style campers, and a small RV, all offering slightly different layouts and amenities. Compared to Samurai Campers, they have a bit more of an old school, classic look to them. They have locations in both Tokyo and Osaka as well!
Roam and Roll
We really love the look of the campers from Roam and Roll! They are probably the most “our style” in terms of design. They have a handful of different models to choose from, which all come with a sink, fridge, and microwave. Cookware, bedding, an ETC card reader, and outdoor table and chairs are included as well, which is really helpful!
Japan by Van (Osaka)
If you want to take a road trip out of Osaka, check out Japan by Van! They have beautiful, wood designed vans and everything you need is included, so you don’t have to pay any extras. Since they have a small fleet, you’ll definitely want to book ahead of time.
Cloud Nine Camping
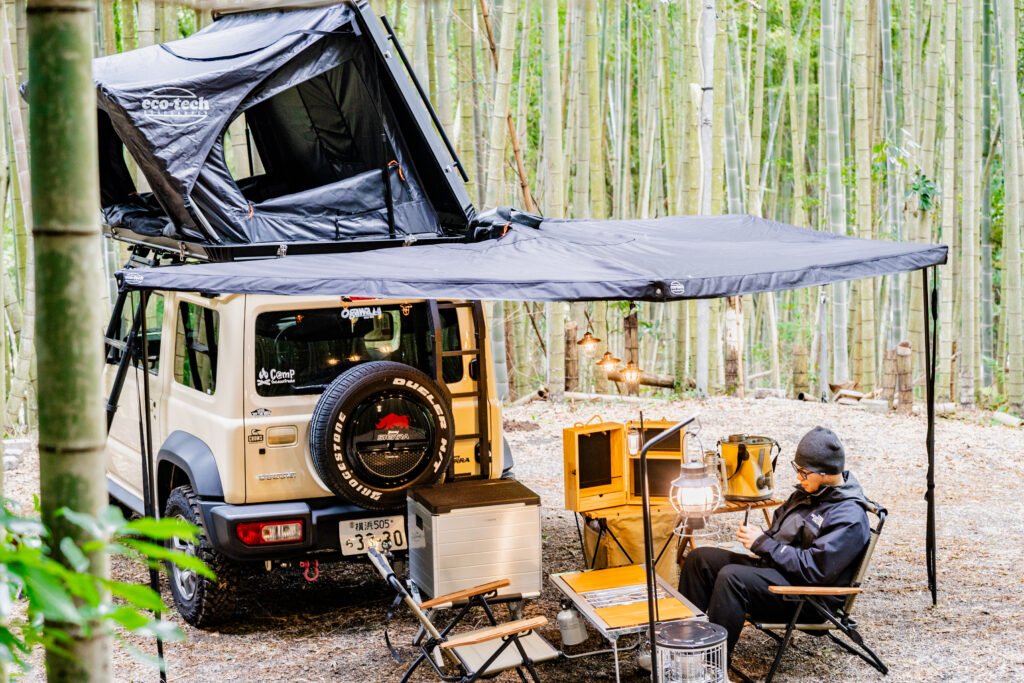
While not a campervan, Cloud Nine Camping offers super cool Jimny rentals with rooftop tents! And as BIG Jimny fans, we considered renting one of these instead of a campervan. They come with all of the gear you’ll need, including cookware, an awning to cook under, campfire gear, and a large power bank.
However, we ultimately decided that setting up the tent everyday and having to cook outside may not be ideal for our jam-packed schedule. But depending on the style of trip you’re going for, this is a unique and fun option!
Things to consider when choosing a campervan rental in Japan
Not all campervan rentals are created equal! Here are some things to look out for when choosing a campervan in Japan to make sure you fully understand what you’re getting and don’t have any unpleasant surprises.
Can you stand up?
One of the biggest things to consider, in our opinion, when renting a campervan in Japan is if you can stand up in the van.
Many of the campervan rental options we listed are low top vans, which you will not be able to stand up in. While this may be fine for a short trip or if you’re spending most of your time outside the van, we do think it would probably get a bit uncomfortable.
One thing we loved about the Happy1 Premium from Japan CRC is that we could mostly stand up! Kathryn is 5’5” and Adam is 5’11” and while Adam did have to tilt his head a bit, he was able to mostly stand. This made it a lot easier to get in and out of the van, plus cook.
Toilet and shower
Most campervans in Japan do not come with a toilet or showers. Some companies offer the option to add on a portable toilet, but since there aren’t many places to easily empty it, we wouldn’t recommend adding on a toilet.
We were a bit worried about not having a toilet, especially since it’s something we are so used to having in our own van. But there are so many free public toilets all over Japan that it really wasn’t an issue. The only time it wasn’t fun is if we had to use the restroom in the middle of the night. Just try to limit your liquids before bed!
As for showering, we will share more about where to shower below!
Bed set up
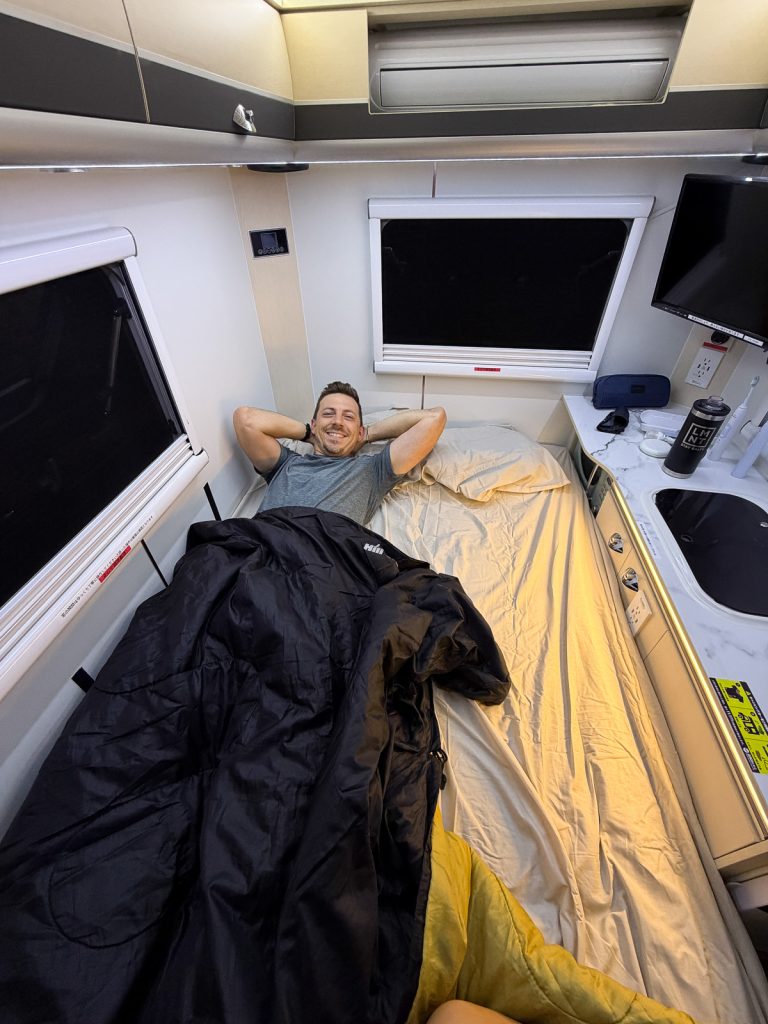
Unless you rent a larger RV, pretty much all Japan campervan rentals will have a convertible bed set up. For our campervan, we had a large L-shaped bench area that converted into a bed at night. In the bench mode, there was a good amount of space to move around, but when it was in bed mode, there was zero space to walk in the van. We just had a small area by the door to get in and out. So keep that in mind!
Kitchen set up
As you shop around for campervan rentals, make sure to look at the kitchen set up. Is the kitchen fully inside the van? Or do you have to cook outside? Does it have a refrigerator and a sink? What is the stove situation? Make sure that you choose an option that fits your cooking style and needs.
One thing we noticed most campervans had, which isn’t as common in the US, is a microwave. At first, we thought we would never use it. But it turns out, after a long day of exploring, microwaving a pre-made meal from a konbini is the perfect, easy dinner.
What is included?
It’s very hit or miss what is included in a campervan rental. While some include bedding, cookware, towels, and an ETC card in the pricing, others charge an extra fee.
Our rental came with cookware, plus sleeping bags, but we brought our own camping pillows and towels from home, plus ended up buying a fitted sheet to lay on and some pillowcases. We also brought our Aeropress to make coffee, which came in handy! But you can almost always find a vending machine serving coffee as well.
Distance allowed
Another thing that can vary a lot between campervan rentals is the distance you’re allowed to drive. Some offer unlimited kilometers, while others have a daily limit and charge extra fees if you go over. Our campervan had a 3,000 km limit for 10 days, which we were able to stay under. But if you want to drive further, keep this in mind!
Japan campervan logistics
Choosing a campervan rental is only one decision you’ll have to make for your Japan campervan road trip! There are also a lot of little logistics to consider and if you’re like us and have traveled by van in North America, things are a bit different. But thankfully, camping is pretty popular in Japan, so there is a good amount of camping infrastructure!
Power hookups
Our campervan rental came with a small battery bank and a solar panel. It is a smaller set up than we have in our own van, but since we were only in the van to eat and sleep and drove a lot (which charged the batteries), we ended up using hardly any power. Most days we never dipped below 90%!
But if you’re worried about power and your campervan has the ability to plug in to be charged, you can book a campsite with power. For most people, this shouldn’t be an issue though!
Finding drinking water
One thing we love about Japan is the tap water is safe to drink! This makes it so easy to fill up water bottles and in this case, fill up your campervan! To fill up our campervan’s freshwater tank, we would fill up a separate container in a sink (usually at a Michi-no-Eki, but some parks and gas stations have water faucets) and pour it into the water inlet on the outside of the van.
Emptying grey water
Unlike North America and Europe, where there are dump stations for RVs, they don’t appear to be super common in Japan. Since most campervan rentals have just a small water tank under the sink, you don’t accumulate too much grey water at once. The easiest way to dispose of it is to empty it into a toilet or sink. Every campervan is different in how their grey water system is set up, so we suggest asking the rental company for tips!
Disposing of trash
If you’ve done any research about visiting Japan you may have heard about how limited public trash cans are. It is expected that the Japanese will take their trash home to dispose of it. Whenever we were exploring cities in Japan, we would carry our trash around during the day and throw it away at our hotel. But in the campervan, figuring out where to throw away our trash was a bit of a struggle at first. For the first few days we were carrying around a lot of trash because we couldn’t find anywhere to throw it away. However, we eventually found a decent system.
- First, use konbini plastic bags as trash bags. They are small and will help limit how much trash you accumulate!
- If you buy something from a konbini, you can throw away your trash there. This is one of the easiest methods to get rid of trash. But if you do not eat the food immediately, this will not work.
- However, we did find some konbinis that had exterior trash cans. This meant we could throw away trash outside, without awkwardly carrying it inside. We saw some locals bringing trash to these trash cans, so we figured it was likely okay. Most of our trash was from konbinis anyways.
- Michi-no-Ekis will often have trash cans, but we did encounter some that did not. Our recommendation is that anytime you stop to use the restroom, try to throw a couple small items away. It’s frowned upon to dispose of a lot of trash at once.
Where to shower
One thing we didn’t think about before renting a campervan in Japan is where we would shower. Thankfully there are a few options!
Option #1: Paid Campground
If you pay to stay at a campground, you will likely have access to a shower, either included in the cost or for an extra fee.
Option #2: Onsens
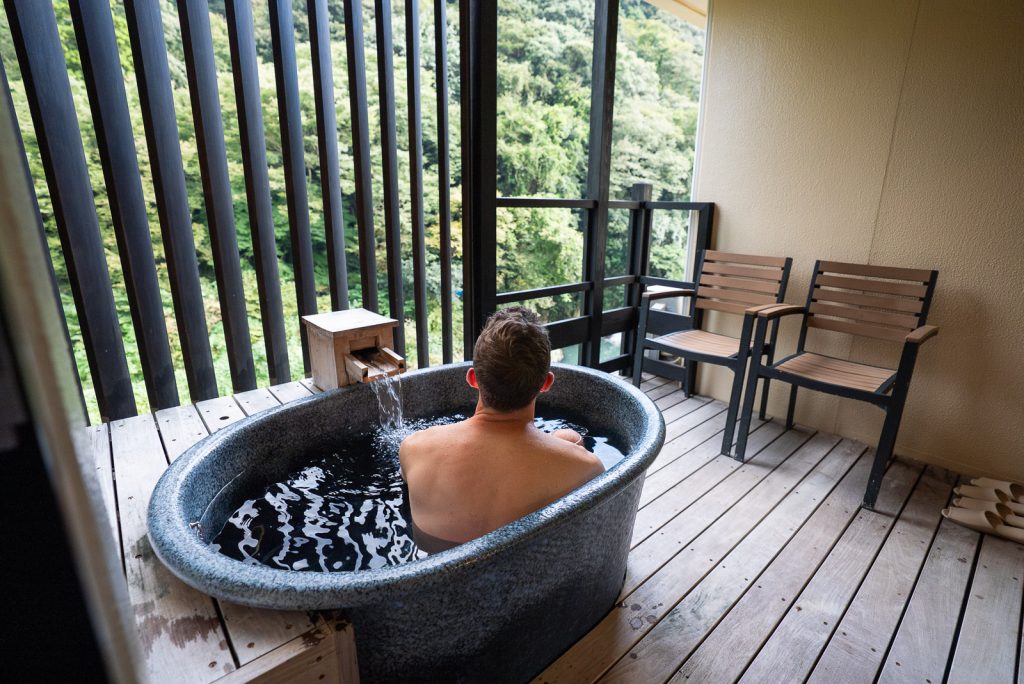
The most popular shower option for campervan renters in Japan are onsens (traditional Japanese hot springs). There are thousands of them across the country!
And not only can you soak in hot springs here, but you are required to shower before getting into one. So it’s a good way to get clean and get a soak in at the same time! However, there are a few important things to know before you go to one:
- Onsens are typically split up by gender and you are required to soak naked. Yes, even with strangers! While this may be an unfamiliar concept to us Americans, it is very normal in Japan.
- For those with long hair, make sure you put it up and it doesn’t touch the water.
- Tattoos are often not allowed in public onsens. There are some that are tattoo friendly and this website is a great resource to find them!
Option #3: Manga/Internet Cafes (our pick!)
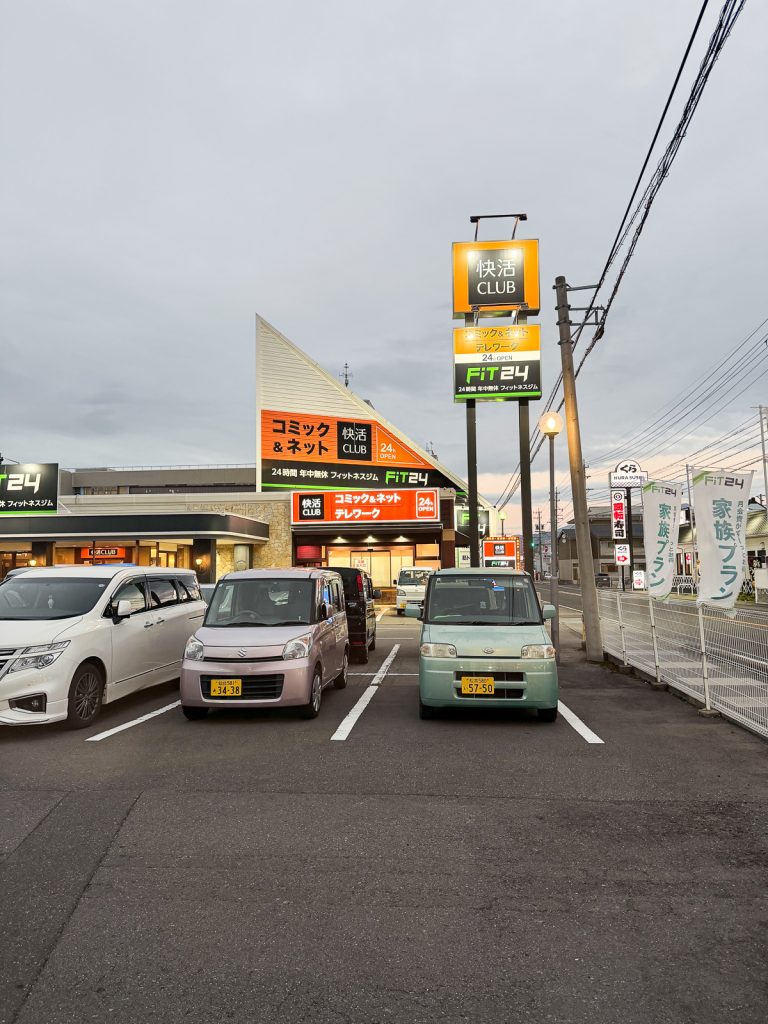
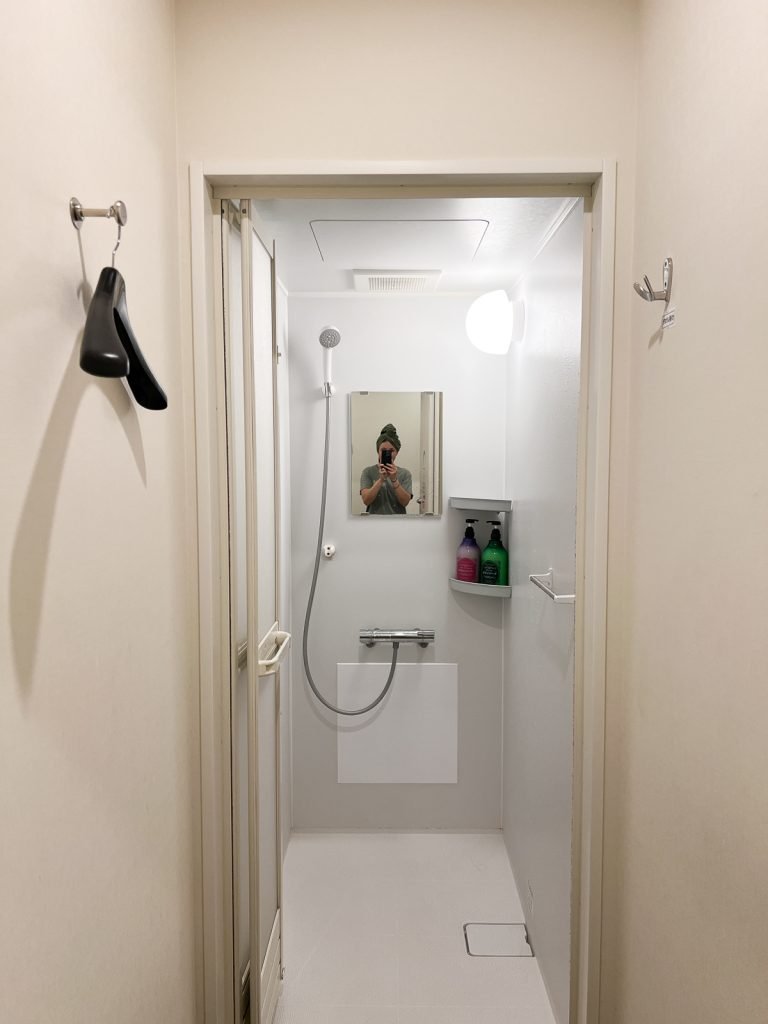
One of the most unexpected places to shower in Japan is at Manga or Internet Cafes. These cafes are mostly for people to read manga or play games on the computer, but they also have showers (and typically laundry too)!
There are a handful of chains around the country, but we always went to Kaikatsu CLUB. How it works is that you have to get a membership card on your first visit and then you can book the cheapest table or room, which will include access to the showers. We recommend having the person working at the desk help you, as it was a bit confusing at first. Just tell them you’d like to take a shower and they’ll help you get the cheapest option. They likely will not speak much English, so make sure you have Google Translate downloaded!
The showers themselves, the pricing, and the amenities did vary by location. Our first location was only ¥420 ($2.75 USD) for the BOTH of us! Another location we went to did cost more, but included a towel. At some locations, the shower rooms were inside the women’s or men’s restrooms. But at others, the shower rooms were in a hallway and we had to get a key to open it. You can typically look up the pricing and what it includes for a specific location online in advance though!
Oh and the best part? Your fee includes access to their free drinks and free soft serve!
Refueling
Before you leave with your campervan rental, make sure to confirm what type of fuel your camper takes. In Japan you’ll find both full service and self service stations. Most of the ones we encountered were full service, where the fuel pumping will be done for you. All you have to do is pull up, roll your window down, tell the attendant how much you want and what type, then hand them payment.
Where to camp in Japan
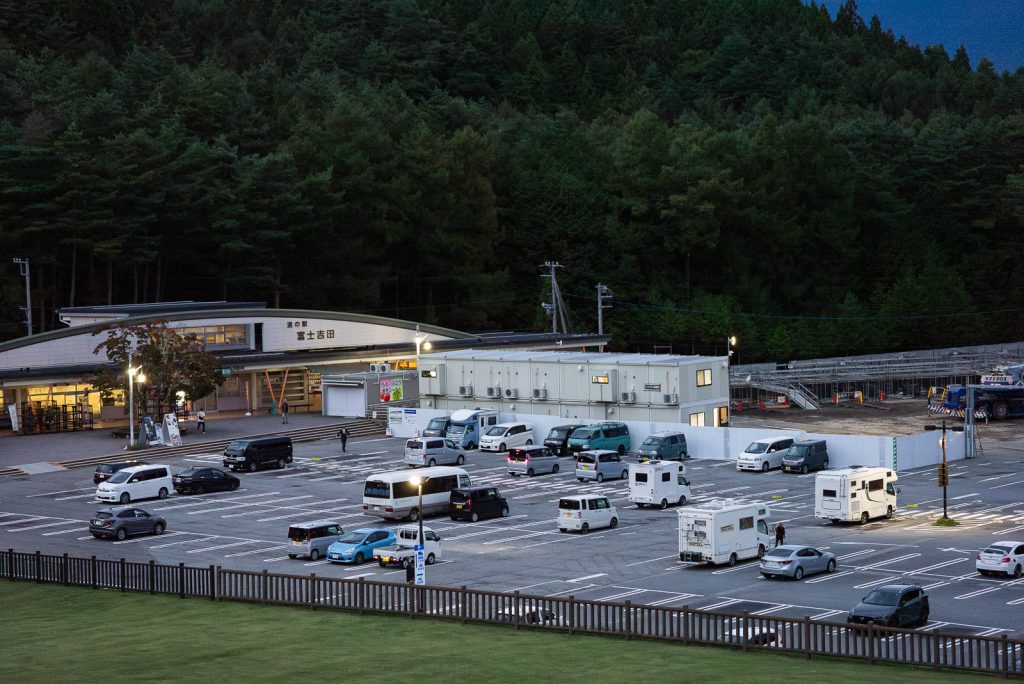
One of the reasons that Japan is so popular with van life is that there are many free options for camping. Plus some really cool paid campsites as well! Here is a rundown of your main options when camping in Japan.
Option #1: Campgrounds
First, you can stay at a campground. At a traditional campground you can have your own space, stay without feeling pressure to leave early, be able to have a campfire, and enjoy the nature around you. There are tons of campgrounds across the country, but it’s recommended to make a reservation ahead of time, especially in very popular areas. These campgrounds almost always have restrooms and often dishwashing areas, which are nice amenities to have.
However, the campgrounds themselves are a bit different than what we are used to. Most campgrounds are either a big open field or a parking lot type experience where you have an assigned “stall.” So don’t expect a ton of privacy!
Also, keep in mind that some campgrounds have gates that close overnight and do not reopen until sometime the next morning. This means if you want to leave before the gate opens, you will not be able to.
While we think the beauty of Japan van life is being flexible and camping for free, if you want to splurge on a campsite, we’d recommend doing so at either Koan Campground or Fumotoppara Campground by Mount Fuji and Minami Izu Yuhi Gaoka Camping Ground on the Izu Peninsula.
Option #2: Free Roadside Stations (Michi-no-Eki)
A very popular option for free camping in Japan are the free roadside stations also known as Michi-no-Ekis. These roadside stations are rest areas where travelers can take a break from driving, use the restroom, shop for local items, and even get a meal. There are over 1,200 of these stations in all 47 prefectures across Japan. And at most of them you are allowed to stay overnight for free!
However, keep in mind when staying overnight, these rest areas are intended for you to stay at for one night. The proper etiquette is to show up late (around sunset or after) and leave early (sunrise or just after). They aren’t places to stay all day long or for multiple days. Don’t set up chairs or cook outside.
Even if you do not plan to sleep at a Michi-no-Eki, we highly recommend stopping at them. They often showcase what that specific area is known for. For example, one roadside station we visited was in an area that specializes in growing wasabi. So there were informational signs about the wasabi production, a market selling local wasabi items, and even an ice cream stand that sold ice cream wasabi.
Option #3: Recreational parking lots
Similar to Michi-no-Ekis, you can also stay overnight at many recreational parking areas. Places like riverside parking lots, beach lots, parks, countryside rest areas, and scenic viewpoints are often places that allow overnight stays. But just like the Michi-no-Ekis, arrive late and leave early. And also make sure to check for signs that prohibit overnight camping.
We stayed at a park near Hakuba for a night and it was a great option!
How to find campsites
In North America, we have a variety of apps we use to find free and paid camping. But in Japan, there weren’t as many obvious resources to find campsites. Here are a few tips to find campsites!
- When searching for campgrounds on Google Maps, we suggest using terms like “Auto Campsite,” オートキャンプ場 (Auto Campsite in Japanese), and “Camping Ground.”
- For Michi-no-Ekis, search for the term “Michi-no-Eki” or “Roadside Station.”
- This Google Map has a bunch of spots listed, although we are not sure how updated it is.
- iOverlander, one of our go-to apps in North America, does have some spots listed. But there aren’t that many recent reviews.
- The Camp & Travel Japan app is supposedly pretty helpful, but we didn’t personally use it.
- For paid camping options, Nap Camp is a good resource to find cool campgrounds and reserve them!
Important things to know before traveling Japan in a campervan
International Drivers Permit
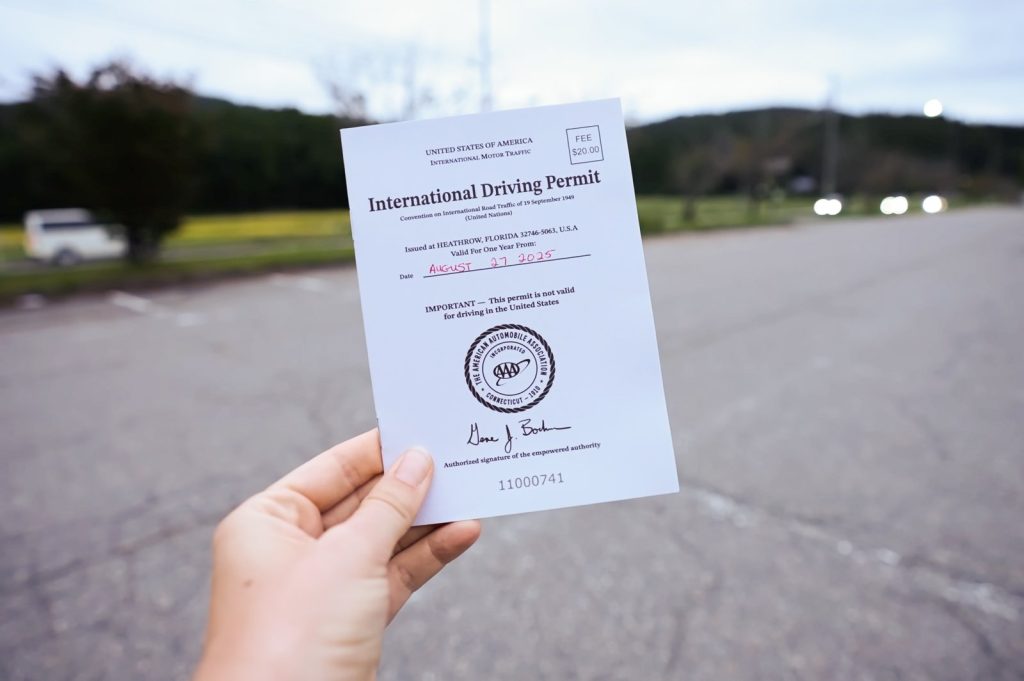
You may be required to get an International Drivers Permit (IDP) to drive in Japan. Make sure to check in advance, as the rental companies will not rent to you without one. As Americans, we were required to have one and got ours at AAA for $20 USD each. It lasts a year and works in multiple countries!
Driving on the left side of the road
Possibly the most important thing to be aware of when driving in Japan is that vehicles travel on the lefthand side and the driver sits on the right side of the car. If you’ve never driven on the right side of the car, it takes a bit of getting used to, but after an hour or so you’ll feel more comfortable. Just take it slow and be careful!
Traffic lights, signs, and important traffic rules
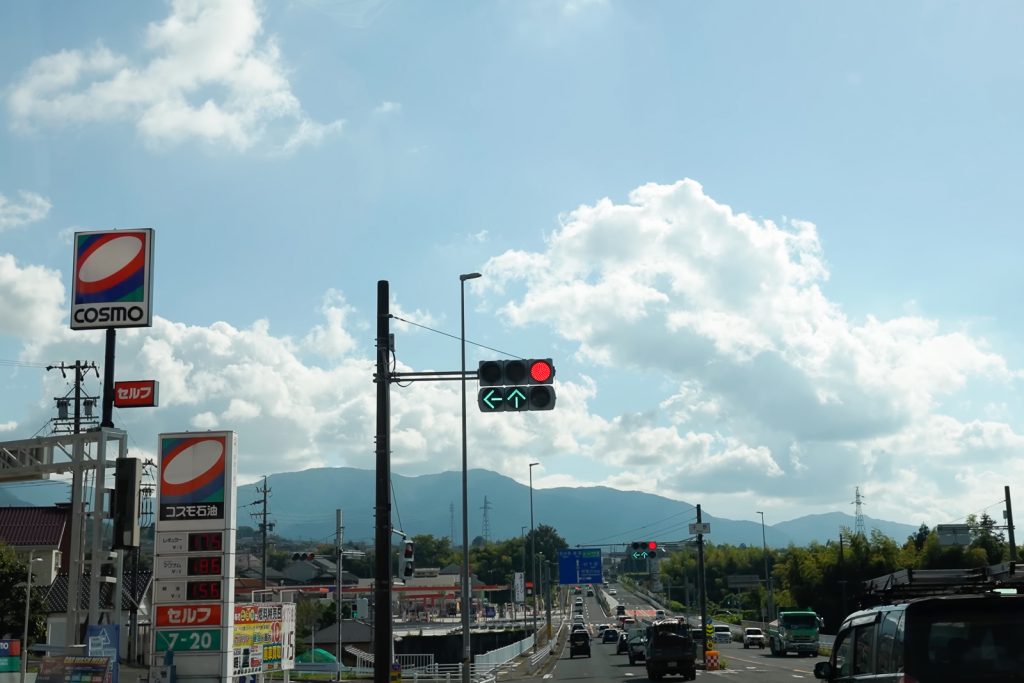
We thought driving on the left side was going to be the biggest hurdle, but it turned out that the trickiest part of driving in Japan was figuring out some of the traffic lights, signs, and understanding the rules. While the majority is the same as other countries, there are some notable differences to be aware of!
Traffic lights
Within our first 10 minutes of driving our campervan we came across a traffic light that had two levels of lights. The top level had a red light, while the bottom had a green arrow going forward. We were VERY confused, but just followed others and continued driving. After a quick Google search, we learned what they meant and had less issues moving forward. We suggest studying this guide beforehand so you don’t panic like we did!
Stop signs are an upside down triangle
Unlike most countries that have an eight sided stop sign, Japan’s stop sign is an upside down triangle. Some signs might say STOP or you’ll see STOP painted on the ground, but many signs will only have the Japanese characters. It looks like an upside down yield sign, so it would be easy to just blow through if you aren’t aware!
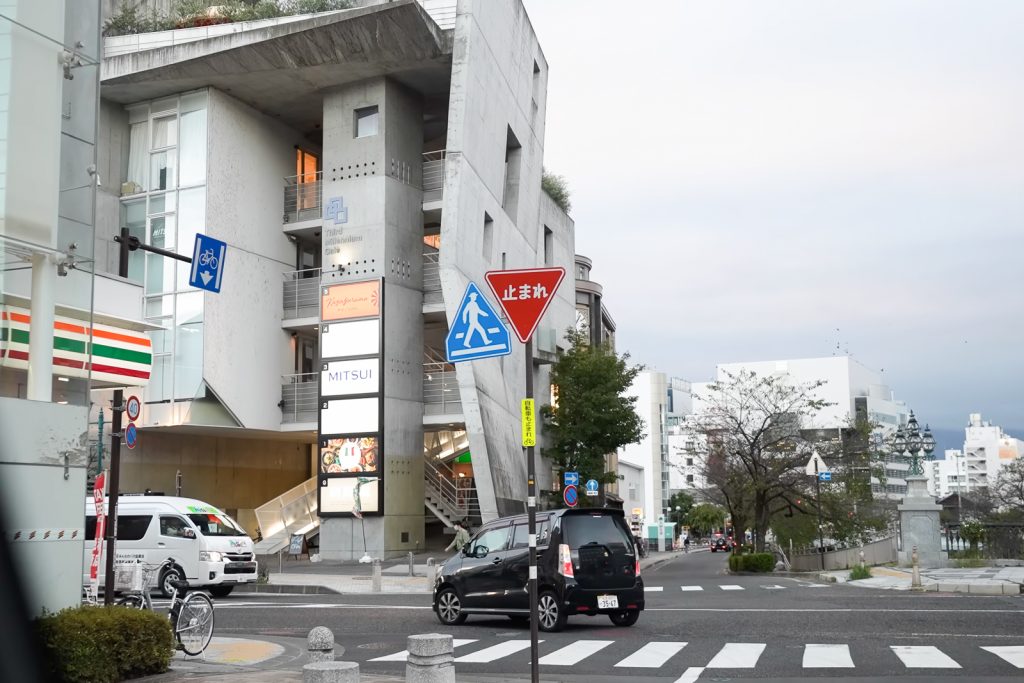
You must stop at all train tracks
Whether the barriers are down or not, you must stop and look both ways before proceeding. This is something we did not know and we are hoping we didn’t accidentally break this law! 😅
No turning on red lights
Another difference from many other countries is you cannot turn on a red light. In many right-hand driving countries you can turn right on red, which would be the equivalent of turning left on red in Japan. But in Japan, you must wait for a green light to turn left.
Other things to know
It is considered polite to let your hazard lights flash 2 or 3 times to say thank you when someone lets you into a lane or lets you go ahead.
Also, you won’t hear much honking while walking through town or while driving. That is because using the horn to express frustration or hurry someone else is considered rude.
With that said, we noticed other drivers drive pretty fast and over the speed limit. We tend to drive the speed limit or a few mph or km/h over and we often had people on our tail. No one was rude about it, but it is only natural to feel a bit anxious when someone follows you closely.
Tolls
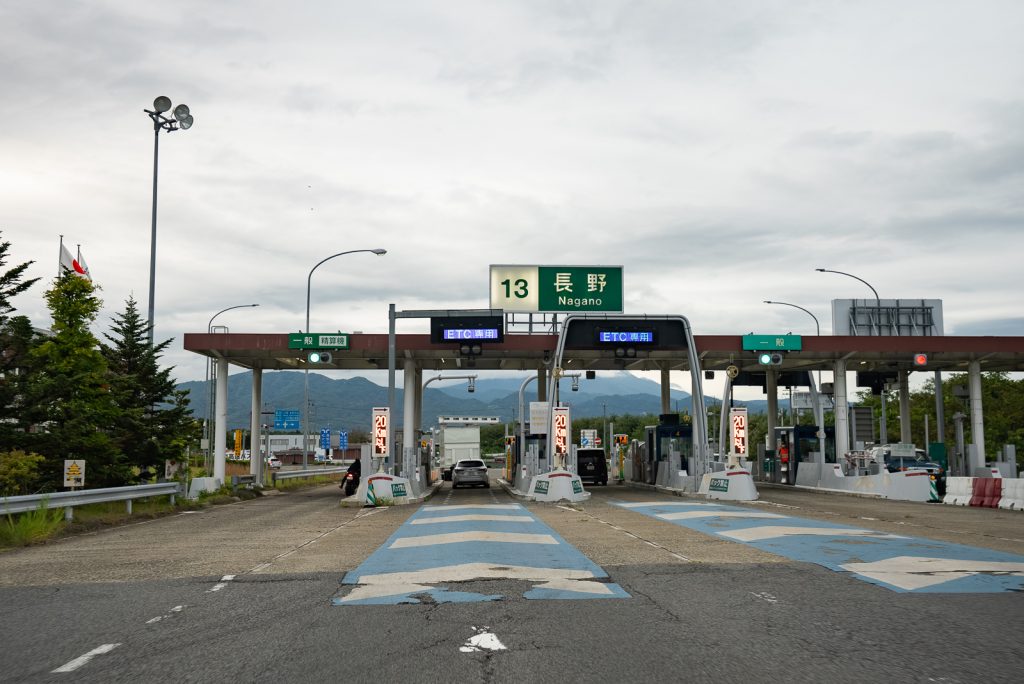
Japan is known for having some expensive tolls. We’ve seen estimates that it costs about ¥2,000 per 100 km ($12 USD per 60 miles)! 😱 And while you can avoid them, it’s worth the time savings to drive them.
To go through the tolls you can either pay with cash or card by going through the non ETC lanes. You will grab a ticket and then either pay a machine or attendant.
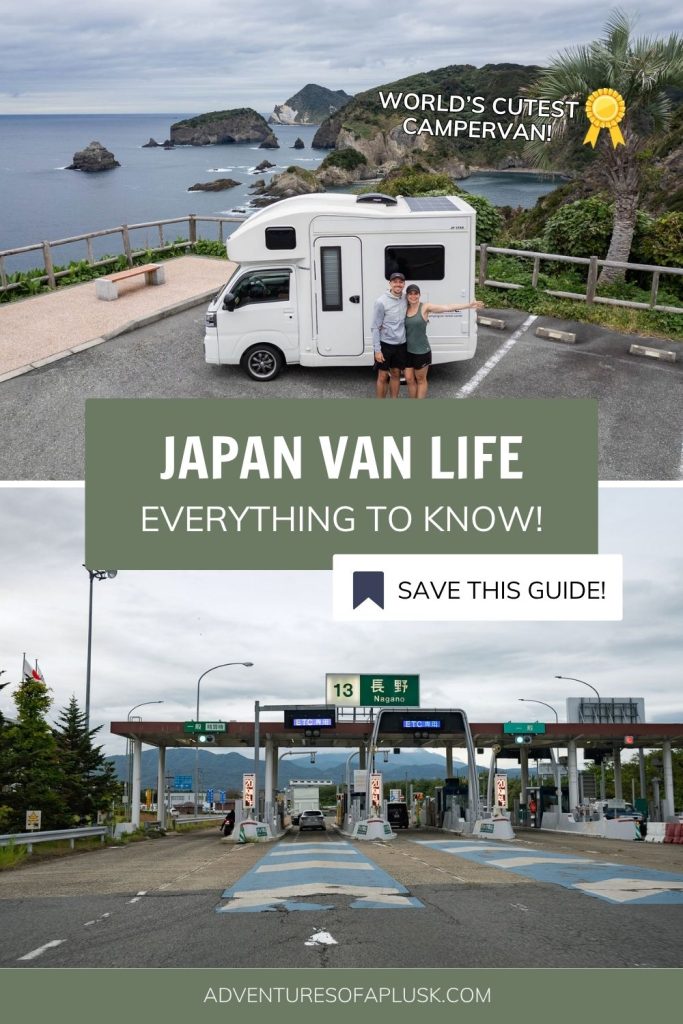
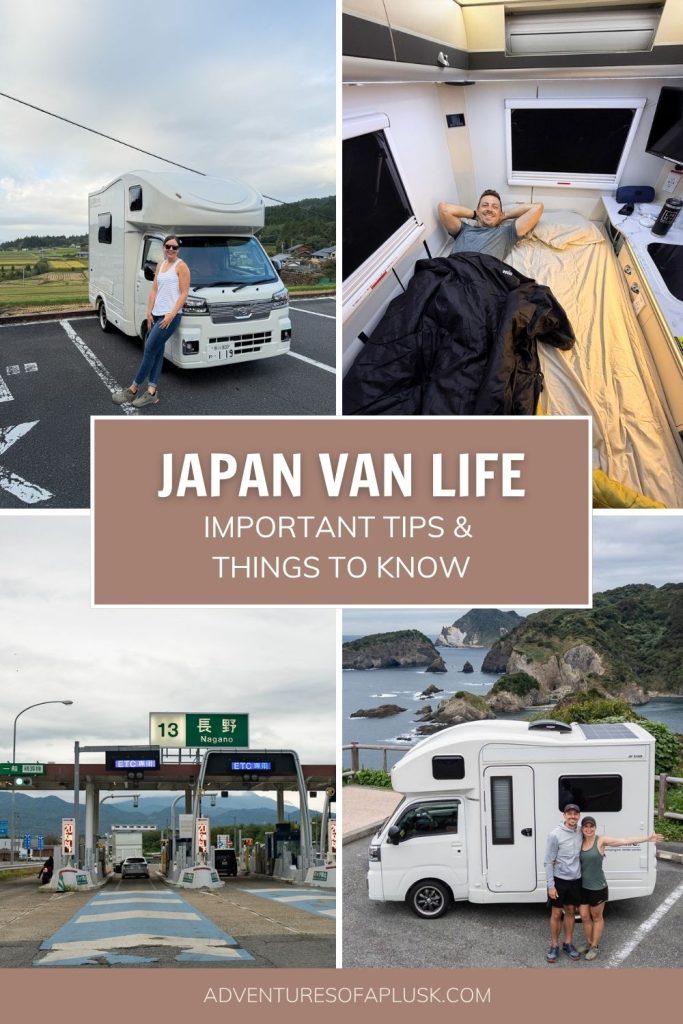
But for the easiest experience, use an ETC card! Our campervan came with an ETC card reader and we just inserted the card into the reader and whenever we used the ETC lanes, it sensed our card and automatically opened the gates. So you only have to slow down, no stopping required!
And at the end of our trip, we got billed for the tolls from Japan CRC. Our total was $124 USD for 12 days, which wasn’t horrible overall, but definitely something to budget for.
Tunnels
Japan is a very mountainous and hilly country. To traverse these mountains, the Japanese have built thousands of tunnels. A quick search told us there are over 10,000 tunnels! There’s nothing special you need to do for them, but it’s definitely something you’ll notice along the way.
Small campervans have some challenges
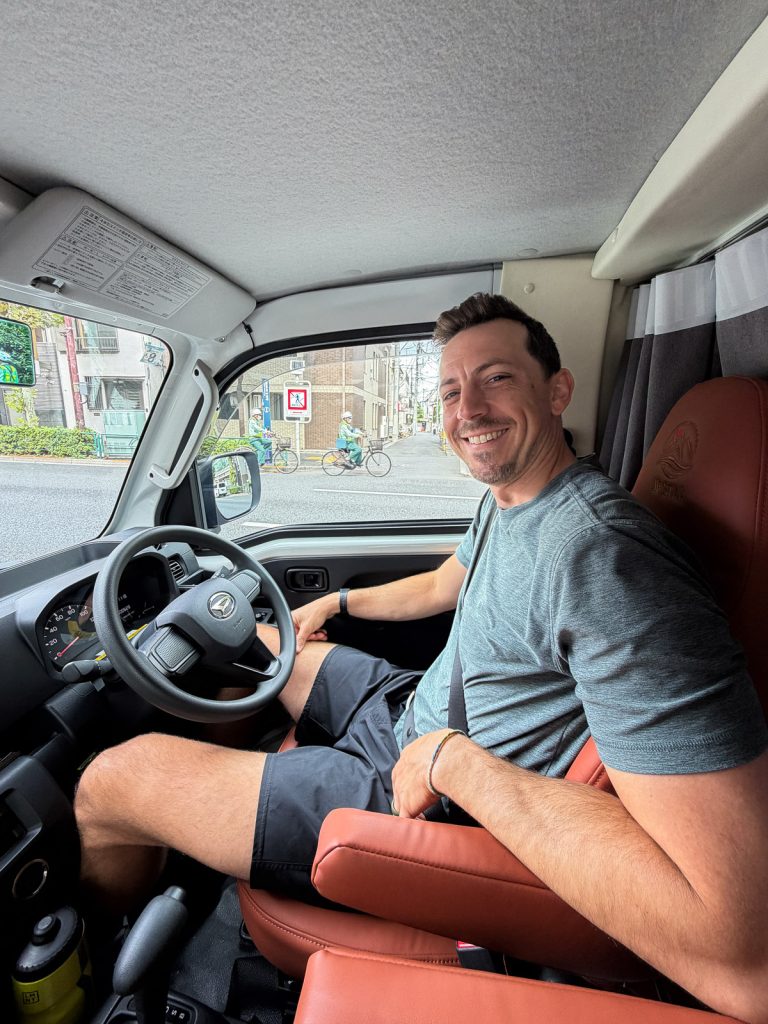
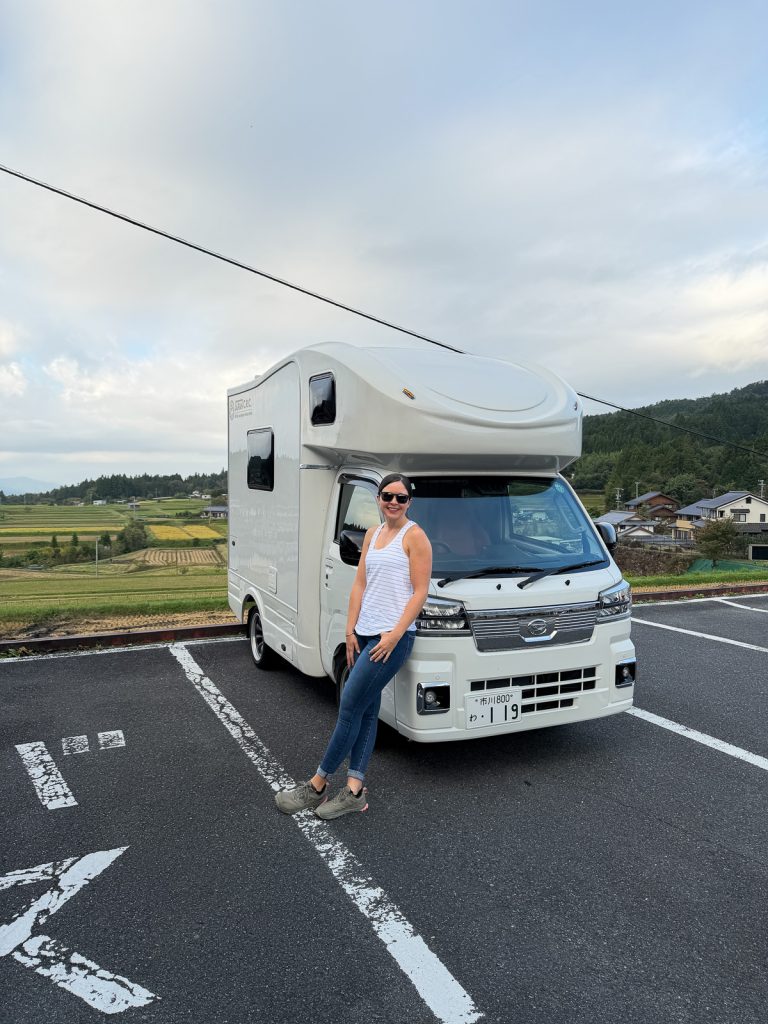
If you rent a small campervan like the one we did, know that it doesn’t have the most powerful engine. On the highway you basically have to floor it to maintain 60 mph and it is a bit loud. We thought the fuel economy was overall pretty good, but it does have a small tank.
Hills can also be a struggle! When going up steep hills it will go very slow…so slow you’ll start to wonder if you’ll make it up the hill. In those cases we put it in 4×4 mode and always made it up!
Also, due to the campervan’s small size and height, you really feel the wind in the van. And the suspension was not the best so when we hit bumps it was LOUD. Be prepared for both of these!
Our Japan campervan road trip itinerary
And now for the fun part, exploring Japan in the campervan! There are many amazing places in Japan that you can visit in your campervan. During our 12 days in our campervan we visited the Northern Japanese Alps, Izu Peninsula, Mt. Fuji area, Hakone, small villages, raging waterfalls, and so much more. It was a spectacular mix of scenery and experiences!
Below is our exact itinerary, with our nightly camping spots listed, so you can copy our trip! To get a more detailed look at our itinerary and what to do each day, check out our ultimate Japan road trip itinerary.
Day 1: Pick up campervan in Tokyo
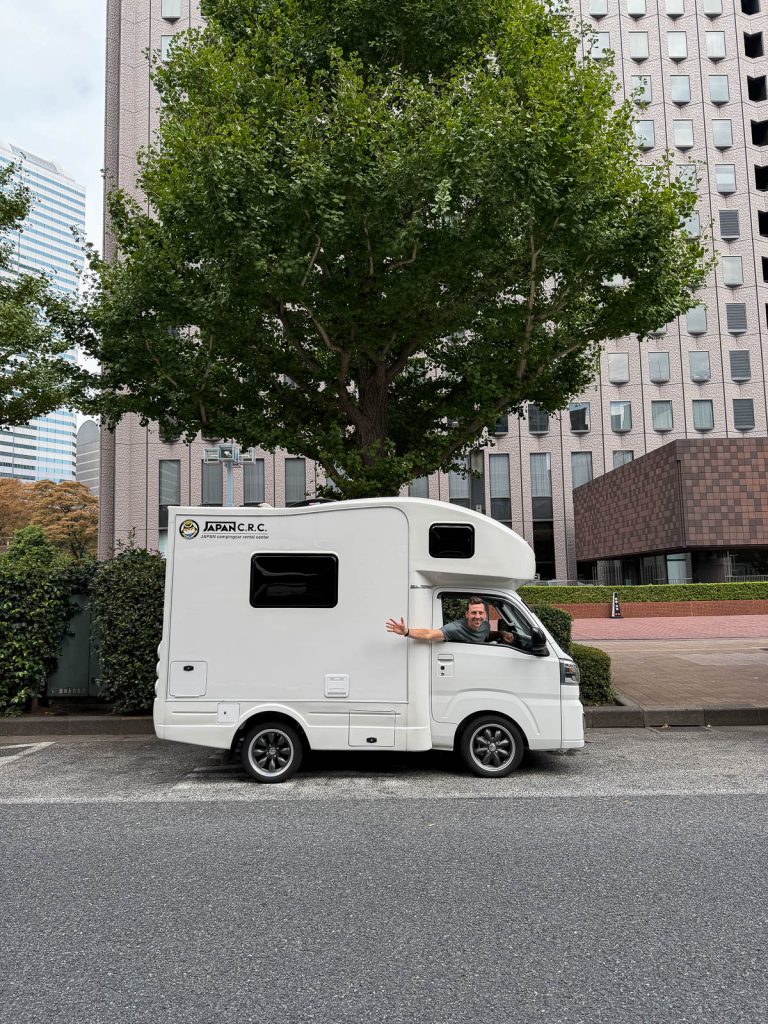
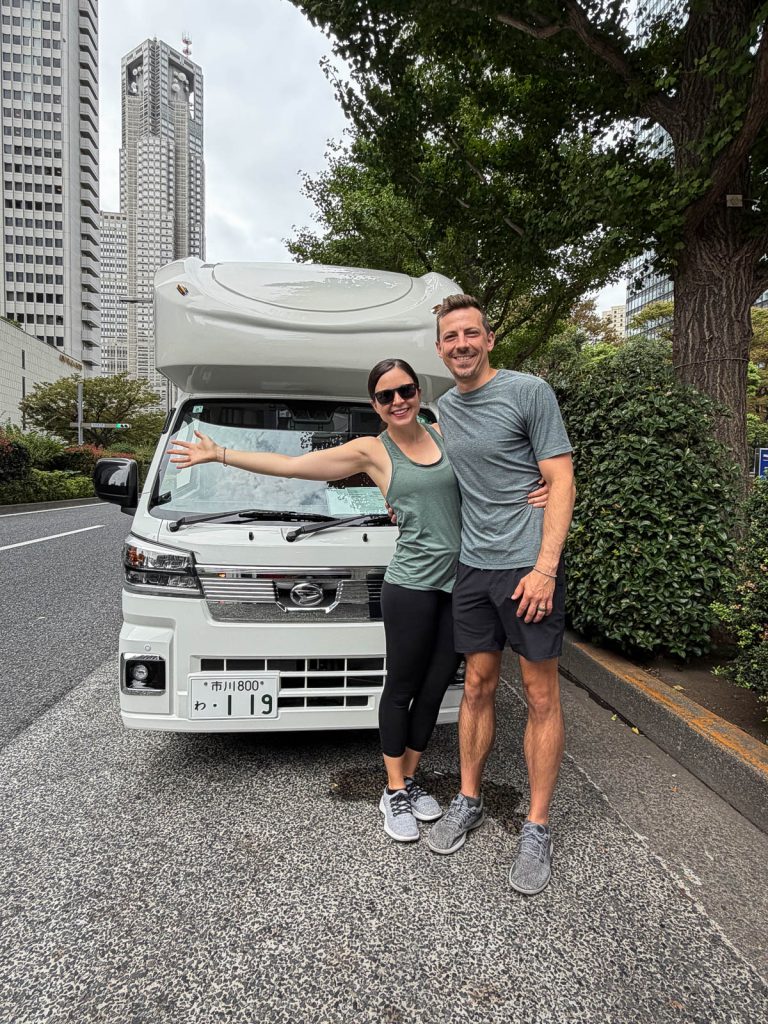
On our first day we picked up the campervan in bustling Tokyo. Japan CRC has many different pickup spots and we were able to get ours in Shinjuku, where we were staying.
After about an hour of running through how the campervan works, we hit the road north to Hakuba. It was a 4 hour drive, but we stopped to eat and also get groceries, so we didn’t arrive until around sunset (which was pretty early in October).
For our first night in the campervan we stayed at Sun Sun Park in Hakuba. This is just a small parking lot outside of town, but has amazing mountain views and toilets! We were one of a handful of campers there that night.
Day 2: Hakuba
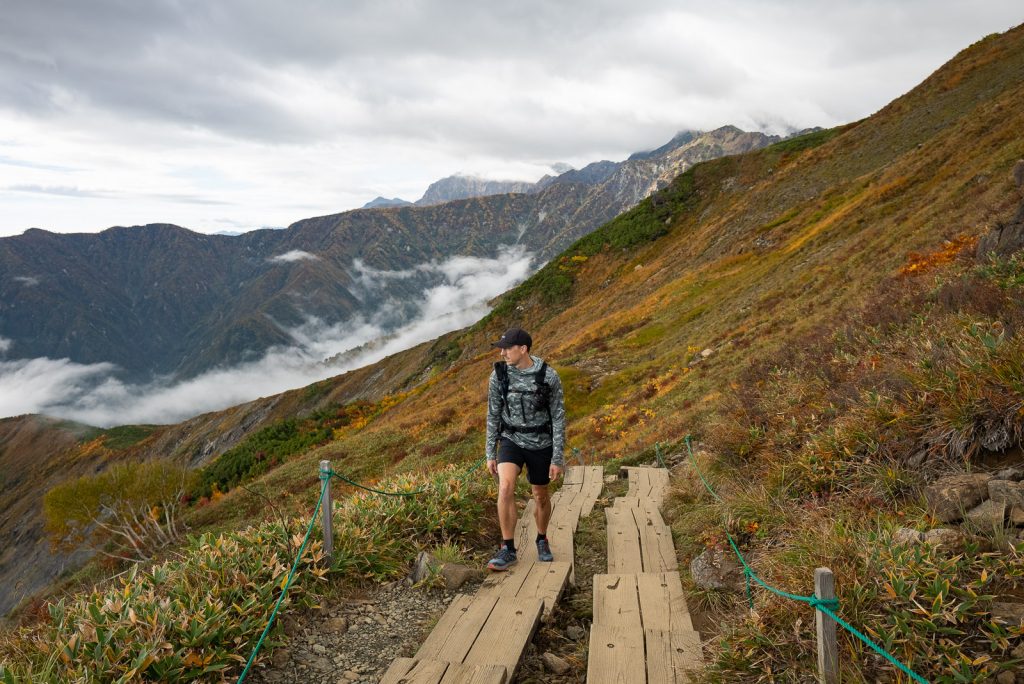
We spent the day exploring Hakuba, including hiking up to Happo Pond and the Karamatsudake Hut. From there, we drove 2 hours to stay at Roadside Station Fuketsu-no-sato near Kamikochi, stopping at this Kaikatsu Club to shower along the way.
Day 3: Kamikochi & Matsumoto
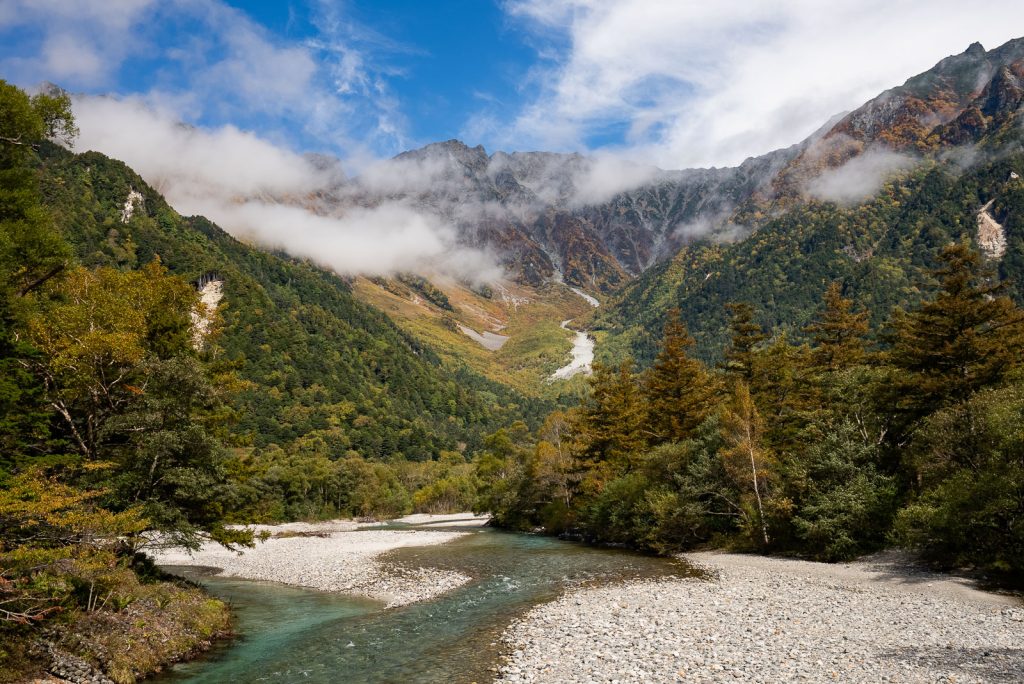
We woke up bright and early to catch a 6 AM bus from the Sawando Bus Terminal to Kamikochi. One important thing to know is that campervans and RVs are not allowed in many lots here, despite us being able to fit just fine. We parked across the street in this lot instead!
After spending the morning at Kamikochi, we took the bus back and then drove to Matsumoto to see the castle, get lunch, and shower. Then we drove 2.5 hours to sleep at the Roadside Station Kirira Sakashita.
Day 4: Magome & Tsumago
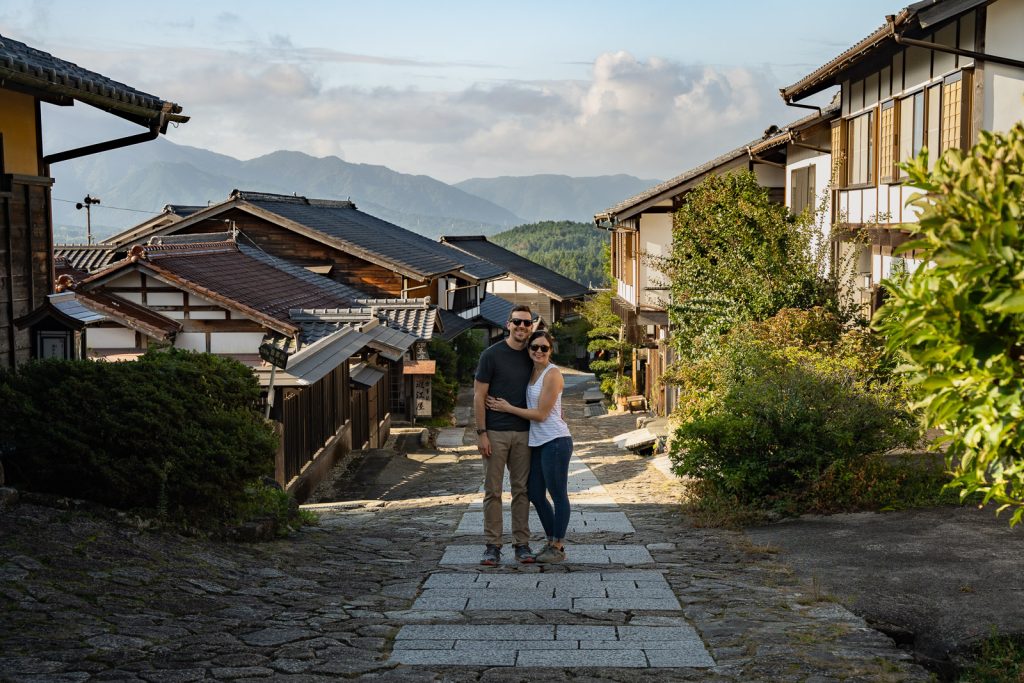
Our big adventure on day 4 was walking the Old Nakasendo Trail from Magome to Tsumago. It was one of our favorite things we did in Japan! We arrived just after sunrise and parked in this lot for the day. We got back to Magome via the bus from Tsumago around 1:30 PM and then drove about 4 hours to Roadside Station Izu-tsukigase to sleep, stopping at this Kaikatsu Club along the way to shower. This was the priciest Kaikatsu Club out of the few we visited.
Important note: To get onto the Izu Peninsula there are two toll booths, which don’t accept the ETC card. It costs ¥160 ($1 USD) for light vehicles and ¥200 ($1.25 USD) for regular vehicles. They charged us ¥200 at both toll booths, for a total of ¥400 one way to enter the peninsula. Make sure to have cash for these!
Day 5: Izu Peninsula
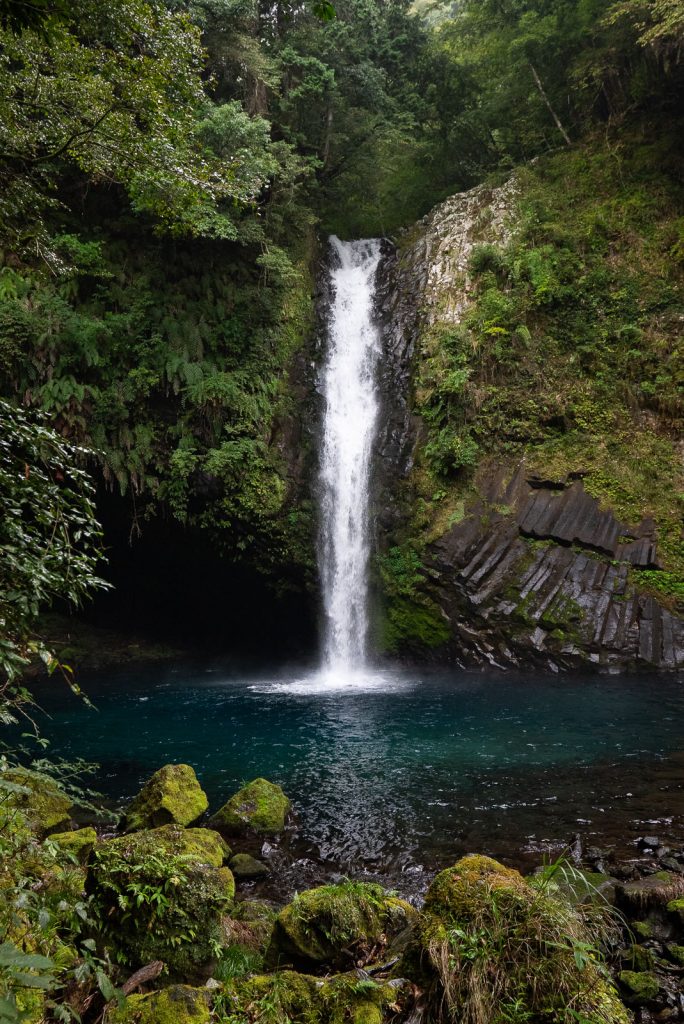
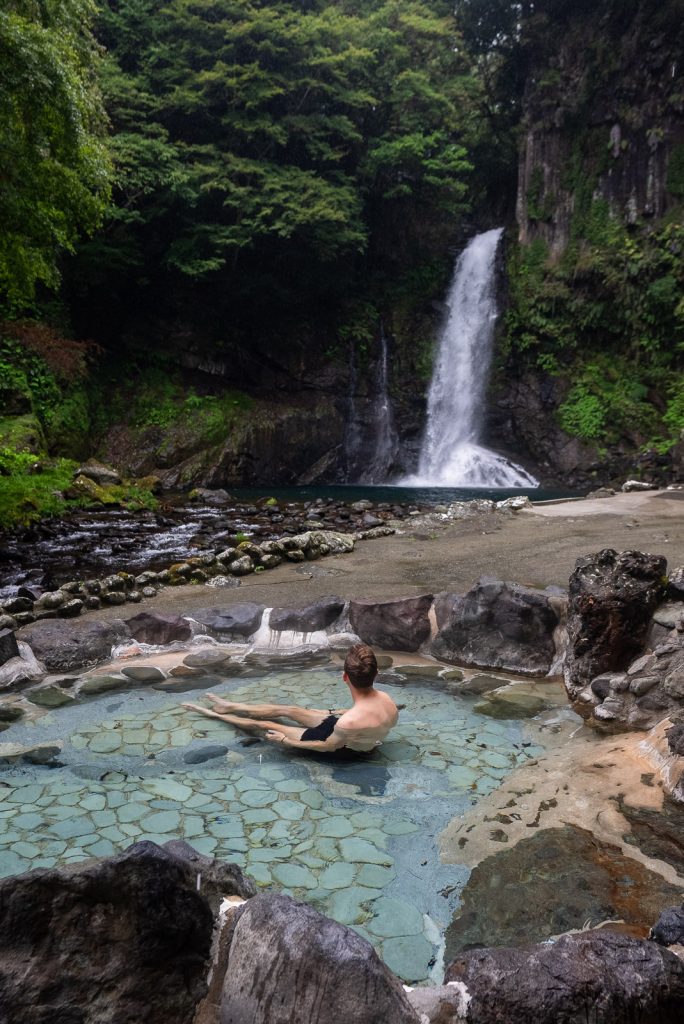
We spent the entire day exploring the Izu Peninsula, which was another huge highlight of Japan! Being there in October meant it wasn’t super busy, since it’s more of a summer destination. This evening we slept on the peninsula at Road Station Shimogamo Onsen Yunohana.
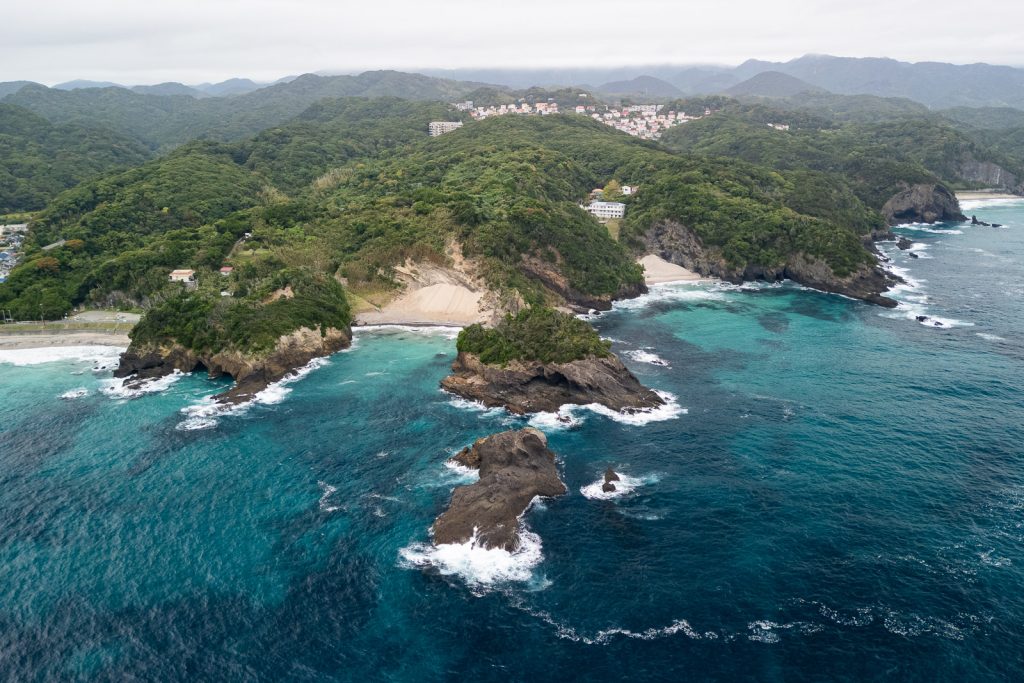
Day 6: Izu Peninsula
We spent the first half of the day on the Izu Peninsula and then drove to Hakone for the night. After doing laundry at Laundry Happiness, we headed to the Roadside Station Hakone-toge to sleep. We got there in the dark and were blown away by the views in the morning!
Days 7-9: Hakone
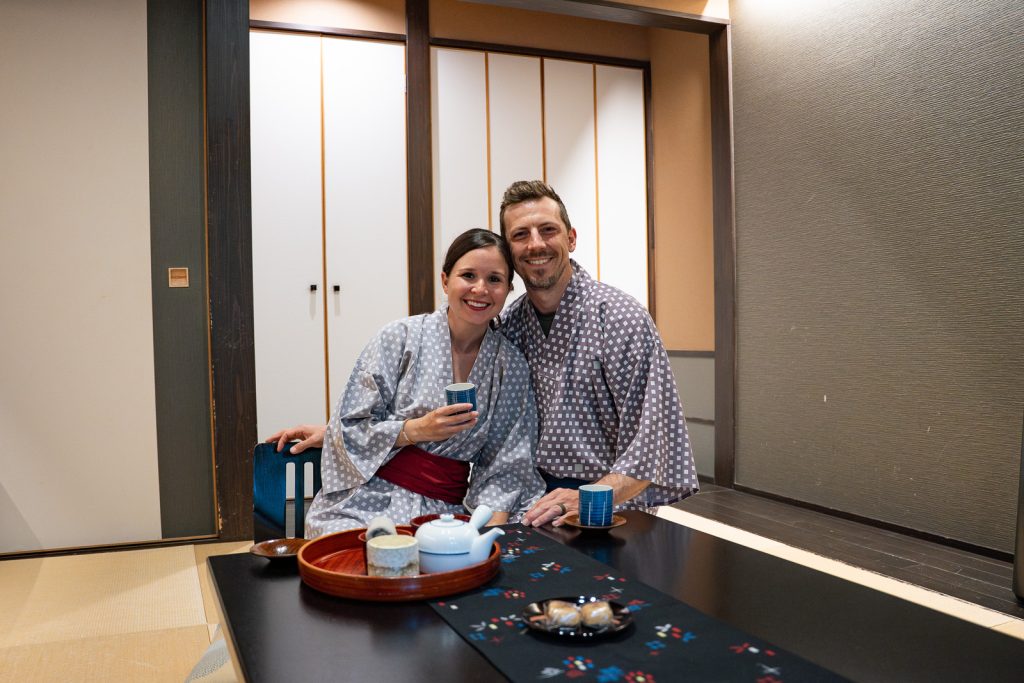
On day 7, we decided to put a pause on Japan van life and stay at a ryokan for a couple nights! We stayed at Hakone Suimeisou and had a fantastic experience, which you can learn more about here!
During our stay there, our campervan was parked outside. Which may seem like a waste of money, paying for both the ryokan and the campervan, but in the end, it would’ve cost a similar amount to take the train to and from Tokyo to Hakone after returning the van. Plus, it allowed us to have a vehicle to explore a bit on day 7 before checking in and to get to Mount Fuji easily on day 9!
After spending a few days exploring the best things to do in Hakone, we checked out on day 9 and stayed at Road Station Asagiri Kogen before beginning our couple days in the Mount Fuji Five Lakes region.
Day 10: Mount Fuji
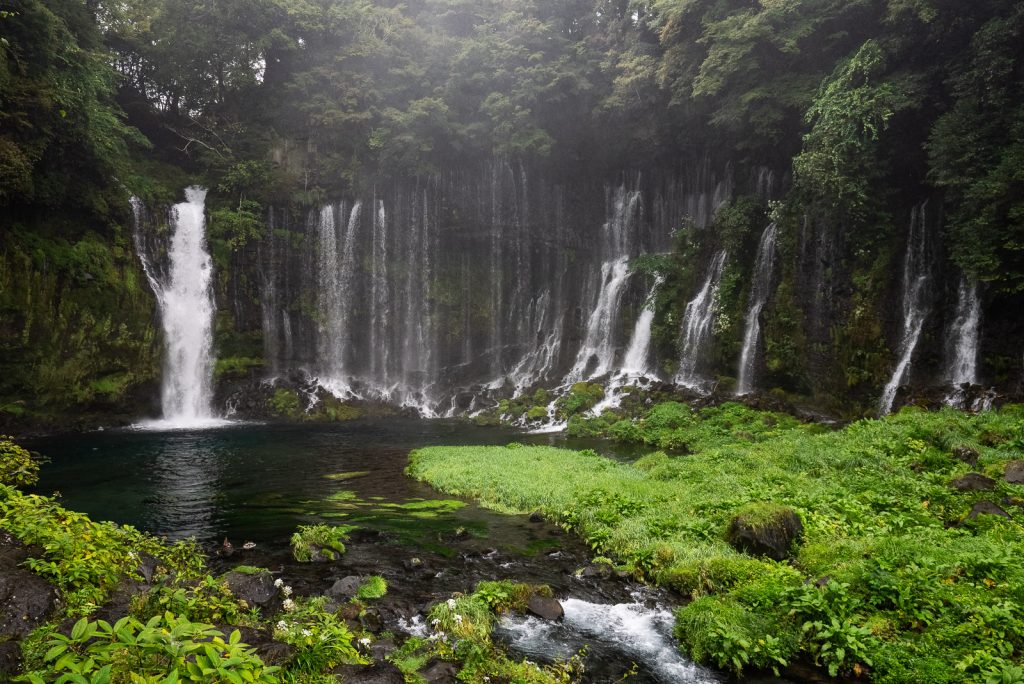
Our final destination in our campervan rental was Mount Fuji. This is definitely the most popular area to do van life in Japan! There are lots of campgrounds in this area, plus Roadside Stations.
Our first day in the area was super rainy, so we explored waterfalls, grabbed some local food, and took it easy. After exploring for the day, we stayed at Roadside Station Fujiyoshida, which was convenient for our next day’s activities.
Day 11: Mount Fuji
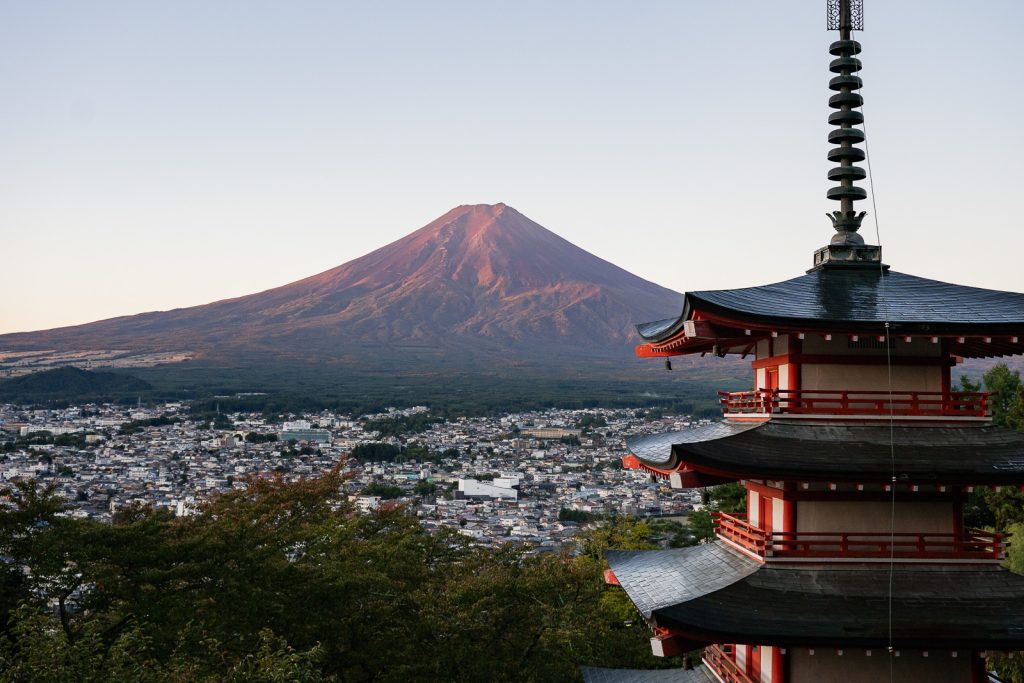
Our second day in the Mount Fuji area was spent around Lake Kawaguchiko. With a very early wake up call for Chureito Pagoda, our previous night’s sleeping spot was super convenient. After a fun and super clear day of exploring, we slept at Roadside Station Narusawa.
Day 12: Return van in Tokyo
For our final day in the campervan, we woke up very early (definitely a theme for our time in Japan!) and watched the sunrise at Tatego-Hama Beach. And then it was time to make the 2 hour drive back to Tokyo to return the campervan. We were so sad to say goodbye to Kiki (what we named our little home on wheels!), but we can’t wait to return to Japan and rent another van to explore new areas someday!
Save this guide to exploring Japan by campervan