Last updated on July 23rd, 2025
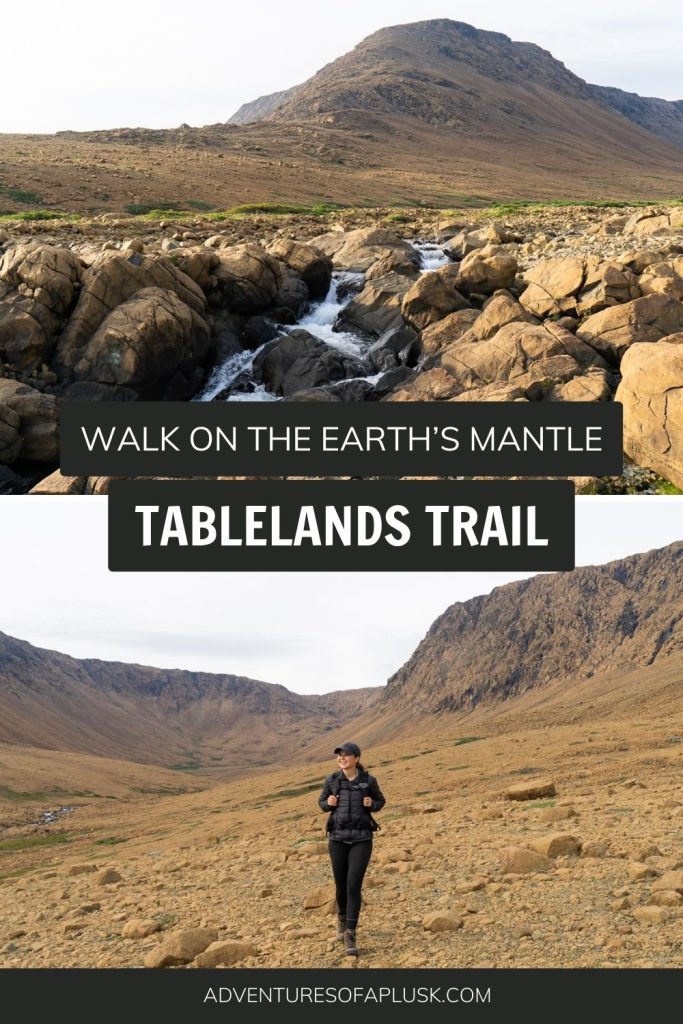
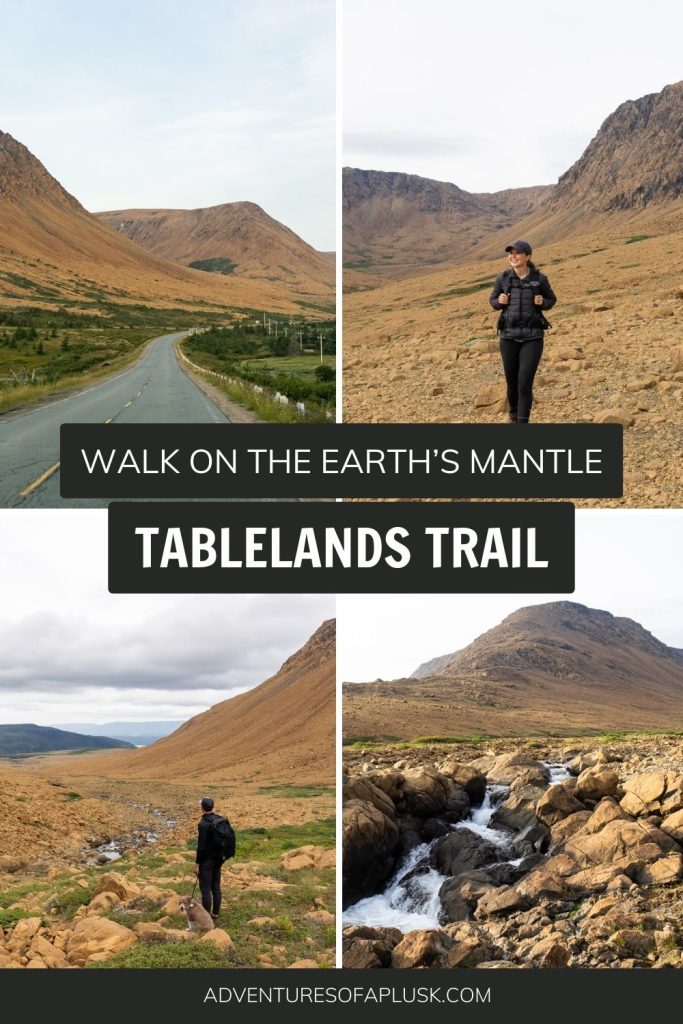
The Tablelands Trail in Gros Morne National Park is unlike any hike we have ever done. As you make your way to the trailhead, past green mountains and blue coastal waters, you’re suddenly greeted by a striking orange, barren landscape. It feels like you’re driving into another planet!

While it may not be another planet, it IS a unique part of our own planet. The Tablelands are an exposed part of the Earth’s mantle! And not only can you admire this geologic wonder from afar, but you can hike directly on it as well. Yes, you can walk ON the Earth’s mantle! (How cool is that?)
The Tablelands Trail is easily one of the best things to do in Gros Morne National Park. And in this guide we’re sharing the three main ways you can experience it, plus what to know before you go.

Why trust us when planning a trip to Atlantic Canada?
We spent over 3 months traveling all around Atlantic Canada in our self-converted Sprinter van, visiting many of the popular sites, plus off the beaten path gems along the way. And instead of rushing through these areas like most people are forced to on vacation, we traveled slowly, allowing us to experience them more as locals. Because of this, we have tons of tips to help you plan your own Atlantic Canada adventure, whether it’s just for a week or for multiple months.
About the Tablelands
The earth is made up of four layers: inner core, outer core, the mantle, and crust, which is about 5-70 km (3-44 miles) thick. 500 million years ago, huge sections of the Earth’s mantle were pushed up from underneath the ocean in a tectonic plate collision.
Over the past 250 million years the top layer has been eroding away. And due to the high iron content in the rock, when the iron is exposed to the air, it rusts away, giving the Tablelands a distinct orange color.
This isn’t the only place in the world where the Earth’s mantle is exposed, but it is one the most accessible!
Where is the Tablelands Trail?
The Tablelands Trail is located in the western region of Gros Morne National Park, close to Bonne Bay. It’s about a one hour drive from Rocky Harbour, the more popular region of the park. But it’s well worth the trek, as the scenery along the way is phenomenal, with views of mountains, different bodies of water, and small communities.
Once arriving at the trailhead, you will find a decent sized parking lot, which can fit both regular vehicles and campervans/small RVs. But being one of the most popular things to do in Gros Morne National Park, it can fill up. We recommend arriving early, to snag a spot and enjoy the trail with less people.
There is also a pit toilet at the trailhead, as well as a trash can.
Things to know before hiking the Tablelands Trail

You need a parks pass
Since the Tablelands Trail is in Gros Morne National Park, you will need a park pass to hike. Entrance into Gros Morne is $11 CAD per adult, per day (less for seniors and free for children), with options to get a family pass, plus an annual pass.
You can also get a Parks Canada Discovery Pass, which gets you into all Parks Canada managed sites for a year! This is definitely worth it if you plan to spend 7 or more days in the Canadian National Parks.
Prepare for the elements
This area is very exposed, can get extremely windy, and the weather can change in an instant. So be prepared for whatever Mother Nature decides to throw at you!
It’s dog friendly
The Tablelands Trail, like many of the best hikes in Newfoundland, is dog friendly (on leash!). So your pup can join you for the adventure! However, it is important to know that if you decide to go past the maintained portion of the trail, it gets very rocky. And the rocks irritated our pup Kona’s paws a bit. So we suggest bringing booties for them if you want to go further!
How to hike the Tablelands Trail

Guided hike with a ranger (Option #1)
For the easiest and most informative way to hike the Tablelands Trail, go on a guided hike! Gros Morne National Park offers daily, two hour guided hikes of the Tablelands from July through September in English. As well as French guided hikes on Sundays, Tuesdays, Thursdays, and Saturdays.
On this guided hike, you will learn so many interesting facts about the area’s geology and plant life. This guided hike is FREE and you will meet at the trailhead, with no registration required. You are also allowed to bring a pet on the guided hike, as long as they are leashed and well behaved.
What is great about hiking the Tablelands Trail this way is that since you drive yourself, you can do the guided hike first and then go explore a bit more on your own afterwards. It’s the best of both worlds!
Hike the Tablelands Trail on your own (Option #2)

Distance (round trip): 7.7 km (4.8 miles)
Elevation gain: 216 meters (711 feet)
Difficulty: Moderate
Trail reviews & conditions
Prefer to explore on your own? You can easily hike the Tablelands Trail without a park ranger!
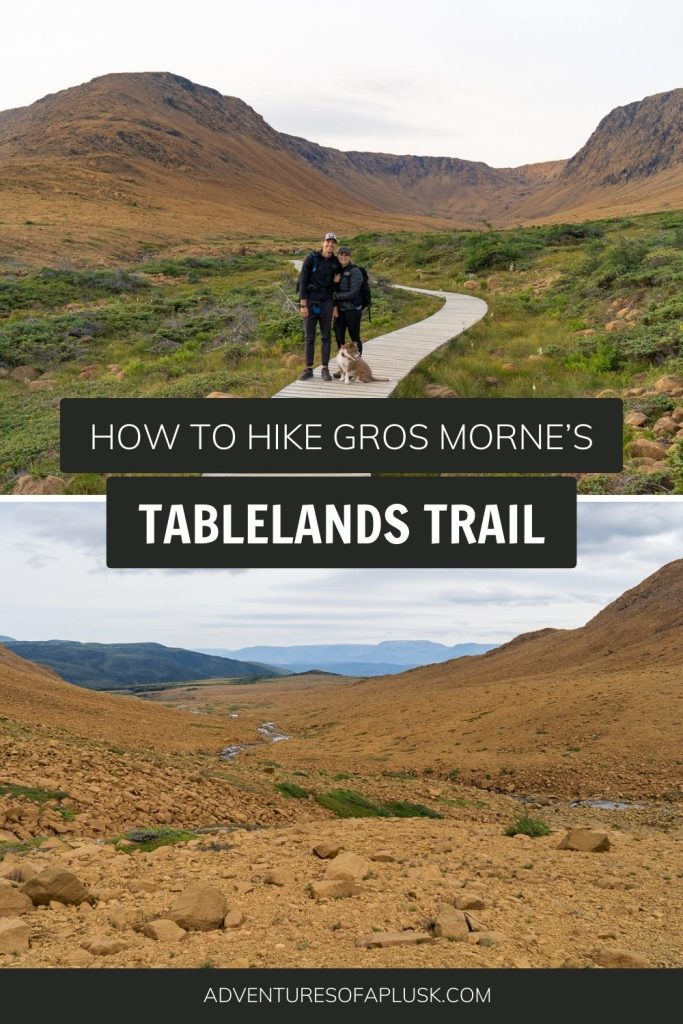
Suitable for most ages and abilities, this trail begins with a wide, gravel path, before turning into a boardwalk further down. Along the way you will have incredible views of the Tablelands, plus other nearby areas of Gros Morne National Park.
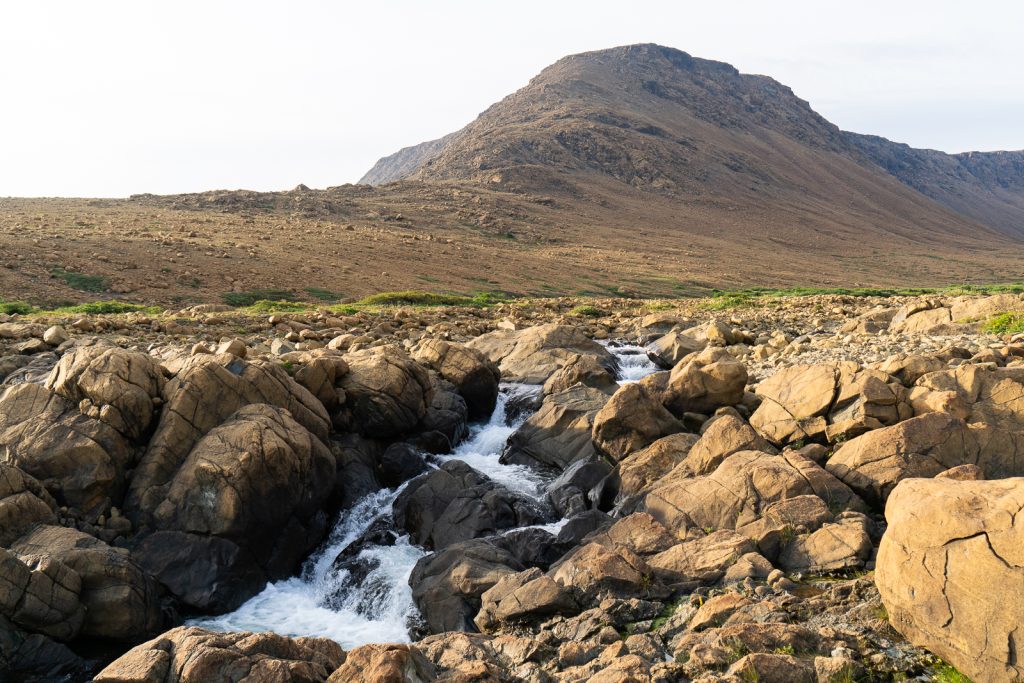
About 2.1 km (1.3 miles) into the hike, you will reach a viewpoint that overlooks the epic mountain backdrop of the Tablelands, plus a rushing river. It’s a spectacular spot!
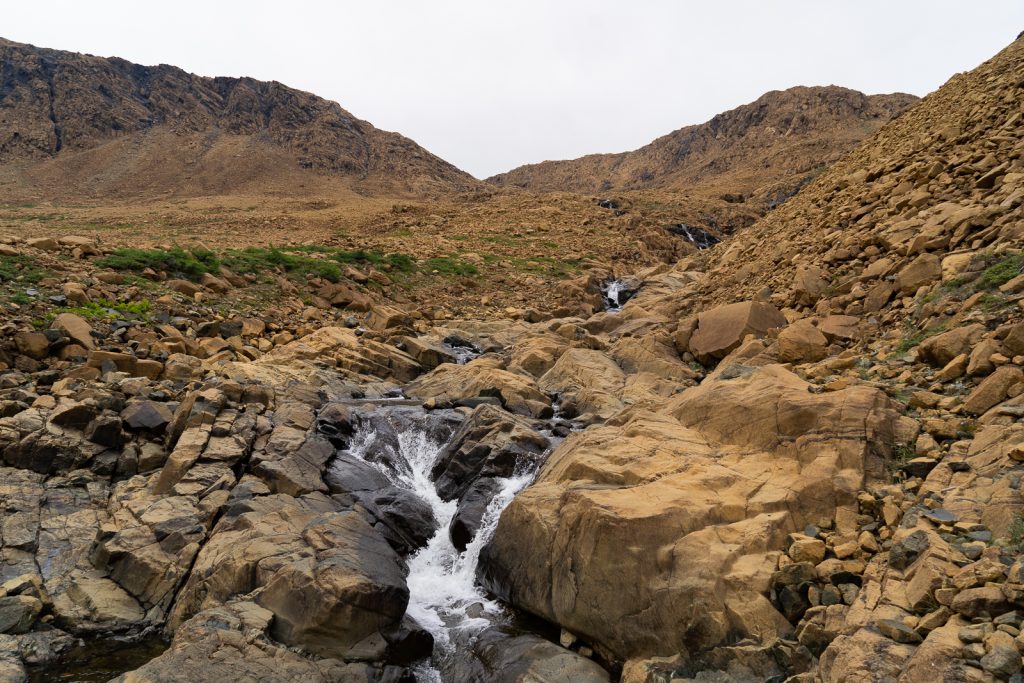
For many, this viewpoint will satisfy their itch to see the Tablelands. But if you want to see even more, you can continue on, following the AllTrails route linked above. However, this is where the trail officially ends and you will have to hike on more rugged, rocky terrain, without any markers guiding your way. And lots of loose rocks to be careful stepping on!
We opted to continue on from the viewpoint and it was a fun adventure! Our goal was to get to a waterfall we could see off in the distance. And since there is no trail, we zig zagged our way across the rocks and by the river, trying to find the easiest way to get there. It was a bit challenging at times, mostly due to the terrain, but very rewarding to get to see waterfalls in this barren landscape.
Tackle the Tablelands Off Trail Loop (Option #3)

Distance (round trip): 11.7 km (7.3 miles)
Elevation gain: 567 meters (1,860 feet)
Difficulty: Hard
Trail reviews & conditions
Want the ultimate Tablelands adventure? Hike the off trail loop!
As we mentioned above, the official, maintained trail ends at a viewpoint about 2.1 km (1.3 miles) from the parking area. But you can continue on to explore more of the Tablelands. However, there is no marked trail from here on out and the terrain is full of loose rocks.
To do the entire off trail loop, you will continue past the viewpoint, past the waterfall we hiked to, and then up to the top of the mountains ahead of you. Once at the top, you’ll have a relatively flat walk across the plateau, before descending back down to the parking lot along a rocky, unmarked path.

Along the way you will be treated to even higher and more sweeping views of Gros Morne National Park. But to get to these views, you will have to do some rock scrambling, likely using your hands to help you. So we only recommend this route to those with hiking experience and in good shape. If you’re feeling uneasy about the off trail aspect, but still want to experience it, you can also go on a guided off trail hike with Wild Gros Morne.
Since we had just completed a 4 day, off trail adventure on the Long Range Traverse, we opted to not do the entire loop this time. We were very satisfied with just going to the waterfall, but if you enjoy remote, difficult hikes, this may be worth the extra time and effort for you!
What to bring to hike the Tablelands Trail
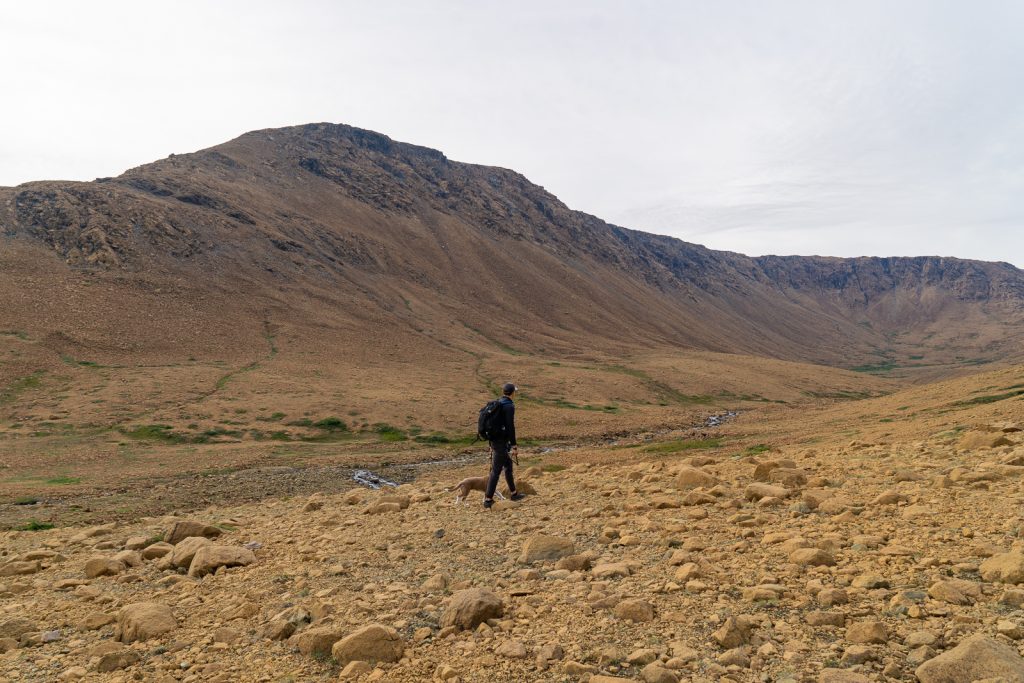
You can see all of the hiking gear we use and love here, plus our tips for making a 10 essentials kit, which is a must-have on any hike. But here are a few items we especially want to emphasize bringing to hike the Tablelands Trail!
Hiking shoes
Good hiking shoes are a MUST on the Tablelands Trail! Especially if you decide to go past the viewpoint where the terrain gets very rocky and uneven. We wear Lowa Renegade GTX boots and ALTRA Lone Peak 8 trail runners and both are perfect for his hike, as they have good grip.
Downloaded AllTrails Map
While the main trail is easy to follow, having the AllTrails map downloaded is crucial to help ensure you go the correct way if you decide to venture off trail. Even just going to the waterfall we went to, we relied on this map to ensure we didn’t stray too far off path.
To download the AllTrails map you will need an AllTrails+ membership. To get 30% off use our code aplusk30 (you must redeem this code on the website, not the app)!
Layers
The weather can be pretty wild in Gros Morne National Park, especially near the Tablelands. Make sure to pack layers, including pullovers, a rain jacket (Adam wears this jacket and Kathryn has this jacket), and a puffy jacket. This is especially important if you do the off trail loop, as the plateau at the top is even more exposed and tends to be colder.
Sun protection
There is ZERO shade on this trail, so having sun protection, including a hat, sunglasses, and sunscreen, is a must. We also love wearing sun hoodies when we hike!
Water
While there is water along the trail, it’s filled with minerals that make it unsafe to drink. So make sure to bring plenty of your own water. We love to carry our water in a 3L CamelBak, which makes it easy to drink on the go.
Looking for more things to do in Gros Morne National Park?

After hiking the Tablelands Trail, head into Woody Point for a coffee or bite to eat at Galliott Studios & Cafe, Merchant Warehouse Retro Cafe & Wine Bar, or The Shed, before hiking the Lookout Trail or Green Gardens Trail. And if you have additional days in Gros Morne National Park, there are plenty of other things to do to keep you busy!
Save this guide to hiking the Tablelands Trail in Newfoundland