Last updated on March 3rd, 2026
We’re sharing the perfect 3 day Glacier National Park itinerary for first-timers, with different options to craft your perfect trip!
Glacier National Park is an outdoor lover’s dream! With lush meadows, glacial peaks, blue lakes, rushing waterfalls, and wildlife galore, every inch of the park looks like it is from a painting. And if you have yet to experience this park for yourself, it needs to be high up on your bucket list–even if you only have a few days!

During our first trip to Glacier National Park in 2020, we only had 3 days to explore, which isn’t enough time to fully experience the park. But even with a short amount of time, it gave us a great first glimpse of what the park had to offer and definitely made us want to come back for more!
Fast forward to 2025 and we finally made it happen and returned to Glacier National Park, exploring new areas this time. And in this 3 day Glacier National Park itinerary we’re sharing exactly how we would spend 3 days if we were reliving our first trip to the park.
We’re providing lots of options though, so you can customize it to match your fitness level and interests. Plus, we’re sharing lots of tips for visiting the park, which can really make a huge impact on your overall experience!
Looking for more things to do in Glacier National Park?
- 40+ Fun Things to Do in Glacier National Park
- The 33 BEST Hikes in Glacier National Park
- The Ultimate 4 Day Glacier National Park Itinerary
- 5 Day Glacier National Park Itinerary: Explore the BEST areas of the park!
- Driving the Going-to-the-Sun Road
- Hiking the Highline Trail to Grinnell Glacier Overlook
- 13 Best Things to Do at Two Medicine in Glacier National Park
- How to hike Glacier National Park’s Pitamakan-Dawson Loop
- Watch our Glacier National Park videos
- The different areas of Glacier National Park
- 3 Day Glacier National Park Itinerary
- Day 1: Going-to-the-Sun Road
- Day 2: Hike the Highline Trail
- Day 3: Explore the east side of the park
- Have more time in Glacier National Park?
- Planning your trip to Glacier National Park
- Things to Know Before Hiking in Glacier National Park
- What to Bring to Glacier National Park
Want to Learn More as you explore?
We highly suggest downloading the Guide Along – Glacier (totally worth the cost!!) audio tours to navigate you on the road. Even when you don’t have service it knows where you are and provides commentary and history about the area. As well as alerts you when to stop for specific sights. These guides are fun to listen to and the narrator feels like a fun friend in the car with you!
The different areas of Glacier National Park
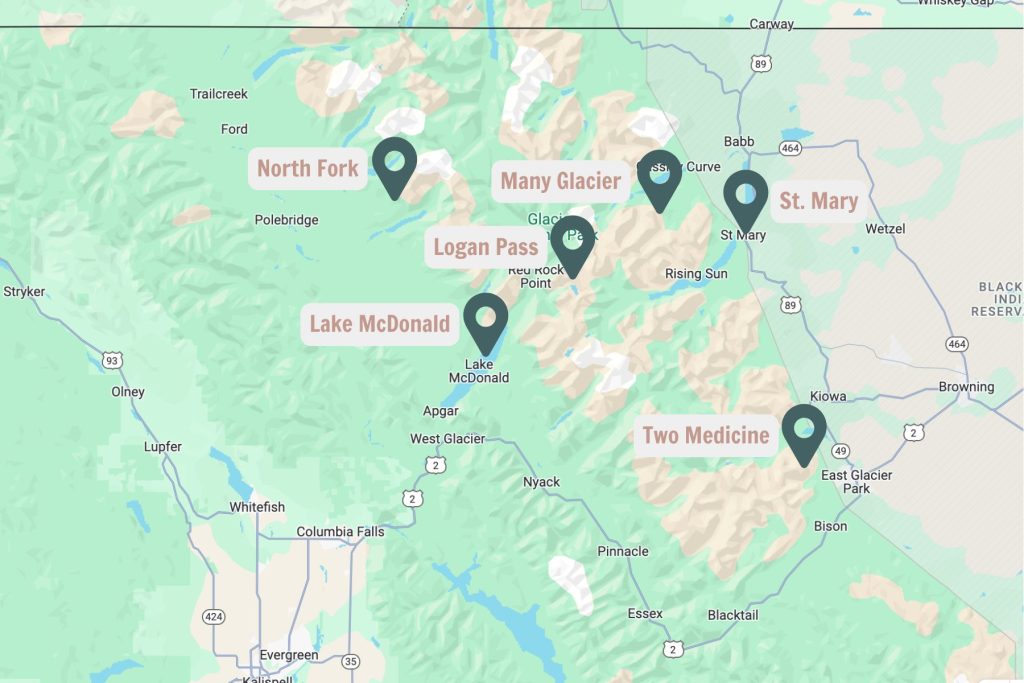
Before we dive into this 3 day Glacier National Park itinerary, it’s important to get a lay of the land. Glacier National Park is made up of a handful of different areas, each with incredible hikes, scenery, and activities. These areas include: Lake McDonald, Logan Pass (along the Going-to-the-Sun Road), St. Mary, Many Glacier, Two Medicine, and North Fork.
In this 3 day Glacier National Park itinerary we’ll be providing options to explore Lake McDonald, Logan Pass, St. Mary, Many Glacier, and Two Medicine.
Before embarking on your adventure, please review the Leave No Trace principles to ensure you leave every place better than you found it, so that others can enjoy these beautiful places for many years to come!
These seven principles include planning ahead and preparing, hiking and camping on durable surfaces, disposing of waste properly (pack out what you pack in!), understanding campfire rules and always fully extinguishing your fires, respecting wildlife, and being considerate of other visitors.
3 Day Glacier National Park Itinerary
Day 1: Going-to-the-Sun Road
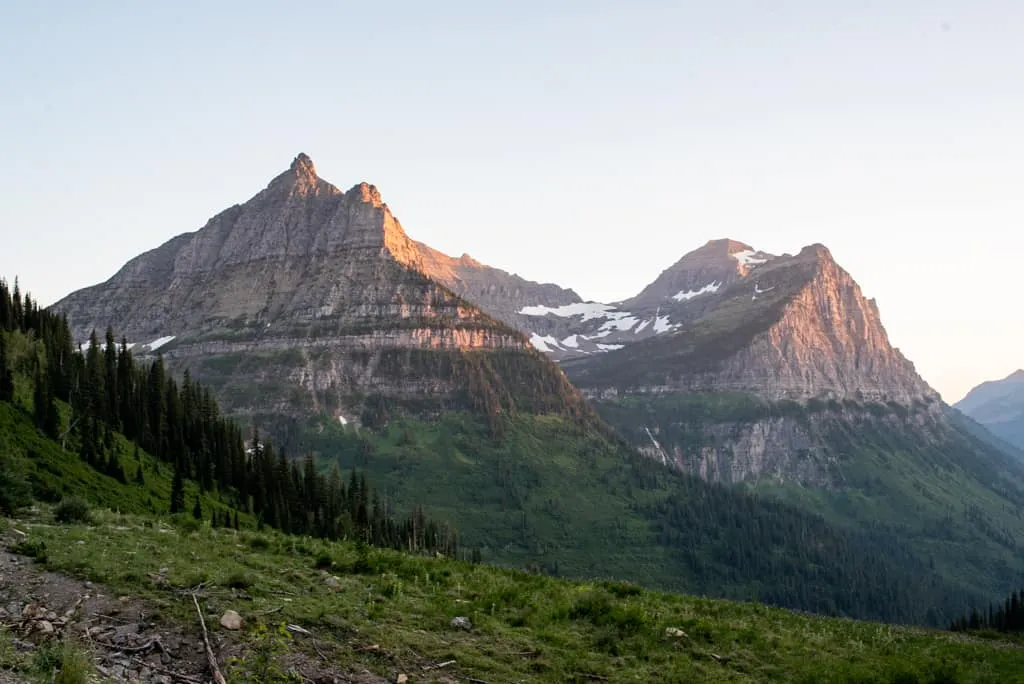
Drive the Going-to-the-Sun Road
To kick off your time Glacier National Park drive the Going-to-the-Sun Road! This will be an epic way to see the park for the first time.
Since you will need to get to Logan Pass early to get a parking spot, we suggest heading there first thing in the morning. While you will have to skip some overlooks along the way, you’ll be able to come back to them later.
You can see all of the best stops along the Going-to-the-Sun Road here, but here are the major stops we suggest making along the way!
Important note: Beginning July 1, 2026, private vehicle parking at Logan Pass will be limited to three hours. There are also vehicle length restrictions along the Going-to-the-Sun road.
Visitors planning longer hikes that begin at Logan Pass, including the Highline Trail to Granite Park Chalet or to the Loop Trailhead, must obtain a shuttle ticket.
Hike the Hidden Lake Trail
Distance (round trip): 5.1 miles
Elevation gain: 1,338 feet
Difficulty: Moderate
Trail map & current conditions
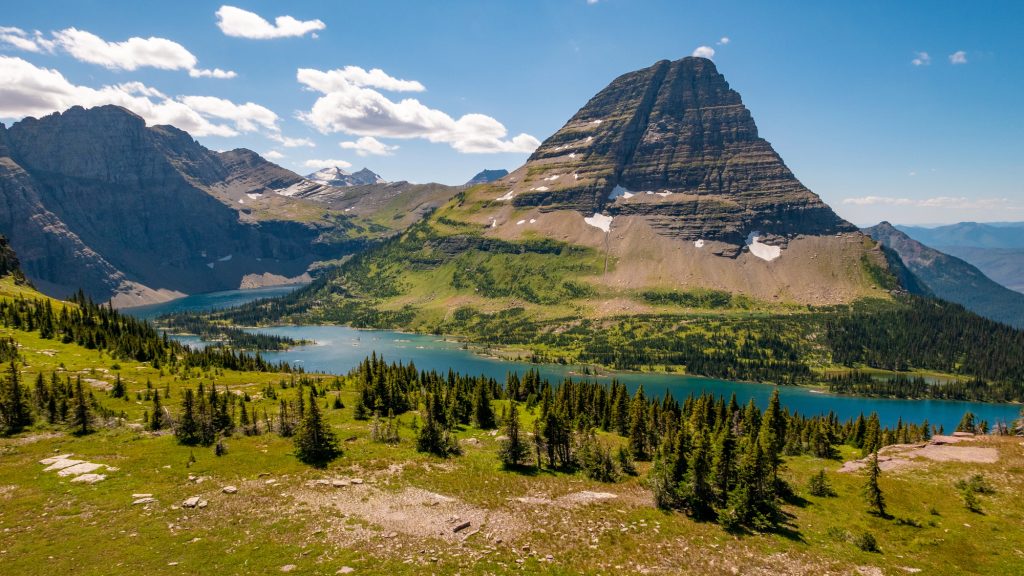
Hidden Lake is one of the most popular hikes at Logan Pass. And for good reason! It’s a manageable distance and elevation gain for most hikers and offers some sweeping views of Bearhat Mountain and a sparkling blue lake.
The hike starts right at Logan Pass and takes you along a mix of boardwalks and dirt trails through alpine meadows, as you descend down to the lake. However, if this trail is too long or difficult for you, you can also shorten it by only hiking to the Hidden Lake Overlook (2.7 miles, 551 feet of elevation gain)!
A+K Tip: This trail often closes due to bear activity (which happened for us). So make sure to check its status before you go, so you don’t have a surprise.
See Jackson Glacier
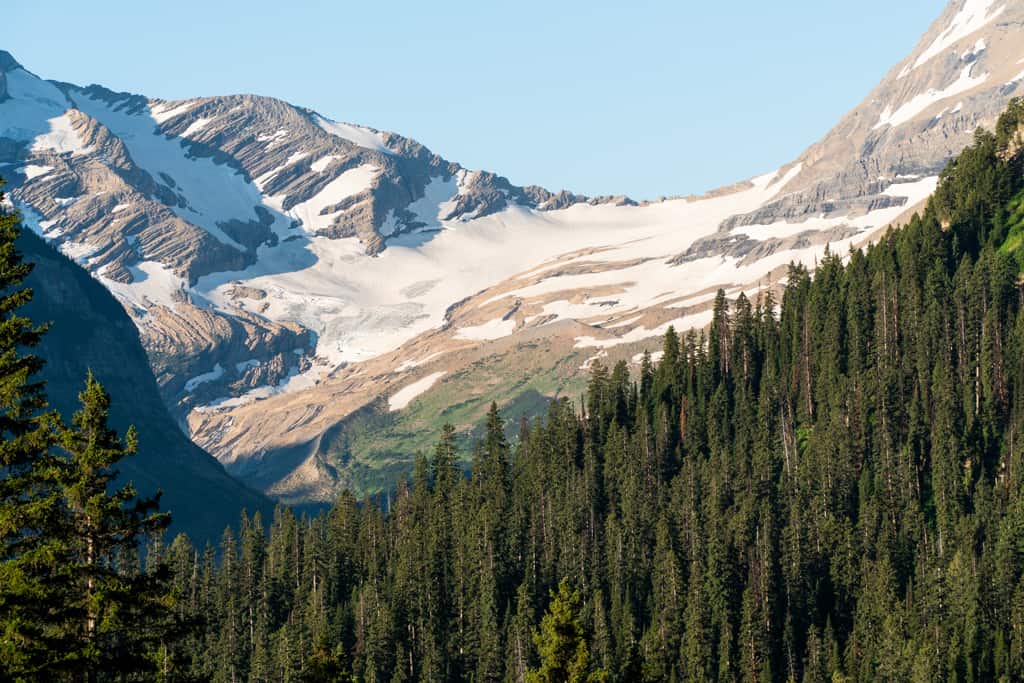
Glacier National Park is home to 26 named glaciers. And at the Jackson Glacier Overlook, you can get a great view of the 7th largest glacier in the park, right from the road!
In 1850, Jackson Glacier covered 1,875 acres. In 2005, it had shrunk to 250 acres and by 2015 it was 187 acres. Make sure to stop by this overlook to see the glacier before it disappears.
Hike to Baring, St. Mary, & Virginia Falls


Distance (round trip): 6.3 miles
Elevation gain: 708 feet
Difficulty: Moderate
Trail map & current conditions
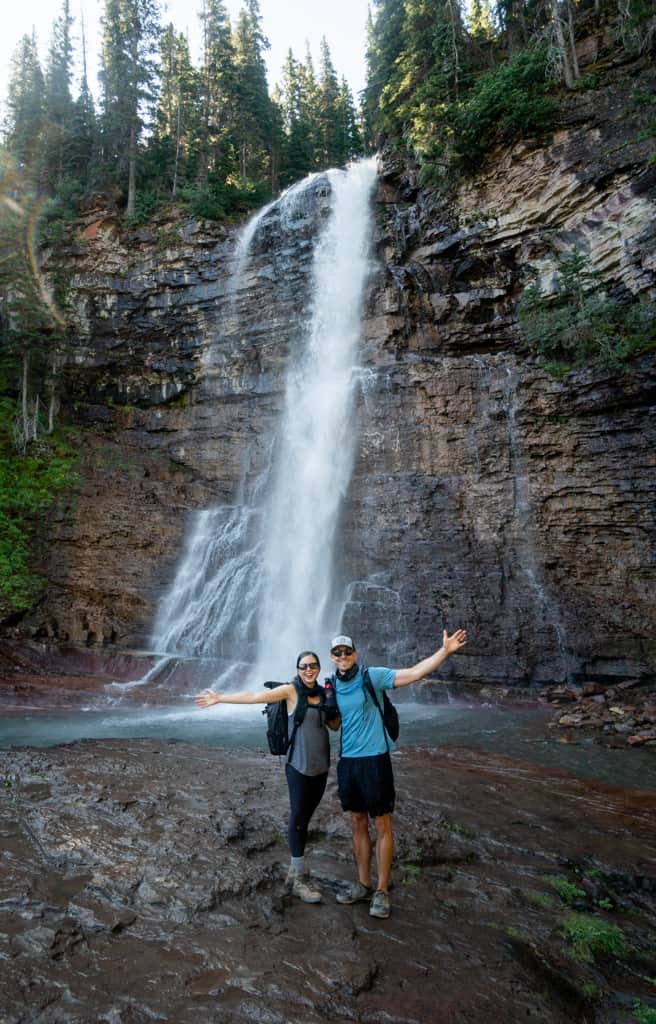
One of the best hikes along the Going-to-the-Sun Road is to three waterfalls: Baring, St. Mary, and Virginia Falls. We suggest starting at the Sun Point Nature Trail for amazing views of St. Mary Lake, and then continuing to the falls. Each of the waterfalls offer a different experience. Baring Falls is more of a classic waterfall, while St. Mary Falls has Gatorade blue water and Virginia Falls has cool red rocks.
Want a shorter hike? You could hike to just Baring Falls or just St. Mary Falls and Virginia Falls for an easier hike.
See Wild Goose Island
Just up the road from the waterfalls is one of the park’s most iconic photo spots: Wild Goose Island Lookout. Wild Goose Island is a tiny island that sits in the middle of St. Mary Lake and is extremely picturesque. This is a great final stop before turning around on the Going-to-the-Sun Road!

Stop by Big Bend Overlook
As you make your way west on the Going-to-the-Sun Road, make sure to stop by the Big Bend Overlook, which is one of our favorite spots along the road. It has stunning views of the mountains and valley! While especially beautiful at sunset, it’s also great anytime of day.
Relax at Lake McDonald


Since your day will have started very early, spend the rest of the day relaxing by Lake McDonald. We love this rocky beach near Apgar Village, which has good spots to sit down or get into the water.
Staying on the east side? This day of the itinerary was written assuming you’re staying on the west side of the park. But it is doable for those staying on the east side as well! We’d suggest entering before 7 AM and going straight to Logan Pass. Then, hike to Baring Falls, St. Mary Falls, and Virginia Falls, and see Wild Goose Island, before heading west on the Going-to-the-Sun Road and ending the day at Lake McDonald.
Day 2: Hike the Highline Trail

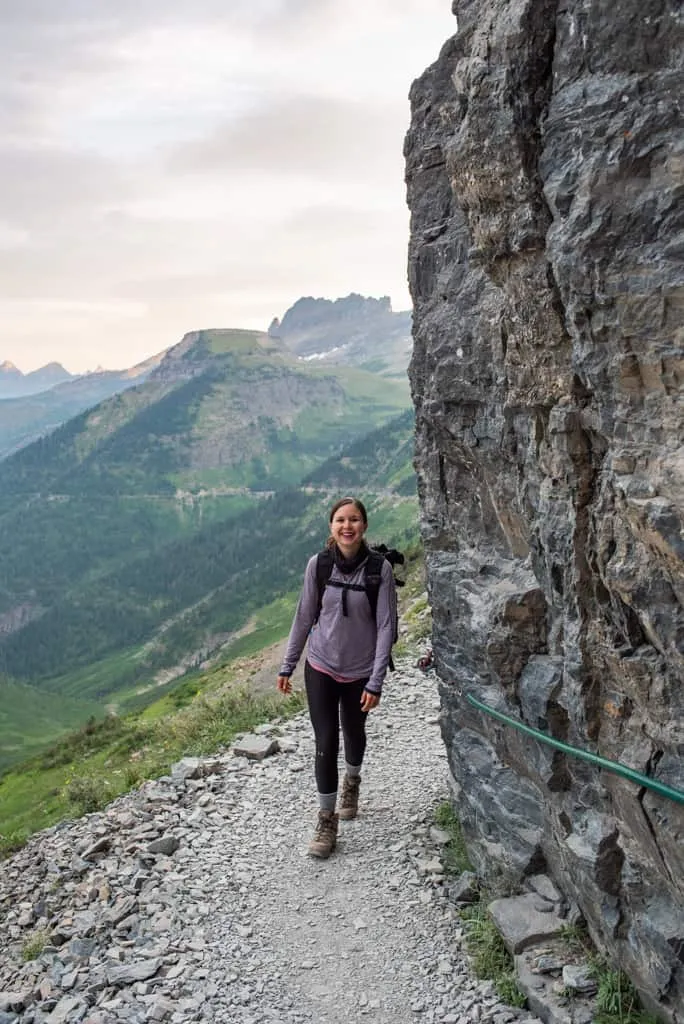
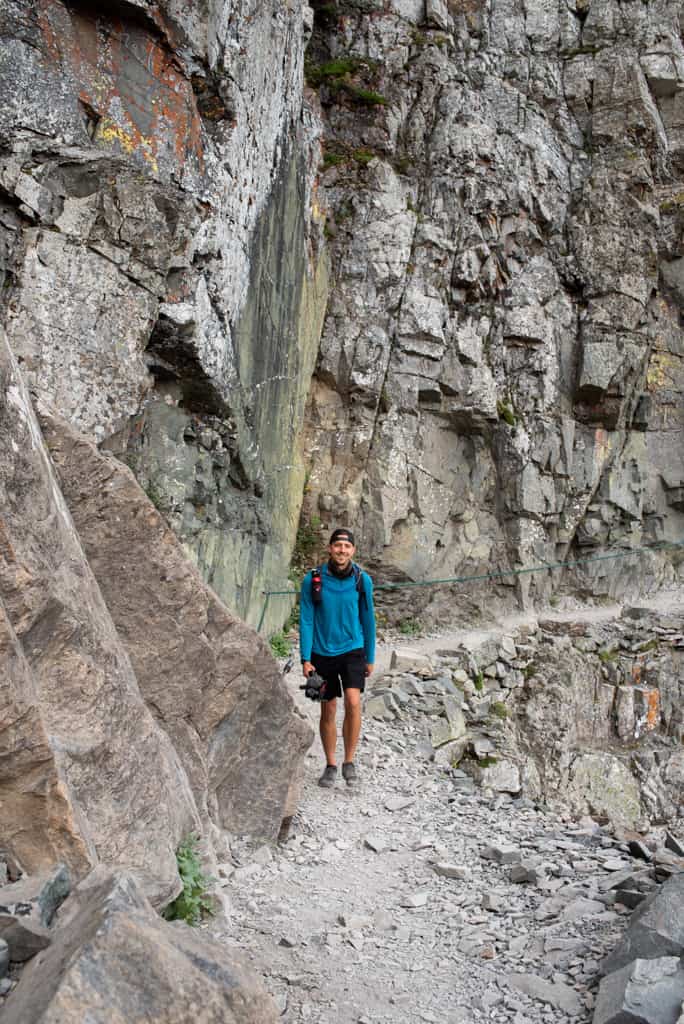
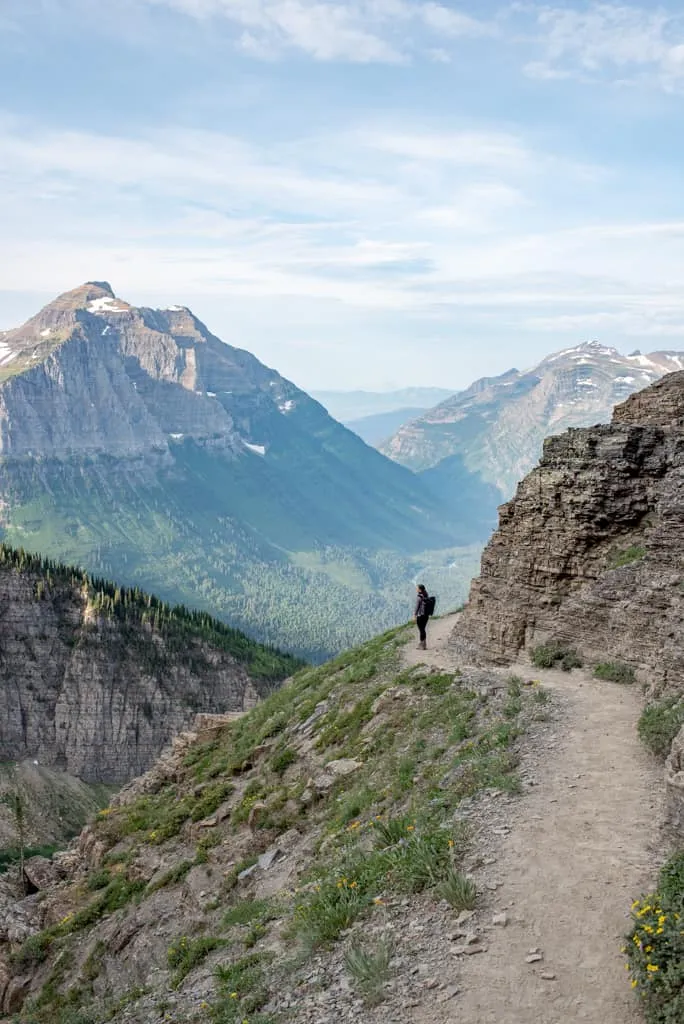
Today you’ll tackle the Highline Trail, one of our favorite hikes in the entire country! This hike starts at Logan Pass and is an all day adventure, so plan to get started around sunrise to ensure you get parking and have time to enjoy the hike. Here’s a breakdown of the stats!
Distance: 14.9 miles (can be reduced by ending at the Loop shuttle stop)
Elevation gain: 2,621 feet
Difficulty: Hard
Trail map & current conditions
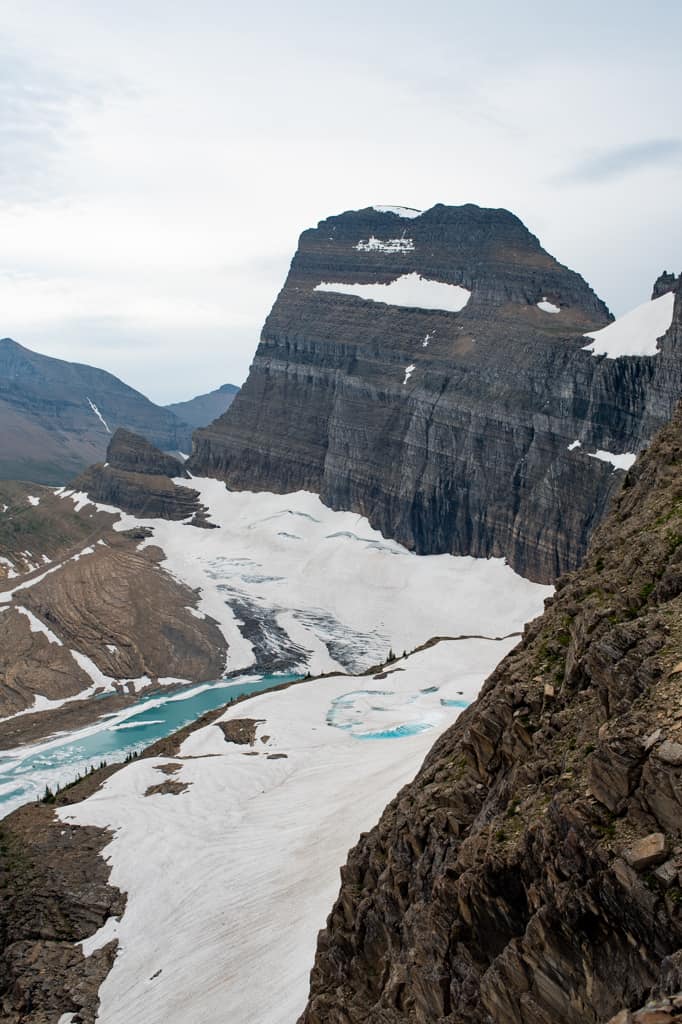
Along the trail you’ll skirt along the mountainside (with a fun cable section!), have sweeping views of the park’s mountains and alpine scenery, and have the chance to do some epic detours to the Granite Park Chalet and the Grinnell Glacier Overlook (highly recommended, although it is steep!). To learn more about this hike, check out our detailed guide to hiking the Highline Trail, where we share the different options to hike it and what to expect along the way.
Note: Since this hike will take much longer than 3 hours, you cannot park at the Logan Pass parking lot. Instead purchase a shuttle ticket in advance. More information about shuttles below!
After conquering the Highline Trail, treat yourself to some huckleberry pie atThe Huckleberry Patch! While a bit of a touristy spot, the pie is delicious and tastes even better after 15 miles. And if you need a post-hike feast, MUDMAN Columbia Fallshas some big burgers to fuel you up!
Need an easier hike?
If hiking the Highline Trail sounds too intense for you, another option for this day is to hike the Trail of Cedars and Avalanche Lake (5.9 miles, 757 feet of elevation gain). This hike takes you through a stunning gorge with bright blue water, before eventually reaching Avalanche Lake, which has a wall of mountains with waterfalls cascading down.
Day 3: Explore the east side of the park
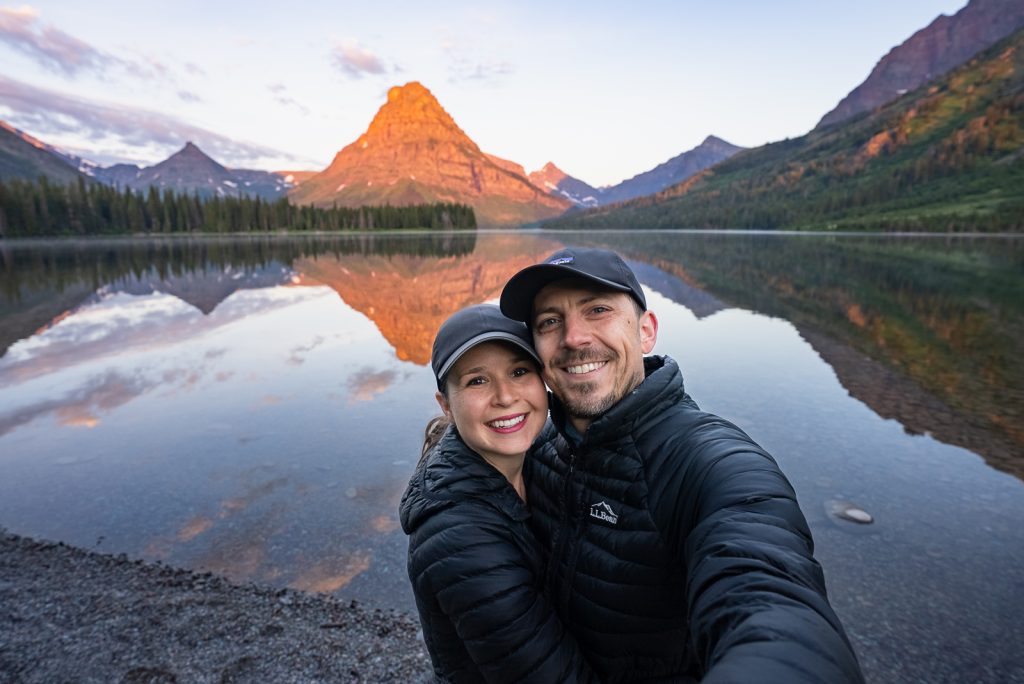
For the final day of this 3 day Glacier National Park itinerary, explore the east side of the park, either at Two Medicine or Many Glacier.
A+K Tip: Keep in mind, if you’re staying on the west side, getting to these areas will take quite a bit of time (1.5-2 hours one way). To make things easier, you may want to stay the night closer to the east side the night before.
Option #1: Two Medicine
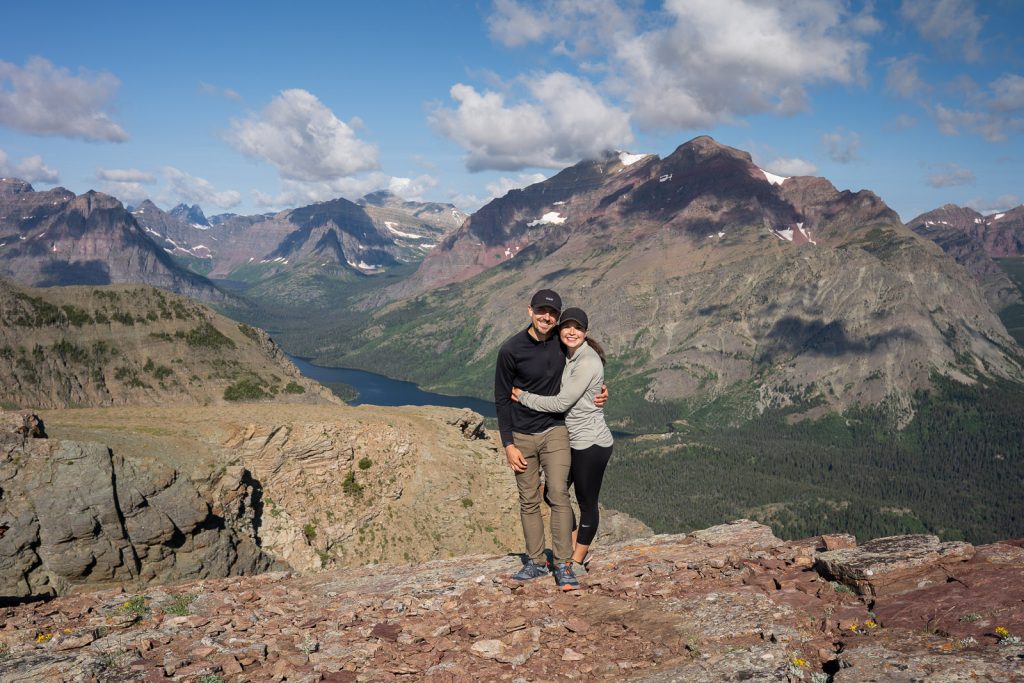
Two Medicine is a less visited area of the park that is centered around its namesake, Two Medicine Lake, and is home to alpine lakes, waterfalls, scenic vistas, and more! We spent a few days in this area on our most recent visit and loved it. There are many things to do in Two Medicine, but if you only have one day, we’d suggest choosing a mix of these hikes:
- Go on the Two Medicine Boat Tour, which takes you across the lake, with beautiful views and fun facts along the way. Make sure to book in advance!
- Upper Two Medicine Lake (11.5 miles, 1,036 feet of elevation gain), with detours to Aster Falls and Twin Falls along the way, plus some fun swinging bridges. You can also hike this by taking the Two Medicine boat one or both ways, shaving off 3.5 miles one way.
- Make the short walk to Running Eagle Falls (0.7 miles), a waterfall that pops out of a cavern, giving it the nickname “Trick Falls.” During higher water flows, it also has a small waterfall that cascades over the cavern as well.
- Hike up to Scenic Point (7.7 miles, 2,365 feet of elevation gain). This is the best shorter hike in this area of the park. From the top you can see Two Medicine Lake, Lower Two Medicine Lake, tons of mountains, and the plains over to the east.
- For a sweet treat, grab frozen yogurt at the Two Medicine General Store or swing by Kyiyo Mercantile outside of the park to get a famous huckleberry bear claw, a doughy pastry stuffed with juicy huckleberries! Or get both! 😜
For the extra ambitious, you could also hike the Pitamakan-Dawson Loop (18.8 miles, 3,779 feet of elevation gain), which is one of the best hikes in the park! However, this may be a bit too intense after a day hiking the Highline Trail.
Option #2: Many Glacier
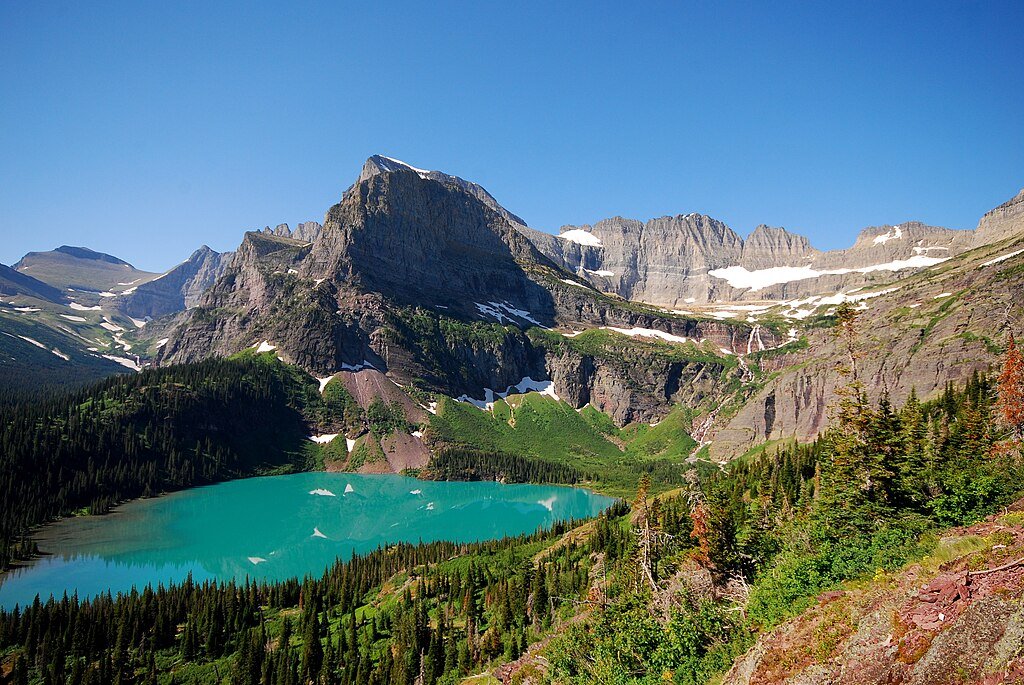
Many Glacier is often referred to as the “heart of the park,” this area is home to massive peaks, milky blue lakes, and some of the park’s most iconic hikes. And the best way to experience it is to hit the trails! With this area’s best hikes all being pretty long, you will have to make the tough choice of which to tackle. These are our top picks to consider!
- Grinnell Glacier (10.9 miles, 2,073 feet of elevation gain): This is one of the most famous hikes in the park. If you did the Highline Trail, you saw Grinnell Glacier from high above, but on this hike, you’ll walk to the base of it. All with amazing views along the way! You can cut off about 3.5 miles total by taking the boat tour across Swiftcurrent Lake and Lake Josephine.
- Ptarmigan Tunnel (10.6 miles, 2,362 feet of elevation gain): While not a lake hike like the others, Ptarmigan Tunnel offers something that none of the other hikes have: a tunnel! This tunnel is a 250-foot man-made passage that was blasted through the Ptarmigan Wall in the 1930s by the Civilian Conservation Corps. You can actually walk through the tunnel (bring a headlamp!) and pop out the other side to see some spectacular views.
- Iceberg Lake (9.6 miles, 1,459 feet of elevation gain): Iceberg Lake is another classic Many Glacier hike. The trail winds through forests and meadows with gorgeous wildflowers, before reaching a lake surrounded by a circle of mountains. Because it’s in the shadow of these peaks, the water stays extra cold and you can often see icebergs floating here.
Want something easier than these hikes? Enjoy a relaxing boat cruise! The Many Glacier boat tours take you across Swiftcurrent Lake and then onto Lake Josephine as well, with a short, but steep 0.2 mile hike in between. These tours sell out months in advance, so make sure to book early! You can alternatively rent a canoe or kayak to explore the lake instead!
Have more time in Glacier National Park?

If you have more than 3 days in Glacier National Park, check out our 4 day Glacier National Park itinerary and 5 day Glacier National Park itinerary. In these itineraries we cover more areas of the park, plus additional hikes and activities to check out!
Planning your trip to Glacier National Park
How to get to Glacier National Park
The closest airport to Glacier is Glacier Park International Airport (FCA) in Kalispell, about 30 minutes from the West Glacier entrance. You can also fly into Missoula (about 2.5 hours away) or Great Falls (about 2.5 hours from St. Mary).
Getting around Glacier National Park
You have a few options to get around Glacier National Park. The easiest is to drive your own car or rent a car so you have the freedom to explore on your own schedule. Just make sure your vehicle is no longer than 21 feet, which is the maximum length allowed on the Going-to-the-Sun Road and North Fork Road (past Polebridge).
Another option to get around, specifically along the Going-to-the-Sun Road is to take the park’s free shuttle. This runs in the summer (usually July 1 through Labor Day) between the Apgar Visitor Center and the St. Mary Visitor Center. You could take the shuttle, get dropped off by a trailhead, go for a hike, and then take the shuttle back. All without dealing with the major parking headaches in the park!
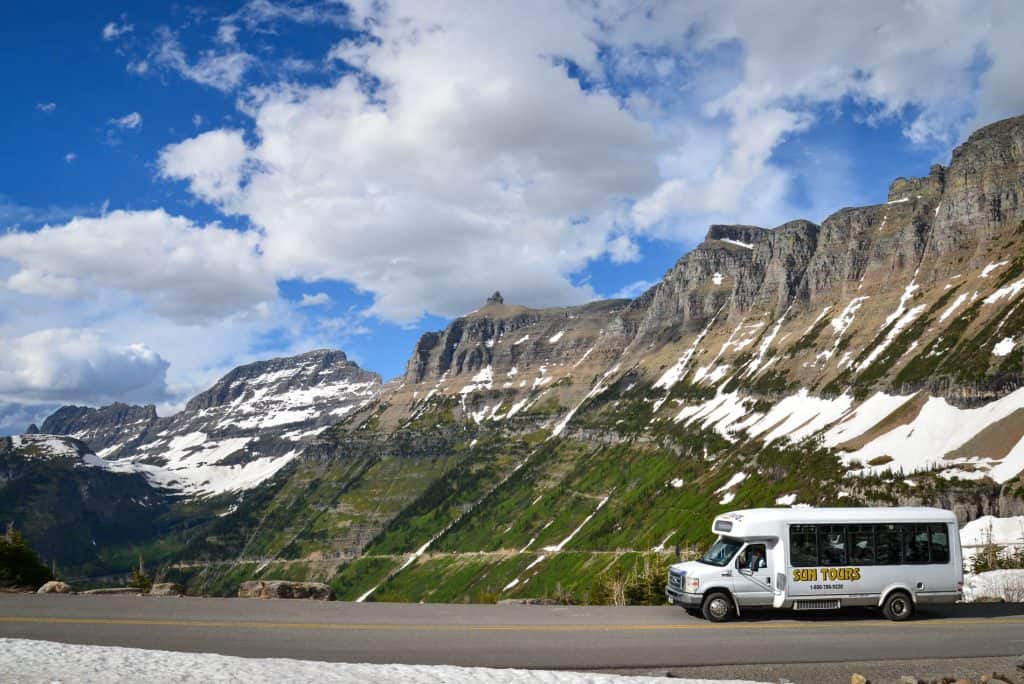
Lastly, you could also book a red bus tour to get around! While this is an actual tour (so you can’t get off to hike), it’s a great way to see the park’s scenery.
When to visit Glacier National Park
Glacier National Park is technically open year-round, but the Going-to-the-Sun Road is closed from the fall through early summer. For this 3 day Glacier National Park itinerary, we suggest visiting from July through mid-September. This is when the Going-to-the-Sun Road will most likely be fully open and trails will typically be mostly snow-free.
If hiking the higher elevation trails (Highline Trail, Ptarmigan Tunnel, etc) are your goal, we’d suggest visiting in late July through early September, to ensure they are open. During our first visit to the park in early August, the Highline Trail had just opened days before.
Where to stay in Glacier National Park
Figuring out where to stay in Glacier National Park can be tough, as the drive from the west side to the east side of the park takes at least 1.5 hours. And the best place to stay depends on what you choose from our itinerary options.
If you mostly want to explore Lake McDonald and the Going-to-the-Sun Road, the west side is your best choice. But if you want to hop around to many areas, St. Mary is a great spot, as it’s on the Going-to-the-Sun Road and is close to both Two Medicine and Many Glacier. You also could split your time between the west and east side!
West side (Apgar/West Glacier area)
This is the most convenient base for Lake McDonald, Apgar, and the western half of Going-to-the-Sun Road. Options here include Apgar Village Lodge, Lake McDonald Lodge, plus various hotels and vacation rentals in West Glacier or Columbia Falls.
East side (St. Mary/Many Glacier/Two Medicine)
The east side gives you quicker access to some of the park’s best hikes. Popular options include St. Mary Village, Many Glacier Hotel, and Swiftcurrent Motor Inn. Vacation rentals are available in nearby towns like Babb and East Glacier.
Camping
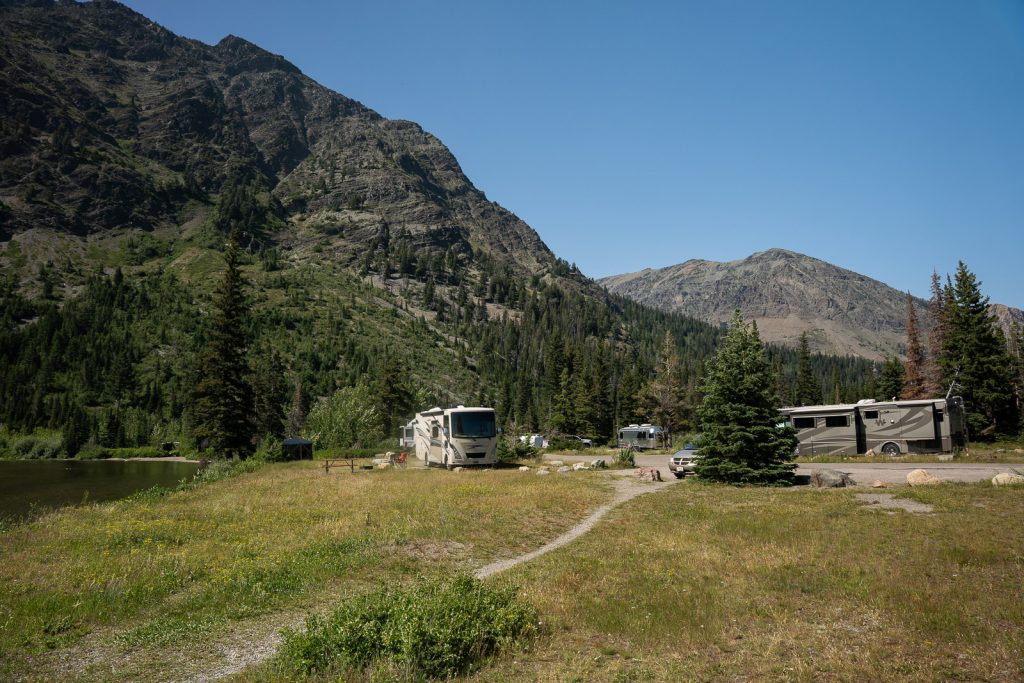
If you’re into camping, Glacier has 13 campgrounds spread throughout the park. Many require reservations in advance (like Many Glacier and Apgar), while some are first-come, first-served. Reservations open up months ahead of time and book up almost immediately, so plan early if camping is part of your trip.
Can’t snag a campsite inside the park? There are many private campgrounds outside of the park as well. We have stayed at both Mountain Meadow RV Park on the west side and Divide Creek Campground on the east side.
Things to Know Before Hiking in Glacier National Park
Park entrance fee
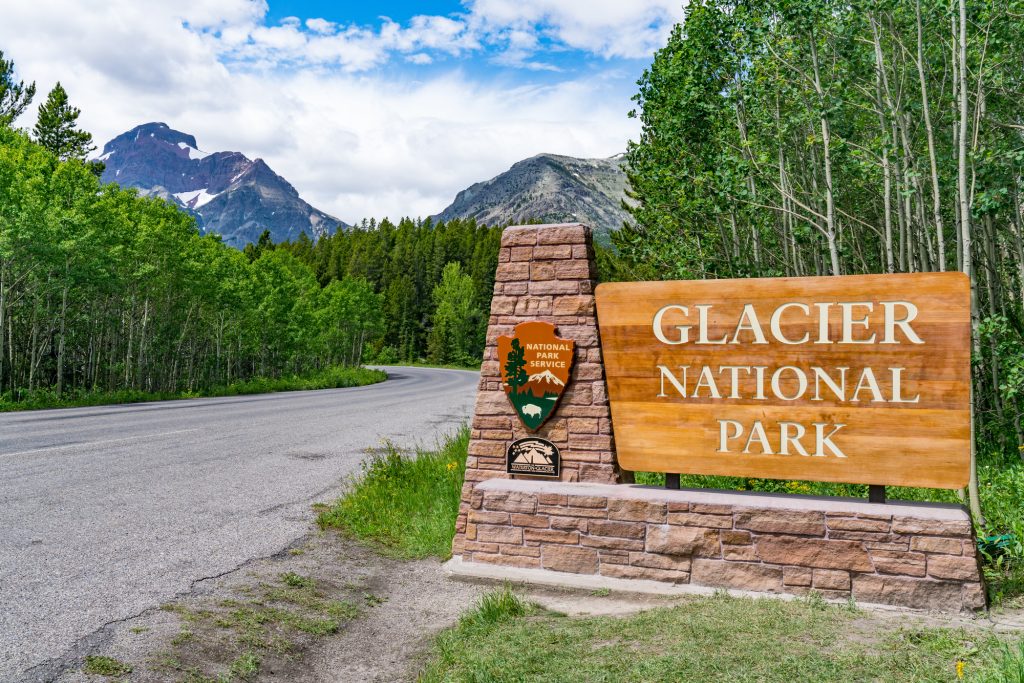
Glacier does require an entrance fee, which is $35 for 7 days. However, if you plan to visit multiple national parks within a year, we highly recommend the America the Beautiful pass, which is $80 and covers all national parks, plus a ton of other federal lands.
Logan Pass Parking Time Limit
Starting July 1, parking for private vehicles at Logan Pass will be capped at three hours. The new limit is designed to improve turnover so more visitors have a chance to enjoy the area.
A three-hour window is enough time to hike to Hidden Lake Overlook, stop by the visitor center, or catch an interpretive program.
If you’re planning a longer hike that starts at Logan Pass, like the Highline Trail to Granite Park Chalet or down to the Loop Trailhead, you’ll need to secure a shuttle ticket.
Overnight parking will no longer be allowed at Logan Pass, except for permitted backcountry campers and registered guests staying at Granite Park Chalet.
Shuttle Tickets Need to be Purchased in Advance
In 2026, the shuttle system at Glacier National Park will offer express service to Logan Pass for visitors planning longer alpine hikes. These shuttles go directly to Logan Pass and won’t stop at Avalanche or allow boarding without a ticket.
Tickets will be released in two phases: some 60 days in advance starting May 2 at 8 a.m. MDT (rolling), and the rest at 7 p.m. MDT for next-day entry beginning June 30. They’re first-come, first-served through Recreation.gov or the call center, cost $1 each, and aren’t sold in the park.
Parking fills up fast
Popular trailheads like at Logan Pass and Many Glacier are often full before 7 AM in the summer. We cannot stress this enough: arrive in the park by sunrise to secure a spot and hike without massive crowds. Or come in the late afternoon, which works well in the summer with long hours of daylight!
We know it sucks to get up early on vacation, but trust us, it will make a HUGE difference in your experience. If you show up around or after 7 AM, you will struggle to find parking and your time in the park will be more stressful than magical.
Vehicle restrictions
The Going-to-the-Sun Road and North Fork Road (past Polebridge) have length and width limits, which means large vans, RVs, and trailers are NOT allowed. This is due to the nature of the road, with narrow sections and rocky overhangs.
Be bear (and wildlife) aware
Both black bears and grizzlies live in Glacier, and while encounters are rare, there’s a decent chance you’ll spot one during your visit. Make sure you know what to do if you see a bear and always carry bear spray when hiking.
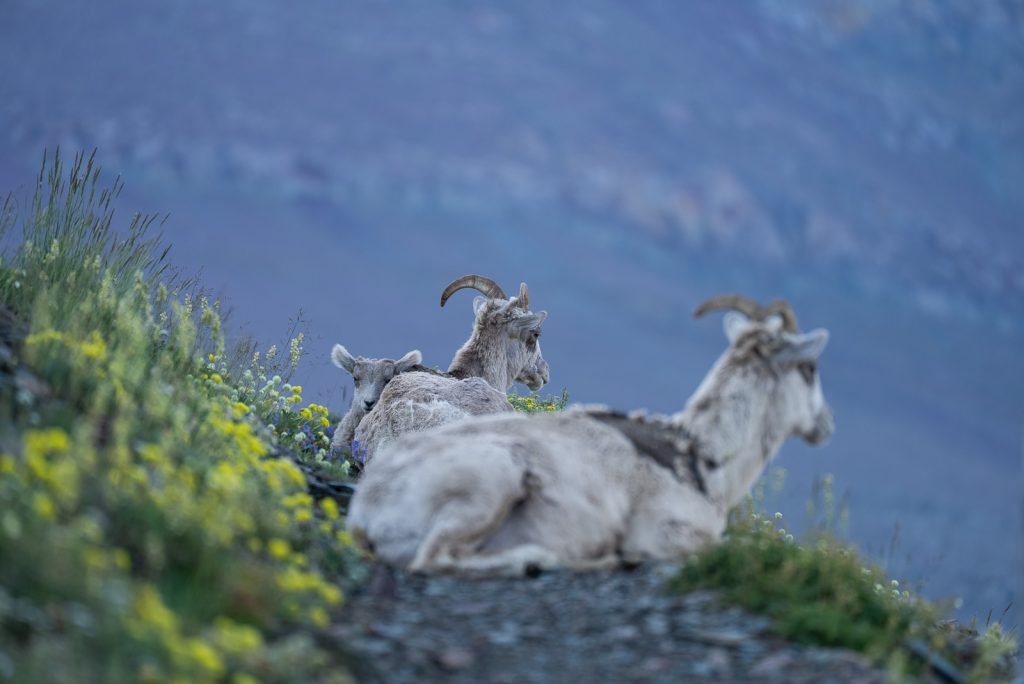
While we have yet to run into a bear at Glacier (and have only seen black bears from afar), we have encountered many bighorn sheep. So keep an eye out for other animals as well, including moose and mountain goats. And NEVER approach or feed wildlife!
Check trail closures
Because of bear activity, there are often trail closures at Glacier National Park. We’ve had this happen on every visit, so always check trail closures at the visitor center or on the park’s website before setting out. And be flexible! A trail may close the night before you hike it, so we suggest having some backup plans and roll with the punches.
Download maps beforehand
With little to no service in the park, we highly recommend downloading AllTrails maps before you go. You will need an AllTrails Plus membership to do so, which is so worth it! Use our code aplusk30 for 30% off.
Dogs are not allowed on trails
Pets aren’t allowed on any trails in Glacier National Park. If you’re traveling with a dog, you’ll need to have a plan for them while you’re out hiking. During our first trip, we boarded Kona at Columbia Mountain Kennels, since we would be gone too long during the day.
What to Bring to Glacier National Park
This 3 day Glacier National Park itinerary involves a lot of hiking, so you will want to bring proper outdoor and hiking gear. To see everything we take hiking, check out our hiking gear as well as our guide about how to make a 10 essentials kit.
But here are a few items we want to especially recommend bringing to the park!
Good hiking shoes
Trails can be rocky, muddy, or even snowy, so sturdy shoes are a must. We both wear Altra Lone Peak trail running shoes and love how lightweight and grippy they are. Plus, they dry quickly!
Layers
Being in the mountains, you can experience a wide variety of weather throughout the day in Glacier National Park. The mornings can be cold, while the afternoons can be warmer or bring a random rain storm. We suggest bringing a warm mid-layer, puffy jacket, and a waterproof rain jacket.
Sun protection
The sun is strong at higher elevations, even on cooler days. A sun hoodie, hat, sunscreen, and sunglasses are must-haves! Adam wears KALIYADI sunglasses and Kathryn wears Ray-Bans.
Snacks and lunch
Dining options in the park are very limited. So make sure to pack snacks and a lunch to eat while you explore. Need ideas? Check out our favorite hiking snacks!
Plenty of water
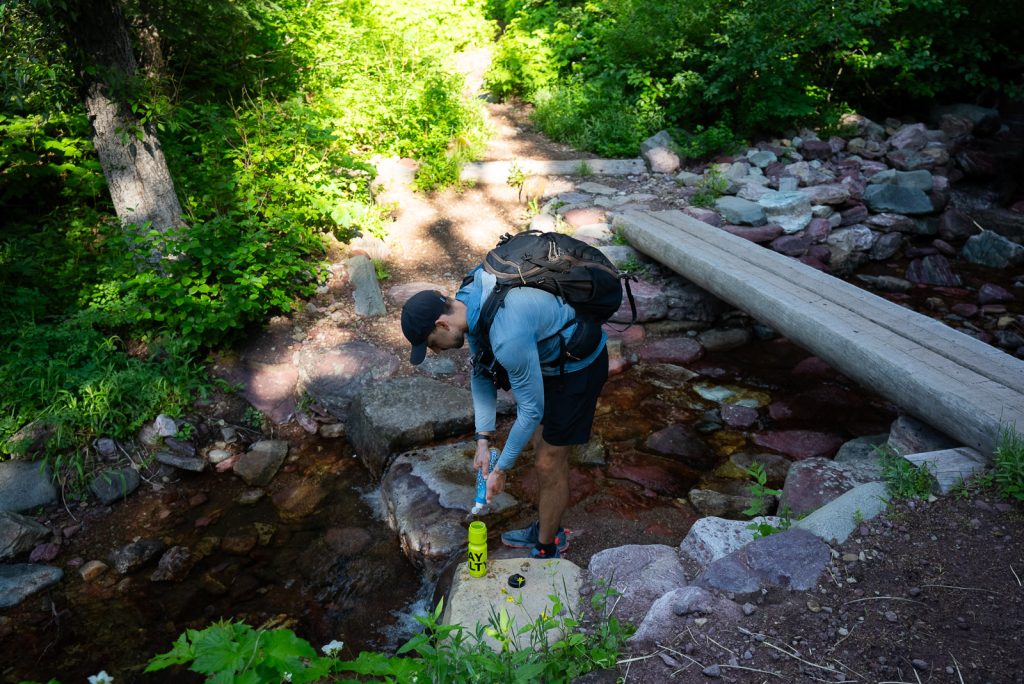
Don’t forget to pack water for your hikes! We usually bring a 3-liter CamelBak plus a Katadyn BeFree Water Filter Bottle so we can refill from streams or lakes on longer hikes.
And since many hikes are long and exposed, we suggest packing electrolytes to add to your water. LMNT is our favorite and if you use this link you’ll get a free sample pack with any order!
Hiking poles
With some steep and rocky hikes, hiking poles can be helpful. We have Black Diamond Distance Z trekking poles and love them!
Headlamp
Even if you don’t plan to hike early or late, it’s worth having a headlamp just in case.
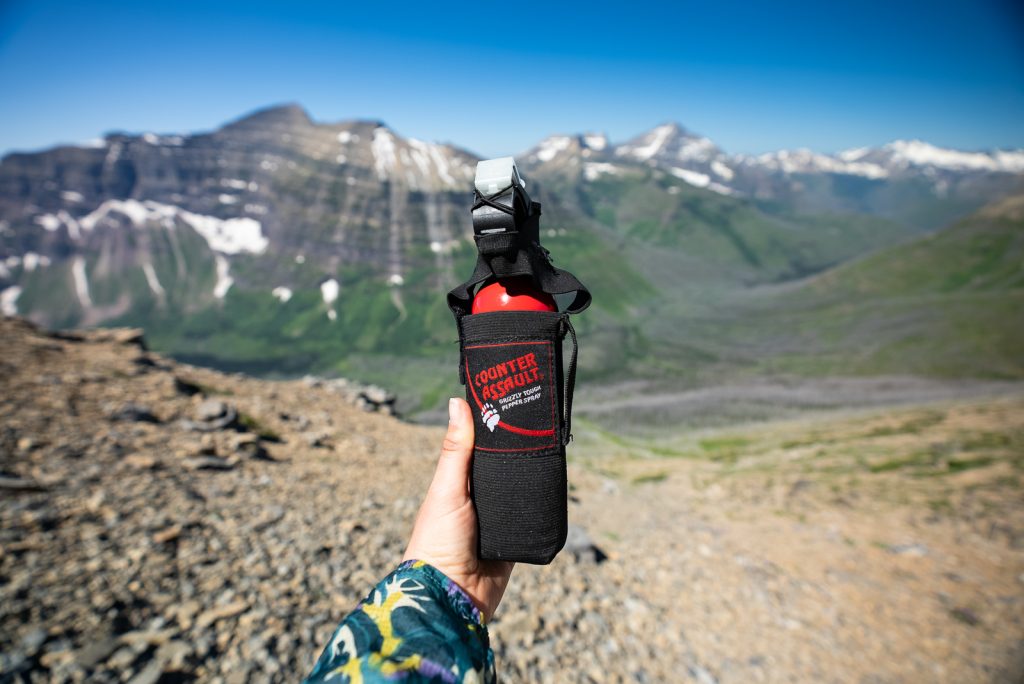
Bear spray
Bear spray is a must in Glacier. Keep it somewhere easy to grab and make sure you know how to use it. You cannot fly with bear spray, so if you are flying to Glacier, make sure to buy bear spray when arriving. Or you can rent it, which is much cheaper. Bear Spray Shack has 24/7 bear spray rentals at various locations around the park.
Bug spray
Mosquitos can be rough in early summer, so you’ll be glad you packed some bug spray for the trails.
Save this 3 day Glacier National Park itinerary