Last updated on March 9th, 2026
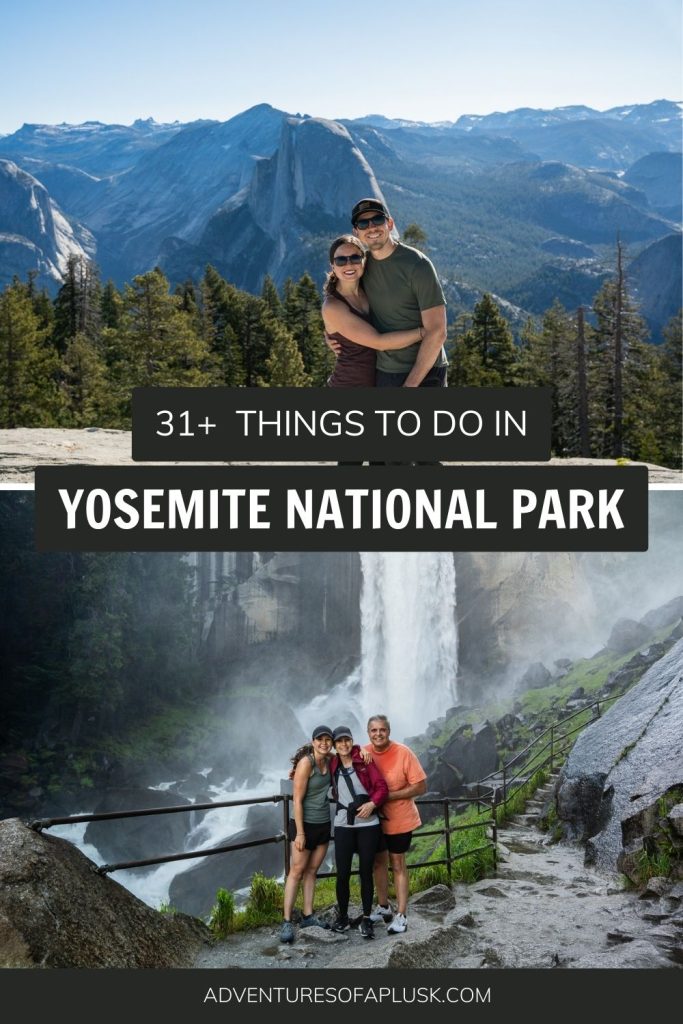
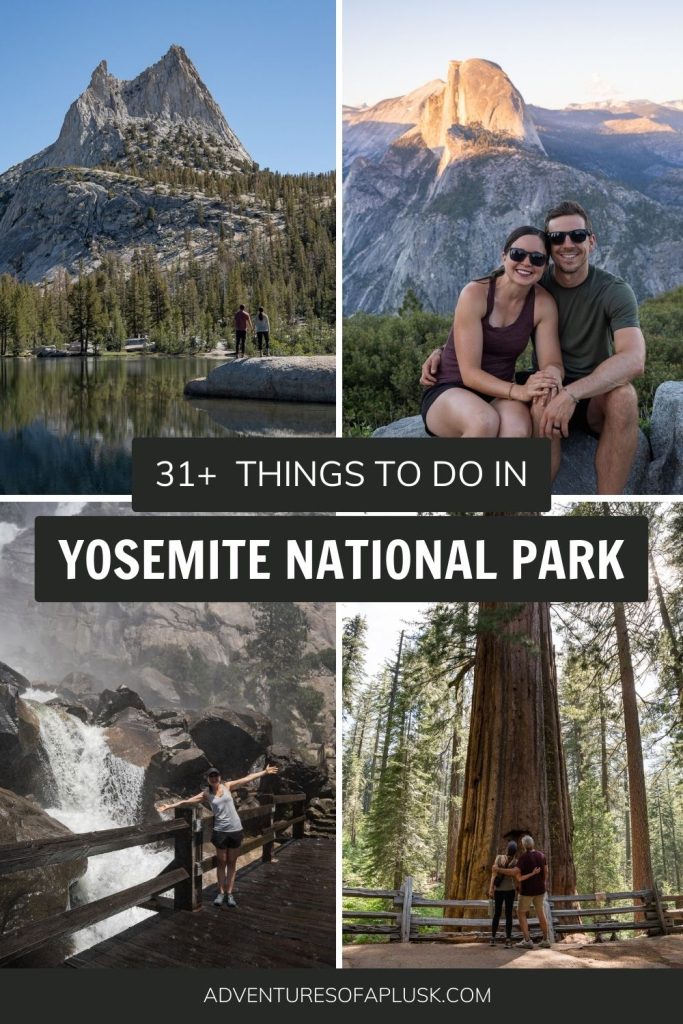
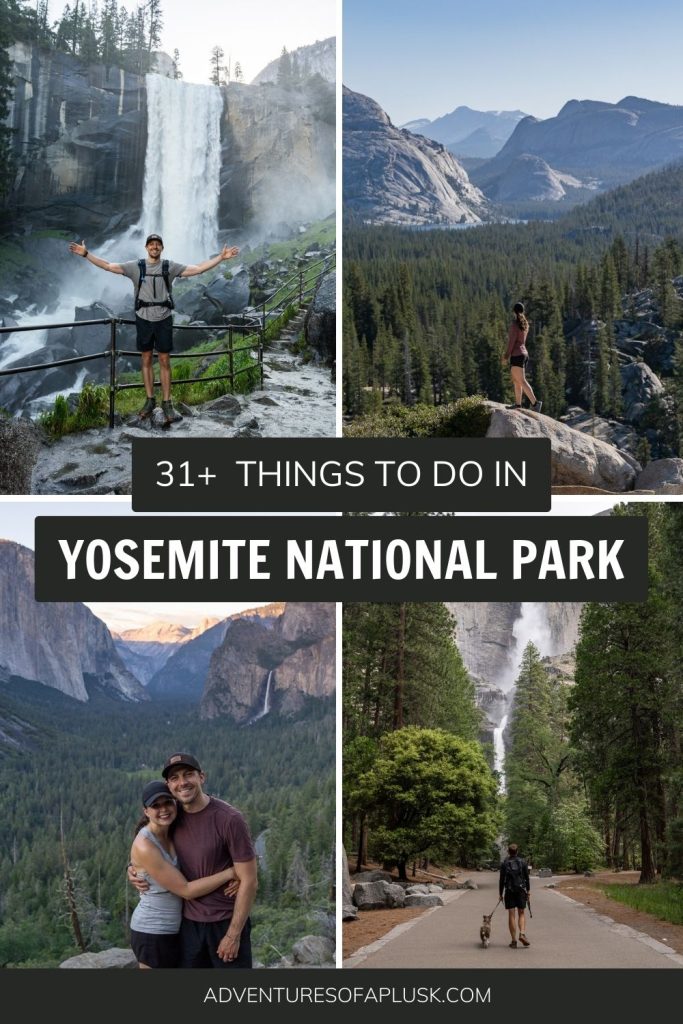
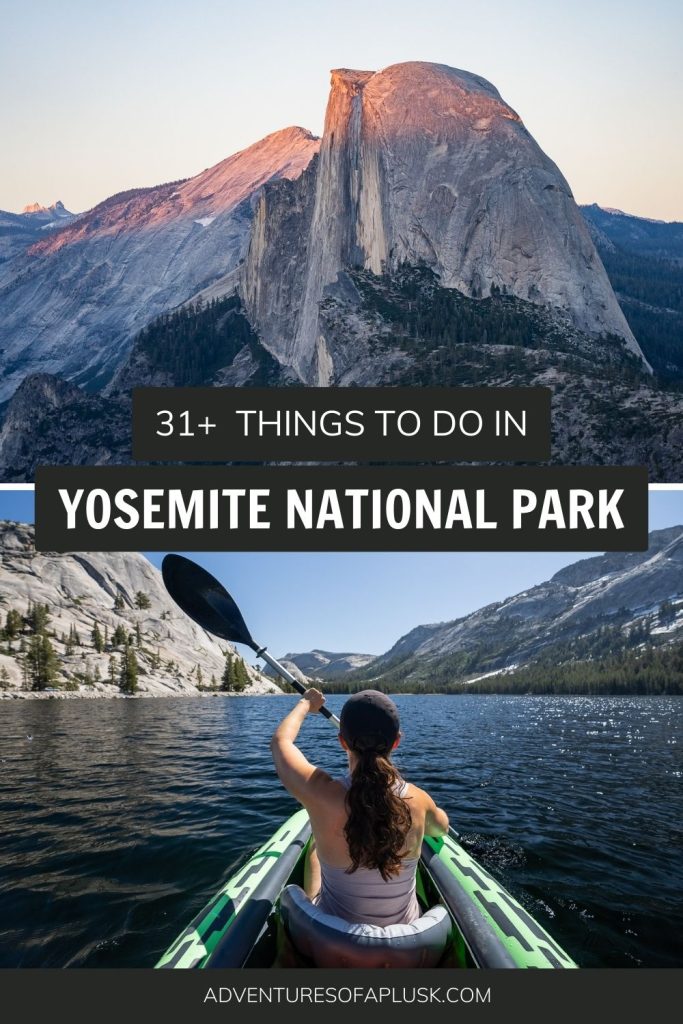
Looking for the best things to do in Yosemite National Park? We’re sharing tons of ideas + tips to help you plan your own trip!
With almost 4 million visitors a year, Yosemite is the 6th most visited National Park in the United States. And it’s easy to see why! With towering granite peaks and sheer cliffs, impressive waterfalls, wildlife, giant sequoias, scenic drives, and stunning lakes, the park is considered by many to be the most beautiful in the country.

We first visited Yosemite back in 2017 and it was LOVE at first sight. And during our second visit in 2024, we can truly say that it was just as magical the second time. It’s hard to describe the feeling of seeing the lush Yosemite Valley, awe inspiring Half Dome, or towering Yosemite Falls for the first (and even second) time!
But visiting the park can be a bit daunting. At 1,200 square miles, there are quite a few areas to explore and so many things to do in Yosemite National Park. Over our two visits, we have spent more than a week in the park, visiting all of its major areas and hiking many of its trails. And in this guide we’re sharing the 33+ best things to do in Yosemite National Park. Whether it’s your first, second, or fifth visit!
Check out all of our Yosemite National Park resources
- Plan the Ultimate California National Parks Road Trip! (3 itineraries)
- Where to stay in Yosemite National Park
- How to spend ONE day in Yosemite National Park
- The PERFECT 2 Day Yosemite National Park itinerary
- The Ultimate Yosemite National Park itinerary: Options for 1-6 days!
- The 22 BEST hikes in Yosemite National Park
- The Best Day Hike in Yosemite: Four Mile, Panorama, & Mist Trail
- See more California National Park guides
About Yosemite National Park
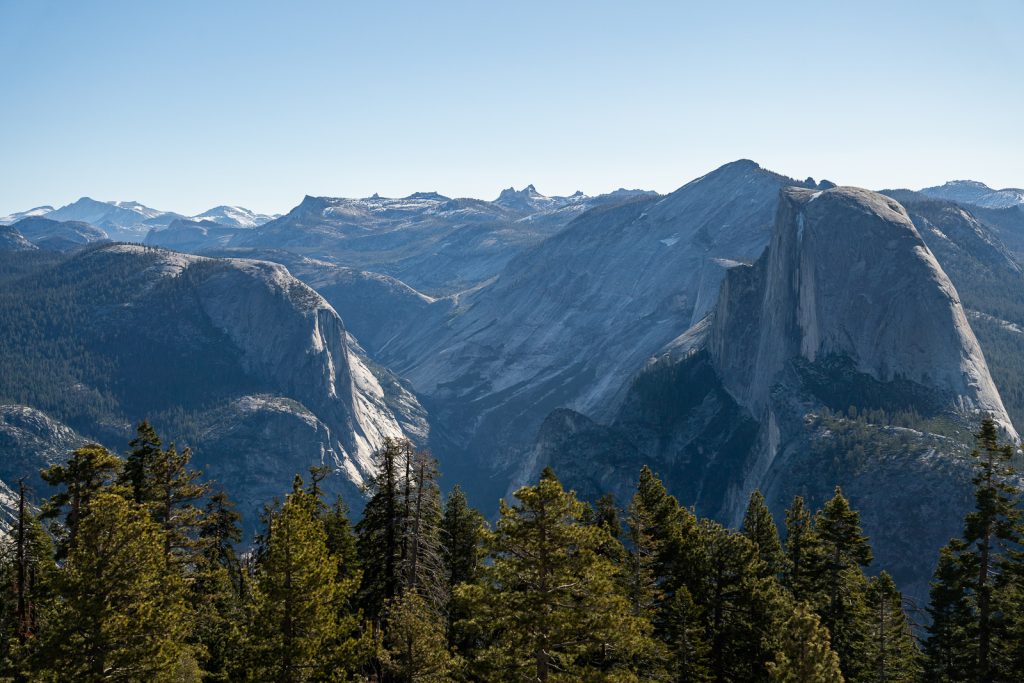
Located in California’s Sierra Nevada Mountains, Yosemite has been enjoyed by many groups of people for thousands of years, starting with Native Americans, like the Ahwahneechee, before the area was discovered by Europeans and gold miners.
Later it began to gain the interest of people wanting to preserve it, like Gaylen Clark and John Muir, leading to it becoming a National Park in 1890 (the third US National Park!).
And after Muir showed the park to Teddy Roosevelt in 1903, it prompted even further federal protection of Yosemite, as well as inspired Roosevelt to create 5 additional National Parks, 18 National Monuments, and 150 National Forests. So it’s safe to say, Yosemite played a big role in the protection of the parks and lands that we are all able to enjoy today.
Today, the park is split up into 5 major areas: Yosemite Valley, Glacier Point, Wawona and Mariposa Grove, Hetch Hetchy, and Tioga Road. And each area offers a different experience and vantage point of the park!
Want to Learn More as you explore?
We highly suggest downloading the Guide Along – Yosemite (totally worth the cost!!) audio tours to navigate you on the road. Even when you don’t have service it knows where you are and provides commentary and history about the area. As well as alerts you when to stop for specific sights. These guides are fun to listen to and the narrator feels like a fun friend in the car with you!
Yosemite National Park at-a-glance
Cost: $35 per vehicle for 3 days. Or FREE with the America the Beautiful pass.
Reservations required?: Yes! On weekends and holidays from April-June, everyday between July-August 18, and weekends and holidays from August 19-October. Minus the Hetch Hetchy entrance.
Best time to visit: In our opinion, mid-June, late-August, and September are a great time to visit to be able to access all areas of the park. Plus, reservations are not required everyday. The spring and fall are also great for less crowds, but you’ll be more limited.
Where to stay: Ideally within the park! But these lodging options are tough to get. To see all of your choices, read our detailed guide to where to stay in Yosemite!
Best things to do: Our favorite things to do in Yosemite include the Mist Trail, Glacier Point, Tuolumne Meadows, and Wapama Falls at Hetch Hetchy!
How much time should you spend: We recommend at least 3 days, but 6 days will give you a chance to explore all areas of the park. See all of our Yosemite itineraries here!
The best things to do in Yosemite National Park
There are endless things to do in Yosemite National Park. So much so that it would take years to truly explore it all! From quick overlooks, to wet hikes, to backcountry adventures, Yosemite National Park offers something for everyone.
And while there are a few major highlights that every visitor tries to experience, we found that there are plenty of lesser known, “hidden” (as hidden as anything in a popular National Park can be) gems as well!
Below are what we consider the best things to do in Yosemite National Park, based on our experience and our bucket list for future trips. We’re breaking down this list by region, as well as in order of difficulty.
Yosemite Valley
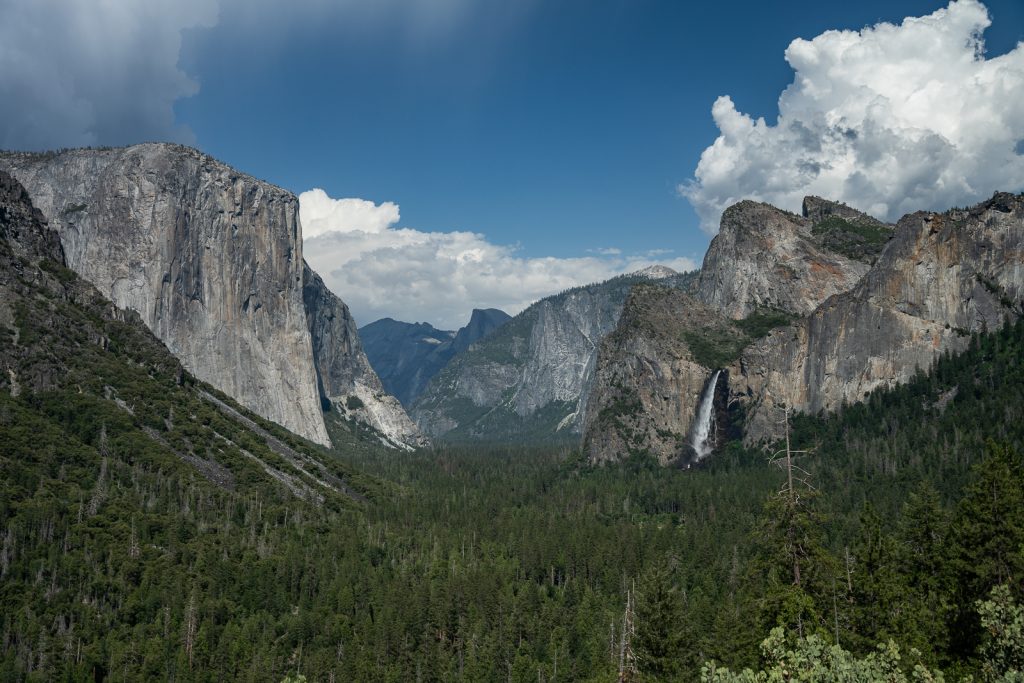
Yosemite Valley is home to the most iconic things to do in Yosemite National Park, including the park’s famous waterfalls and cliffs. This area is accessible by car or bus year round, making it a perfect destination no matter when you visit. Just be prepared–the crowds are the highest here, so starting early is KEY!
1. Check out Yosemite Valley’s different viewpoints



One thing we love about Yosemite Valley is that you can see so much of its beauty from easy to access overlooks! There are a handful of overlooks and quick stops within the valley that provide different vantage points of the park. Here are a few of our favorites!
Tunnel View: Depending on where you’re staying in Yosemite, this may be your first view of the park. And boy, is it an EPIC first view! We will never forget the feeling of popping out of the tunnel and seeing Yosemite Valley for the first time. We love coming here for sunrise, as the sun rises behind Half Dome, but it is also a great mid-day stop to see the vibrant blues and greens of Yosemite Valley, as well as an easy sunset spot, where you’ll get to see the alpenglow on Half Dome.
Valley View: Located down at the bottom of Yosemite Valley, this riverside overlook has great views of the valley from a more eye level vantage point. You can drive to this spot, although parking is a bit small. Most people just stop quickly to snap a photo though!
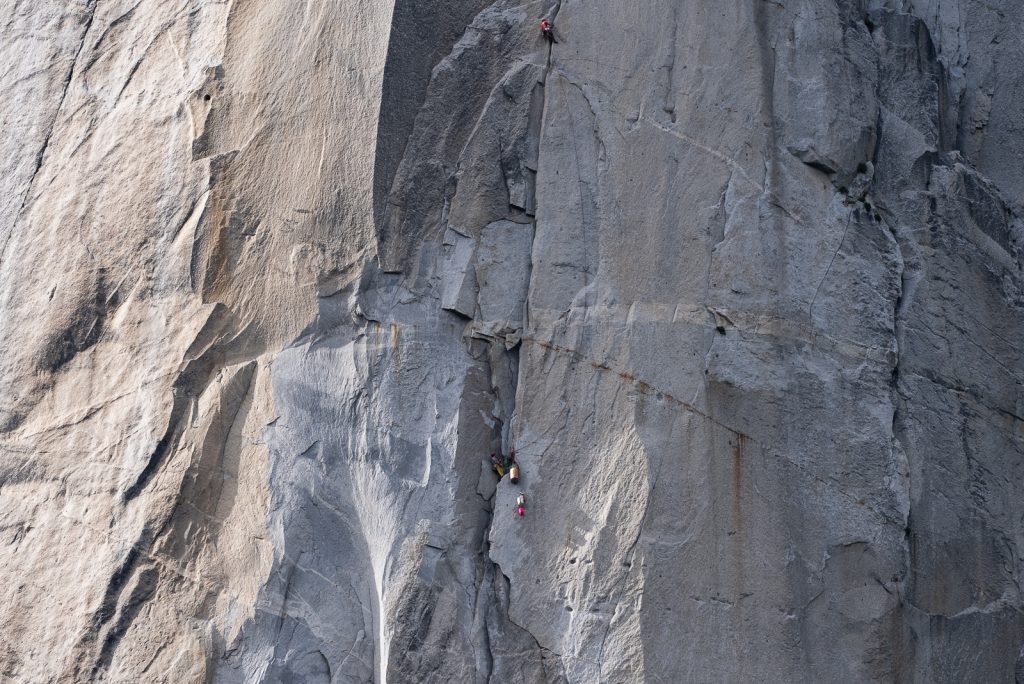
El Capitan Meadow: El Capitan is a 3,000 foot tall vertical rock face that is world famous with rock climbers. And at this viewpoint, you can look up and try to find climbers on the wall (bring binoculars)! You’ll notice that there is fencing around the meadow. Make sure to only enter the meadow during the breaks in the fence, where there are pathways.
A+K Tip: We suggest watching the movie Free Solo before visiting the park! It’s an anxiety-inducing story of Alex Honnold’s attempt to be the first person to free solo (as in, NO harness, ropes, etc) ascent of El Capitan.
Sentinel Bridge: This viewpoint features reflections of Half Dome in the Merced River. There is a parking lot right by here if you want to quickly stop by for a look!
Swinging Bridge: This idyllic viewpoint features a bridge that runs over the Merced River and has amazing views of Yosemite Falls. There are also some beach areas to relax on and we swam in a calm section of the Merced River here. If you decide to get in the river, be very careful. The water is very cold and the current can be strong. While you can drive here, it’s an easy walk or bike ride while in the valley!
2. Drive the Valley Floor Loop

If you prefer to see the sights from the car, a great way to see the scenery of the valley is to simply drive the Valley Floor Loop. From the drive you’ll be able to see El Capitan, Yosemite Falls, Bridalveil Falls, Half Dome, and so much more.
3. Ride the bike paths
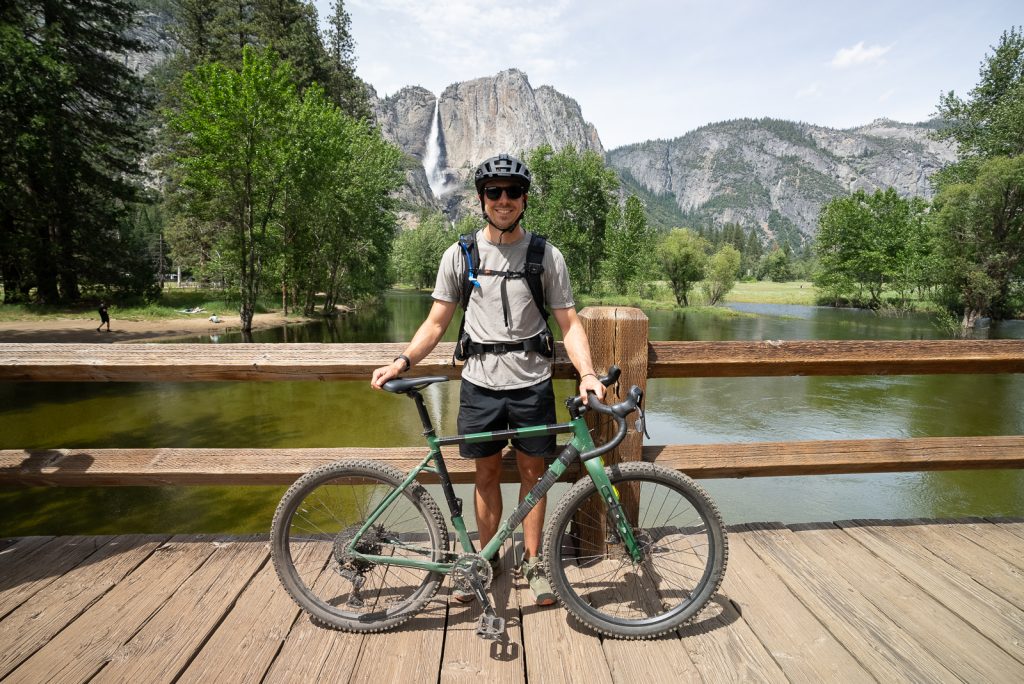
Not only is biking a fun way to get around the valley, but it’s also a great way to see some of the iconic spots. Don’t own a bike? There are bike rentals in the park, plus a free bike share program for rides under 2 hours.
We LOVED riding our bikes around Yosemite Valley! Some of our favorite stops were the Swinging Bridge and the Village Store, where we grabbed some ice cream to enjoy.
4. Yosemite Museum
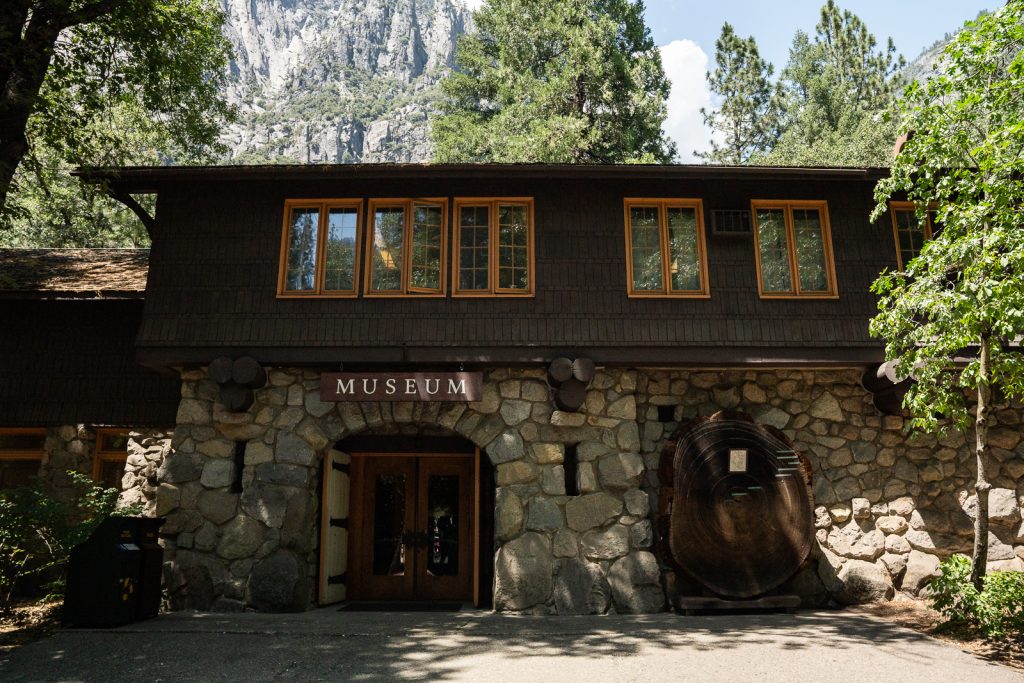
Opening in 1926, the Yosemite Museum was the first building constructed as a museum in the national park system. This FREE museum shares the history and traditional skills of the Ahwahnee tribe, who resided in the Yosemite Valley for hundreds of years.
If you’re interested in the history of humans in the Yosemite Valley since 1850, this is a great place to check out. At the museum there is the Indian Village, which displays several native dwellings you can view. Plus a giant cross section of a Sequoia out front to admire!
5. Ansel Adams Gallery

Ansel Adams is a famous photographer and conservation activist, whose work heavily featured Yosemite. And at the Ansel Adams Gallery you’ll find works from Ansel Adams, other contemporary photographers and artists, as well as books, gifts, and photography supplies. This is a great air conditioned place to explore on a hot day!
6. Bridalveil Fall
Miles (round trip): 0.8
Elevation Gain: 114 feet
Trail Map and Current Conditions
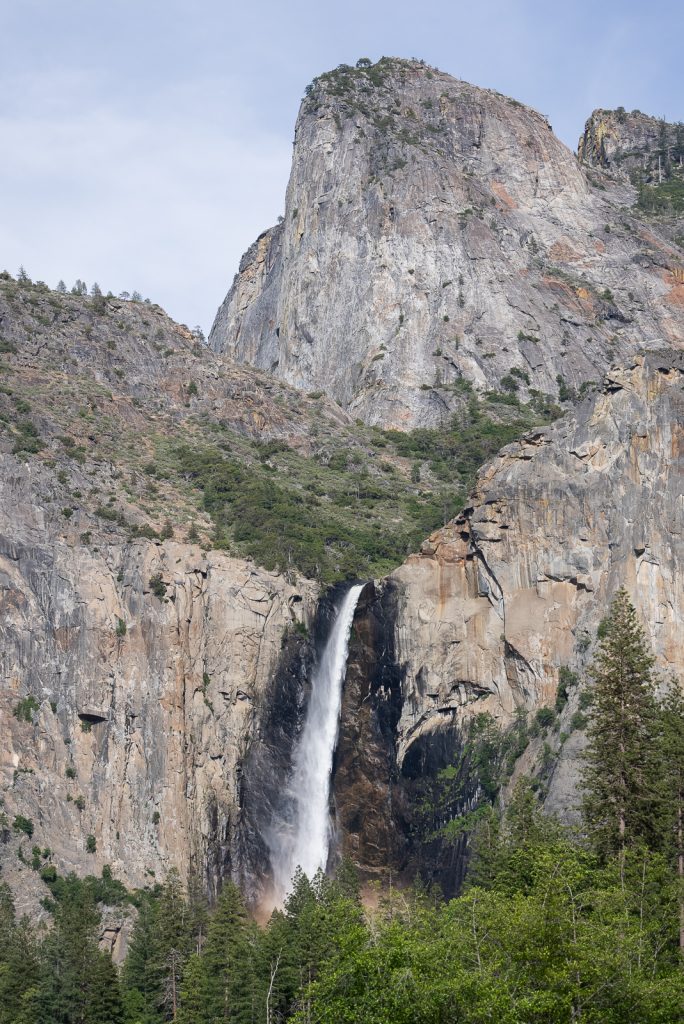
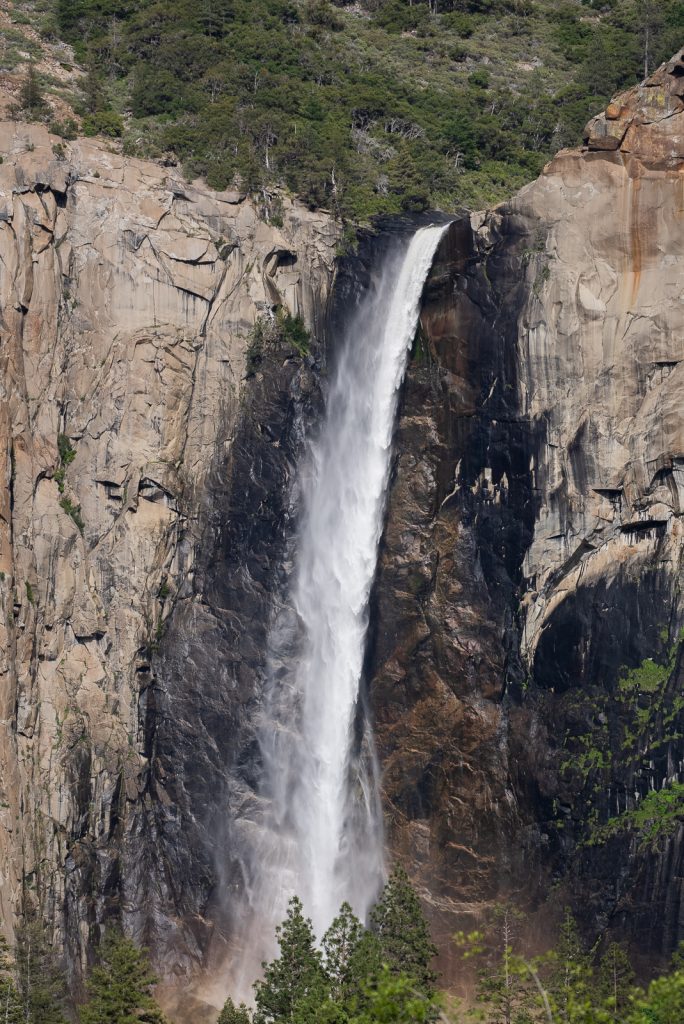
One short and easy hike in Yosemite Valley is the Bridalveil Fall Trail. It’s just under a mile round trip walk to a viewpoint of Bridalveil Fall, which plunges 620 feet. If you’re visiting in the spring you’ll see a raging waterfall that will possibly spray on you! And in extreme cases, the viewpoint at the end of the trail may not be accessible.
Other times of the year it’ll be a lighter, swaying flow, which is where its name comes from.
7. Lower Yosemite Falls Trail
Miles (round trip): 1.2
Elevation Gain: 55 feet
Trail Map and Current Conditions
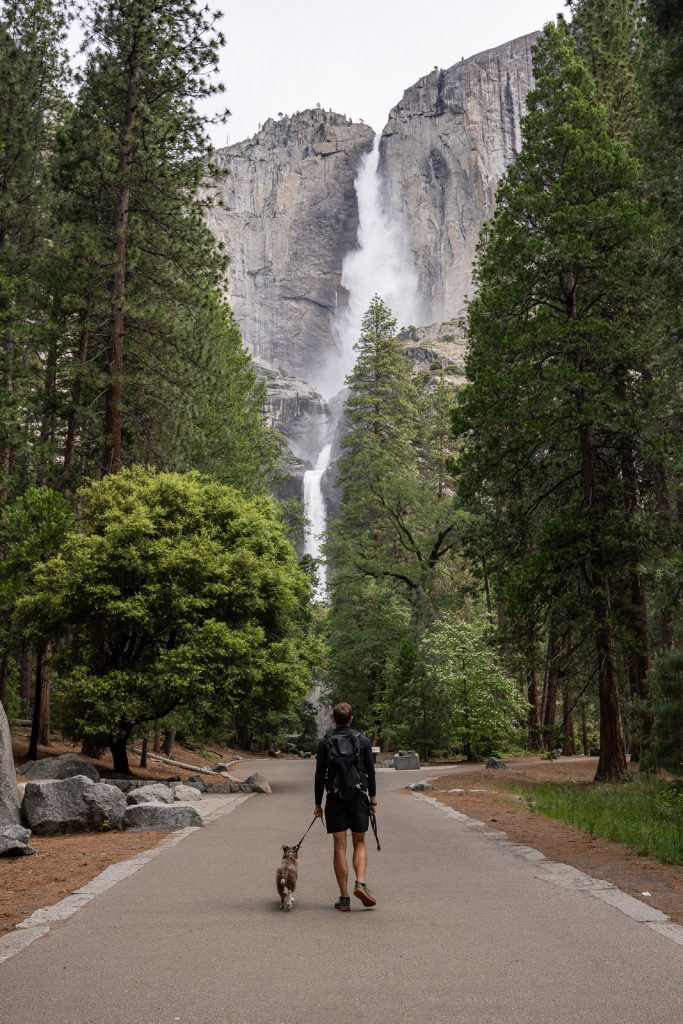
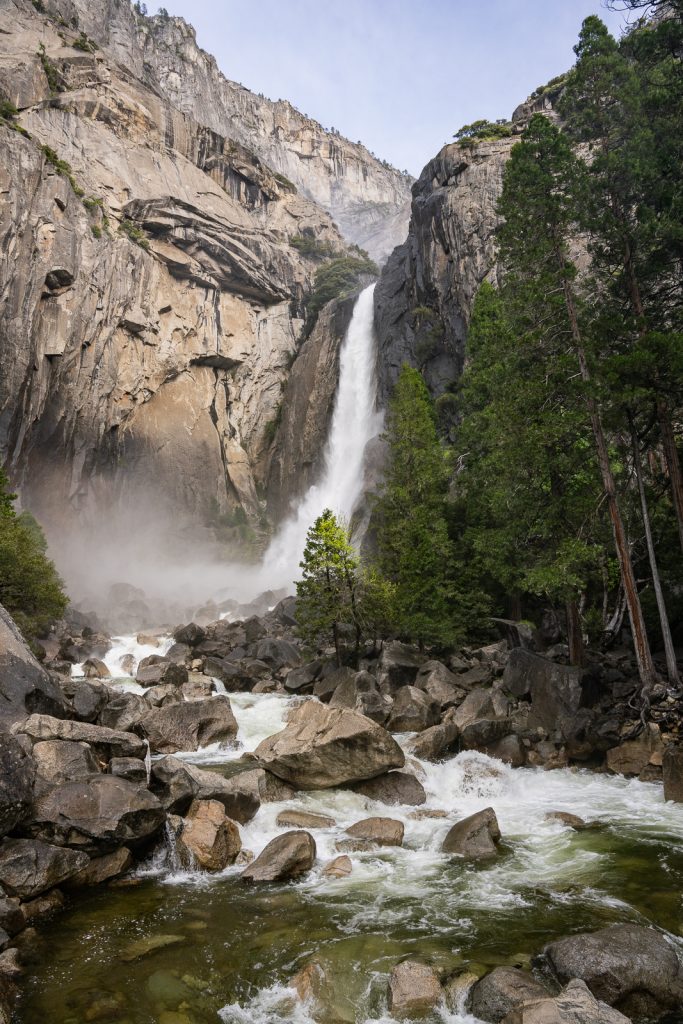
Yosemite Falls is one of the largest waterfalls in North America at 2,425 feet! And the paved Lower Yosemite Falls Trail takes you to a viewpoint of the lower falls, which fall 320 feet, a crazy impressive height on its own! The water, during our most recent visit in June, was RAGING and we got a nice misting as we walked across the trail.
This is one of the top things to do in Yosemite National Park for all ages and abilities. Plus, it’s one of the few dog friendly trails, so your pup can join in on the fun too!
8. Cook’s Meadow Loop
Miles (round trip): 2
Elevation Gain: 78 feet
Trail Map and Current Conditions
Cook’s Meadow Loop is a short, flat trail through some of the valley’s beautiful meadows. Along the way you’ll have views of Yosemite Falls, Half Dome, Glacier Point, and Sentinel Rock.
This trail also passes by the Lower Yosemite Falls Trail (detailed above), so if you haven’t done that trail, this is a good opportunity to add on another less than a mile.
Another bonus of this trail is that it’s a dog friendly hike. Just be sure to stay on the trail and boardwalk to protect the surrounding meadow and vegetation.
9. Artist Point Trail

Miles (round trip): 2
Elevation Gain: 751 feet
Trail Map and Current Conditions
Tunnel View is one of the most popular viewpoints in the park and for good reason. It gives you a fantastic view of the Yosemite Valley! But located just a bit higher up is Artist Point, which is even better, in our opinion!
This short (but steep) hike starts right across the street from Tunnel View and climbs up to Old Wawona Road, a historic road that was one of the first roads into the valley. Stagecoaches would use this road to bring in tourists and goods!
And since the trail isn’t well marked (there will not be any signs pointing you to Artist Point), it is WAY less busy. In fact, we got to enjoy it all alone for sunset!
10. Mirror Lake Trail
Miles (round trip): 5 (there is also a 2 mile paved option, which is dog friendly)
Elevation Gain: 301 feet
Trail Map and Current Conditions
Sitting below Half Dome, the Mirror Lake Trail takes you to a small lake (more like a pond), with towering granite domes and peaks around. This trail is popular because when the lake is full of water and is calm, you can see reflections of some of the surrounding mountains in the water. It is a popular swimming hole on a hot day, but the water level can dip in the drier summer months.
Tip: Bring bug spray for this one. The mosquitoes can be really bad!
11. Vernal and Nevada Falls via the Mist Trail


Miles (round trip): 6.4
Elevation Gain: 2,208 feet
Trail Map and Current Conditions
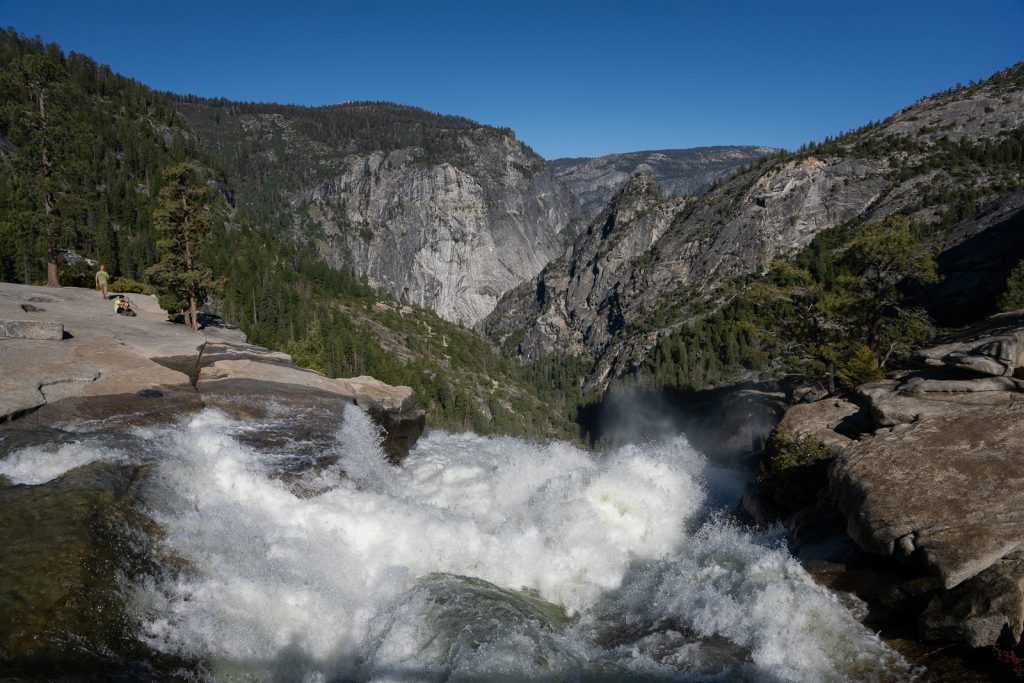
The Mist Trail to Vernal and Nevada Falls is one of our top hikes in Yosemite National Park!
This very steep (it’s pretty relentless) trail takes you to the top of both Vernal and Nevada Falls. And along the way, you’ll be blasted with lots of mist from the falls crashing onto the rocks. We were soaked, but it’s such a fun experience!
While many people will bring a rain jacket or poncho, we chose to embrace the mist, which can feel great on a hot day, but is a bit chilly just after sunrise or in colder weather. Even if you are fine getting wet, you might want to consider bringing a pack cover to protect your backpack and belongings.
Despite the difficulty of this hike, it is VERY busy and popular. So getting here early is a must to enjoy any solitude (and avoid a conga line).
Normally you can partially hike down a different way, to avoid a second blasting of mist and larger crowds. But there is currently a closure on the John Muir Trail (JMT) from Nevada Falls to Clark Point due to a rockfall. We suggest following the Mist Trail back down until after you cross the first bridge and then take a side trail to Clark Point. From here, follow the JMT back down to where it rejoins the Mist Trail. This route helps you avoid some crowds, especially alongside Vernal Falls.
Parking tip: Parking is currently a bit tricky, as there is construction to get to the parking lot, which is a large gravel lot. And it can fill up early! If the lot is full you’ll need to find other parking and then take the shuttle to the trailhead. We did this hike twice during our most recent visit, starting around 6 AM and had no issues parking.
12. Upper Yosemite Falls Trail
Miles (round trip): 6.6
Elevation Gain: 3,254 feet
Trail Map and Current Conditions
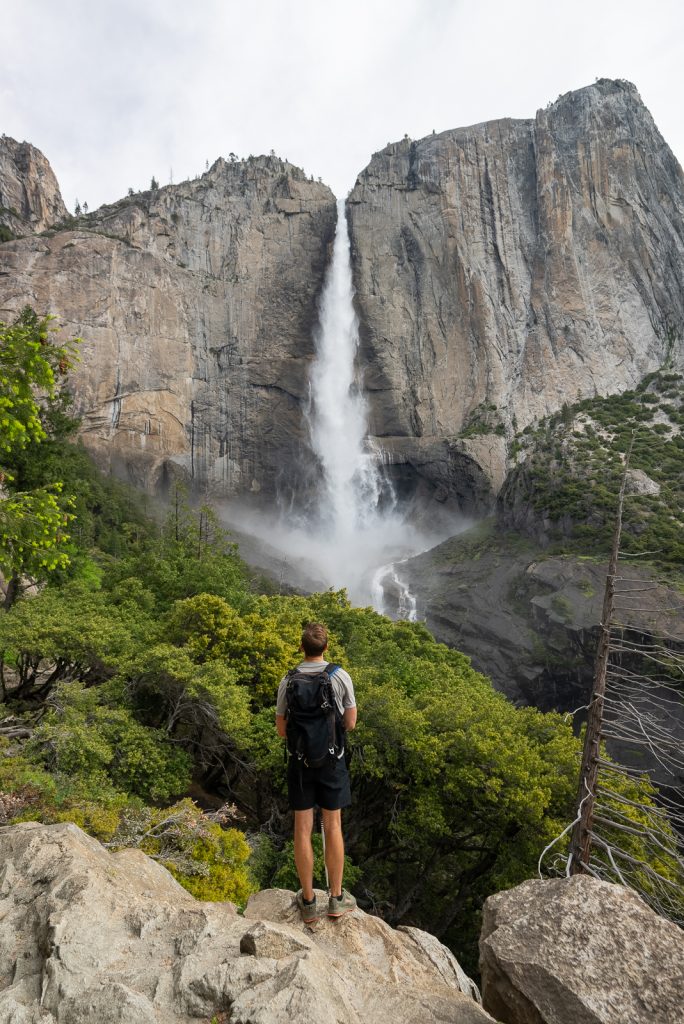
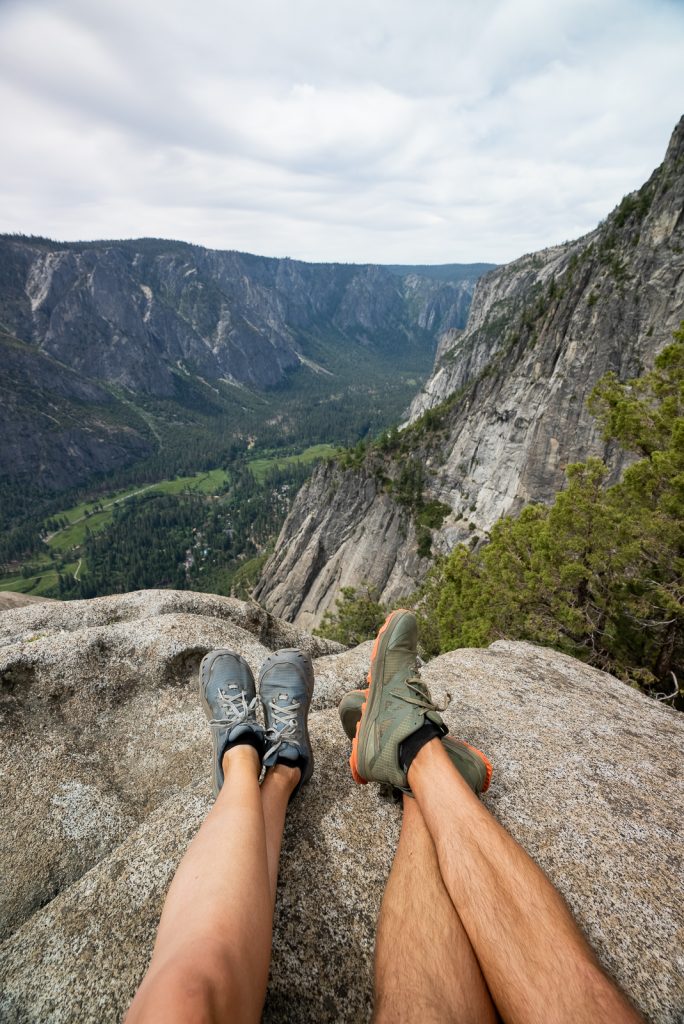
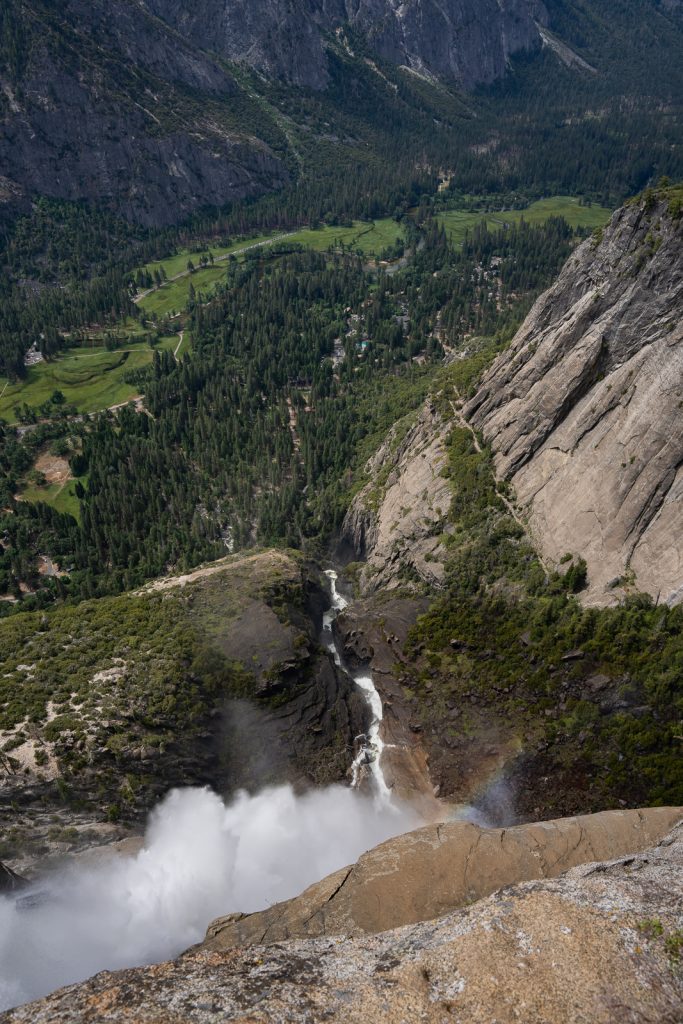
If seeing Lower Yosemite Falls wasn’t enough for you, you also have the option to hike all the way to the top of the 2,425 foot behemoth. And oh boy, this is a TOUGH one!
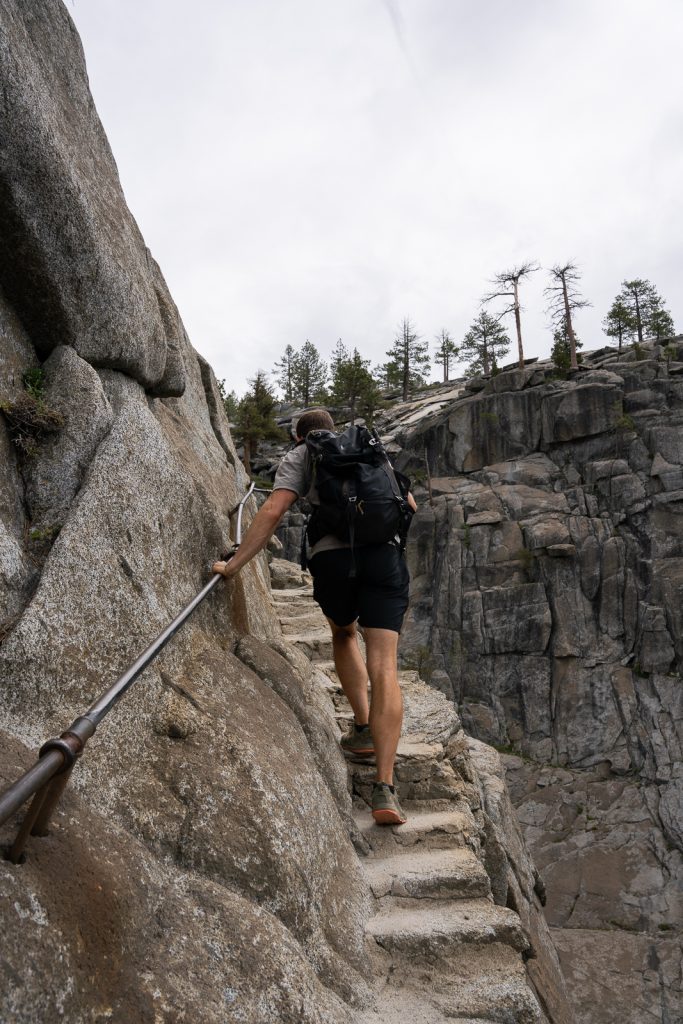
You start this hike from the valley floor and from the second the trail begins, it is a steep uphill climb. We are pretty experienced hikers and it kicked our butts!
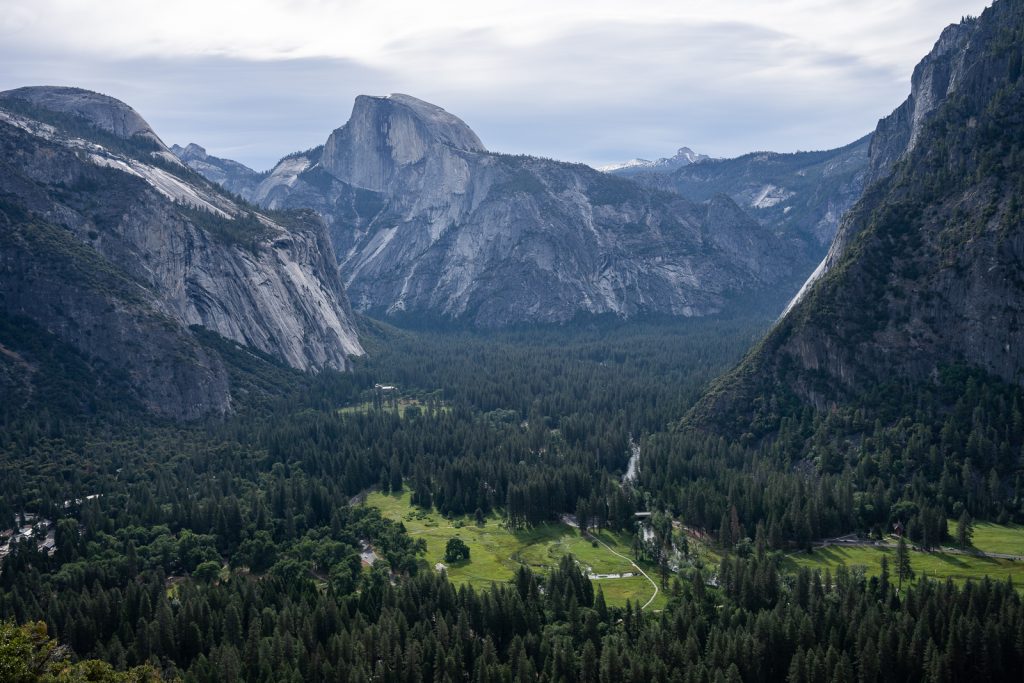
Along the way you’ll pass Oh My Gosh Point (properly named!), which has a great view of the falls. At the top, you won’t really see the falls itself, minus some water rushing over the ledge. The views from up here are more about the valley.
If you’re feeling extra crazy, once at the top you can continue on another mile one-way to Yosemite Point, which we highly recommend! While you’ll likely be completely exhausted once you get to Upper Yosemite Falls, the views from Yosemite Point are even better. And it isn’t too much extra effort.
13. Four Mile Trail
Miles (round trip): 9.7
Elevation Gain: 3,418 feet
Trail Map and Current Conditions
Another tough trail in Yosemite Valley that we recommend is the Four Mile Trail. Don’t let the name fool you, it is not 4 miles (even one way) or easy. On this hike you’ll start in Yosemite Valley and climb over 3,400 feet up to Glacier Point.
You may be thinking, “but can’t you drive to Glacier Point?” Yes, you can! But the hike is worth it. You’ll not only have amazing views of the valley and waterfalls just about the entire time, but you’ll also feel very accomplished. And if you start early in the morning, you’ll be in the shade for the majority of the hike up.
Want an even better adventure? On our first visit to Yosemite we combined the Four Mile Trail with the Panorama Trail and Mist Trail. This combo is about 13.7 miles and it makes for an epic day hike!

14. Half Dome Trail
Miles (round trip): 16.5
Elevation Gain: 5,305 feet
Trail Map and Current Conditions
One of the ultimate things to do in Yosemite National Park is summit Half Dome! Half Dome sits at 4,737 feet above the valley floor and is famous for its shape. It has a sheer cliff on one side and 3 smooth and rounded sides. And for the extra adventurous (and lucky), you can climb to the top!
To reach the summit, you’ll take the 16.5 mile (round trip) Mist Trail and the John Muir Trail to the Half Dome Trail. Once on the Half Dome Trail, you’ll reach Sub Dome, which is where the final climb begins. For this final section you’ll use cables to climb up the steep, slick dome. Make sure to bring some gloves!
Tackling this rewarding hike requires you to secure a very competitive permit. But for those who can, it is a once in a lifetime Yosemite adventure. It’s on our bucket list for the future!
Glacier Point Road
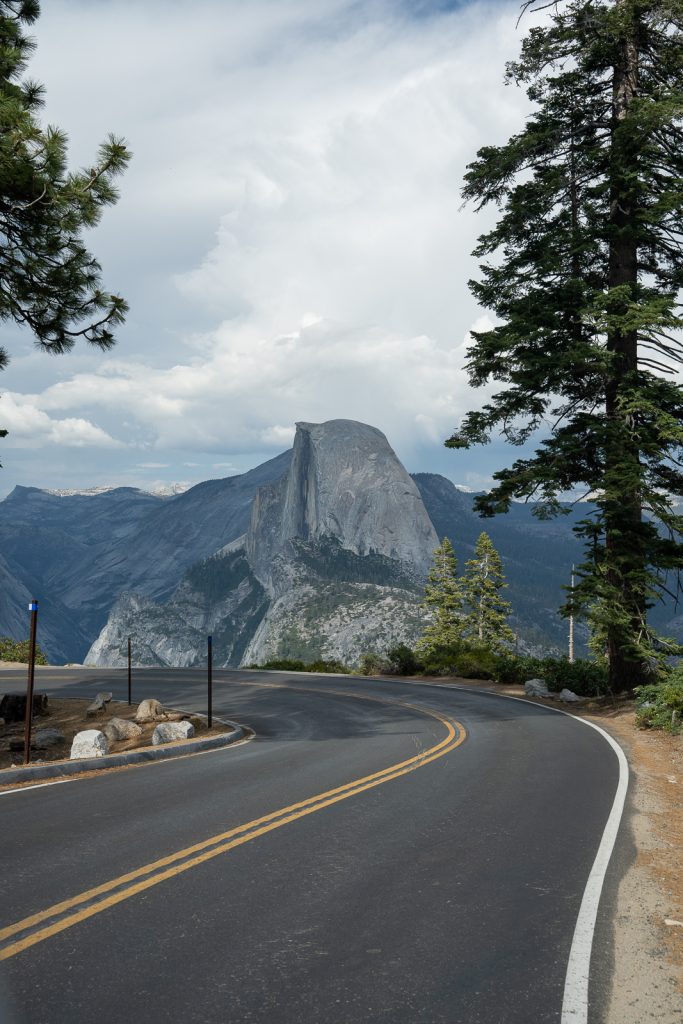
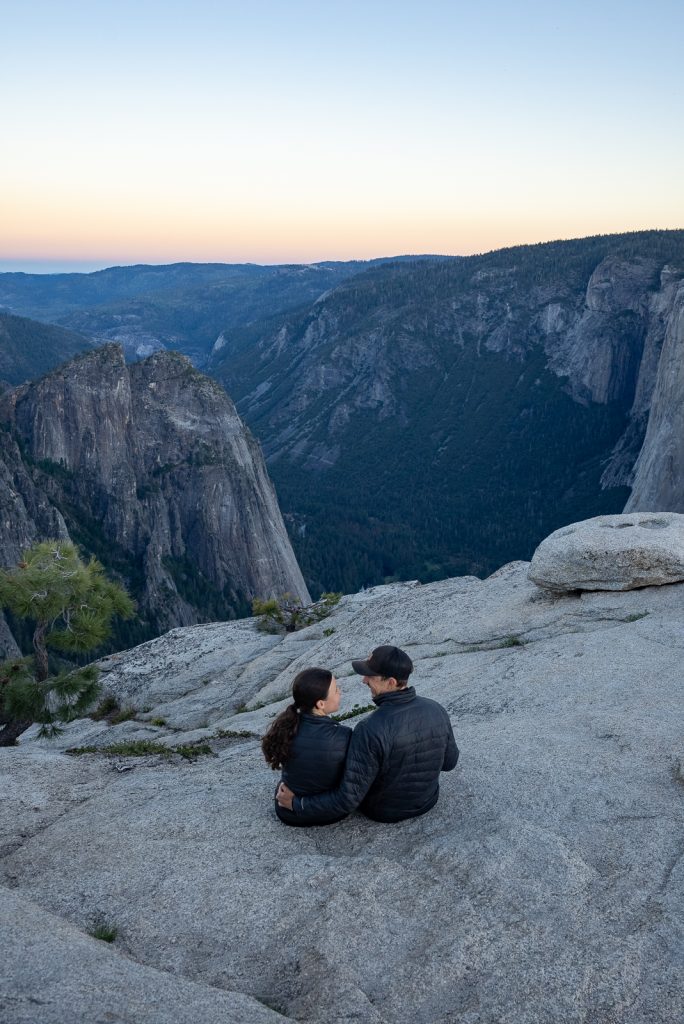
Glacier Point Road offers some of the best views over Yosemite Valley. However, this area of the park is not accessible year round. The road typically opens in late-May and remains open through October or November, depending on conditions. Also, despite being right above the valley, it does take about an hour to get to from deep within the valley.
Traveling in an RV? Vehicles over 30 feet are not allowed on this road past the Taft Point and Sentinel Dome trailhead. If you are unable to drive here yourself, you can take a paid Glacier Point Bus from Yosemite Valley.
15. Glacier Point

Quite possibly the most iconic view of Yosemite National Park is from Glacier Point. This is where John Muir took Teddy Roosevelt on his visit. So if it’s enough to sway the US President to set aside millions of acres of public land, this will certainly wow you as well!
From here you’ll have Half Dome right in your face, see Vernal and Nevada Falls, deep into Yosemite Valley, plus much of Yosemite’s high country.
As we mentioned above, you can hike here via the Four Mile Trail. But if you’re not up for that strenuous hike or you’re short on time, you can also drive to this viewpoint via Glacier Point Road.
Once at Glacier Point you’ll find several different viewpoints and a store with souvenirs and snacks. Plus since it’s paved, dogs can join you here as well!
A+K Tip: While this viewpoint is beautiful anytime of day, we especially love it at sunset. Although the sun does not set within view, you will get to see the beautiful alpenglow on Half Dome and the surrounding mountains. Sunrise is another popular option, as the sun rises right behind Half Dome.
16. Washburn Point
Just south of Glacier Point is Washburn Point where you can find an even better vantage point of Vernal and Nevada Falls. Since this is right off the road, it’s a great quick stop on the way to or from Glacier Point. It’s also a less busy spot to watch sunrise or sunset.
17. Sentinel Dome
Miles (round trip): 2.2
Elevation Gain: 459 feet
Trail Map and Current Conditions
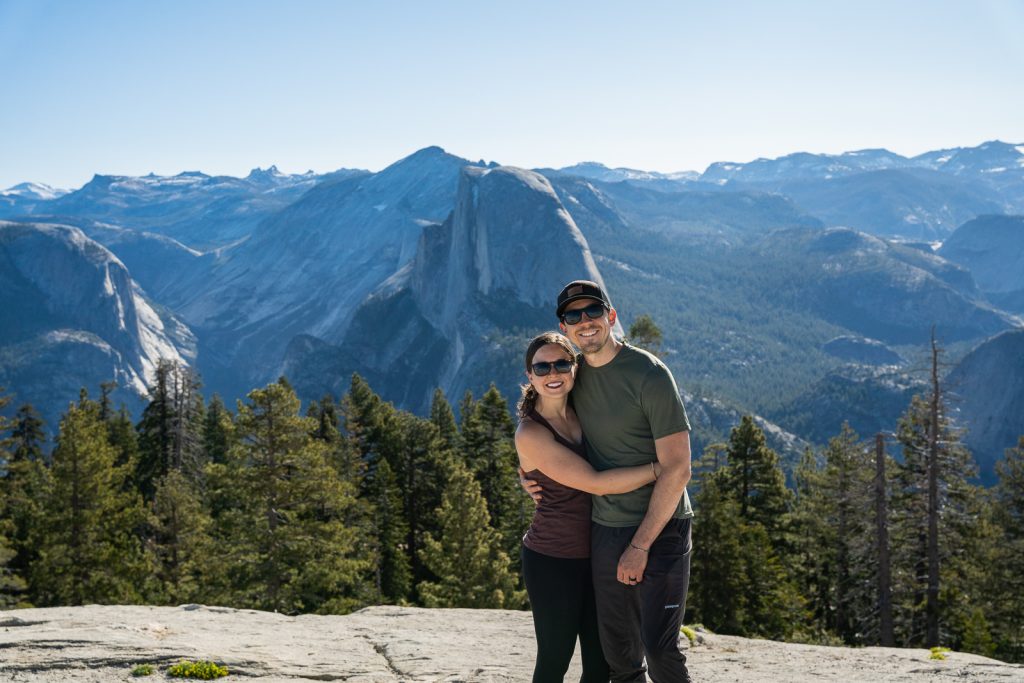
If you want the views of Glacier Point, but without as many people, head to Sentinel Dome! Since it requires a short hike, it does deter a little bit of the crowds. And at the top you will have a head on view of Half Dome, similar to Glacier Point (but a little further away). As well as 360º views of the entire area, including multiple angles of Yosemite Valley.
For an even better hike, combine it with Taft Point too (more on that next)! You can also hike to Glacier Point from here, which is what we did.
18. Taft Point
Miles (round trip): 2.3
Elevation Gain: 354 feet
Trail Map and Current Conditions
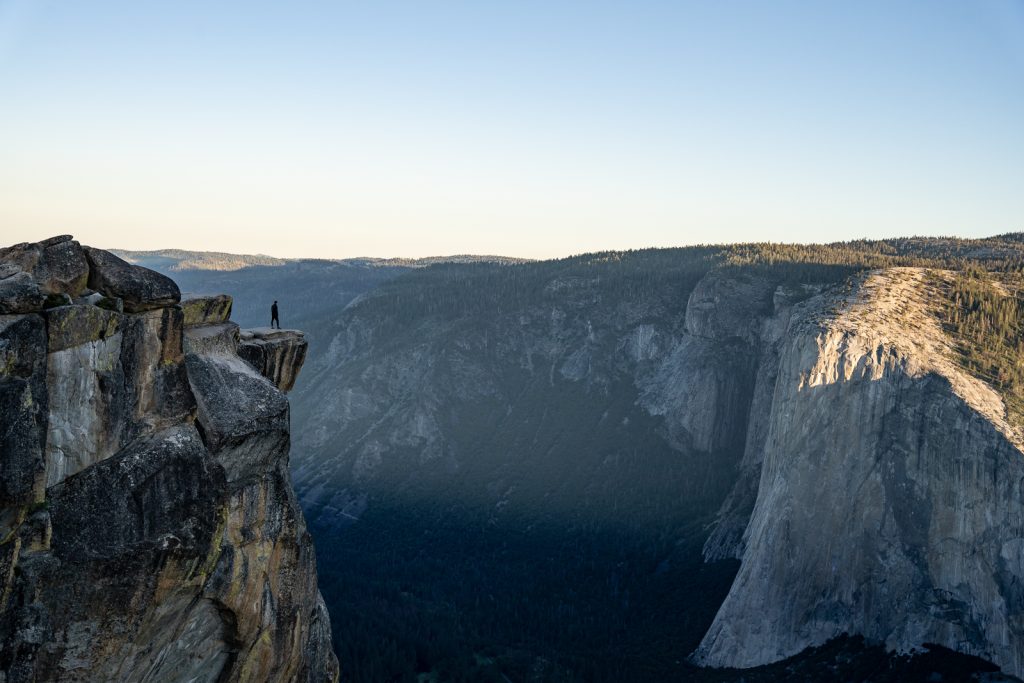
Another iconic spot along Glacier Point Road is Taft Point. This viewpoint takes you right along the edge of a cliff (be careful!), with Yosemite Valley right below. It’s a popular spot for sunset, as you can see the sun setting and illuminating the valley with a golden hue, but we chose to hike it for sunrise. Which was also beautiful and we had it all to ourselves (for over an hour!), a rarity in Yosemite.
19. Panorama Trail

Miles (round trip): 9.1
Elevation Gain: 2,276 feet
Trail Map and Current Conditions
For a longer adventure along Glacier Point Road, hike the Panorama Trail. This hike takes you along the edge of the top of Yosemite Valley, past Illilouette Falls. We did this hike on our first trip to Yosemite and what we loved about it was the lack of crowds. While Glacier Point is crowded, the second you get on the Panorama Trail the crowds begin to dissipate. You will be able to see a side of Yosemite that many visitors don’t get!
We highly suggest combining this with the Four Mile Trail and Mist Trail, for what we think is the best day hike in Yosemite. But if you aren’t up for such a long, steep hike, you can just hike the Panorama Trail from Glacier Point or take the bus one way to Glacier Point, hike the Panorama Trail, and then hike down the Mist Trail.
Hetch Hetchy
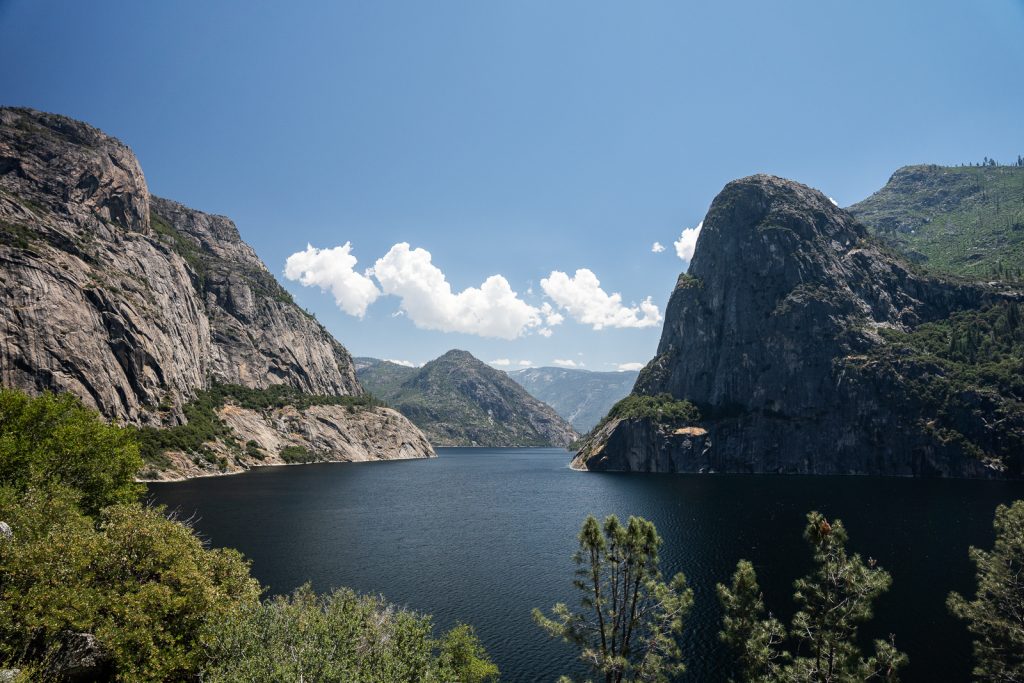
Hetch Hetchy is a less visited part of Yosemite National Park and in our opinion, is a hidden gem! Located in the park’s northwest corner, Hetch Hetchy is open year round, making it a great stop no matter the time of year.
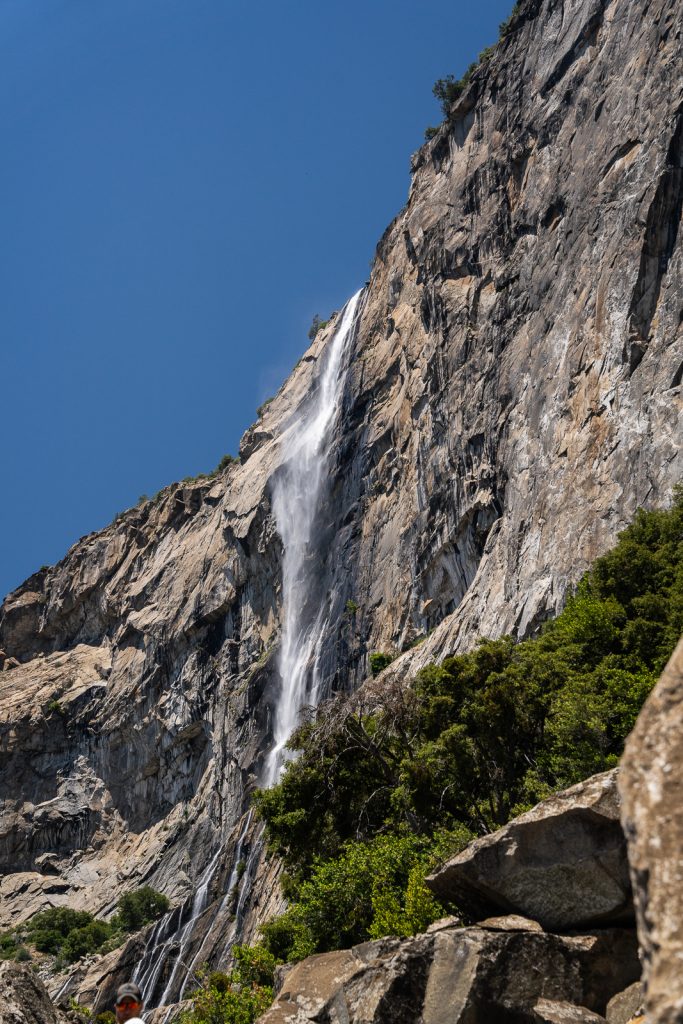
It has similar scenery to the more famous Yosemite Valley, with massive granite domes and cliffs and waterfalls, including two of North America’s tallest waterfalls, Wapama Falls and Tueeulula Falls. The big difference is that instead of meadows, the Hetch Hetchy valley is filled with water.
Filling this valley with water was a bit controversial back in the day. But today this reservoir provides the drinking water for the city of San Francisco hundreds of miles to the west. Because of this, swimming and boating are not allowed.
Despite the lack of water activities, this area has a fun, easy day hike and in the summer, access to Yosemite’s epic backcountry trails.
IMPORTANT for RVers: Vehicles over 25 feet long and 8 feet wide (mirror to mirror) are not allowed at the Hetch Hetchy Reservoir. Our 170 WB Sprinter Van was within these measurements and was able to drive down the road.
20. Wapama Falls Trail
Miles (round trip): 4.7
Elevation Gain: 1,108 feet
Trail Map and Current Conditions
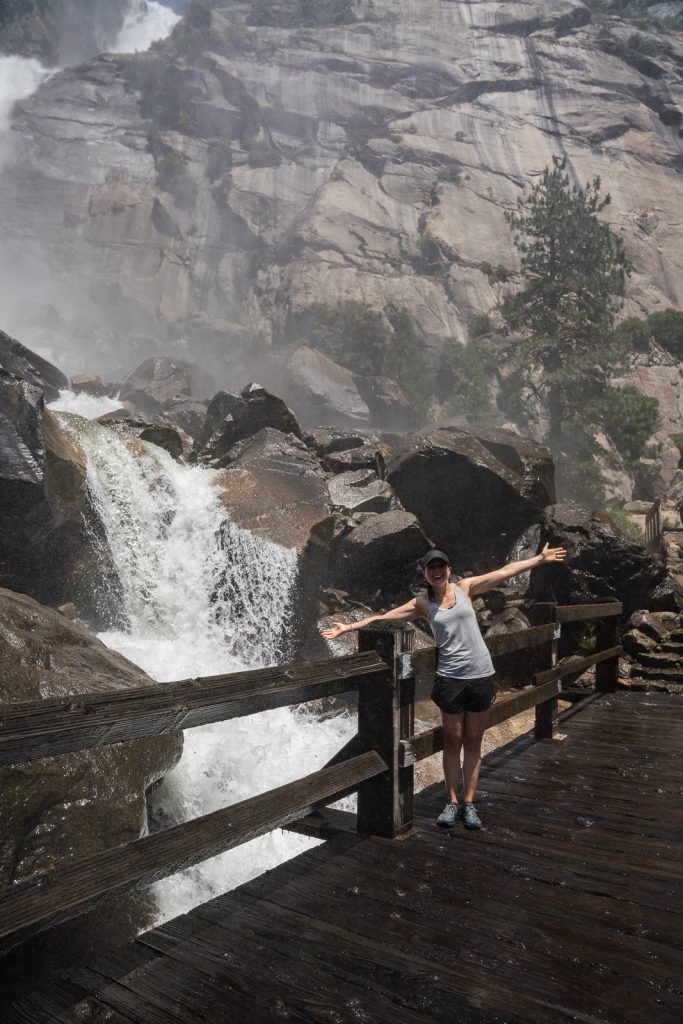
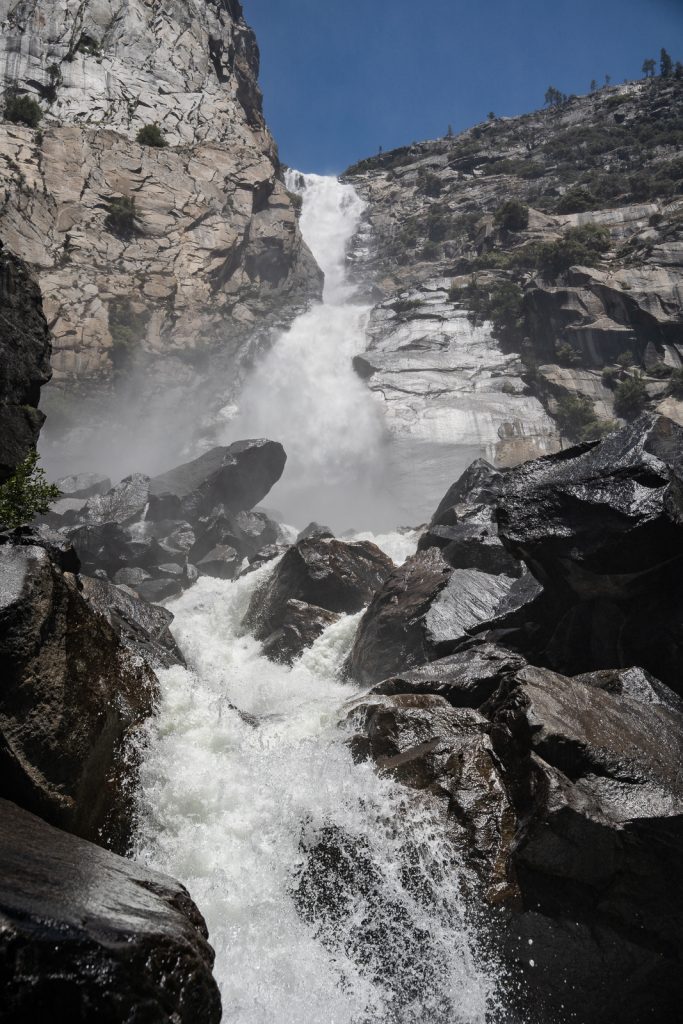
The Wapama Falls Trail is one of the most underrated things to do in Yosemite National Park. If you love the Mist Trail, you’ll especially love this hike! You’ll walk across the Hetch Hetchy Dam, go through a tunnel, and then wander along the Hetch Hetchy Reservoir, before ending on bridges that go over Wapama Falls. And if it’s raging (like it was for us), you WILL get wet!
This area of the park is a bit lower elevation, similar to Yosemite Valley, so it gets warmer. And nothing felt better after a mostly exposed hike in the heat than the spray of the falls!
21. Grab a milkshake at the Camp Mather General Store
After hiking the Wapama Falls Trail, head to the Camp Mather General Store for a cold treat! We LOVED their milkshakes (get the huckleberry!) and smoothies here. It was the perfect little pick-me-up after a fun hike.
Wawona and Mariposa Grove
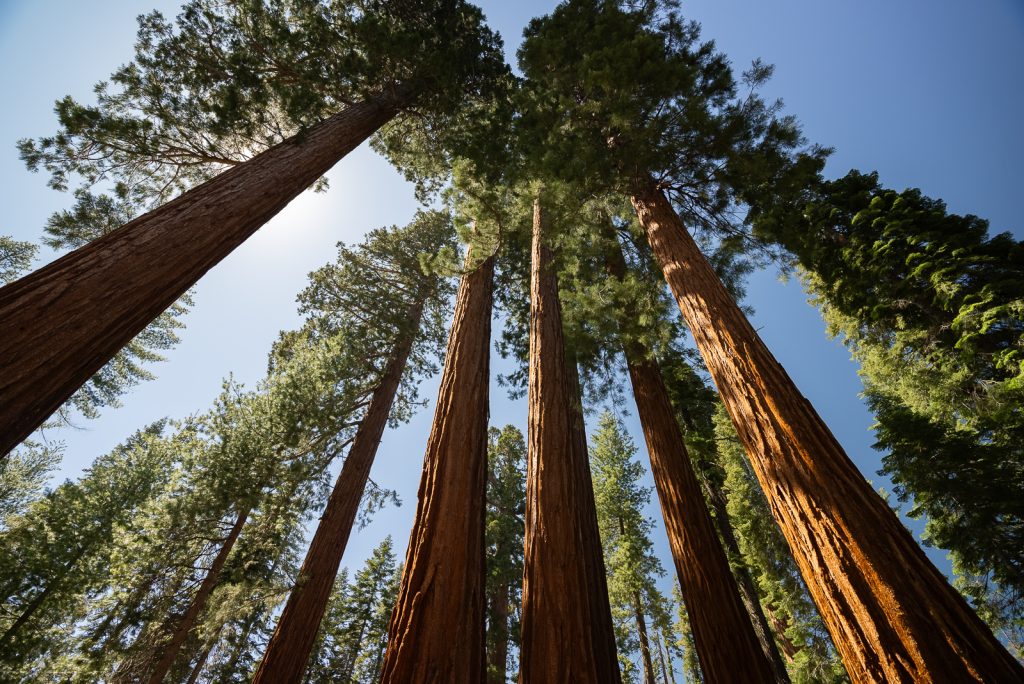
Wawona and the Mariposa Grove are located in the southern portion of Yosemite National Park. Here you can find some interesting history, plus see some giant sequoias! If it’s your first trip to Yosemite and you have limited time, this area doesn’t beat the previously mentioned areas for us. But it is a fun addition if you have more time or haven’t seen Giant Sequoias before!
22. Yosemite History Center
The Yosemite History Center shares the people and events that took place during the establishment of Yosemite as a National Park. Here you’ll find a collection of rustic cabins and buildings, covered wagons, and other artifacts. All of which take you back in time to tell stories of the people who helped shape the park.
The history center can be visited year round, but is best in the summer. This is when you can take a ride on a horse drawn carriage, visit the Chinese Laundry and the Acting Superintendent’s Office, watch blacksmiths forge iron tools, and more.
23. Wawona Visitor Center at Hill’s Studio
The Wawona Visitor Center is housed in the famous painter Thomas Hill’s former studio. Inside the center there is an exhibit that displays several recreations of his work from floor to ceiling, typical of a 19th century Victorian gallery. You can also chat with rangers here and get any wilderness permits, if needed.
24. Mariposa Grove
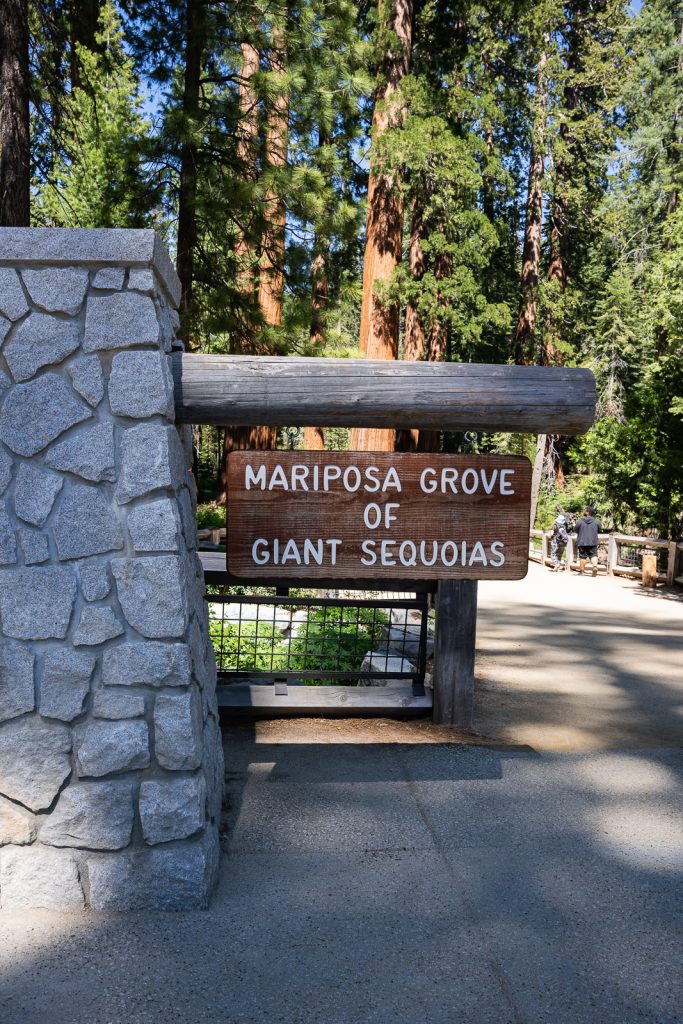
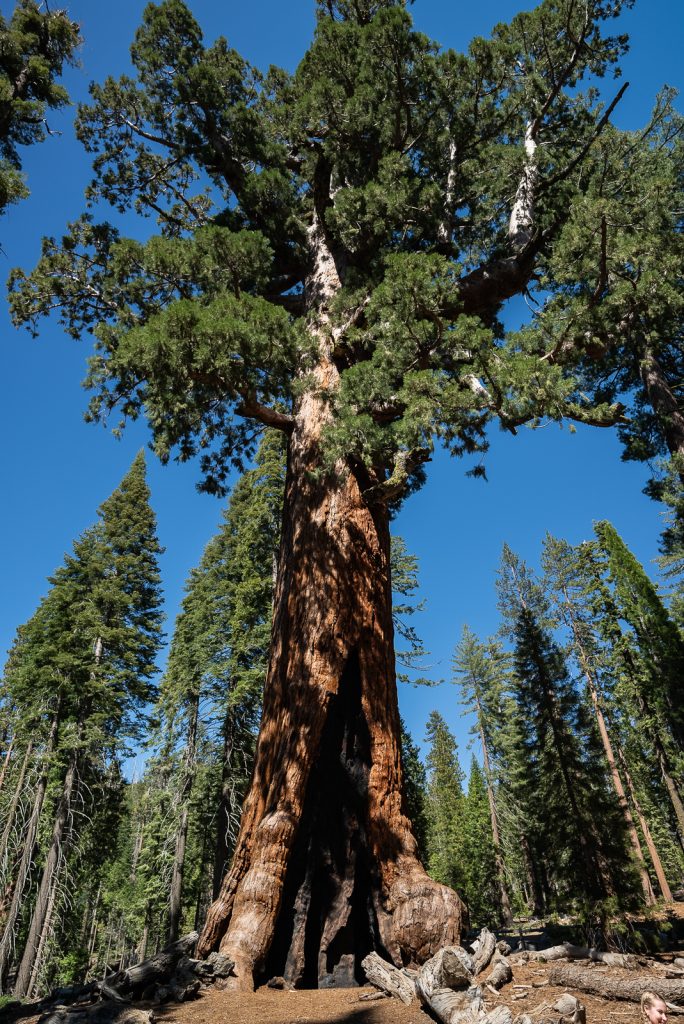
Giant Sequoias are the largest trees in the world by volume. And Sequoia and Kings Canyon National Parks aren’t the only place to see them!
The Mariposa Grove in Yosemite National Park is the largest grove of Giant Sequoias in the park, with over 500 mature giant sequoias. This area has been protected since 1864 when President Abraham Lincoln signed legislation that protected the grove and Yosemite Valley for “public use, resort, and recreation.” This piece of legislation was a historic moment for the US, as it was the first time the federal government set aside land for preservation for the enjoyment of future generations.
To visit the Mariposa Grove you’ll have to take the free shuttle that leaves from the Mariposa Grove Welcome Center. The shuttle usually runs between April 15 to November 30, with varying hours throughout the months. You can also hike to the grove or ride your bike on the road (both about 2 miles one way), but be warned it will be a steep climb back.
Once in the grove, there are a few hiking loops:
- Grizzly Giant Loop (2 miles)
- Guardians Loop Trail (6.5 miles) This AllTrails map does not include the distance you need to hike to get to this loop. To get here, follow the Mariposa Grove Trail.
- Mariposa Grove Trail (6.7 miles).
We hiked the Grizzly Giant Loop, which takes you past the Bachelor and Three Graces, the California Tree Tunnel, and the most famous giant sequoia in the park, the 3,000 year old Grizzly Giant. It was a nice break from the more intense hikes in the park!
25. Chilnualna Falls Trail
Miles (round trip): 7.7
Elevation Gain: 2,201 feet
Trail Map and Current Conditions
For a less popular waterfall experience in Yosemite National Park, head to Chilnualna Falls. This hike will not only take you to the top of the multi-tiered waterfall, but also has some amazing views of the area along the way.
Tioga Road

The breathtaking Tioga Road spans from Crane Flat all the way to Lee Vining in the Eastern Sierra, through Yosemite’s High Country. This road was first completed in 1915 and reaches an elevation of 9,945 feet, making it the highest highway pass in California. And because of this, it is only open in the summer, with its opening date differing year to year.
We think that Tioga Road is one of the more underrated parts of the park. While it gets a decent amount of traffic, it’s not nearly as chaotic to visit as Yosemite Valley. And there are tons of amazing hikes and beautiful areas to explore. So definitely spend at least a day in this area if you can!
26. Olmsted Point
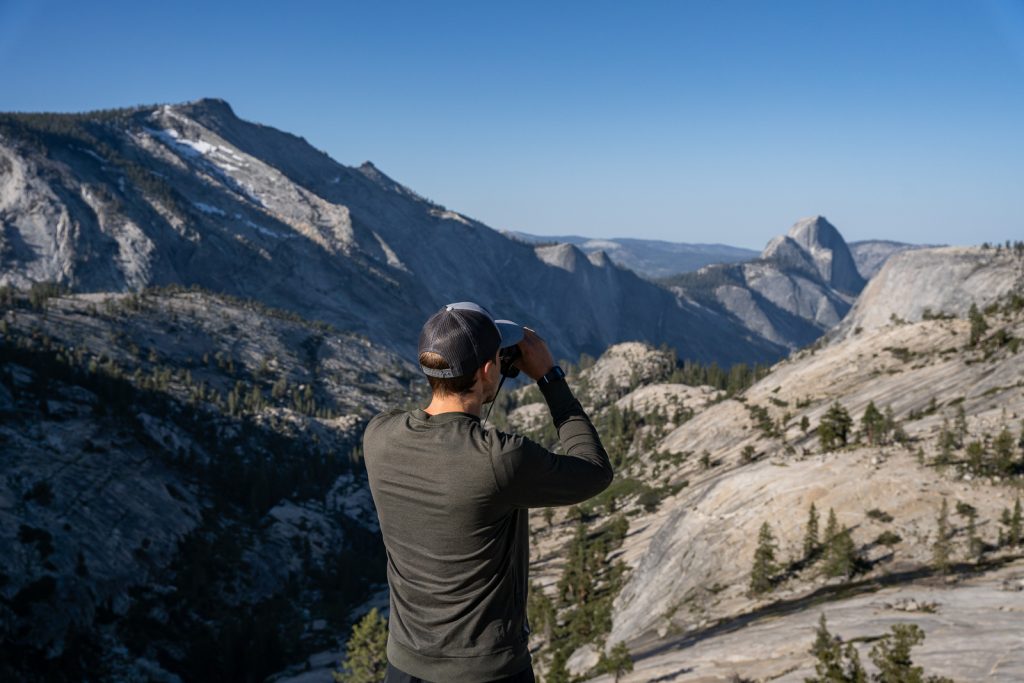
Olmsted Point has amazing views of Yosemite Valley and Half Dome, from a different perspective than anywhere else in the park. It’s named after Frederick Law Olmsted, who was best known for designing NYC’s Central Park. But he also played a role in Yosemite, by helping Yosemite Valley and Mariposa Grove become public land in the 1860s, before their national park status.
While you can see the view from the parking lot, we suggest walking on the short trail out to a more open area.
27. Tenaya Lake

Yosemite is home to 2,000 lakes, but the majority of them are difficult to get to. Tenaya Lake is not only one of the easiest to access, but it’s also the largest frontcountry lake in the park. It’s absolutely gorgeous, with blue waters, surrounded by gray granite domes and deep green trees. It’s great for kayaking (which is what we did), swimming, paddleboarding, and picnicking.
Note: There are no kayak or paddleboard rentals by the lake. So you will need to bring your own if you’d like to use one!
28. Tuolumne Meadows

Tuolumne Meadows is a wide open subalpine meadow with the Tuolumne River lazily winding through. Surrounding the meadow are towering granite domes and mountains. It is one of the largest high elevation meadows in the Sierra Nevada. And it is STUNNING!
While here you can walk just to the footbridge for a beautiful view or you can hike to Soda Springs and Parsons Lodge. This short hike takes you through the meadow to a unique carbonated cold water spring and lodge. Plus you’ll learn about John Muir and Edward Parsons, an early guide for the Sierra Club, who the lodge was built in memory of.
Beware: the mosquitoes, at least in early June when we went, were AWFUL. Wear bug spray! Also, while exploring the meadows, be sure to stay on the established trails. Many parts of the meadow is under restoration from visitors veering off trail and damaging the terrain.
29. May Lake
Miles (round trip): 2.3
Elevation Gain: 485 feet
Trail Map and Current Conditions
For a beautiful alpine lake experience, without much mileage or elevation gain, hike to May Lake! On this trail you’ll traverse through a forest and over granite slabs to reach the beautiful and clear lake. With a gorgeous mountain backdrop!
30. Gaylor Lakes
Miles (round trip): 2.4
Elevation Gain: 800 feet
Trail Map and Current Conditions
Beginning at the Tioga Pass Entrance Station (near Lee Vining), this trail takes you to Middle Gaylor Lake with spectacular views of the high country, including Mount Dana, the second highest peak in the park.
From Middle Gaylor Lake you can continue on to Upper Gaylor Lake for an extra 0.4 miles (one way). This is definitely one of the more underrated, less crowded things to do in Yosemite National Park!
31. Cathedral Lakes Trail
Miles (round trip): 9.5
Elevation Gain: 1,663 feet
Trail Map and Current Conditions
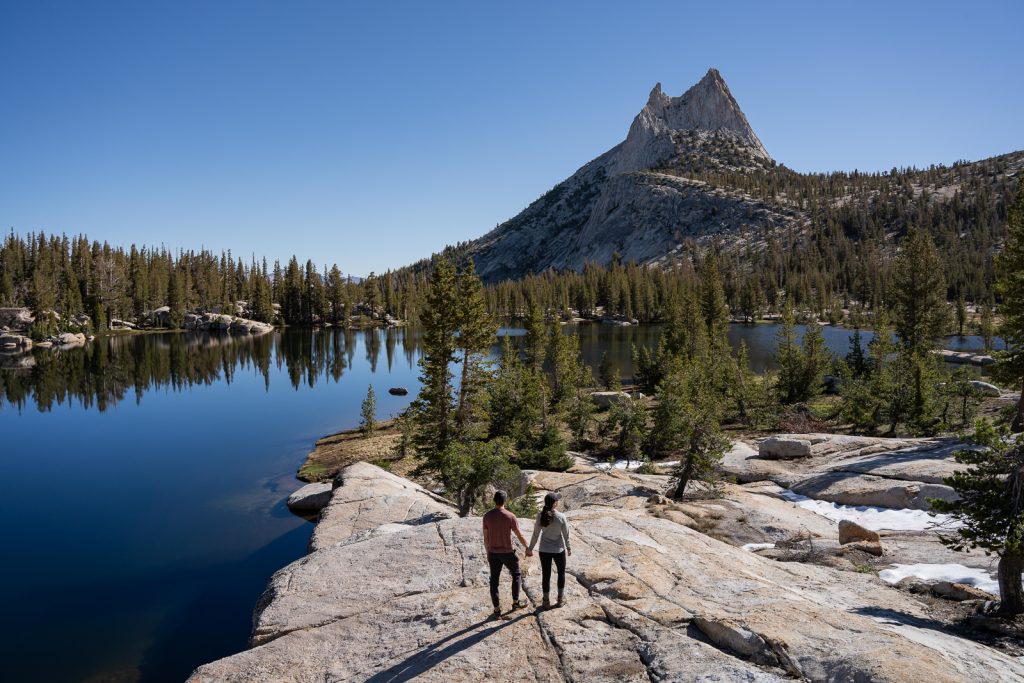
One of our new favorite hikes in Yosemite National Park is Cathedral Lakes! On this trail you’ll hike to both Upper and Lower Cathedral Lake. Most of the hike is through the forest, with moderate incline, making it not the most exciting hike. But when you reach the lakes, the hike through the trees is more than worth it!
Both lakes were beautiful, with the striking Cathedral Peak behind them and neighboring mountains surrounding. And the water is super clear, with lots of fish swimming! Adam was bummed he didn’t bring his fly rod. We also saw people camping out here, which is a goal of ours for next time.
Parkwide + outside the park

Beyond the previous 31 things to do in Yosemite National Park we listed, here are a couple things to do throughout the entire park, plus nearby!
32. Camp in the backcountry
One of the best things to do in Yosemite National Park is backpacking in the wilderness. If we didn’t have Kona with us during our visit, this is what we would’ve wanted to do the most. In the backcountry you’ll find the solitude and peace that the park was set aside to provide.
Some of the best overnight trips in the park are The High Sierra Camp Loop, part or all of the John Muir Trail, and Ten Lakes to Tenaya Lake.
You will need a Wilderness Permit to do these experiences. There are a limited number of backcountry permits issued per day for each trailhead to maintain adequate solitude. 60% of permits are made available 24 weeks in advance by lottery and the remaining 40% are made available 7 days in advance. The park website covers everything you need to know to hopefully snag a coveted Wilderness Permit.
33. Rafting the Merced River
The Merced River runs through Yosemite Valley and beyond just admiring it from within the park, you can also go rafting on it!
Zephyr Whitewater Expeditions provides half and full day expeditions on the Merced River, close to the park entrance. They raft more guests on the Merced than any other outfitter combined!
If you go earlier in the season the river will be high and fast for a more adventurous experience. Rafting later in the season will provide a more calm, relaxing ride on the river.
Planning your trip to Yosemite National Park
When to visit Yosemite National Park
Yosemite National Park is a wonderland to visit year round! However, some seasons are better than others, depending on what you want to do in the park.
Yosemite National Park is one of best national parks in the west, so it’s no surprise it’s listed in several months of our best national parks by month series, like June, August, and September.
Spring (March-May)
Spring is a great time to visit if you’re looking for raging waterfalls, lush vegetation, and pleasant temperatures (it will be cold at night though!).
One perk of this time of year is that there will be less crowds, since kids are still in school. Lodging both in the park and in the surrounding areas will also be a tad cheaper in these months.
However, although Yosemite Valley is open year round, some areas like Glacier Point Road and Tioga Road will likely not be open. Also, if climbing Half Dome is on your list, you likely won’t be able to access that either, as the cables are not up until right before Memorial Day.

Summer (June-August)
If you’re hoping to see everything the park has to offer, summer is your season. Summer is the most popular season for Yosemite National Park for good reason, the vegetation is green, trails are snow free, and all areas of the park are accessible.
However, it WILL be crowded (and expensive). And on top of that, you’ll also encounter hotter temperatures that can make hiking difficult, plus potentially wildfire smoke. During our visit in early June, we experienced multiple 95-100ºF days in the valley. Thankfully it was a bit cooler on Tioga Road and Glacier Point Road.
Despite all of this, we personally think mid to late June or late August are the best times of year to visit, especially if it’s your first visit to Yosemite. While the crowds can be rough at times, most trails are accessible and the park does not require reservations on weekdays.
Fall (September-November)
Fall will bring pleasant temperatures and less crowds to Yosemite National Park. However, don’t come here expecting fall foliage. You’ll find small sprinklings of color, but most of Yosemite’s trees are evergreen so it isn’t the best destination for this.
If you plan to visit in the fall, try to go in September or early October. Early snowfall might start to close Tioga Road, Glacier Point Road, and some high altitude trails.
Winter (December-February)
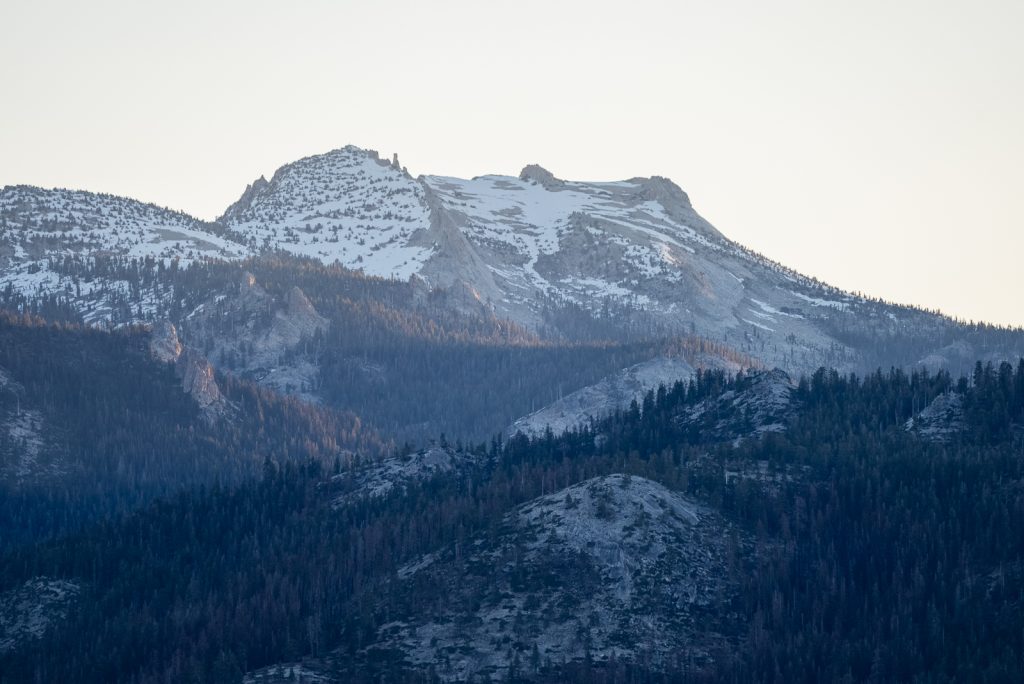
While Yosemite looks magical in the winter, you will be the most limited in the park. The winter weather will cause several areas to be closed, including Tioga Road, Glacier Point Road, and some trails.
This is a good time to come if you want to enjoy the peacefulness of the valley, see frozen waterfalls or Firefall in February, meadows blanketed in snow, and snow-capped mountains, hike in Hetch Hetchy, or experience Mariposa Grove with a blanket of snow. Prices for lodging will also be cheaper too!
How much time do you need in Yosemite National Park?

You can get a decent feel for Yosemite in one day, but we recommend at least 3 days to truly experience the park. Not only are there tons of things to do in Yosemite National Park, but there can be a decent amount of driving involved, with all areas being a bit spread out.
Our first visit was just under 2 days, but our most recent visit was 7 days and we got to experience so many amazing areas that we didn’t have time for the first time.
Need help figuring out how to structure your time? We’ve put together multiple Yosemite National Park itineraries to help you plan your own adventure!
- How to spend one day in Yosemite National Park
- The PERFECT 2 day Yosemite Itinerary
- The Ultimate Yosemite National Park itinerary: Options for 1-6 days!
Getting to Yosemite National Park
Yosemite National Park is located in California’s Sierra Nevada Mountains, in a relatively central location if you want to do a larger California National Parks road trip! The closest major city is Fresno, with San Francisco also being a popular starting point for people visiting Yosemite.
Flying to Yosemite National Park
If you’re flying to Yosemite, the closest airport to fly into would be the Fresno Yosemite International Airport (FAT), which is just under a 2.5 hour drive to Yosemite Valley. Fresno makes for a great starting point for Yosemite, Sequoia, and Kings Canyon National Parks.
However, many people will fly into the San Francisco International Airport (SFO) instead, which is just under a 4 hour drive to Yosemite Valley.
Once arriving, you can rent a car to head into the park. No special type of vehicle is needed!
Driving to Yosemite National Park
During the summer there are 5 entrances to Yosemite National Park, Highway 120 West from Groveland (west), Highway 140 from Mariposa (southwest), Highway 41 from Oakhurst (south), and Highway 120 East/Tioga Road (northeast), and Hetch Hetchy, which has its own entrance and is only for that area of the park.
Once you get into the park from these entrances, you’ll likely still have around an hour to drive to most major destinations – it’s a large park!
Since Yosemite Valley is the most popular area, here’s how long you can expect to drive to Yosemite Valley from nearby popular destinations:
- Fresno, CA: 2 hours (86 miles)
- Modesto, CA: 2.5 hours (116 miles)
- King Canyon National Park: 3.5 hours (146 miles)
- Sequoia National Park: 3.5 hours (170 miles)
- San Francisco, CA: 4 hours (191 miles)
- Los Angeles, CA: 5 hours, 45 minutes (304 miles)
- Las Vegas, NV: 7 hours (399 miles)
Taking Public Transportation to Yosemite National Park
Another option to reach Yosemite National Park is taking public transportation. The Amtrak San Joaquins Route provides service to Merced from Los Angeles, San Francisco, and Sacramento. From there, you’ll take the bus route serviced by YARTS the rest of the way to the valley. The bus will be covered in your train ticket cost.
You can also take YARTS from various nearby towns to access different areas of the park!
How to get around Yosemite National Park
Drive
Driving is the most common way to get around Yosemite National Park, but parking is limited and fills fast, usually by 9 AM.
If you get to an area and it is already full, you’ll be directed to another area of the park, which will also be very busy. We’d highly recommend parking in one spot for the whole day and using alternative methods of transportation (outlined below) to get around.
If you have a larger vehicle, be sure to check the vehicle height and length restrictions.
And as we mentioned above, be prepared to drive a lot when visiting Yosemite. To get between the different areas it is usually close to a 1 hour drive. And this does not include the time it takes just to get into the park, which can also be an hour, depending on where you’re staying.
Bike
Biking is a great way to get around the Yosemite Valley! Once parking your car, we suggest using bikes to get around the valley. You can ride on several bike paths and also on the road.
If you do not have your own bike, you can rent a bike from Curry Village, Yosemite Village, and Yosemite Valley Lodge. There is also a free bike share program which can be used for short trips, up to two hours.
To use a free bike first download the Bike Share App. You’ll then use the app to unlock a bike at one of the bike share stations. The bikes do come with a helmet or you can wear your own.
When you’re done simply return the bike back to where you borrowed it. Leave it in the “Used Bike Corral,” manually close the lock on the back wheel, then hit stop in the app.
Yosemite Valley Free Park Shuttle
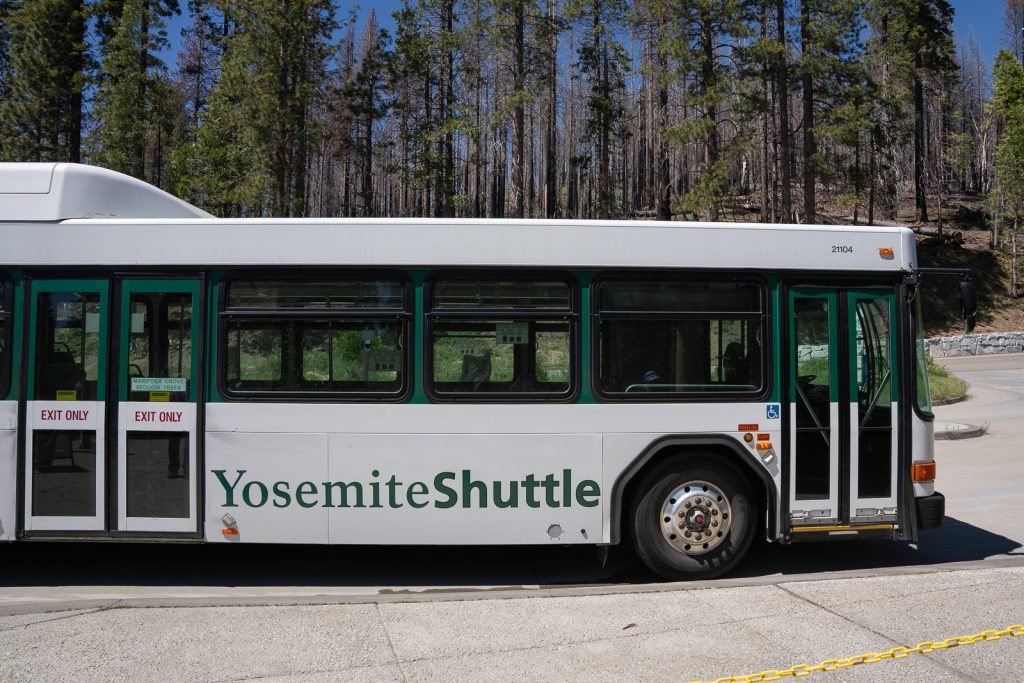
Yosemite National Park offers a free shuttle bus in the Yosemite Valley. There are two routes, Valleywide (green) and East Valley (purple). The Valleywide shuttle operates from 7 am to 10 pm and arrives every 12-22 minutes. The East Valley shuttle operates under the same hours, but arrives every 8-12 minutes.
Yosemite Valley – Tuolumne Meadows Hiker Bus
There is also a hiker bus that travels between Yosemite Valley and the Tuolumne Meadows Visitor Center. It makes stops at a few trailheads along Tioga Road, making it a good option if you don’t want to drive yourself or if you’re backpacking and need to be dropped off or picked up in a different area than your car. This bus only operates between mid-June to early September, when Tioga Road is open.
Glacier Point – Yosemite Valley
If you’re looking for a shuttle option between Yosemite Valley and Glacier Point, there is a Glacier Point Tour Bus Tour that you can take both ways, or just one way and then hike back down to the Valley.
Where to stay when visiting Yosemite National Park
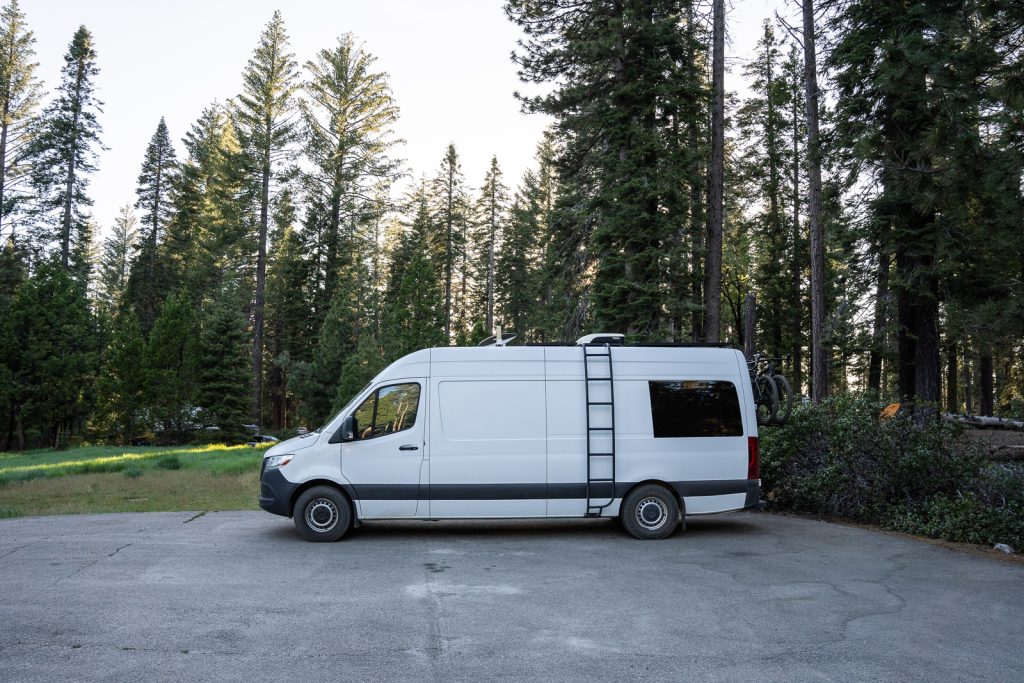
Because of how large Yosemite National Park is and its different entrances, there are many different options when it comes to lodging, both the location in which you stay and the type of accommodation. And minus staying within the park itself, there is no clear winner as to the best place to stay. Each area offers different advantages and disadvantages.
To make things easier, we created a comprehensive guide for where to stay in and outside the park.
Things to know before visiting Yosemite National Park
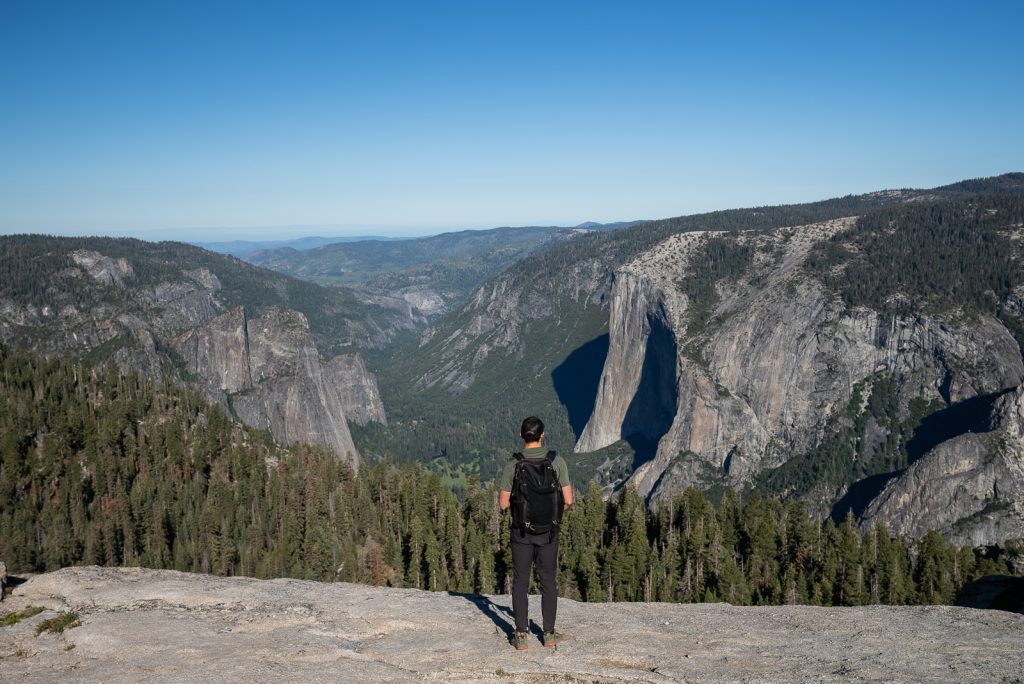
Leave No Trace
Before embarking on your Yosemite adventure, please review the Leave No Trace principles to ensure you leave every place better than you found it, so that others can enjoy these beautiful places for many years to come!
These seven principles include planning ahead and preparing, hiking and camping on durable surfaces, disposing of waste properly (pack out what you pack in!), understanding campfire rules and always fully extinguishing your fires, respecting wildlife, and being considerate of other visitors.
Entrance Fee
It costs $35 per vehicle to enter Yosemite National Park, which is good for 3 days. We highly recommend getting the America the Beautiful pass (especially if you plan to be there more than 3 days), which is $80 per year and gets you into all National Park Service managed sites and federal lands for free.
Reservations
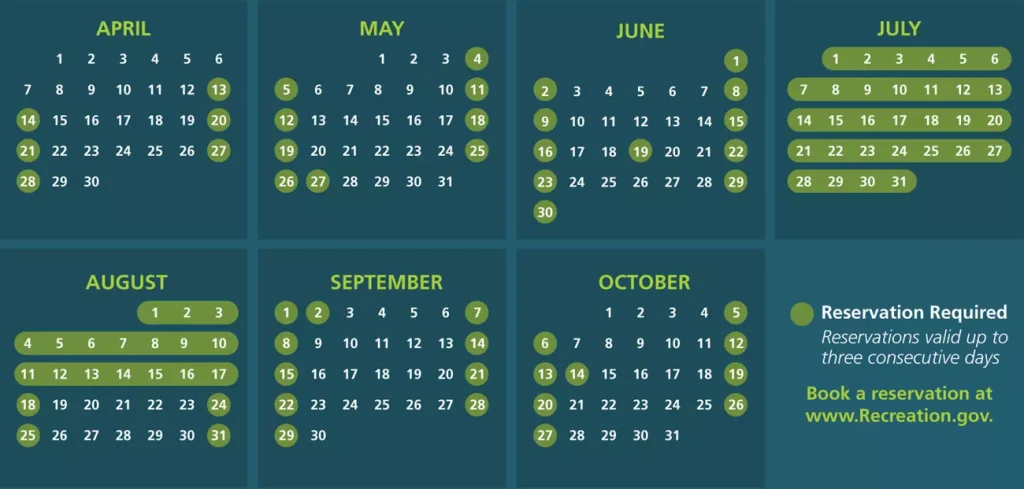
Since the park is so popular, you’ll need to get a reservation to enter the park (minus Hetch Hetchy) between 5 AM and 4 PM on certain days between April 13-October 27, 2024. This reservation costs $2 on top of your entry pass.
From April 13 to June 30, you’ll only need a permit to enter on weekends and holidays. From July 1 to August 16, a reservation is required every day. And from August 18 to October 27, it’s back to just weekends and holidays.
However, there are some exceptions to these reservations. If you have an in-park camping, lodging, or vacation reservation, Half Dome permit, or wilderness permit you do not need this reservation. Also, if you’re visiting with a tour or by regional transit, you do not need a reservation.
Reservations do sell out, so buy them as soon as possible. If you do not get a reservation, you can enter the park before 5 AM or after 4 PM without one.
Many areas and trails close in the winter
While Yosemite Valley, Mariposa Grove (by foot only), and Hetch Hetchy are open year round, some other parts of the park like Glacier Point Road and Tioga Road will close in the winter. Some roads both in and outside the park may require snow chains during the winter as well.
You can see all current conditions for the park here.
Dogs are NOT allowed everywhere

If you’re bringing your pet with you to the park, there isn’t a ton for them to do, but there are some options.
Pets are allowed in developed areas, on fully paved roads, paved overlooks, sidewalks, and bike paths, unless there is a “no dogs” sign, and in all campgrounds except walk-in campgrounds. They can also hike on a couple trails, but must be on a 6 foot leash.
- Lower Yosemite Fall Trail
- Cook’s Meadow Loop
- Paved pathway to Mirror Lake
- Tuolumne Grove Trail (only on paved parts)
- Wawona Meadow Loop Trail
Curious what we do with Kona when she cannot join us on a hike? Read this guide about how we travel full time with a dog.
Download offline maps
In many areas of the park there is little to no cell service. We recommend downloading Google Maps for offline use. You’ll want to have the area of the park downloaded so that you can get between places, even if you don’t have cell service. While the park has good signage, there are some kind of confusing one way roads, so it’s nice to have Google Maps to direct you.
We also suggest downloading offline AllTrails maps so you can navigate on hikes even without cell service.
Want to get 30% off an AllTrails Plus membership? Use our code aplusk30 (you must redeem this code on the website, not the app)!
We use AllTrails Plus on every single hike and it is the most helpful hiking tool out there! Some of the features we love are offline maps (so we can navigate even without cell service), wrong-turn alerts, and its 3D maps feature, so we can get a feel for trails before we hike.
Traffic and parking
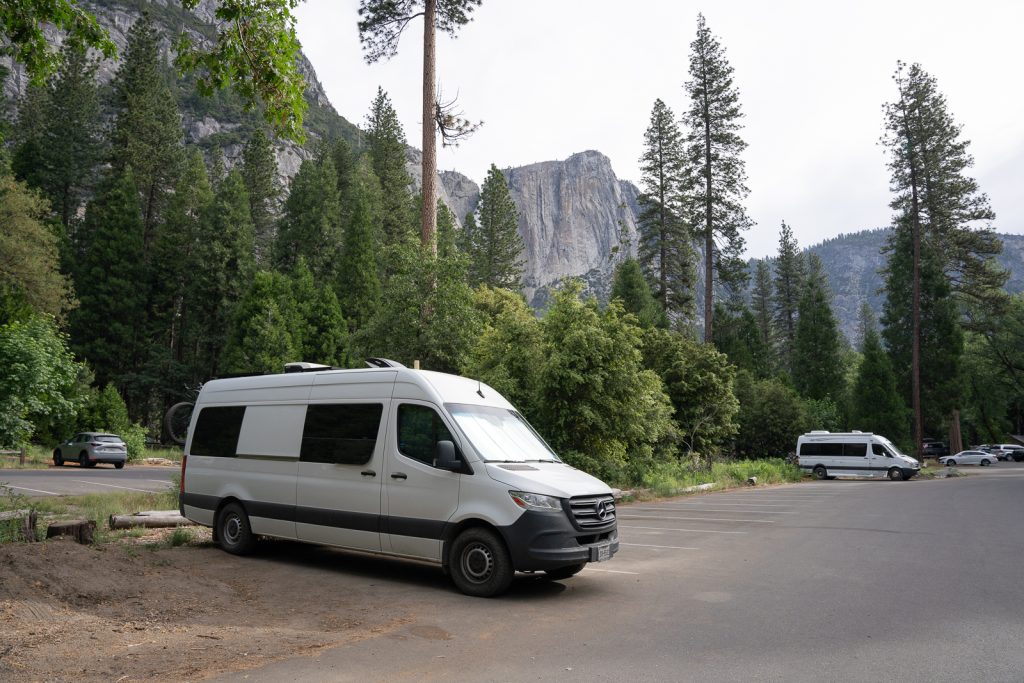
Our biggest tip to avoid overcrowding, traffic, and congested trails is to get into the park as early as possible, preferably, just after sunrise, but ideally, no later than 9 AM.
After that there will likely be long delays at the entrance, traffic congestion on the roads, difficult parking, and busy trails and overlooks.
As we mentioned above, we recommend planning to park in one spot for the entire day. Parking lots fill early so moving to different parking lots will be difficult.
Remember, millions of people visit Yosemite National Park every year. Patience will go a long way here!
Toilets
While there are plenty of toilets around the park, not all trailheads and parking lots have bathrooms. For example, Tunnel View, a popular viewpoint, does not have toilets. Other hikes, like the Mist Trail, do not have one directly at the trailhead, but rather a short walk away. Make sure to plan ahead!
Be careful in and around water
Adam is a huge fan of cooling off in the river on a warm day, but be careful when doing so. If you’re going to cross a creek or swim in the water, look for calm water. And always look downstream beforehand, so in case you get swept away, you’ll know where to head to get out.
And lastly, stay away from swift moving water. Wet or even dry rocks can be slippery and one slip can be all it takes. Several people die every year from being washed over waterfalls or swept down rivers in Yosemite.
Respect Wildlife

All wildlife in the park are wild and that means they can be unpredictable. According to the park website, squirrels and deer injure more people per year than bears and mountain lions. Wild animals can bite you and can carry diseases that can be harmful and even deadly to humans.
During our most recent visit to the park we noticed small children feeding and petting squirrels (with their parents around). DO NOT be this person! Always give wildlife space, do not approach them, and never pet or feed them.
And as you’re driving around the park, please note and follow the posted speed limits. Deer and bears can jump out into the road and a crash with a large animal can be deadly for you and the animal.
Be bear aware
The park is home to hundreds of American black bears. Not only do you need to be bear aware while hiking (and know what to do if you see one), but you also need to practice proper food storage. When bears get access to human food they often get aggressive. This can lead to the bear being killed in order to protect humans.
Not only that, the food storage rules in the park are backed by federal law which can result in impoundment of your car and up to a $5,000 fine. Anything with a scent (even toiletry items) must be properly stored.
During daylight hours you can store food in your car out of sight with the windows rolled up. At night, you must store your food in a food locker. Food storage lockers are available at most trailheads and all campgrounds. If you’re in a hard-sided RV, you are allowed to keep your food in there, but windows and vents must be closed when you’re not there. RVs with cloth pop outs are considered soft sided, so you’ll need to use a food locker.
And as backwards as it may sound, bear spray is not allowed in any California National Park, including Yosemite. During the 9+ days we have spent in Yosemite over the years we have only seen one bear in Mariposa Grove (from the shuttle bus), plus possibly another crossing the highway. So seeing one is rare, but it is good to be aware!
What to bring to Yosemite National Park
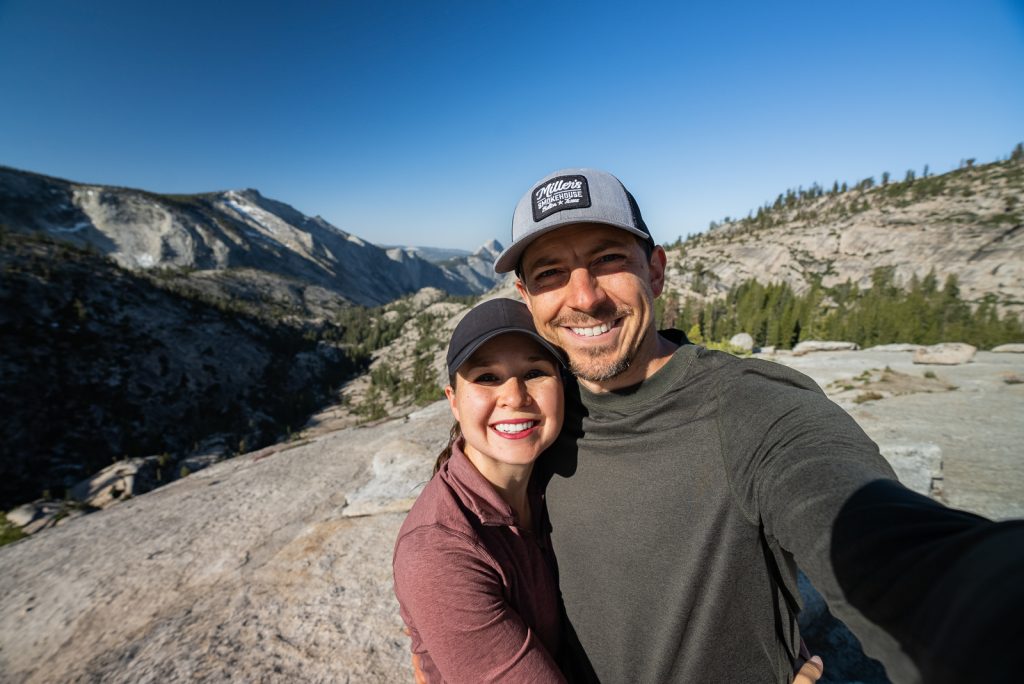
Since you’ll be spending tons of time outdoors while in Yosemite, you will want to bring proper outdoor and hiking gear. To see everything we take hiking, check out our hiking gear as well as our guide about how to make a 10 essentials kit.
But here are a few items we want to especially recommend bringing to the park!
Proper hiking shoes
The trails in Yosemite range in terrain. Some are smooth and easy to walk on, while others may be rocky or wet. Having good hiking shoes is key for safety!
Kathryn rocks either Lowa Women’s Renegade GTX boots or ALTRA Lone Peak 8 trail runners on the trails, depending on how she feels. Adam exclusively wears the ALTRA Lone Peak 8 trail runners, as they are less bulky than boots, but have good traction. They are also great for hiking in water, as they dry fast!
Hiking poles
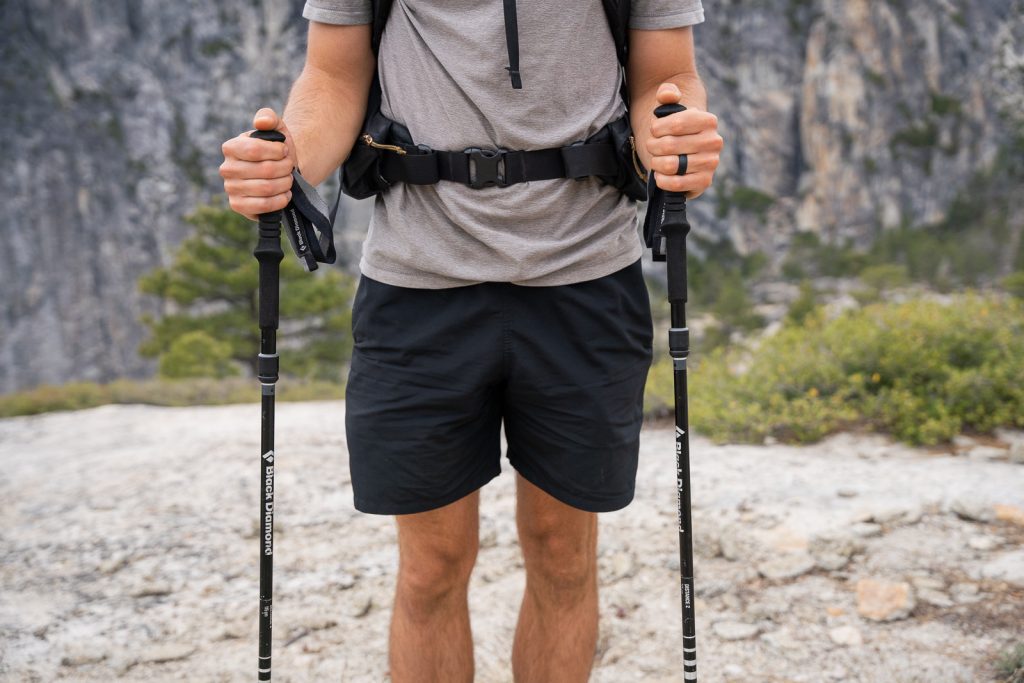
Some of the hikes in the park are very steep (we’re lookin’ at you Upper Yosemite Falls), so having hiking poles may be helpful. We love our Black Diamond Distance Z Folding Trekking Poles!
Layers
Different areas of the park lie at drastically different elevations, so the temperatures can range throughout the day. The valley sits around 4,000 feet, but Tioga Road can get to almost 10,000 feet. Every 1,000 feet you go up, the temp will normally drop about 5 degrees. Pack layers so you’re ready for different temperatures and unpredictable weather.
Even in the mornings on 90+ degree days in Yosemite Valley we were a bit chilly.
Sun Protection
Because of how exposed the park is to the sun, you’ll definitely want to bring a hat, sunglasses, and sunscreen to protect yourself from its rays.
Bug spray
Many of these hikes are home to lots of mosquitoes, so make sure to pack some bug spray or a bug net. For bug spray, we use either OFF! with DEET or Picaridin (which doesn’t damage gear like DEET does). We also sometimes spray our gear and clothes with Permethrin beforehand (do NOT apply this to your skin).
Water
Make sure to pack lots of water! There are water fountains at the Visitor Center if you need to fill up, but our 3L Camelbak bladders helped ensure we had enough water throughout the day. Even in the winter when it’s cooler, it’s easy to become dehydrated, as you’re at a slightly higher elevation, the air is very dry, and the sun still beats on you.
Packed lunch & snacks
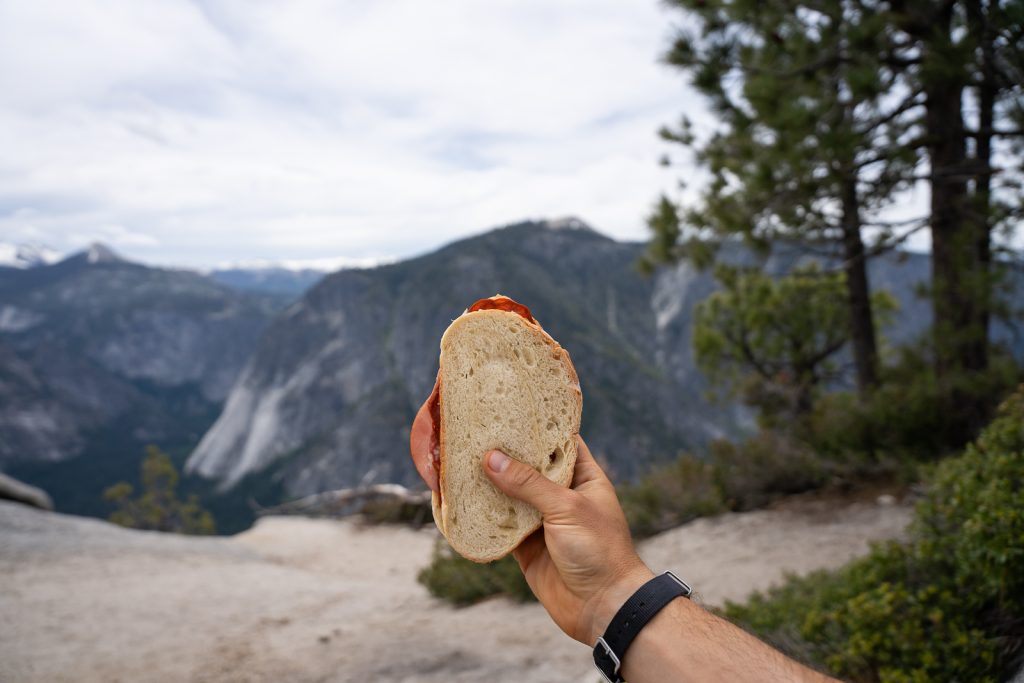
While there are some restaurants in Yosemite Valley, we haven’t heard the greatest things about them and the prices will be a bit higher. We suggest packing your own lunch + snacks!
Some of our favorite snacks are Bobo Bars, Clif Bars, Kate’s Real Food Bars, Nature’s Bakery fig bars, pepperoni and cheese, trail mix, and Chili Roasted Wonderful Pistachios.
If you need more food (or a treat), head to the Village Store! It’s basically a legit grocery store, with a shockingly wide range of products for being inside the National Park. We grabbed pints of ice cream here and ice cold water multiple times after big hikes.
Headlamp
If you plan to hike before sunrise or finish after sunset, make sure you pack a headlamp! We like to carry this regardless, just in case something happens and we are out in the dark.
Check out all of our Yosemite National Park resources
- Where to stay in Yosemite National Park
- How to spend ONE day in Yosemite National Park
- The PERFECT 2 Day Yosemite National Park itinerary
- The Ultimate Yosemite National Park itinerary: Options for 1-6 days!
- The 22 BEST hikes in Yosemite National Park
- The Best Day Hike in Yosemite: Four Mile, Panorama, & Mist Trail
- See more California National Park guides
Looking for more things to do in California?
- Plan the Ultimate California National Parks Road Trip! (3 itineraries)
- The Perfect One Day in Sequoia National Park Itinerary
- General Sherman Tree & Congress Trail: The Ultimate Giant Sequoia Hike!
- The 17 Best Things to Do in Sequoia National Park
- 15 Fun Things to Do in Kings Canyon National Park
- The ULTIMATE Guide to visiting Redwood National Park (+ state parks!) in California
- The BEST Hike in Pinnacles National Park (Bear Gulch Cave, High Peaks Trail, & Condor Gulch Trail)
Save this list of the best things to do in Yosemite National Park